Start teaching how to sew on paper
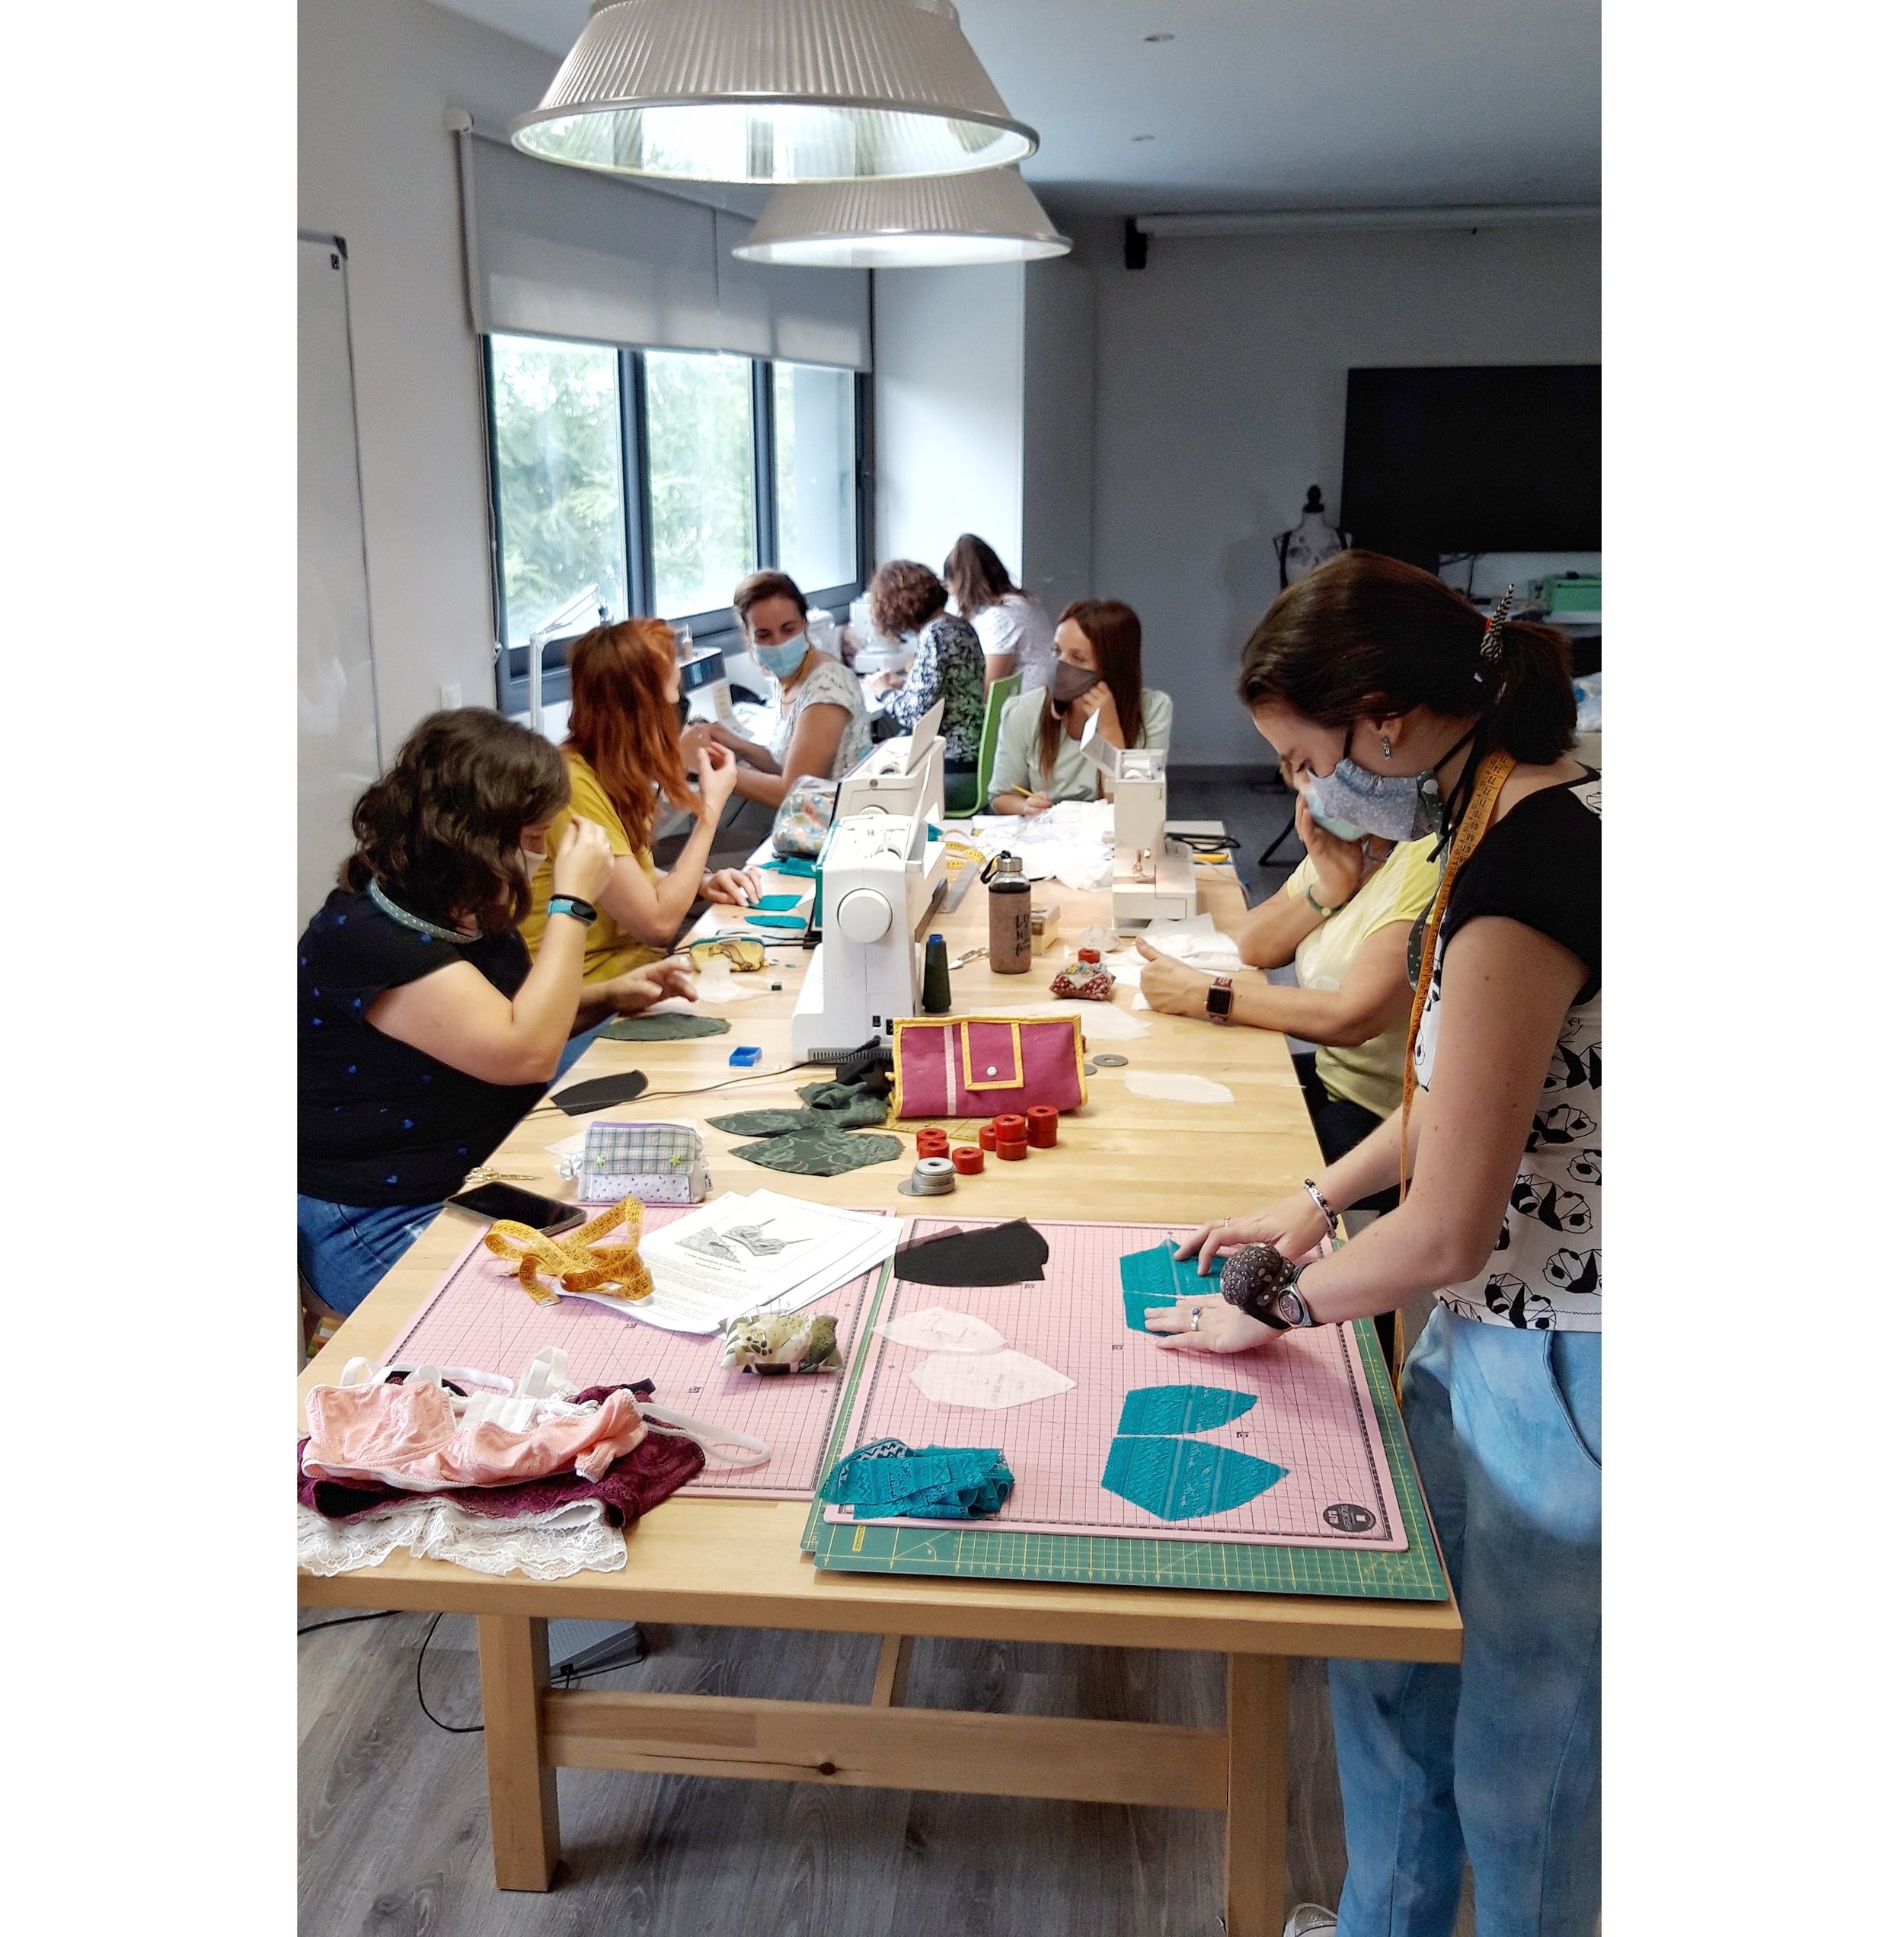
All the threading and bobbin system is a lot of information in the beginning (both for kids and adults!) so I usually start without thread explaining how to sew by following lines on paper just with the needle. First go with easy shapes and then use curved lines and forms. I’ve even printed out some pages where you have to follow the numbers to complete a shape...just that they will be sewing instead of drawing. This part helps to develop skills like managing the pedal speed and pivoting on corners.
You can then draw the same shapes on fabric so they will sew over the lines, now using thread. Threading the machine takes a bit of practice, especially understanding how the bobbin works. With these practice fabric pieces they will learn how to sew straight and control the sewing speed. Problems will occur, there will be “something wrong with the machine” all the time and they will have to be rethreading every 5 minutes but they will get it in no time, you’ll see. Letting them experiment with decorative stitches at this point is a good idea too as this way they will be more entertained.
Choose SUPER simple projects
You want them to make and finish something, anything, and once they see they have actually made it themselves they are more excited to continue learning and making more complicated projects that take more time. That’s why I always start with very easy projects...but believe me, they are so happy when they finish their first handmade projects!
Make them understand that "slower” is better than “faster”
All kids are of course different and I guess you more or less know what you’re getting into with the specific kid you’re going to teach, haha. I’ve now had experiences with very different kids...the ones who are very quiet and follow every step slowly and also the ones who want to make everything very quickly even when their projects don’t end up being very “straight” let’s say, haha. I think that it’s important to try to make them understand that if they go slowly (in marking, in cutting, in sewing) good results actually happen quicker. Of course, they are kids, you can’t expect them to actually sew perfect lines from the beginning (although sometimes they really can surprise you!) but understanding that being concentrated in one task will lead to the results they will like, helps a lot. Of course I don’t make them unpick slightly curved lines when they just start out, it’s not the perfection that we’re after at this stage. But when I see that they just rush through a specific step and sew way off the path I will tell them that they have to unpick and sew again...which makes them understand that taking time actually pays off, haha. Little life lessons while we’re at it, right?
Use stable fabrics
It’s way easier to cut and sew fabrics that don’t shift around. Quilting cottons and lighter canvas fabrics are great for first classes.
Empieza con coser en papel
Para empezar todo el tema de enhebrar y el sistema de canillero etc tiene bastante información de golpe (tanto para los niños como los adultos!) así que suelo empezar sin hilo explicando cómo coser simplemente siguiendo con la aguja las líneas en papel. Primero hago unas formas sencillas y rectas y luego sigo con líneas curvadas y formas más avanzadas. Incluso he impreso páginas donde tienes que seguir números para crear formas...solo que en vez de seguir la líneas con lápiz, lo harán cosiendo. Esta parte ayuda desarrollar aspectos como el manejo de velocidad del pedal y aprenden cómo girar dejando la aguja debajo en las esquinas.
Puedes después dibujar las mismas formas en tela para que cosan ya con hilo encima de ellas. Enhebrar la máquina cuesta un poco al principio pero todo es práctica, especialmente lo de entender cómo funciona la canilla. Con estos trozos de tela de práctica aprenden cómo coser líneas rectas y cómo controlar la velocidad. Va a haber problemas, bastante de “algo le pasa a la máquina” y estarán enhebrando de nuevo cada 5 minutos pero lo van entendiendo, ya verás. Si les dejas practicar con puntadas decorativas se entretienen más en esta fase.
Elige proyectos SUPER sencillos
Lo que quieres es que hagan un proyecto y que lo terminen, lo que sea, pero cuando terminan algo hecho por ellos están super motivados para seguir aprendiendo y haciendo proyectos más complicados con que tardan más. Por eso siempre empiezo con cosas muy sencillas...pero créeme, están muy orgullosos de sus primeras cosas terminadas!
Hazles entender que es mejor ir despacio que con prisas
Cada niño es un mundo pero me imagino que ya sabrás un poco sobre qué tienes delante cuando empiezas con el niño a quien vas a enseñar, jeje. Ahora ya he tenido experiencia con niños muy diferentes...los hay que son muy tranquilos y siguen cada paso poco a poco y los hay que quieren terminar todo rápido incluso si sus proyectos no salen quizás “lo más rectos”, jeje. Creo que es importante que les hagas entender que si van despacio (en marcar, cortar y coser) los resultados buenos realmente llegan más rápido. Por supuesto, son niños, no puedes esperar que empiezan a coser y enseguida hagan líneas rectas (aunque a veces me sorprenden lo perfeccionistas que son!) pero que entiendan que hay que concentrarse y eso ayuda a llegar a resultados que les gustarán, ayuda mucho. Obviamente no les hago deshacer líneas que van un poco fuera nada más empezar a usar la máquina, en esta etapa no estamos intentando hacerlo perfecto. Pero si veo que lo hacen corriendo y cosen muuuy lejos de donde va la línea sí que les digo que tienen que descoser y volver a coser de nuevo...cosa que hace que entienden que tomar el tiempo realmente da su resultado, jeje. Un poco de lecciones de vida ya que estamos, no?
Usa telas estables
Es mucho más fácil coser con telas que no se muevan por todas partes. Telas de patchwork y lonetas van bien para las primeras clases.


