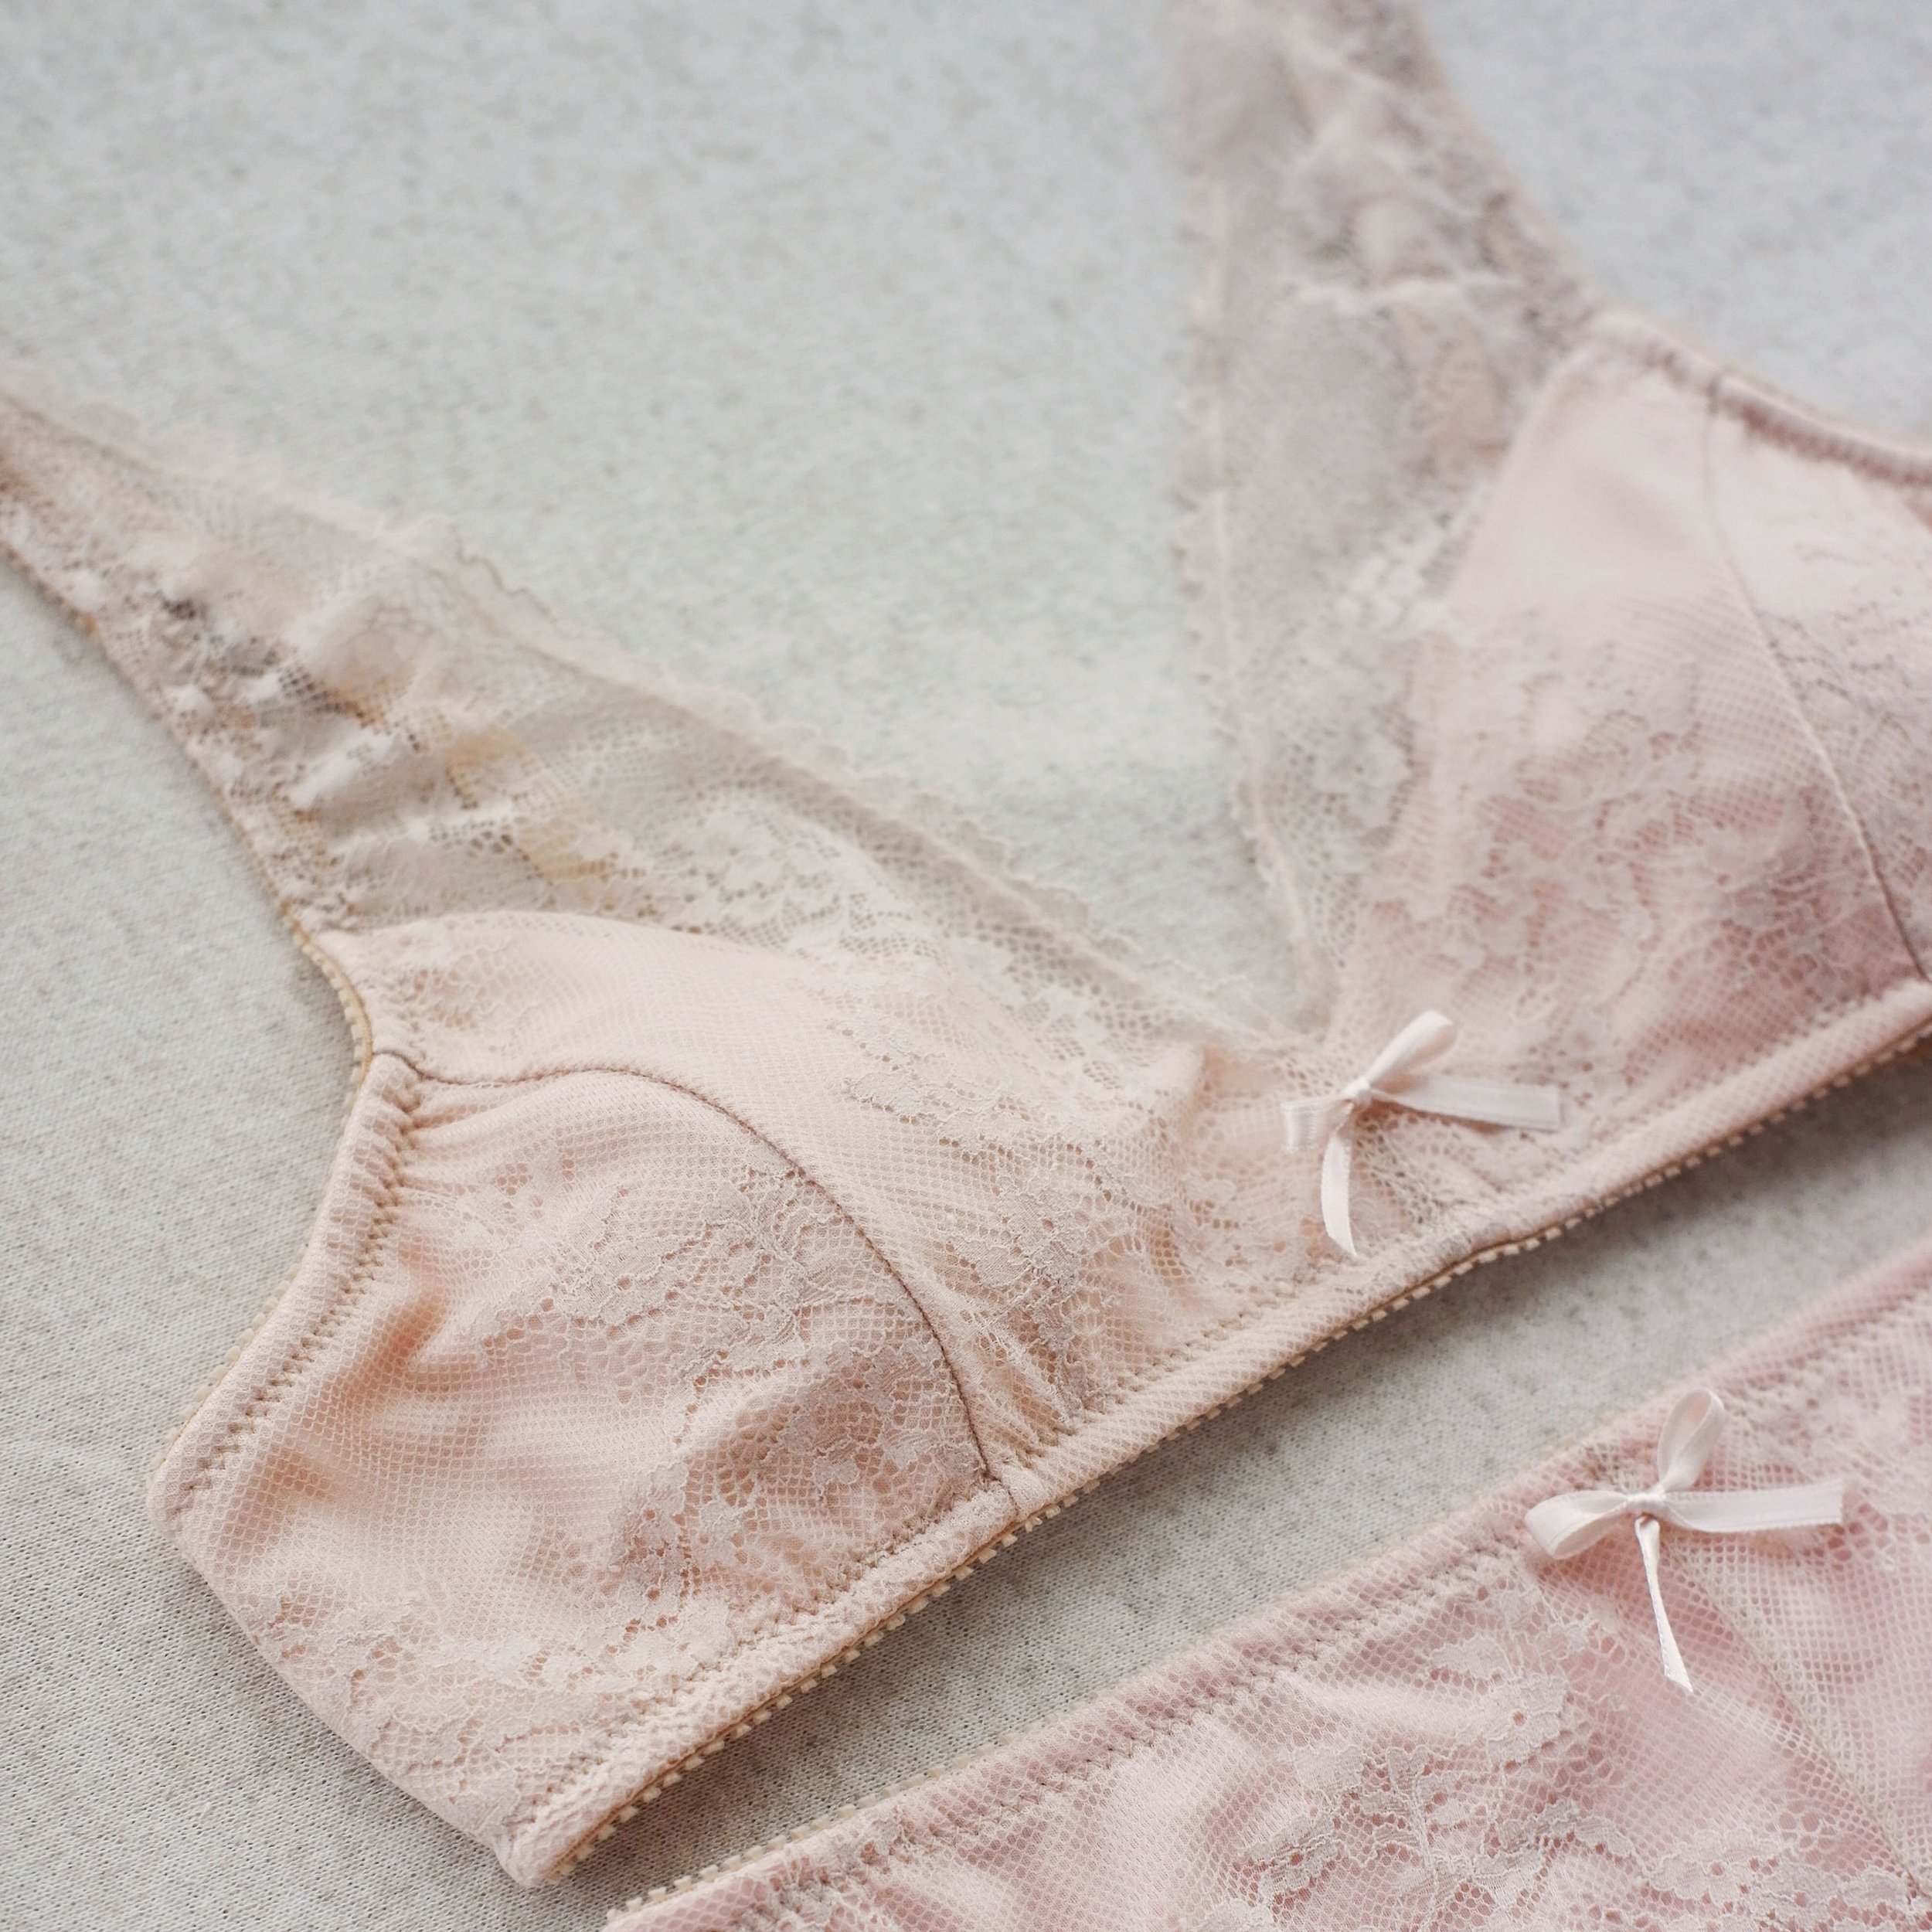
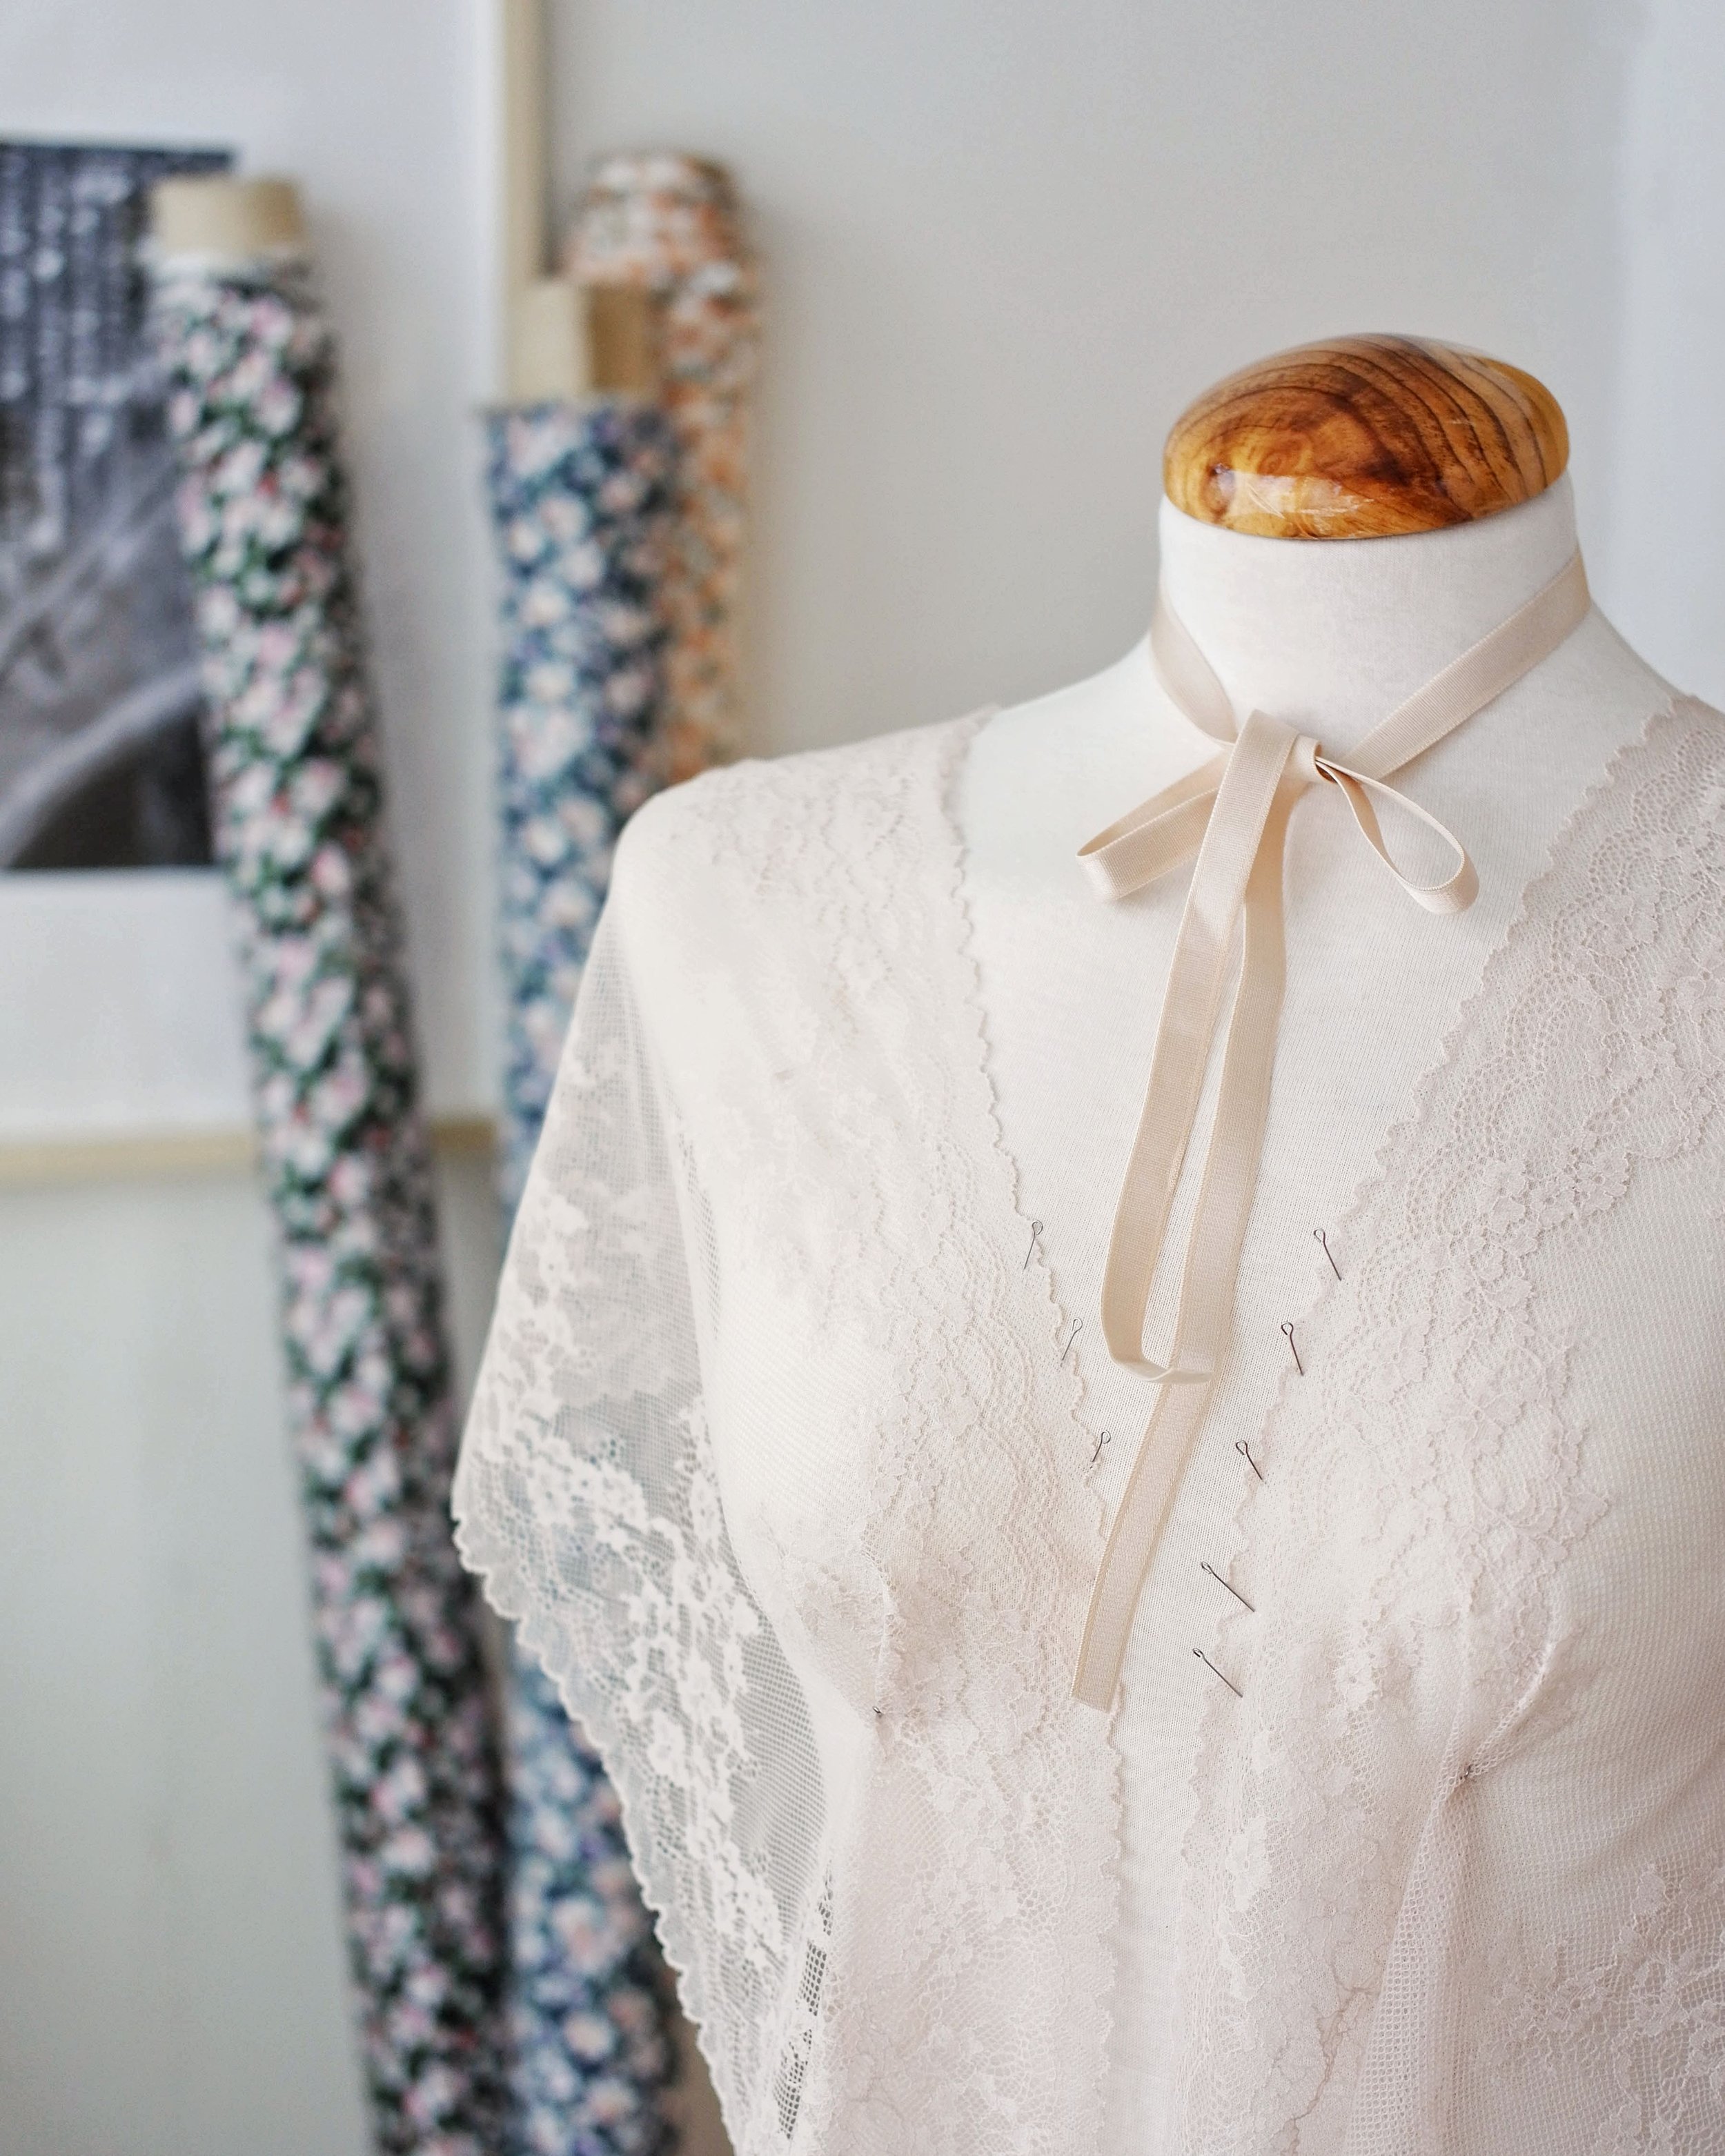
This week I finally started to remedy the lack of pieces in my own underwear drawer. The saying "the cobbler's children go barefoot" describes my reality too well, haha. So while I made this neutral bralette for myself I also wrote this tutorial to add foam cups to the Hanna bralette pattern for you.
Esta semana empecé por fin a poner remedio a falta de prendas en mi propio cajón de ropa interior. Cumplo 100% con el dicho de “en casa de herrero, cuchillo de palo”, no puedo evitarlo, jaja. Así que aprovechando que iba a coser algo para mí, hice este tutorial para añadir copas de foam al patrón de bralette Hanna.
There’s a post about how to use foam with this pattern already at the blog. This time, instead of using cut and sew foam and making my own cup pieces, I will use pre-fabricated cups.
I know that many people remove the cups that come with garments like bikinis or sports tops because they find them uncomfortable and unnecessary. However, there is another group of people, like me, who actually want to wear them, haha. For example, I have a small bust and I prefer having something that "covers" my breasts so that my nipples don't show through my clothes. So if you're like me, keep reading. And even if you're not, you may still find this construction method interesting as it differs from the instructions of the original pattern.
En el blog ya tienes una entrada sobre cómo usar foam con este patrón. Esta vez en vez de usar el foam en formato donde cortas y coses las piezas para formar copas (cut and sew foam en inglés), usaré copas ya prefabricadas.
Sé que hay mucha gente que cuando ve este tipo de copas que llevan prendas en las tiendas (piensa en bikinis, en tops deportivos etc), las quita nada más empezar a llevar la prenda porque les resultan incómodas e innecesarias. Pues para la sorpresa de esas personas, también existe otro grupo de personas que sí que quiere tenerlas, jaja. Yo por ejemplo cuento con poco contorno de pecho y me gusta tener algo que me “tape” el pecho para no ir con el pezón que se nota debajo de la ropa que llevo. Así que si eres de las mías, sigue leyendo. Y si no, igual te parece aún así interesante este método de confección que he usado ya que es diferente a las instrucciones del patrón original.
The cups you’re going to use must be in your size, which means they should cover the part of the breast that you want to cover. Many times, I actually use cups that I have recycled from other garments I have bought. This type of cups are also sold in haberdasheries. Right now, in my store, I only sell cut-and-sew foam because I don't have a good supplier for pre-made cups, and the retail price would be too high for me to source them.
La copa que vayas a usar tiene que ser de tu talla, lo que aquí significa que tiene que cubrir la parte del pecho que tú quieres que cubra. Yo muchas veces de hecho uso copas de quitar y poner que he reciclado de otras prendas que he comprado. También las venden en las mercerías. Yo ahora mismo en mi tienda solo vendo el foam de cortar y coser porque no tengo un buen proveedor para este tipo de copas prefabricadas y el precio que tendrían es muy alto así que no me compensa tenerlas en venta.
Let's go with the tutorial. Due to the design of this pattern, there is a slight complication. The foam cup needs to go between two layers of fabric, and indeed the pattern includes two layers, the lace and the lining. However, you can't place the cup between them because it would be visible from the outside, as lace is usually semi-transparent. To create a pocket for the cup, I have made a simple change in the pattern and I used another method to join the pieces, which seems quite clean and functional.
Vamos con el tutorial. Por el diseño de este patrón, hay una pequeña complicación. La copa tiene que ir entre dos capas de tela y efectivamente el patrón lleva dos capas, el encaje y el forro. Lo que pasa es que no podrías poner la copa entre ellas porque se ve por fuera al ser el encaje casi siempre medio transparente. Para generar un bolsillo para la copa, he hecho un simple cambio en el patrón y he usado otro método de unir las piezas y me parece bastante limpio y funcional.
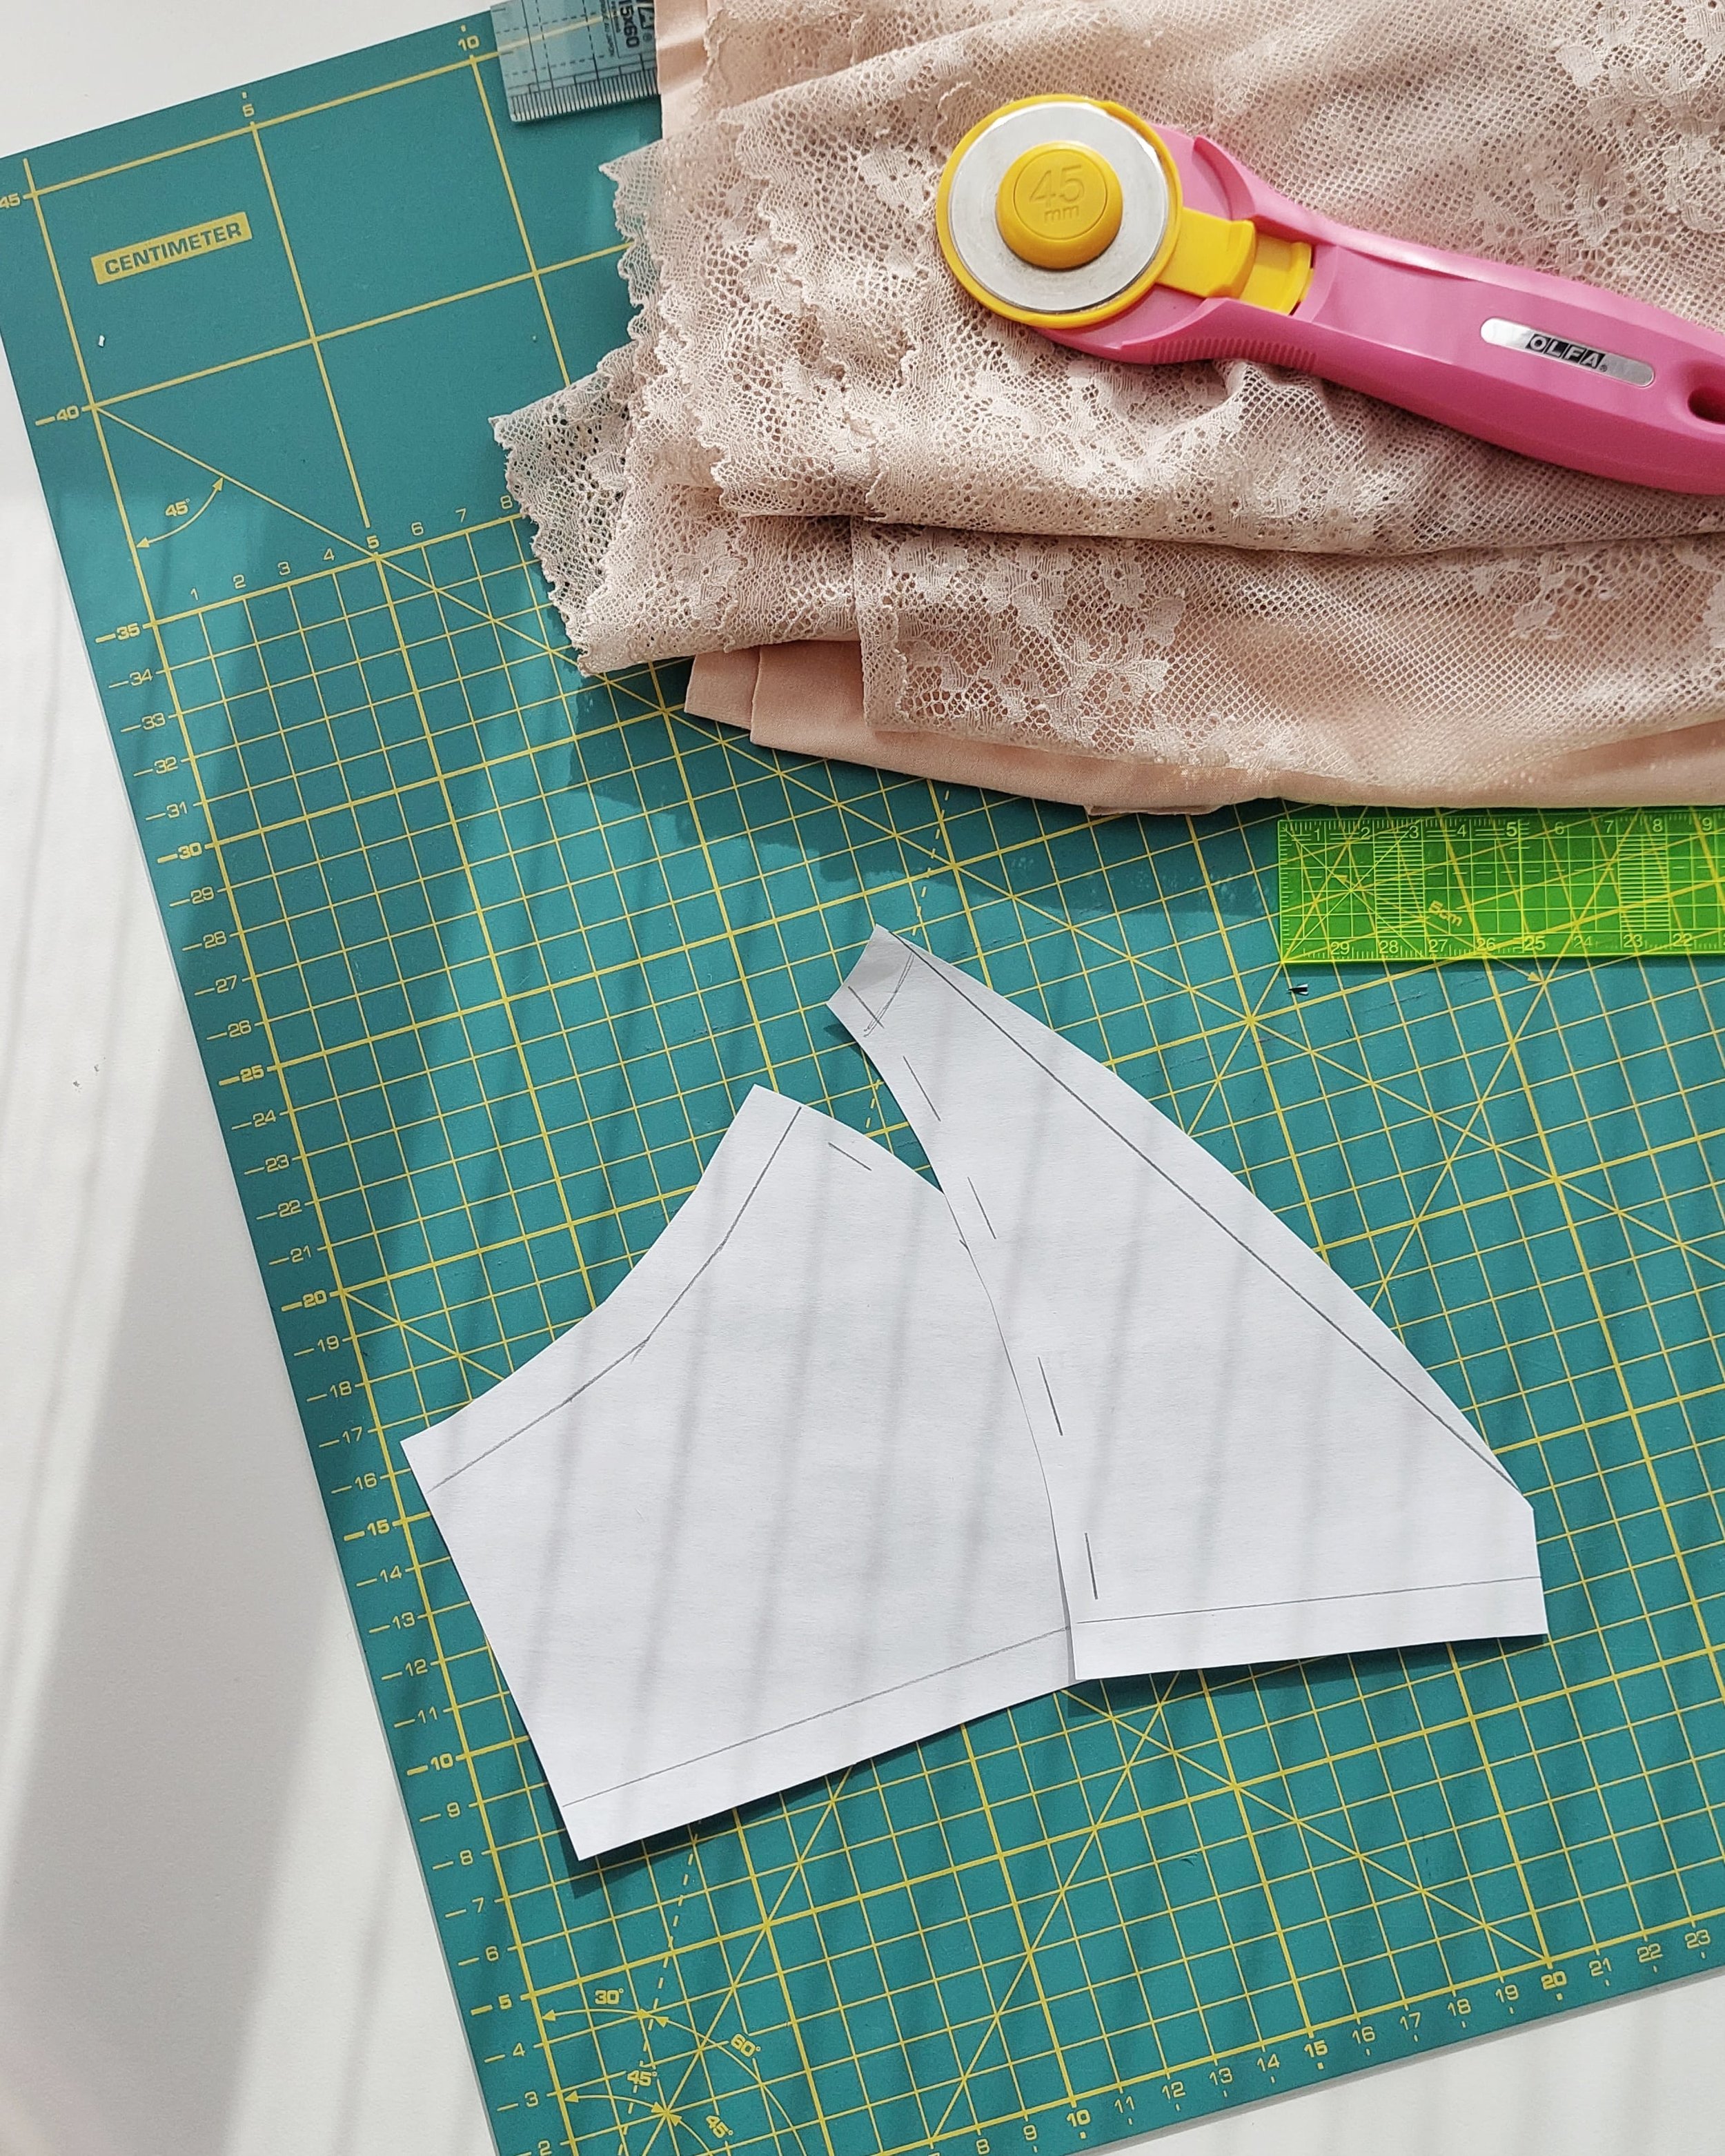
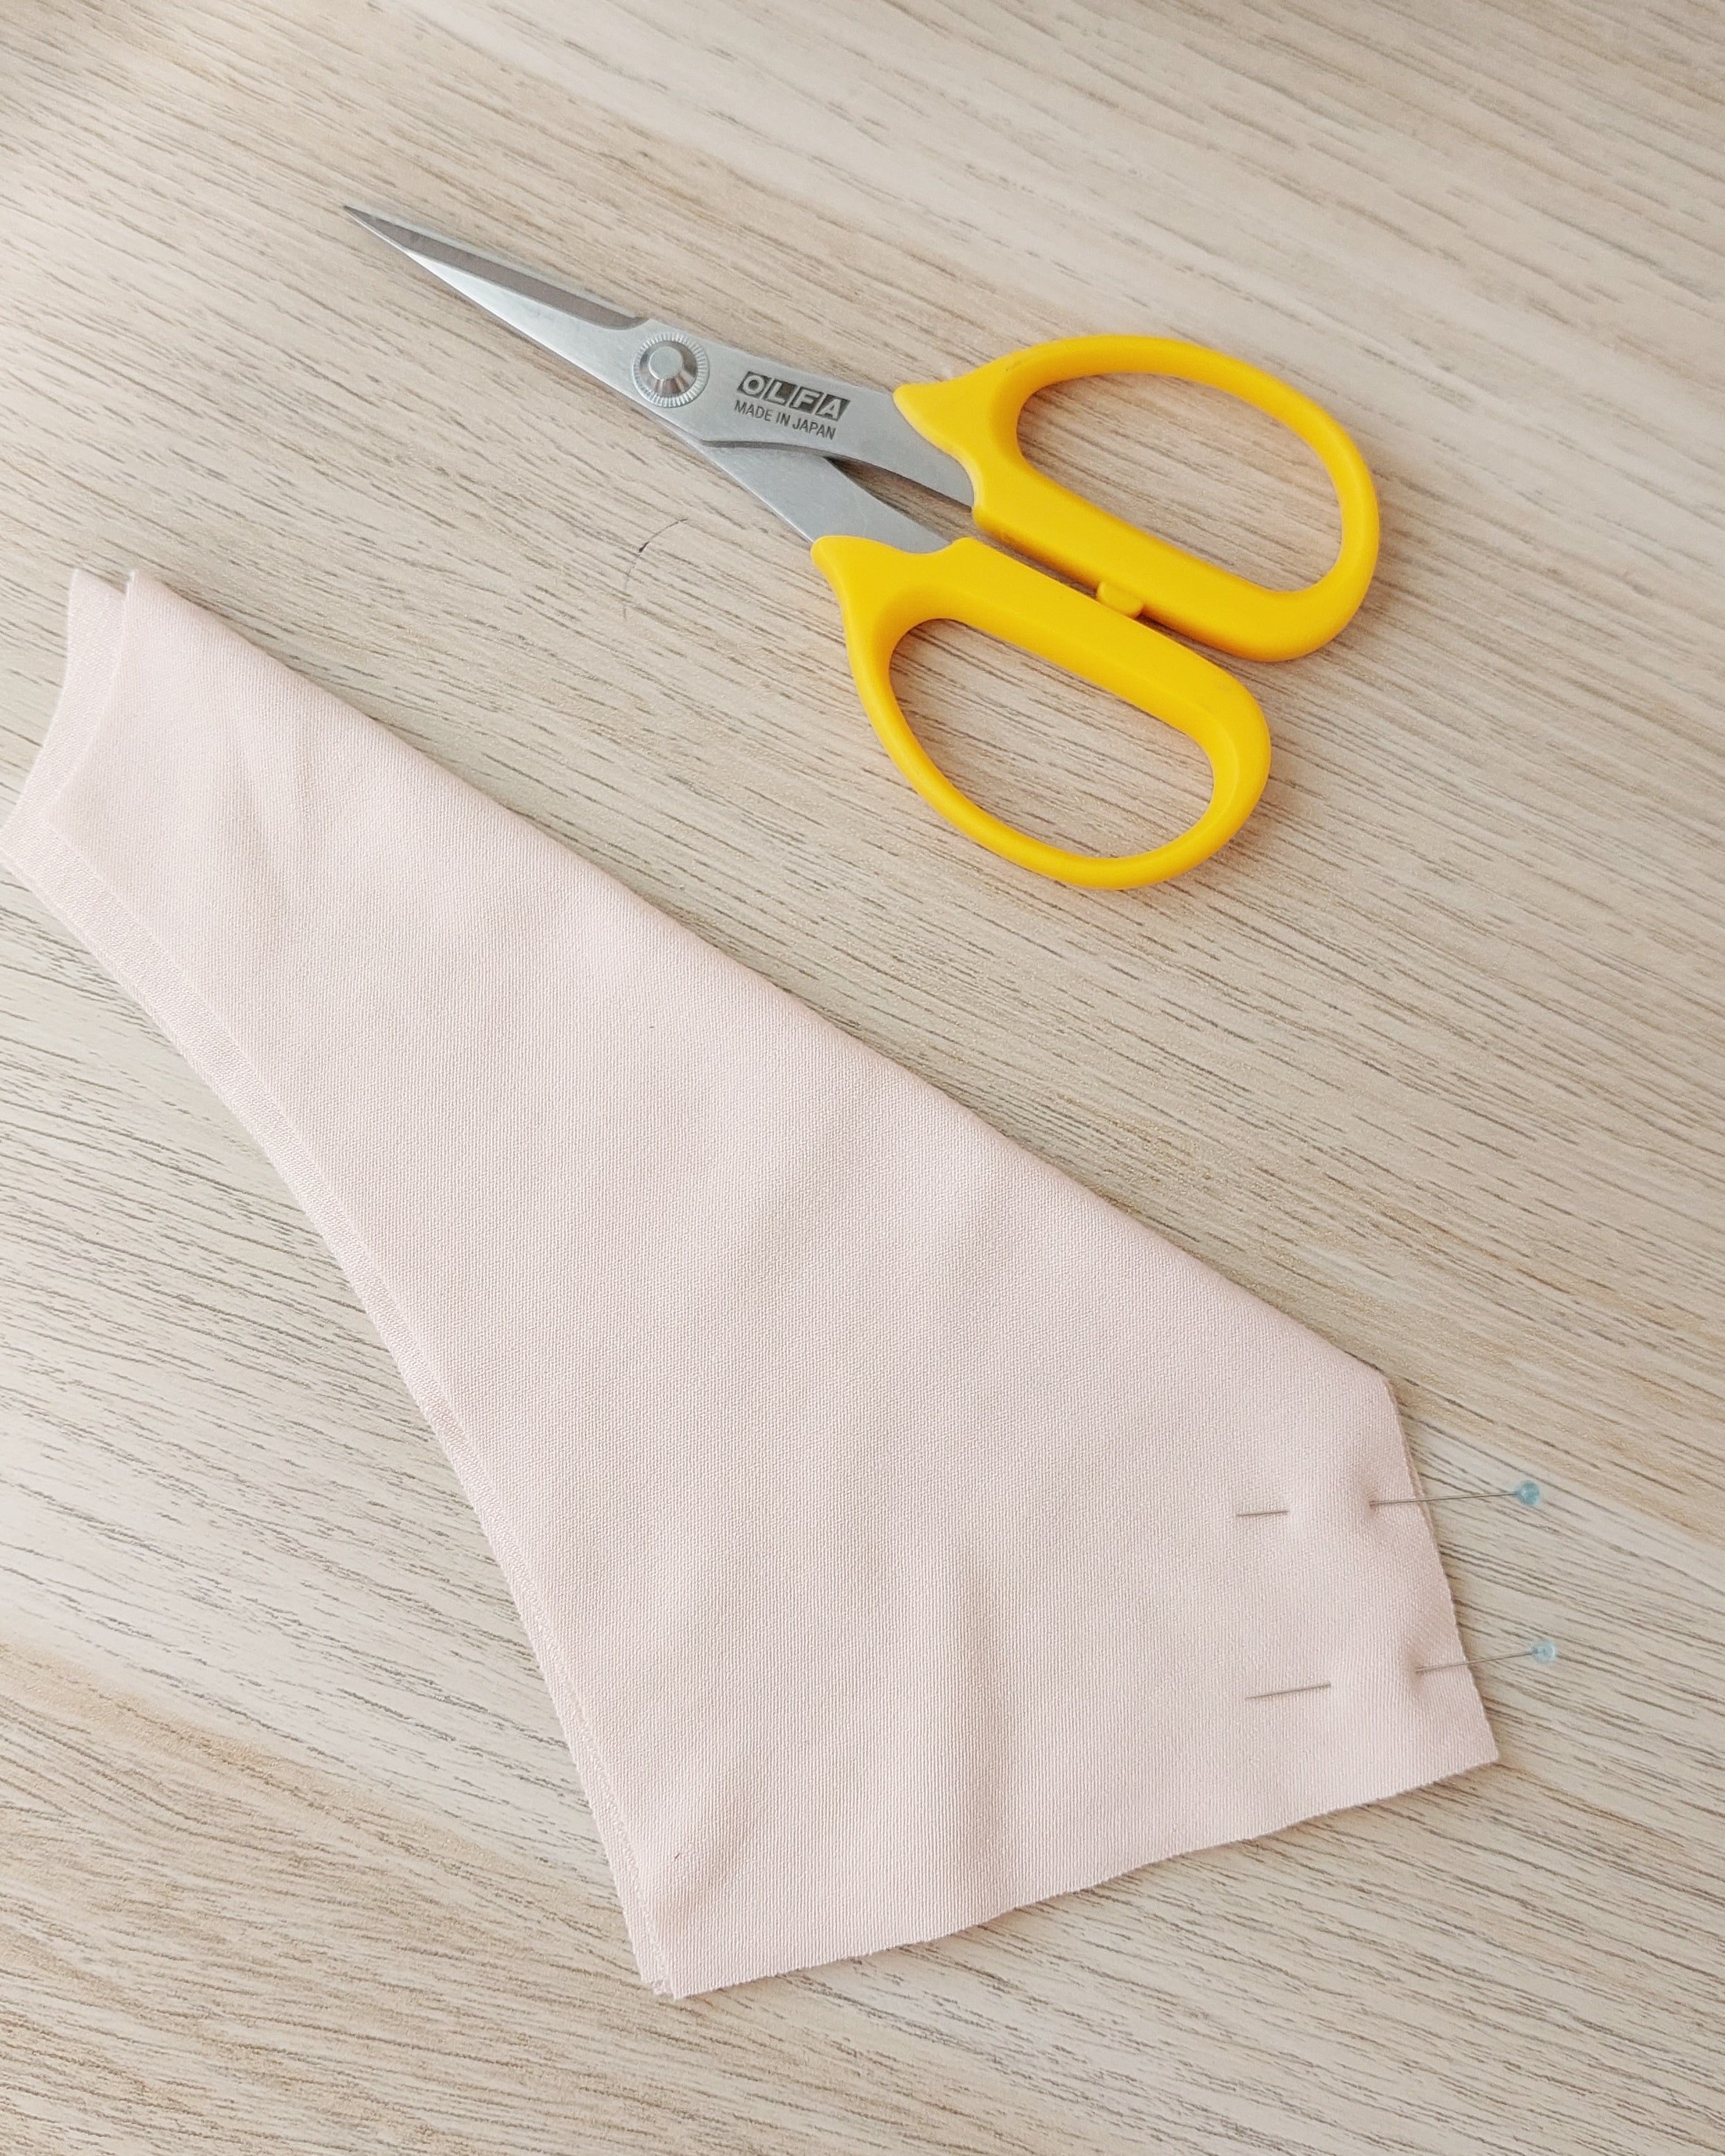
I want to have two layers of lining to place the cup in the middle. To do that, I would like the edge of the lining of the inner cup (the one that stays in the middle of the lace) to be cut on the fold because it has a cleaner finish that way and forms a pocket. This edge is slightly curved due to the design, so I made it straight first to cut it on the fold.
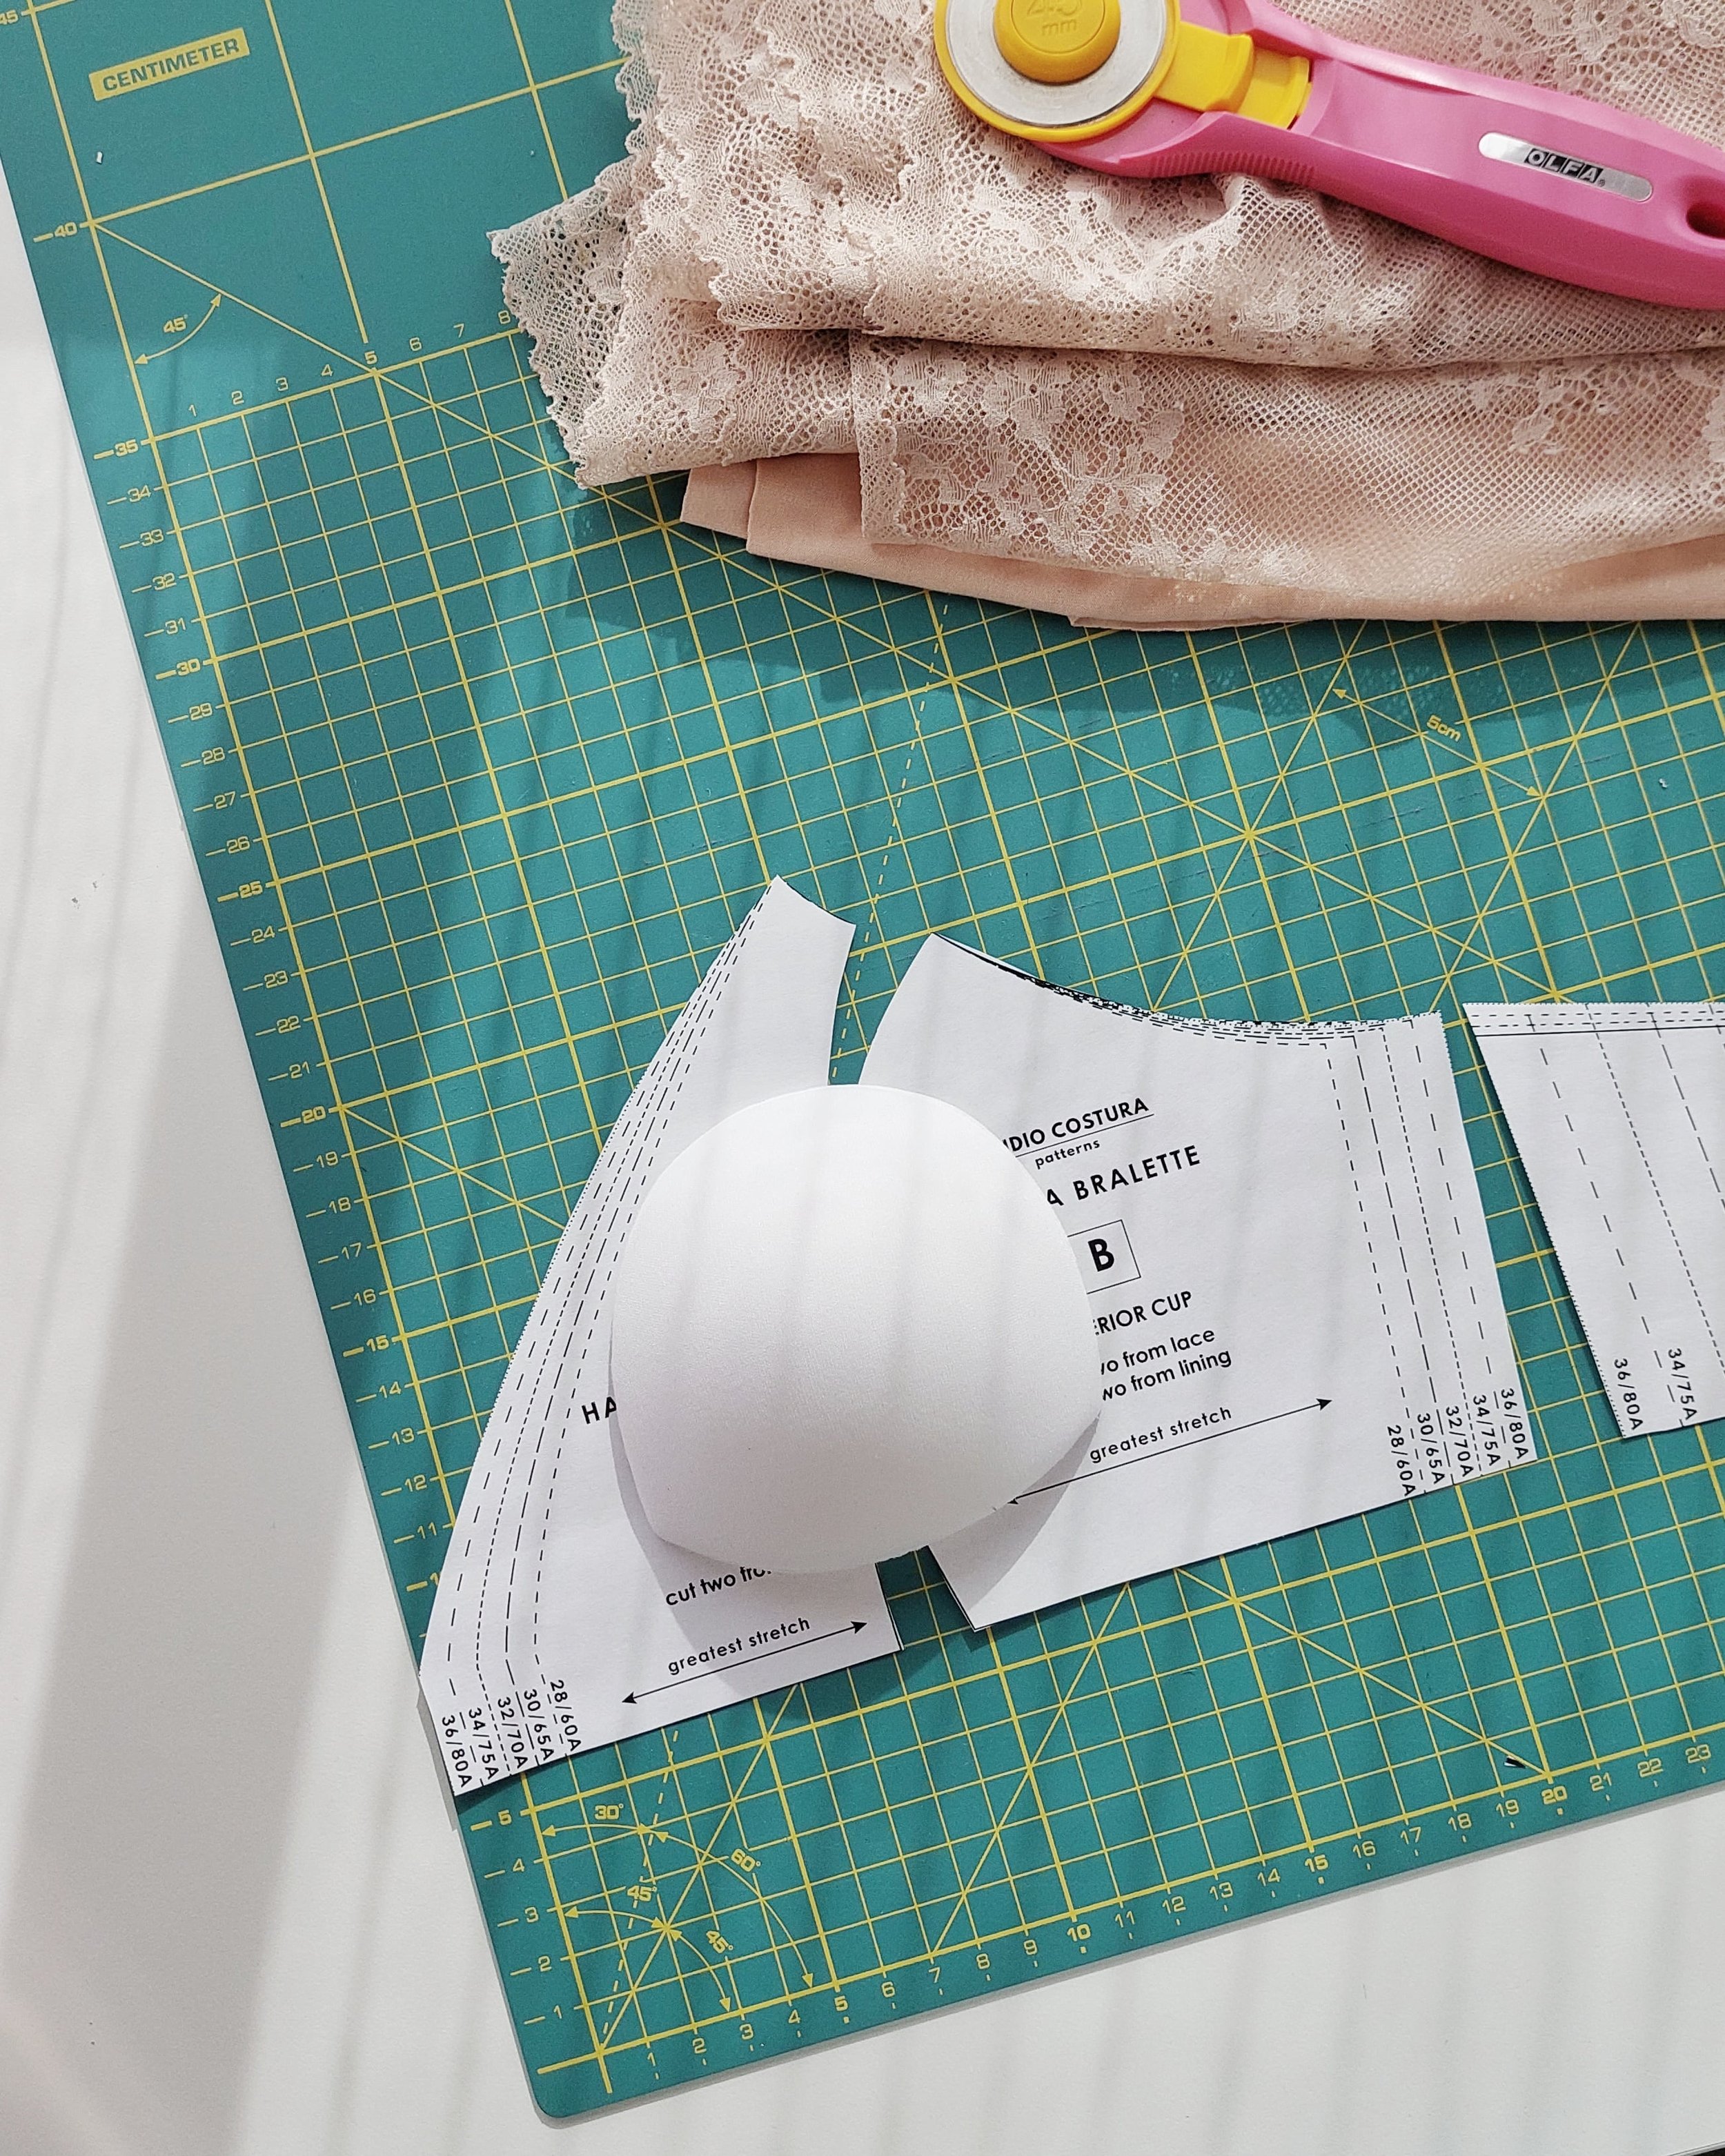
I checked if the foam cup fits inside my cup pieces. To do that, it is necessary to mark the seam allowances that the pattern has (6 mm at the seams and 10 mm on the bottom and armhole elastics) and join the paper pieces to see if the cup fits there.
Quiero tener dos capas de forro para colocar en el medio la copa. Para hacer eso, me gustaría que el borde del forro de la copa interior (el que queda a la mitad del encaje) sea cortado al doblez porque así se queda más limpio y se forma un bolsillo. Este borde es ligeramente curvado por el diseño así que primero lo he hecho recto para cortarlo al doblez.
Comprobé si la copa prefabricada cabe dentro de lo que son mis piezas de la copa. Para eso hay que marcar los márgenes de costura que lleva el patrón (6 mm en las uniones y 10 mm en los elásticos de bajo y sisa) y unir las piezas de papel para ver si la copa cabe allí.
In my case, with the new straight line, it would have been very tight, so following the shape of the lace piece (A), I made the lining piece slightly bigger to give more space to my cup (around 10 mm in my case).
Once this change was made, I had to check the height of the neckline. In the original pattern, the lining stays just below the lace at the neckline so that it is not visible from the outside. Now that I increased my lining, it reaches a few millimeters higher in the center than the lace pattern piece. To fix that, I also increased the height of the center in the lace piece. You just have to add height you need and reconnect that central point with the top part of the pattern, forming a new straight line and marking a new notch 6 mm from the center (which is necessary for cutting the lace edge later).
This is it for the pattern modifications. The lace pieces are cut the same as always.
En mi caso con la nueva línea recta hubiera sido muy justo así que siguiendo la forma de la pieza grande (A) he hecho la pieza de forro un poco más grande para darle más espacio a mi copa (en mi caso unos 10 mm).
Una vez hecho este cambio, tenía que comprobar la altura del escote. En el parón original el forro se queda justo debajo del encaje en el escote para que no sea vea por fuera. Ahora que yo aumenté mi forro, esto llega incluso unos milímetros más arriba en el centro. Para corregir eso, he aumentado también la altura del centro en la pieza de encaje. Simplemente tienes que añadir altura y volver a conectar ese punto central con la parte de arriba, formando una nueva línea recta y marcando un nuevo piquete a 6 mm desde el centro (que es necesario para cortar el borde de la puntilla luego).
Con esto ya están las modificaciones del patrón. La piezas exteriores se cortan igual que siempre.
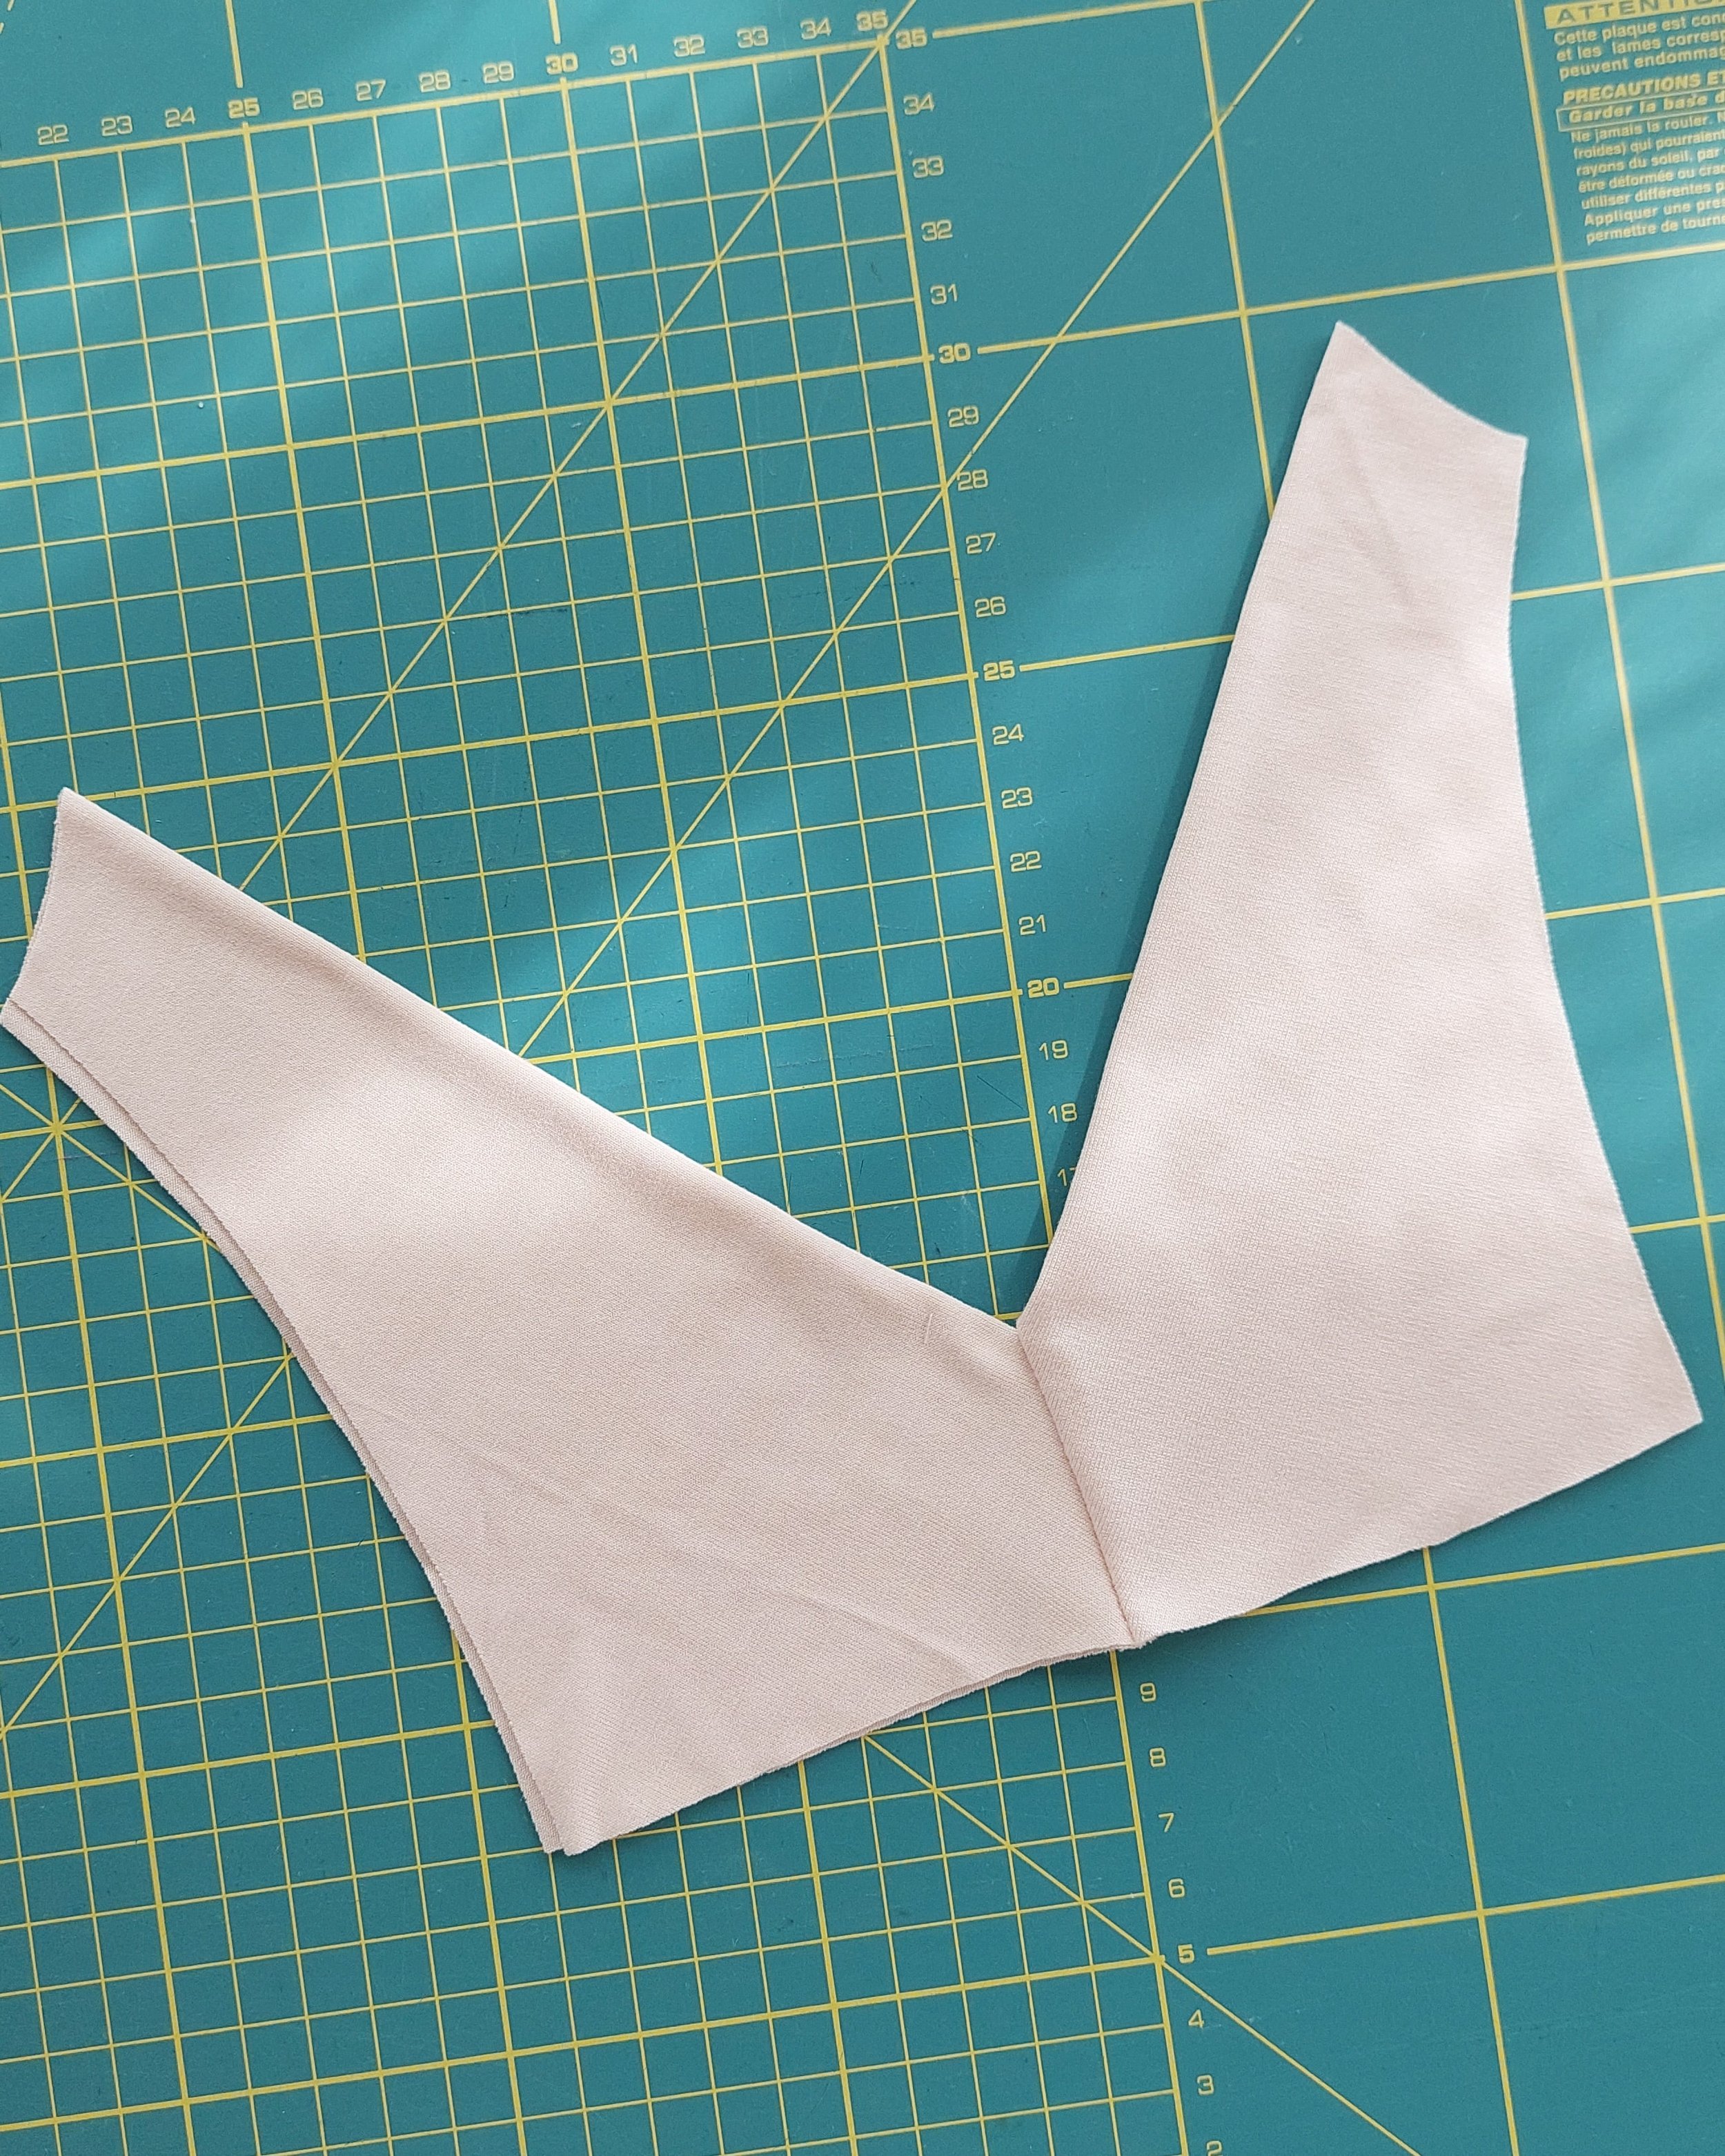
For the linings, you have to cut the band piece C as usual (two pieces). The lining of the outer cup (B) should be cut four times instead of two times (for the "pocket"). And the lining of the inner cup (the new piece D that you made) is cut twice but with that straight edge on fabric fold (you will have two "double" pieces).
To understand the construction, you have to think that what we want to do here is to have the two layers of lining for the bralette cup separately because that is where the foam cup is inserted. To make it look nice on the inside and outside as well, you will follow the order that may seem more confusing at first, but you will see that it turns out very well.
Para la parte de los forros tienes que cortar la banda C como siempre (dos piezas). El forro de la copa exterior (B) hay que cortarlo cuatro veces en vez de dos veces (para el “bolsillo”). Y el forro de la copa interior (la nueva pieza D que has hecho) se corta dos veces pero con ese borde recto en doblez de la tela (tendrás dos piezas “dobles”).
Para entender la confección, tienes que pensar que lo que queremos hacer aquí es tener las dos capas de forro de la copa de bralette por separado porque allí es donde se inserta la copa prefabricada. Para tenerlo también bonito por dentro y fuera, seguirás el orden que quizás al principio parece más lioso, pero verás que queda muy bien.
First, join the center of the lining pieces of the inner cup. For a clean finish, open one of the linings and place it right side up. Place the other folded lining (with the right side facing you) on top of it. Fold the first piece to wrap around the other lining piece in the middle. Sew the center seam. Once you open the pieces and place them in their correct position, you will see that the seam is hidden between the layers.
Primero une el centro de las piezas de forro de la copa interior. Para un acabado limpio, abre uno de los forros y colócalo con el derecho hacia arriba. Coloca el otro forro doblado (con el derecho hacia ti) encima de ella. Dobla la primera pieza para envolver a la pieza de forro que queda en el medio. Cose el centro. Una vez que abres las piezas y las colocas a su sitio, verás que la costura se queda oculta.
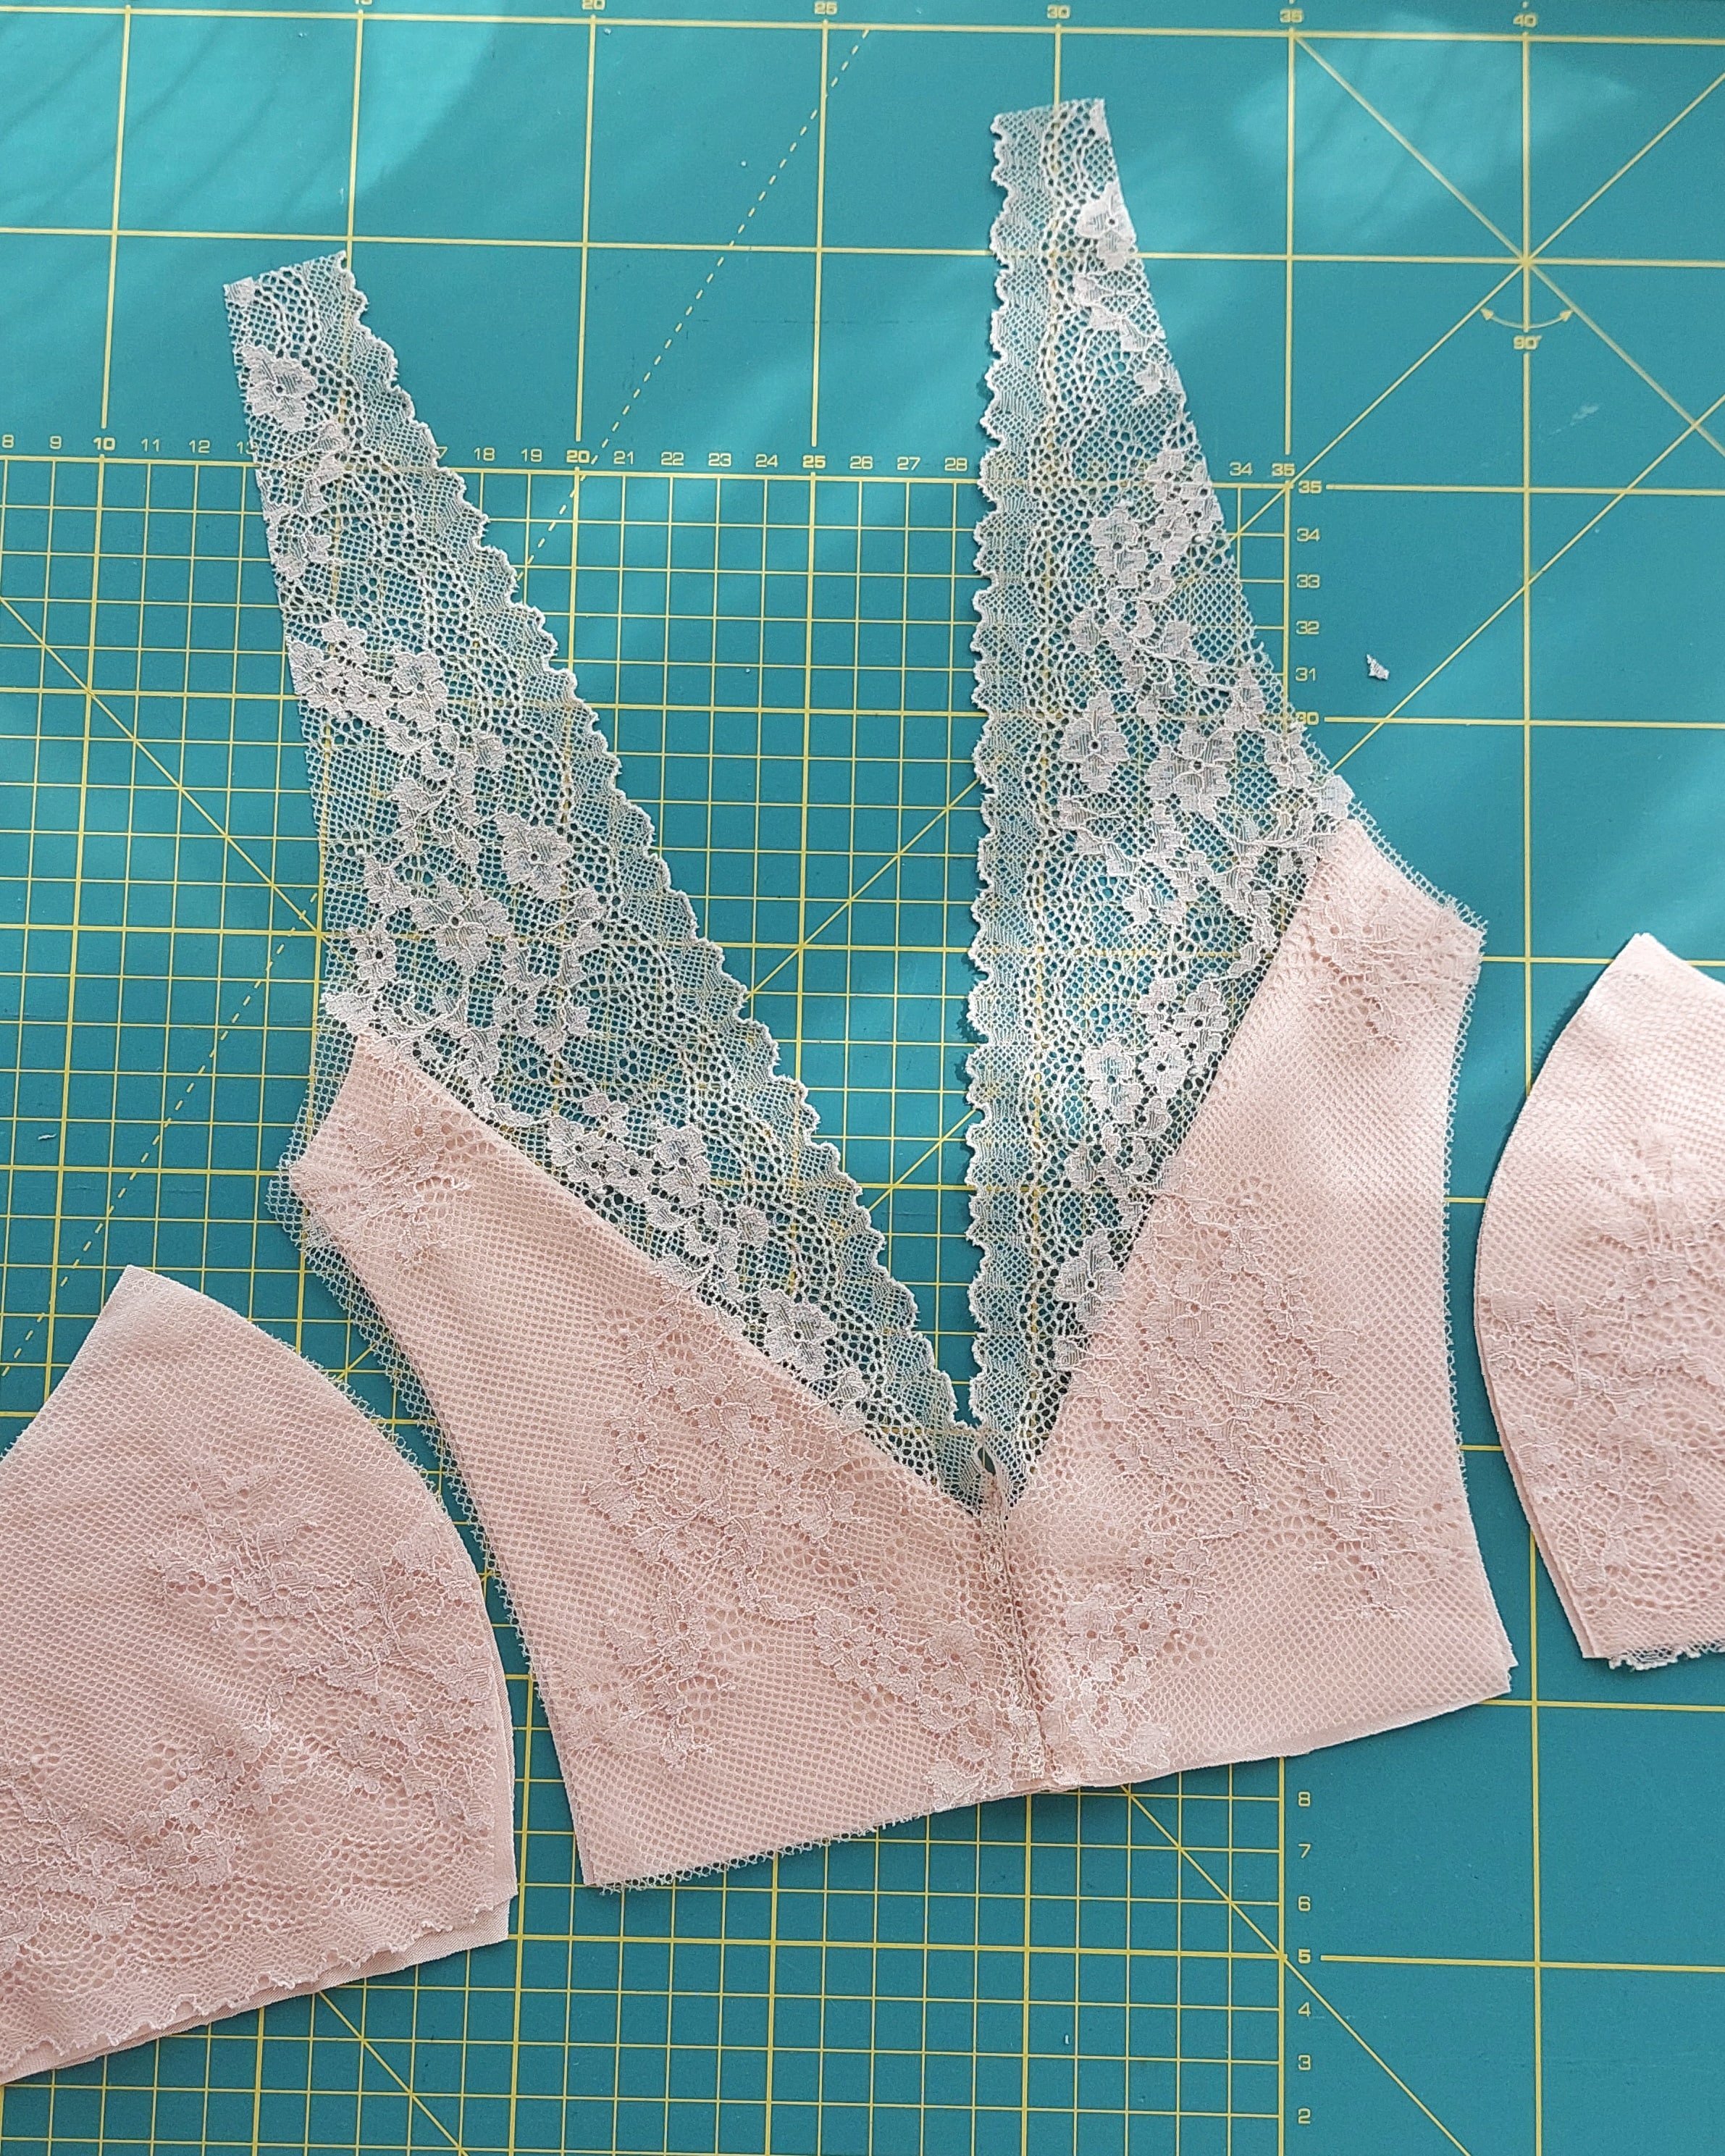
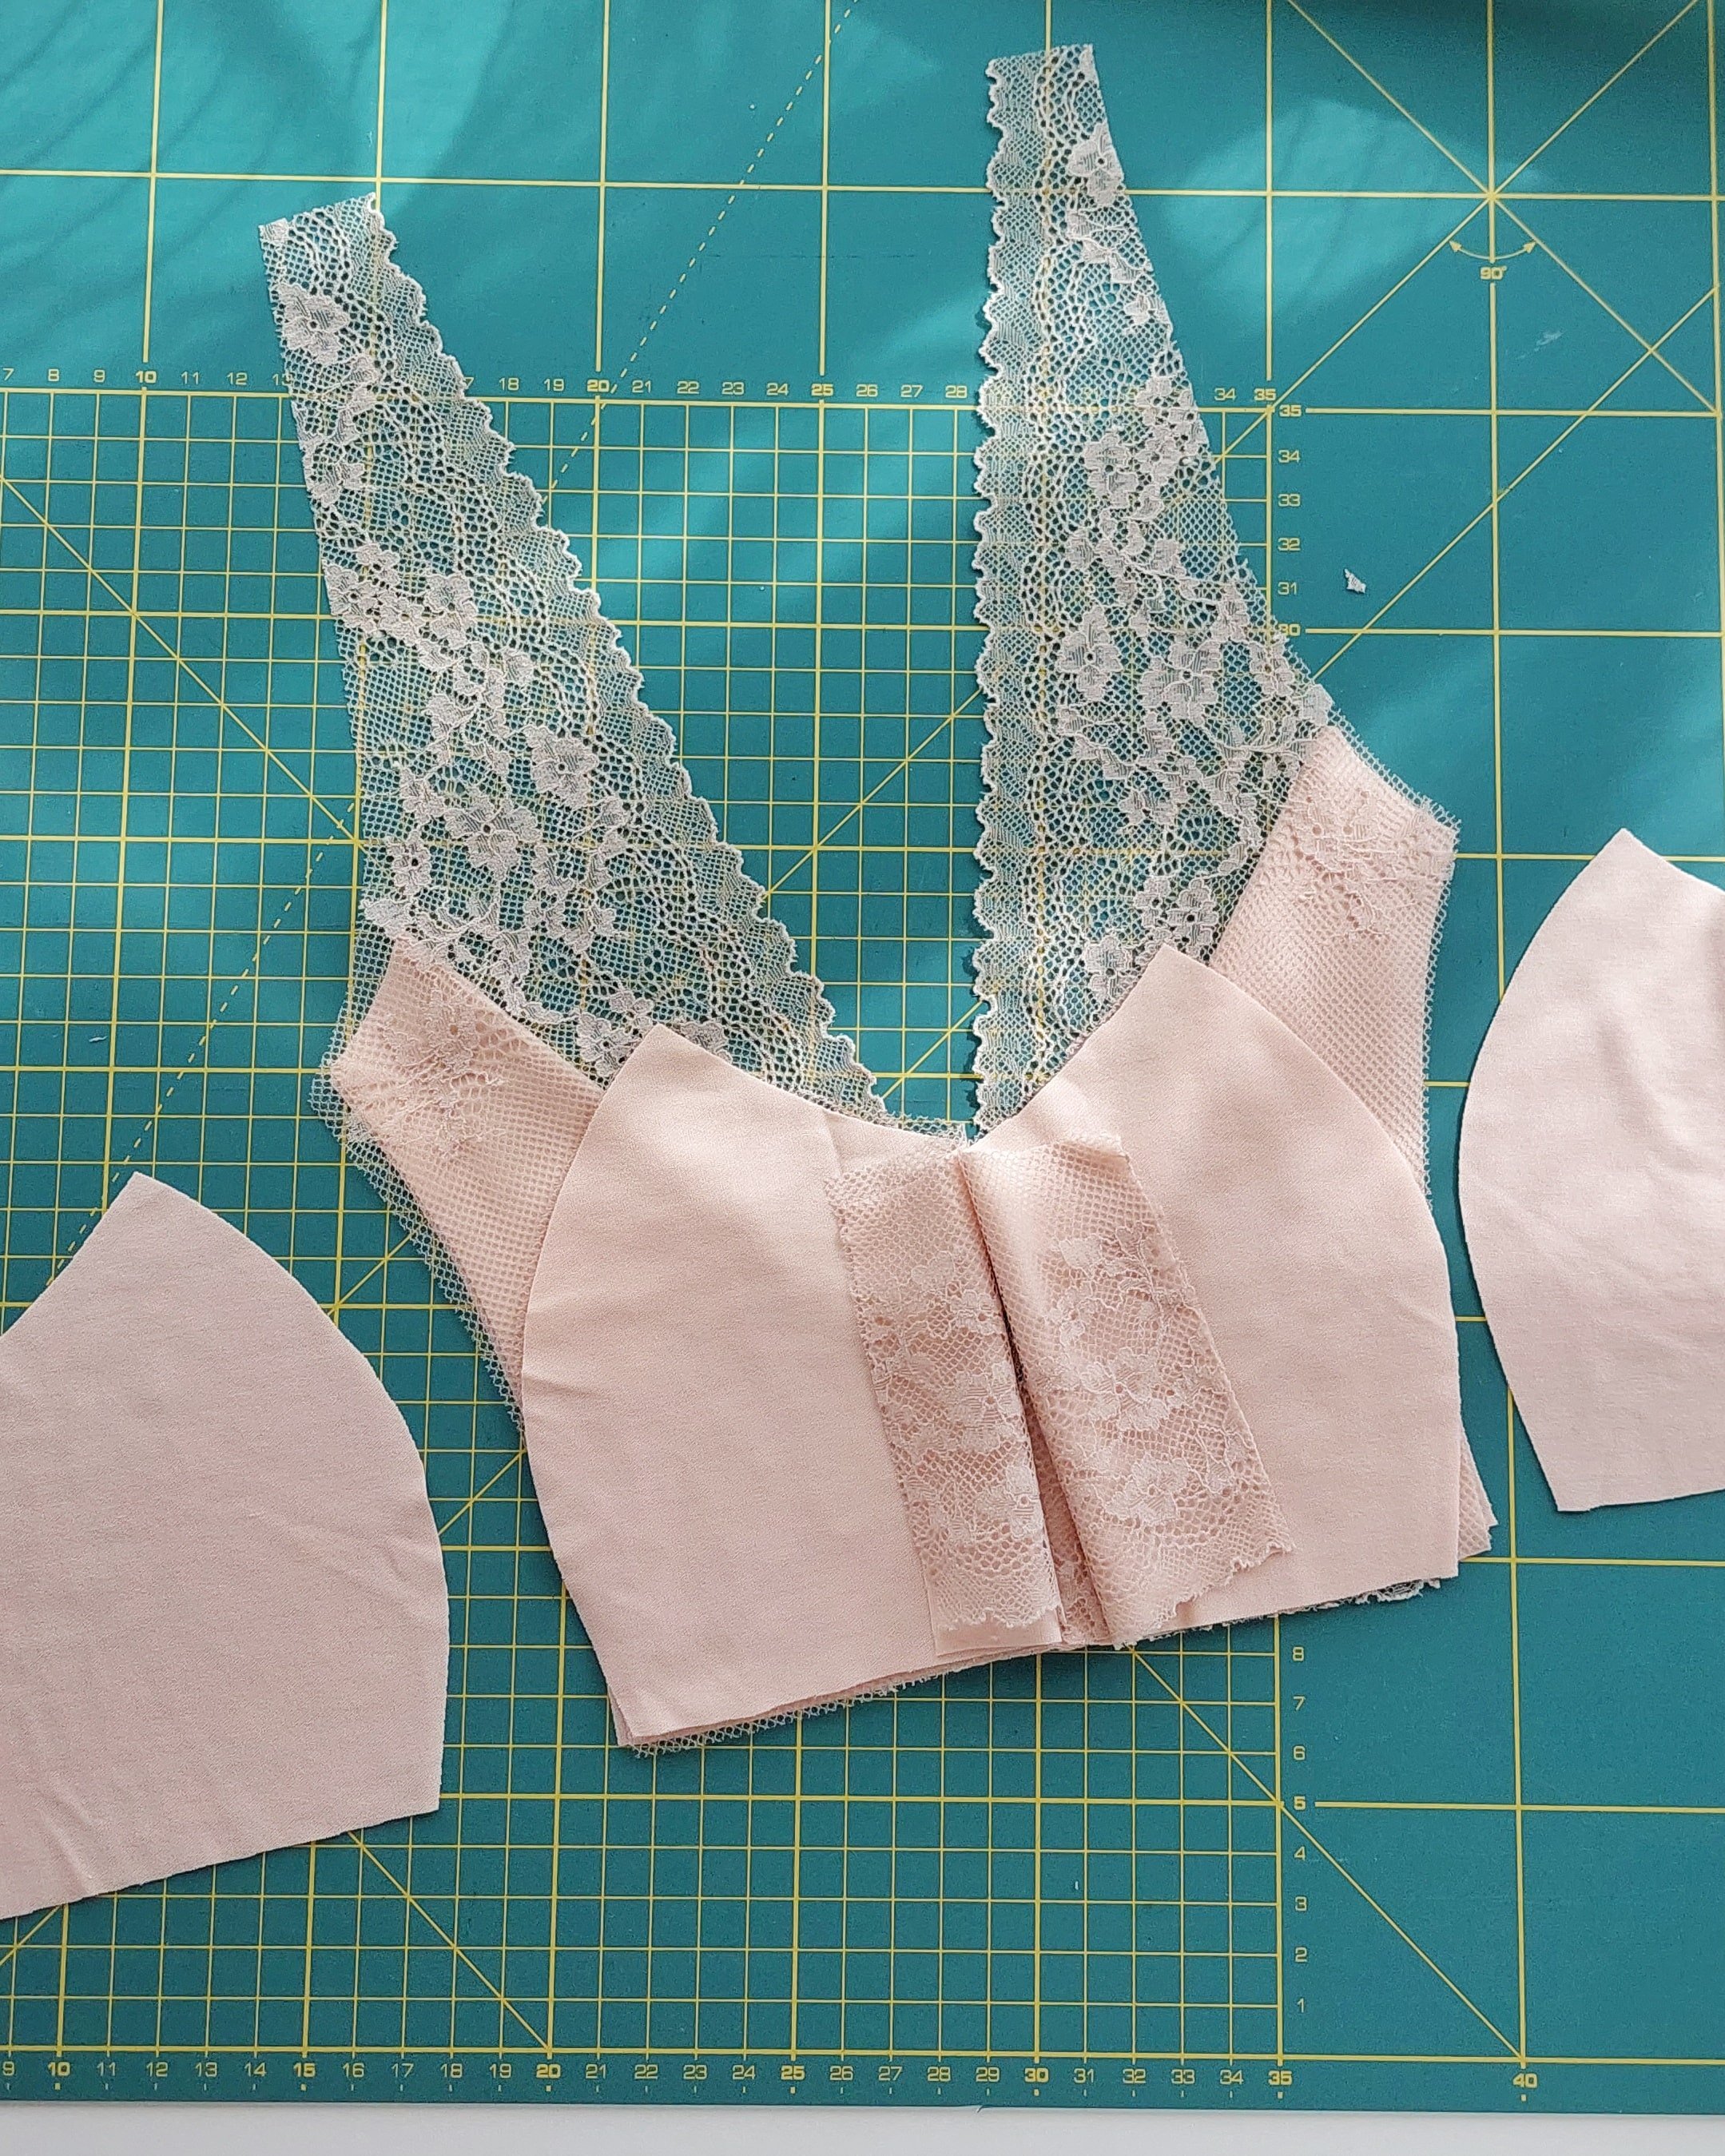
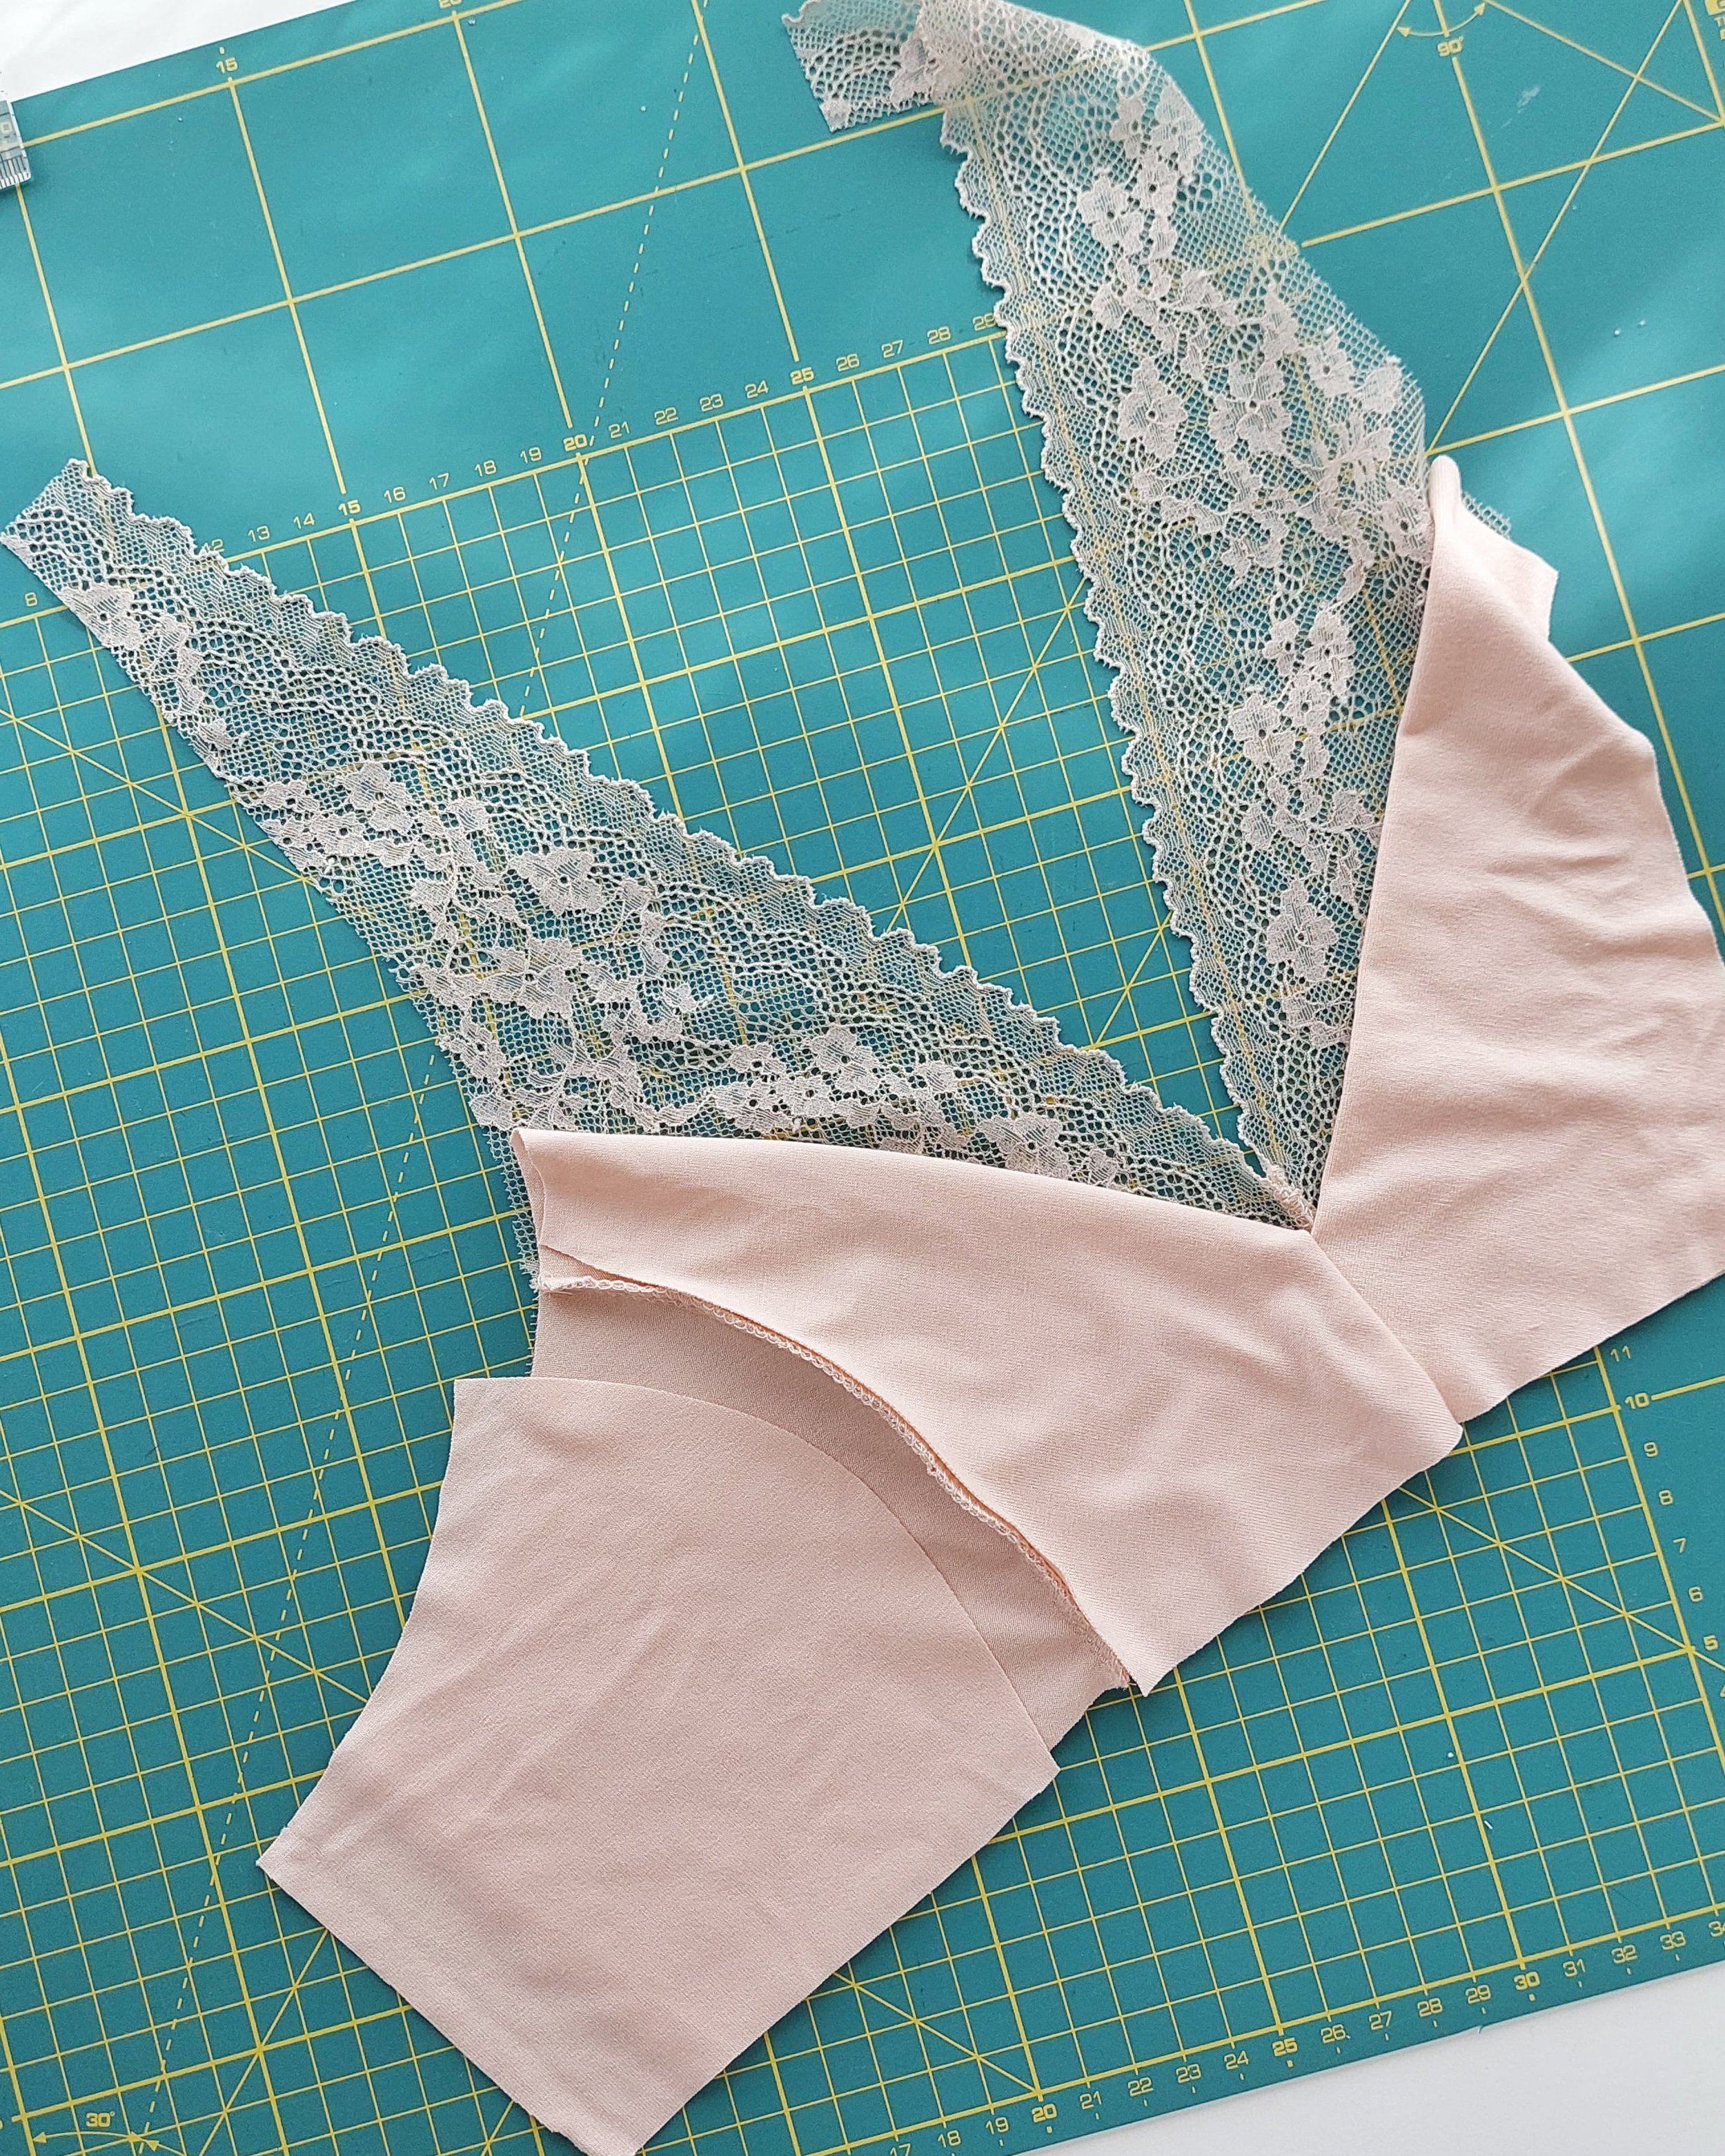
Sew the center of the inner cup pieces (A) together as usual. Arrange the pieces in order so you can see which outer piece goes with each lining piece. Place the two lining pieces of the outer cup (B) with the wrong sides together, and on top of them, place the lace with the right side up. Then, in the center, place the lining piece that you already joined (D) with the right side up, and on top of it, place the joined lace inner cup pieces (A) with the right side up. And next to it, place the other outer cup (B) just like the first one.
Cose el centro de las piezas de copa interior (A) en encaje como siempre. Coloca las piezas en orden para que tengas claro qué pieza exterior va con qué pieza de forro. Coloca las dos piezas de forro de la copa exterior (B) con los reveses juntos y encima de ellas el encaje con el derecho hacia arriba. Luego en el centro coloca la pieza de forro que tienes ya unida (D) con el derecho hacia arriba y encima de ella, las piezas unidas de la copa interior de encaje (A) con el derecho hacia arriba. Y al lado la otra copa exterior (B) igual que la primera.
What you’ll do is you’ll join the lining pieces together but you’ll also join this layer with the lace because that way the seam moves much less. You could also do it in a way that you join all the lace pieces together and the two layers of lining separately, then you would have to join all three layers with the elastics. But I prefer the option I'm showing you so that everything looks neater.
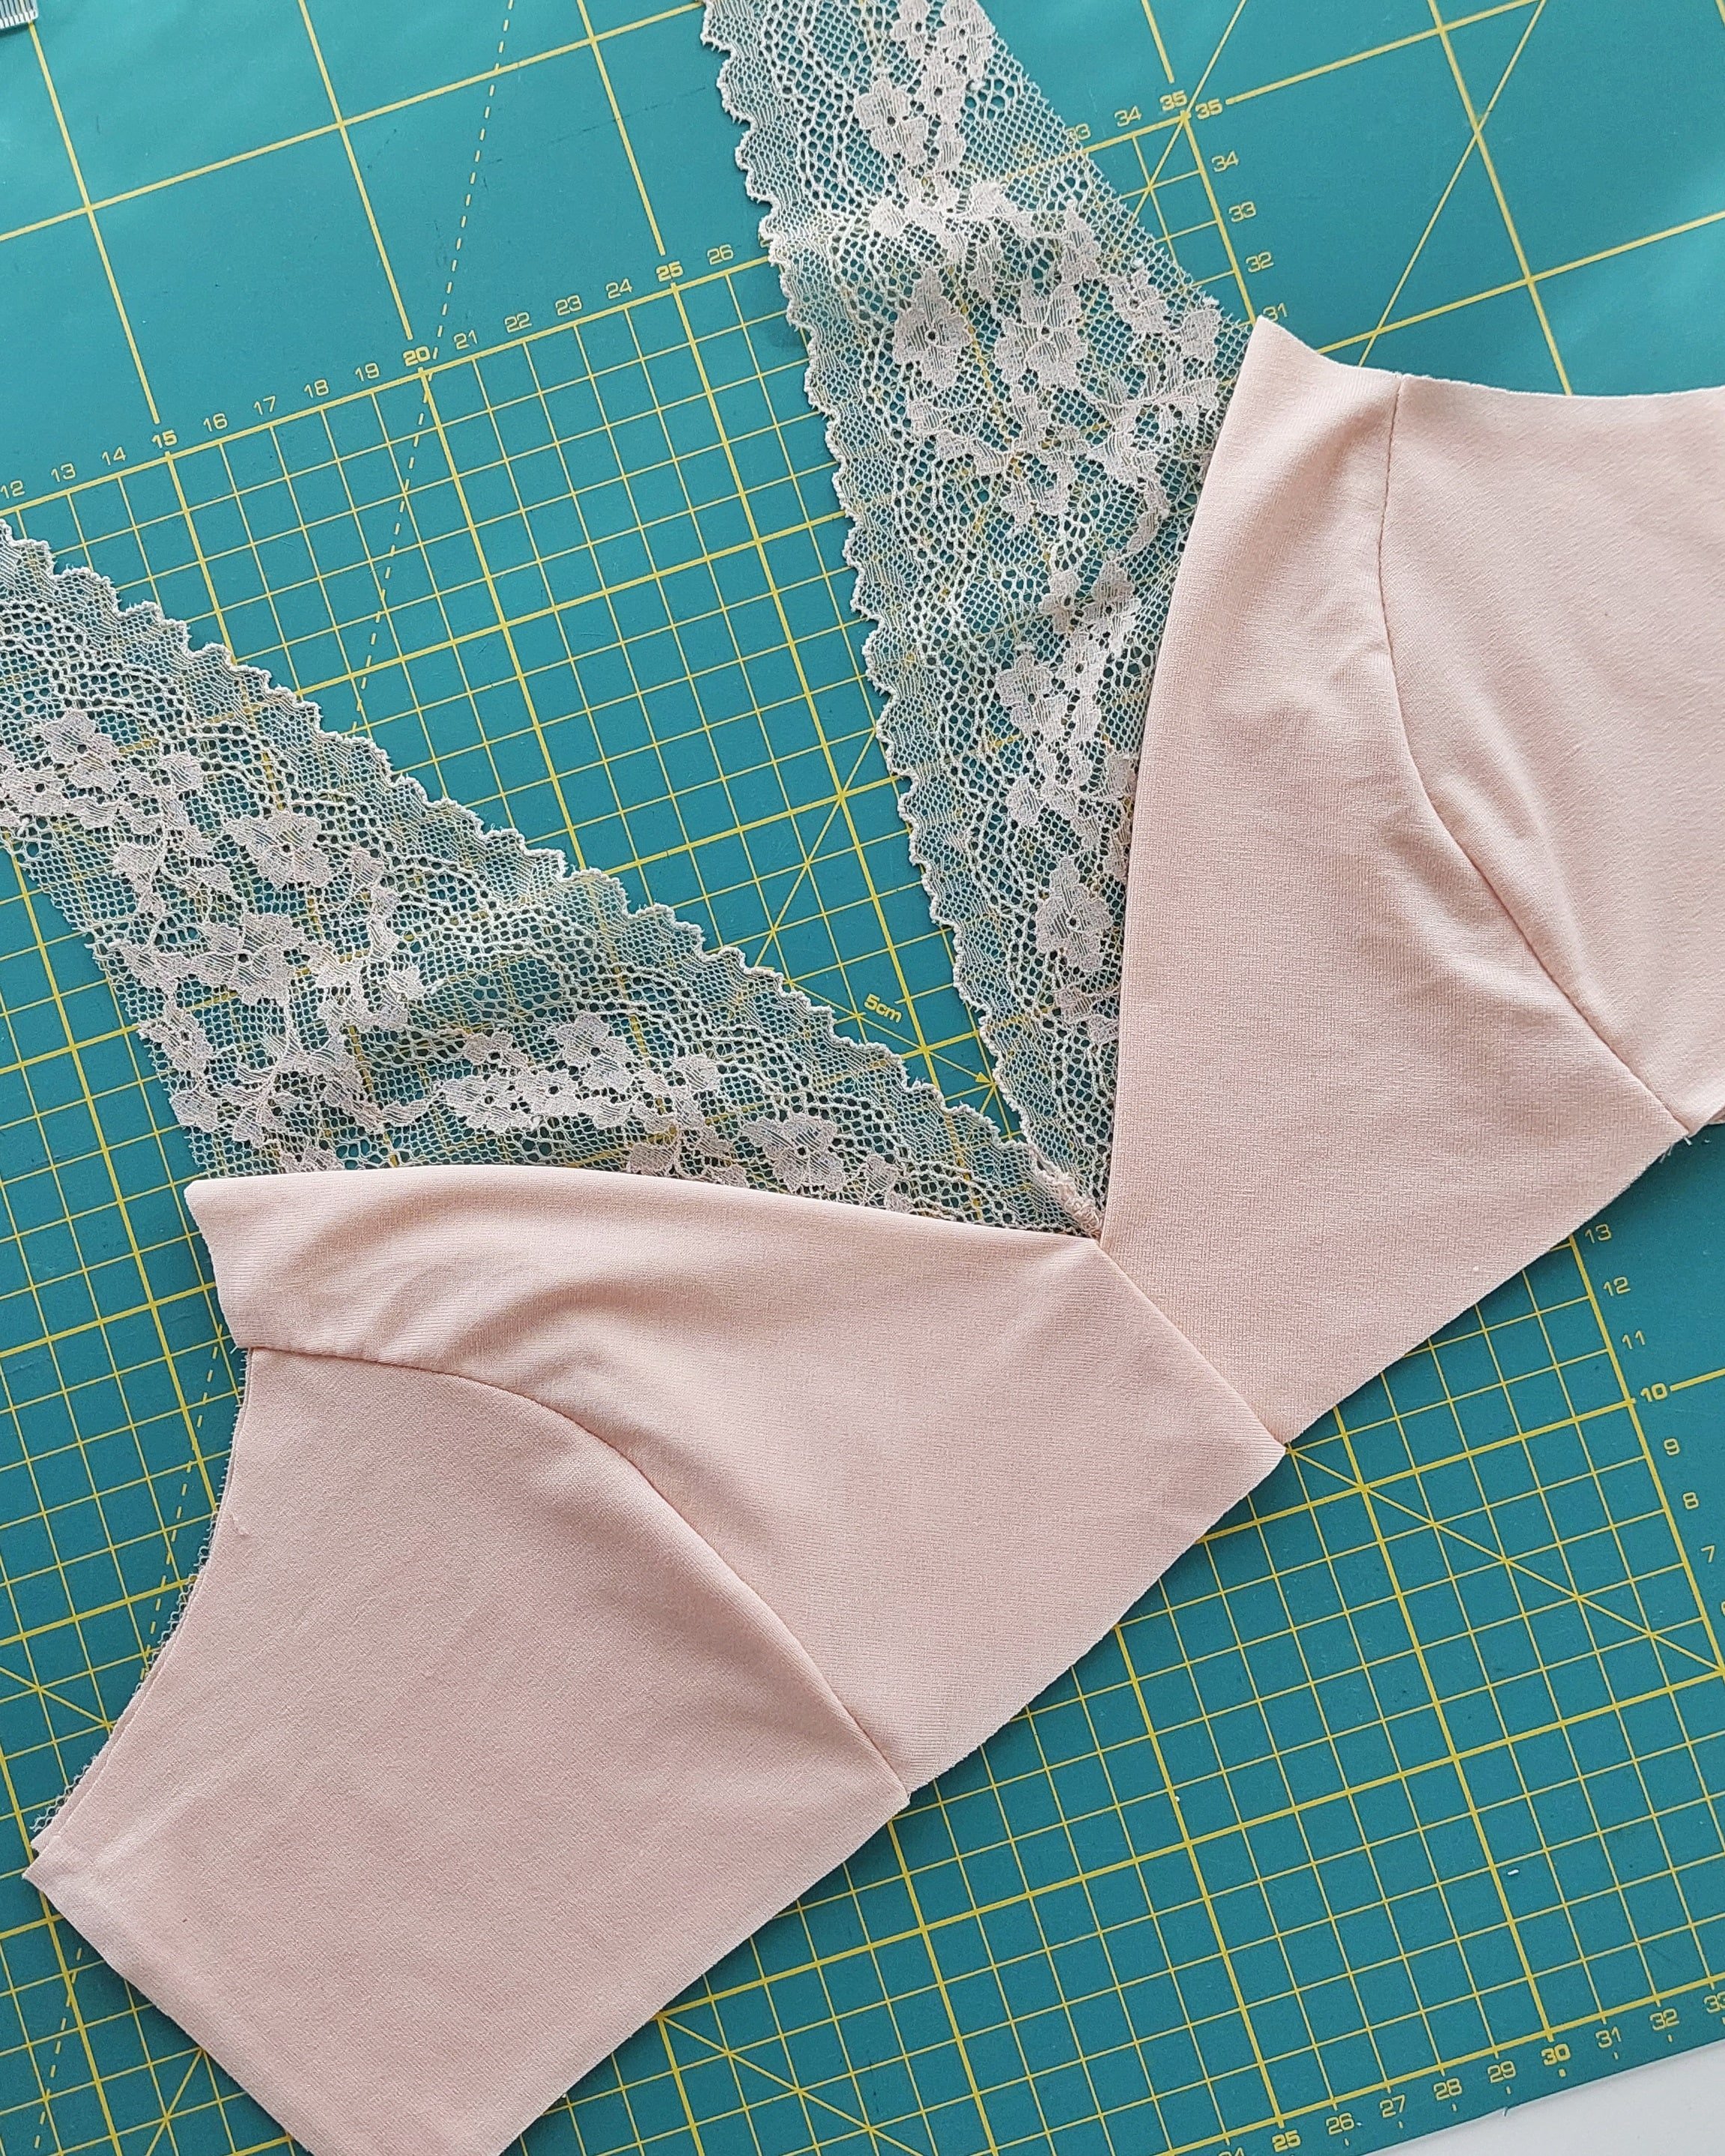
For that, the first thing you do is join the top layer of the two layers of lining and the lace at the cup seam. You already have all the pieces correctly placed on top of each other, so now lift one of the linings and the exterior of the outer cup piece (B), flip them over and place them on top of the inner cup (A). You have five layers, one on top of the other, starting from the bottom: layers 1 & 2 are the lining of the inner cup (D), layer 3 is the lace of the inner cup (A), layer 4 is the lace of the outer cup (B), and layer 5 is the lining of the outer cup (B).
Lo que hacemos es unir una capa del forro entre sí pero aprovechamos para unirlo ya con el encaje también porque así esa costura se mueve mucho menos. Podrías hacerlo también de manera que unes todo el encaje entre sí y las dos capas de forro entre sí por separado, luego ya tendrías que unir todas las capas con los elásticos. Pero me gusta más la opción que te enseño para que todo sea más limpio.
Para eso lo primero que hacemos es unir la capa superior de las dos capas de forro y el encaje en la curva de la copa. Ya tienes todas las piezas colocadas de forma correcta así que ahora levanta uno de los forros y el exterior de la pieza de copa exterior (B), voltéalos y colócalos encima de la copa interior (A). Tienes cinco capas, uno encima del otro, empezando desde abajo: las capas 1 & 2 son el forro de la copa interior (D), la capa 3 es el encaje de la copa interior (A), la capa 4 es encaje de la copa exterior (B) y la capa 5 es el forro de la copa exterior (B).
Pin all those layers and check if all the layers are well joined and sewn.
Once you turn them over and place them in the right position, you have the outer layer (lace and a lining layer) joined together and you need to join the other part of the lining, which will be the inner layer of the lining. Simply sew the other piece of lining from the outer cup (B) to the other side of the inner cup (D), right sides together.
Sujeta todas esas capas con alfileres para comprobar que todas las capas estén bien unidas y cose.
Una vez que las das la vuelta y las colocas bien en su sitio, tienes la capa exterior (encaje y una capa de forro) unidas entre sí y queda unir la otra parte del forro, el que queda hacia la piel. Simplemente cose la otra pieza de forro de la copa exterior (B) con el otro lado de la copa interior (D), derecho con derecho.
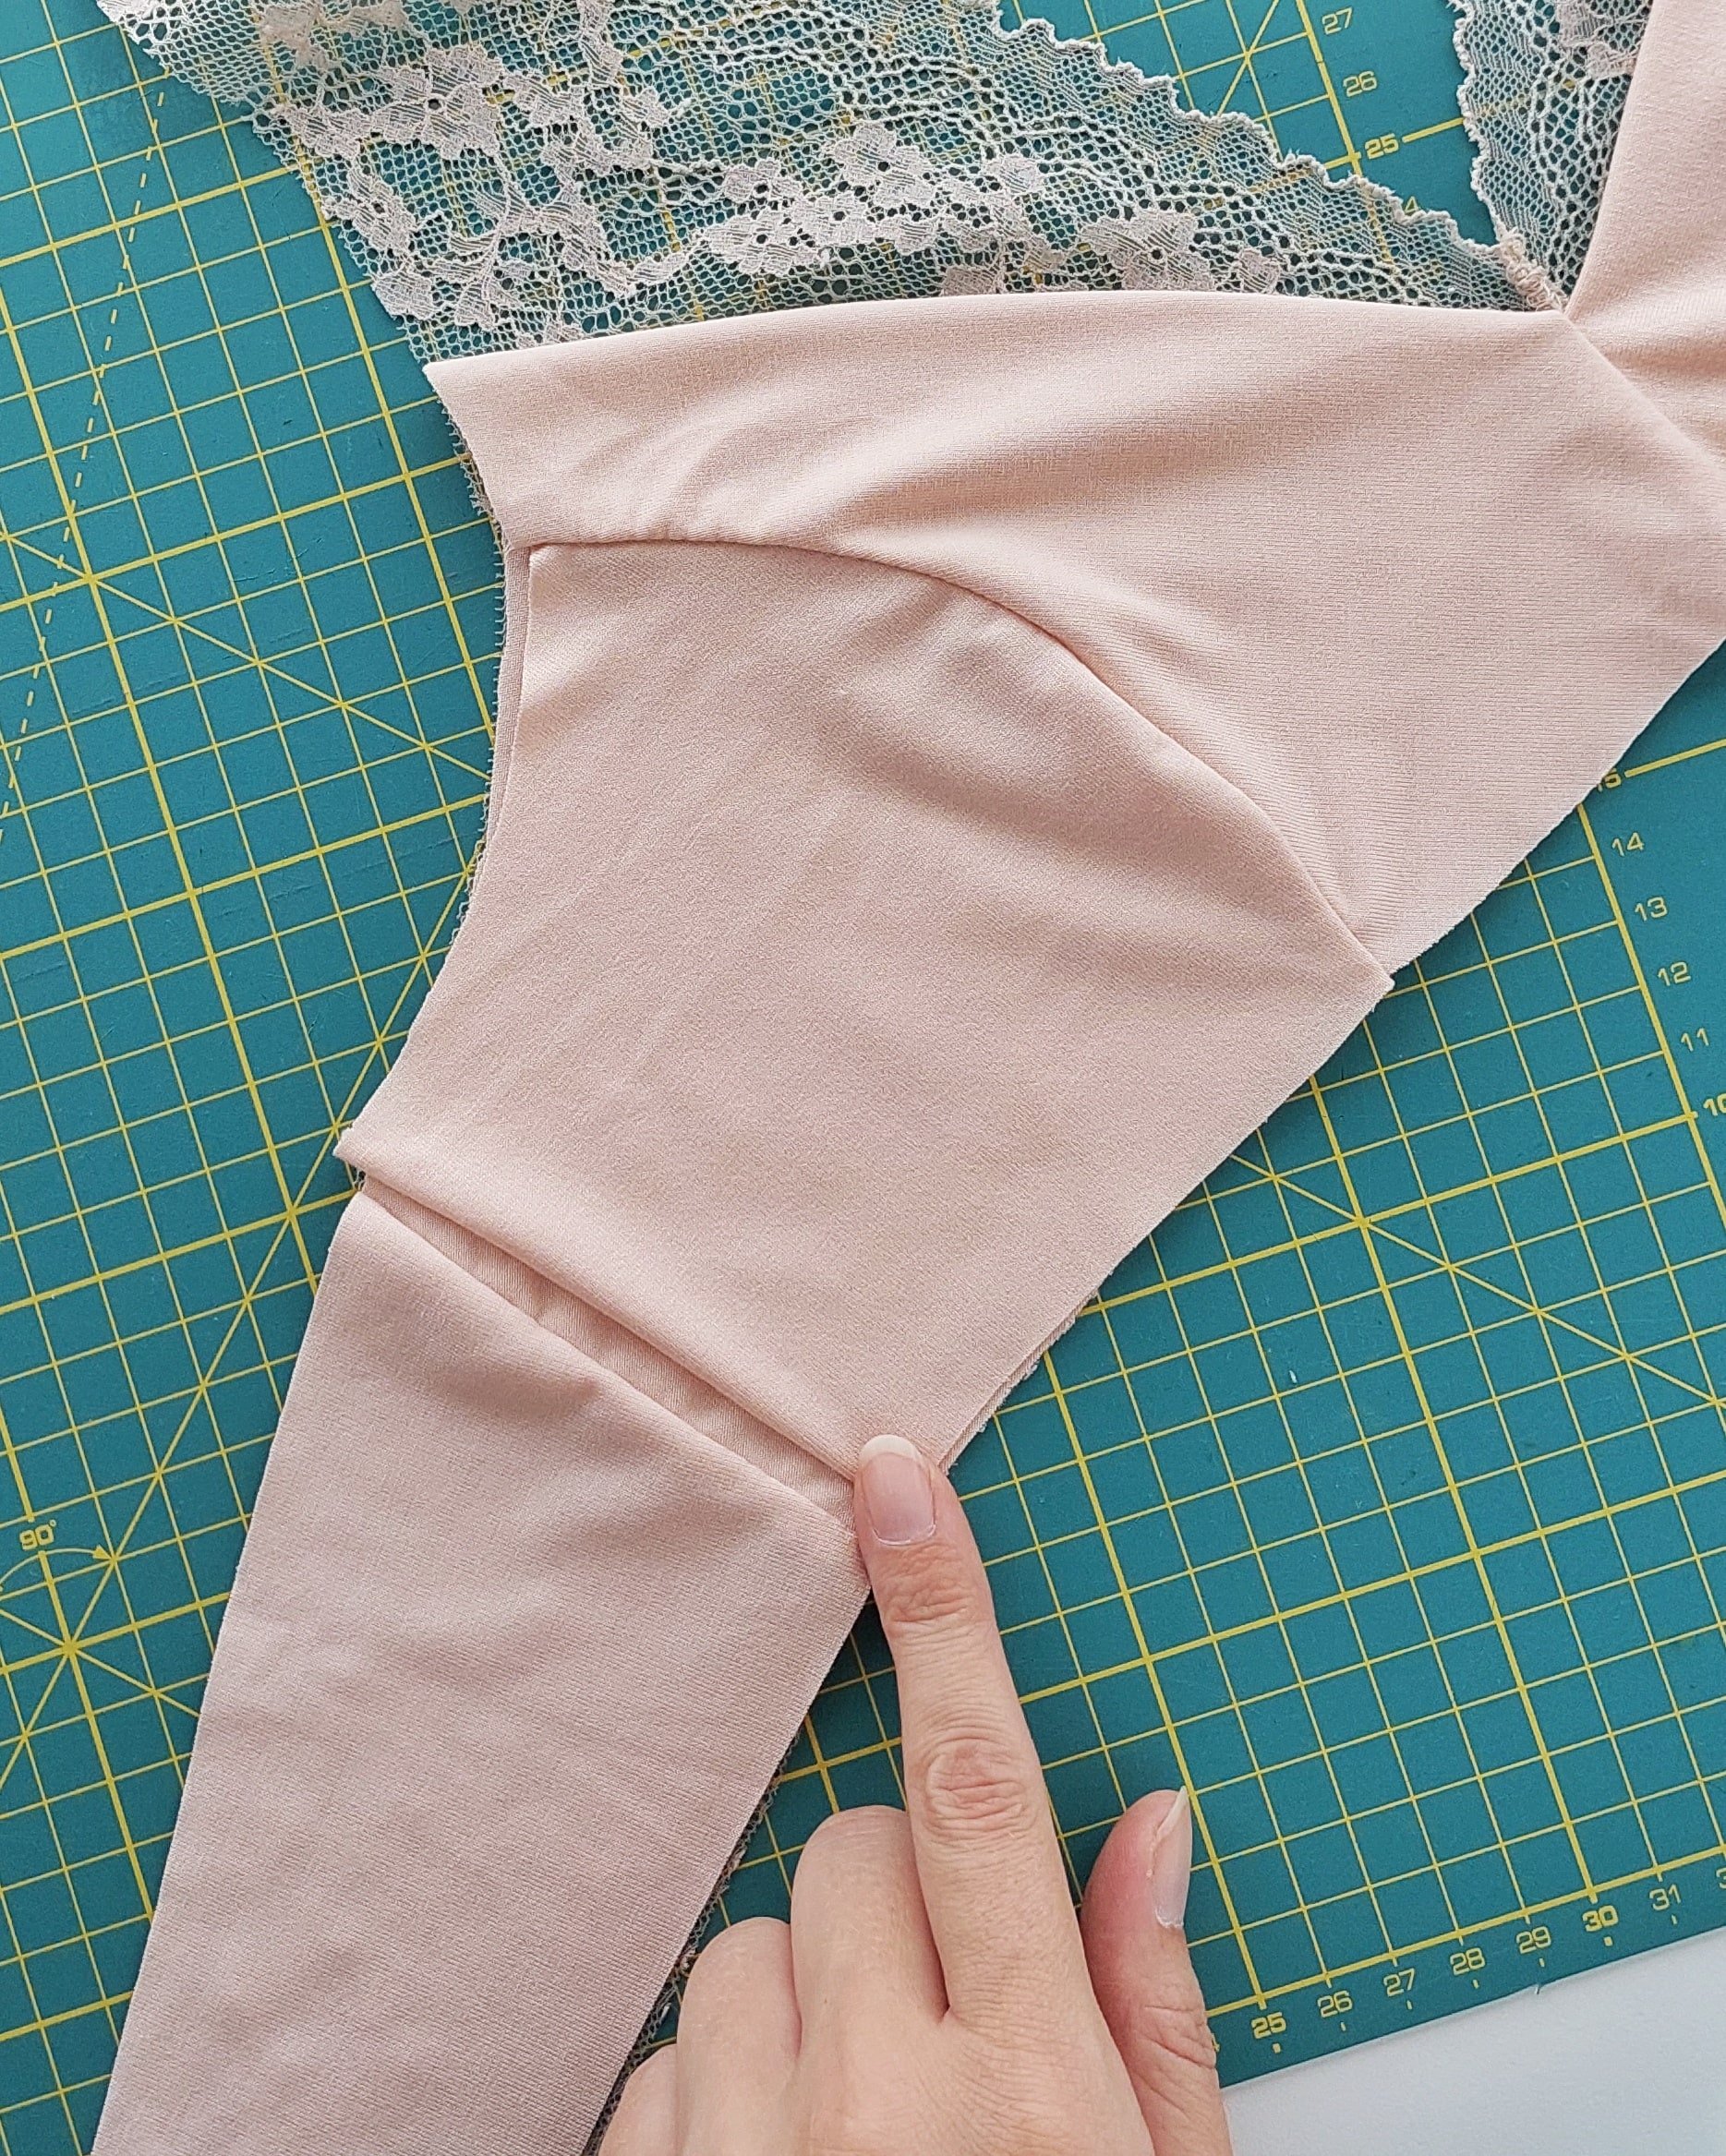
The pocket for the cup needs to have an opening. There are garments in stores that have an opening in the armhole area, for example (as a round shape), but in this pattern I think it would be neater and easier to leave the opening in the side seam where the cup joins the band. So for now, leave the lining layer that is loose(B) as it is and attach the other pieces to the band just like in the instructions. That loose layer will be attached to the rest of the bralette when you sew on the elastics. You can fold that edge down by 6 mm and stitch it down to finish that edge, but honestly, this time I didn't even do it. I folded that seam allowance (which is the one that remains unused in the side seam) inward and pinned it at the hem and armhole until joining those pieces with elastic, sewing that hem was not necessary.
What I didn't do was secure the lining with a zig-zag stitch on the cup like in the original instructions, you could do it if you see that it moves a lot, in my case it wasn't necessary so I skipped that step.
l bolsillo para insertar la copa tiene que tener una abertura. Hay modelos en las tiendas que lo llevan una abertura en la sisa por ejemplo (en forma de lágrima), pero en este modelo lo veo más limpio y fácil, dejar la abertura en la costura lateral donde la copa se une con la banda. Así que por el momento deja la capa de forro que tienes arriba (B) suelta y une las demás piezas con la banda igual que en las instrucciones. Esa capa suelta se va a enganchar con el resto del bralette cuando coses los elásticos. Puedes hacer una costura para hacer un dobladillo de 6 mm para rematar ese borde pero la verdad es que esta vez no lo hice ni siquiera. Doblé ese margen (que es el margen que nos sobra ya que no se ha usado en la costura lateral) hacia dentro y lo sujeté con alfileres en el bajo y en la sisa hasta unir esas piezas con elástico, coser el dobladillo no fue necesario.
Lo que no hice fue sujetar el forro con un zig-zag en la copa como en las instrucciones originales, se podría hacer si ves que se mueve mucho, en mi caso no ha sido necesario así que he obviado ese paso.
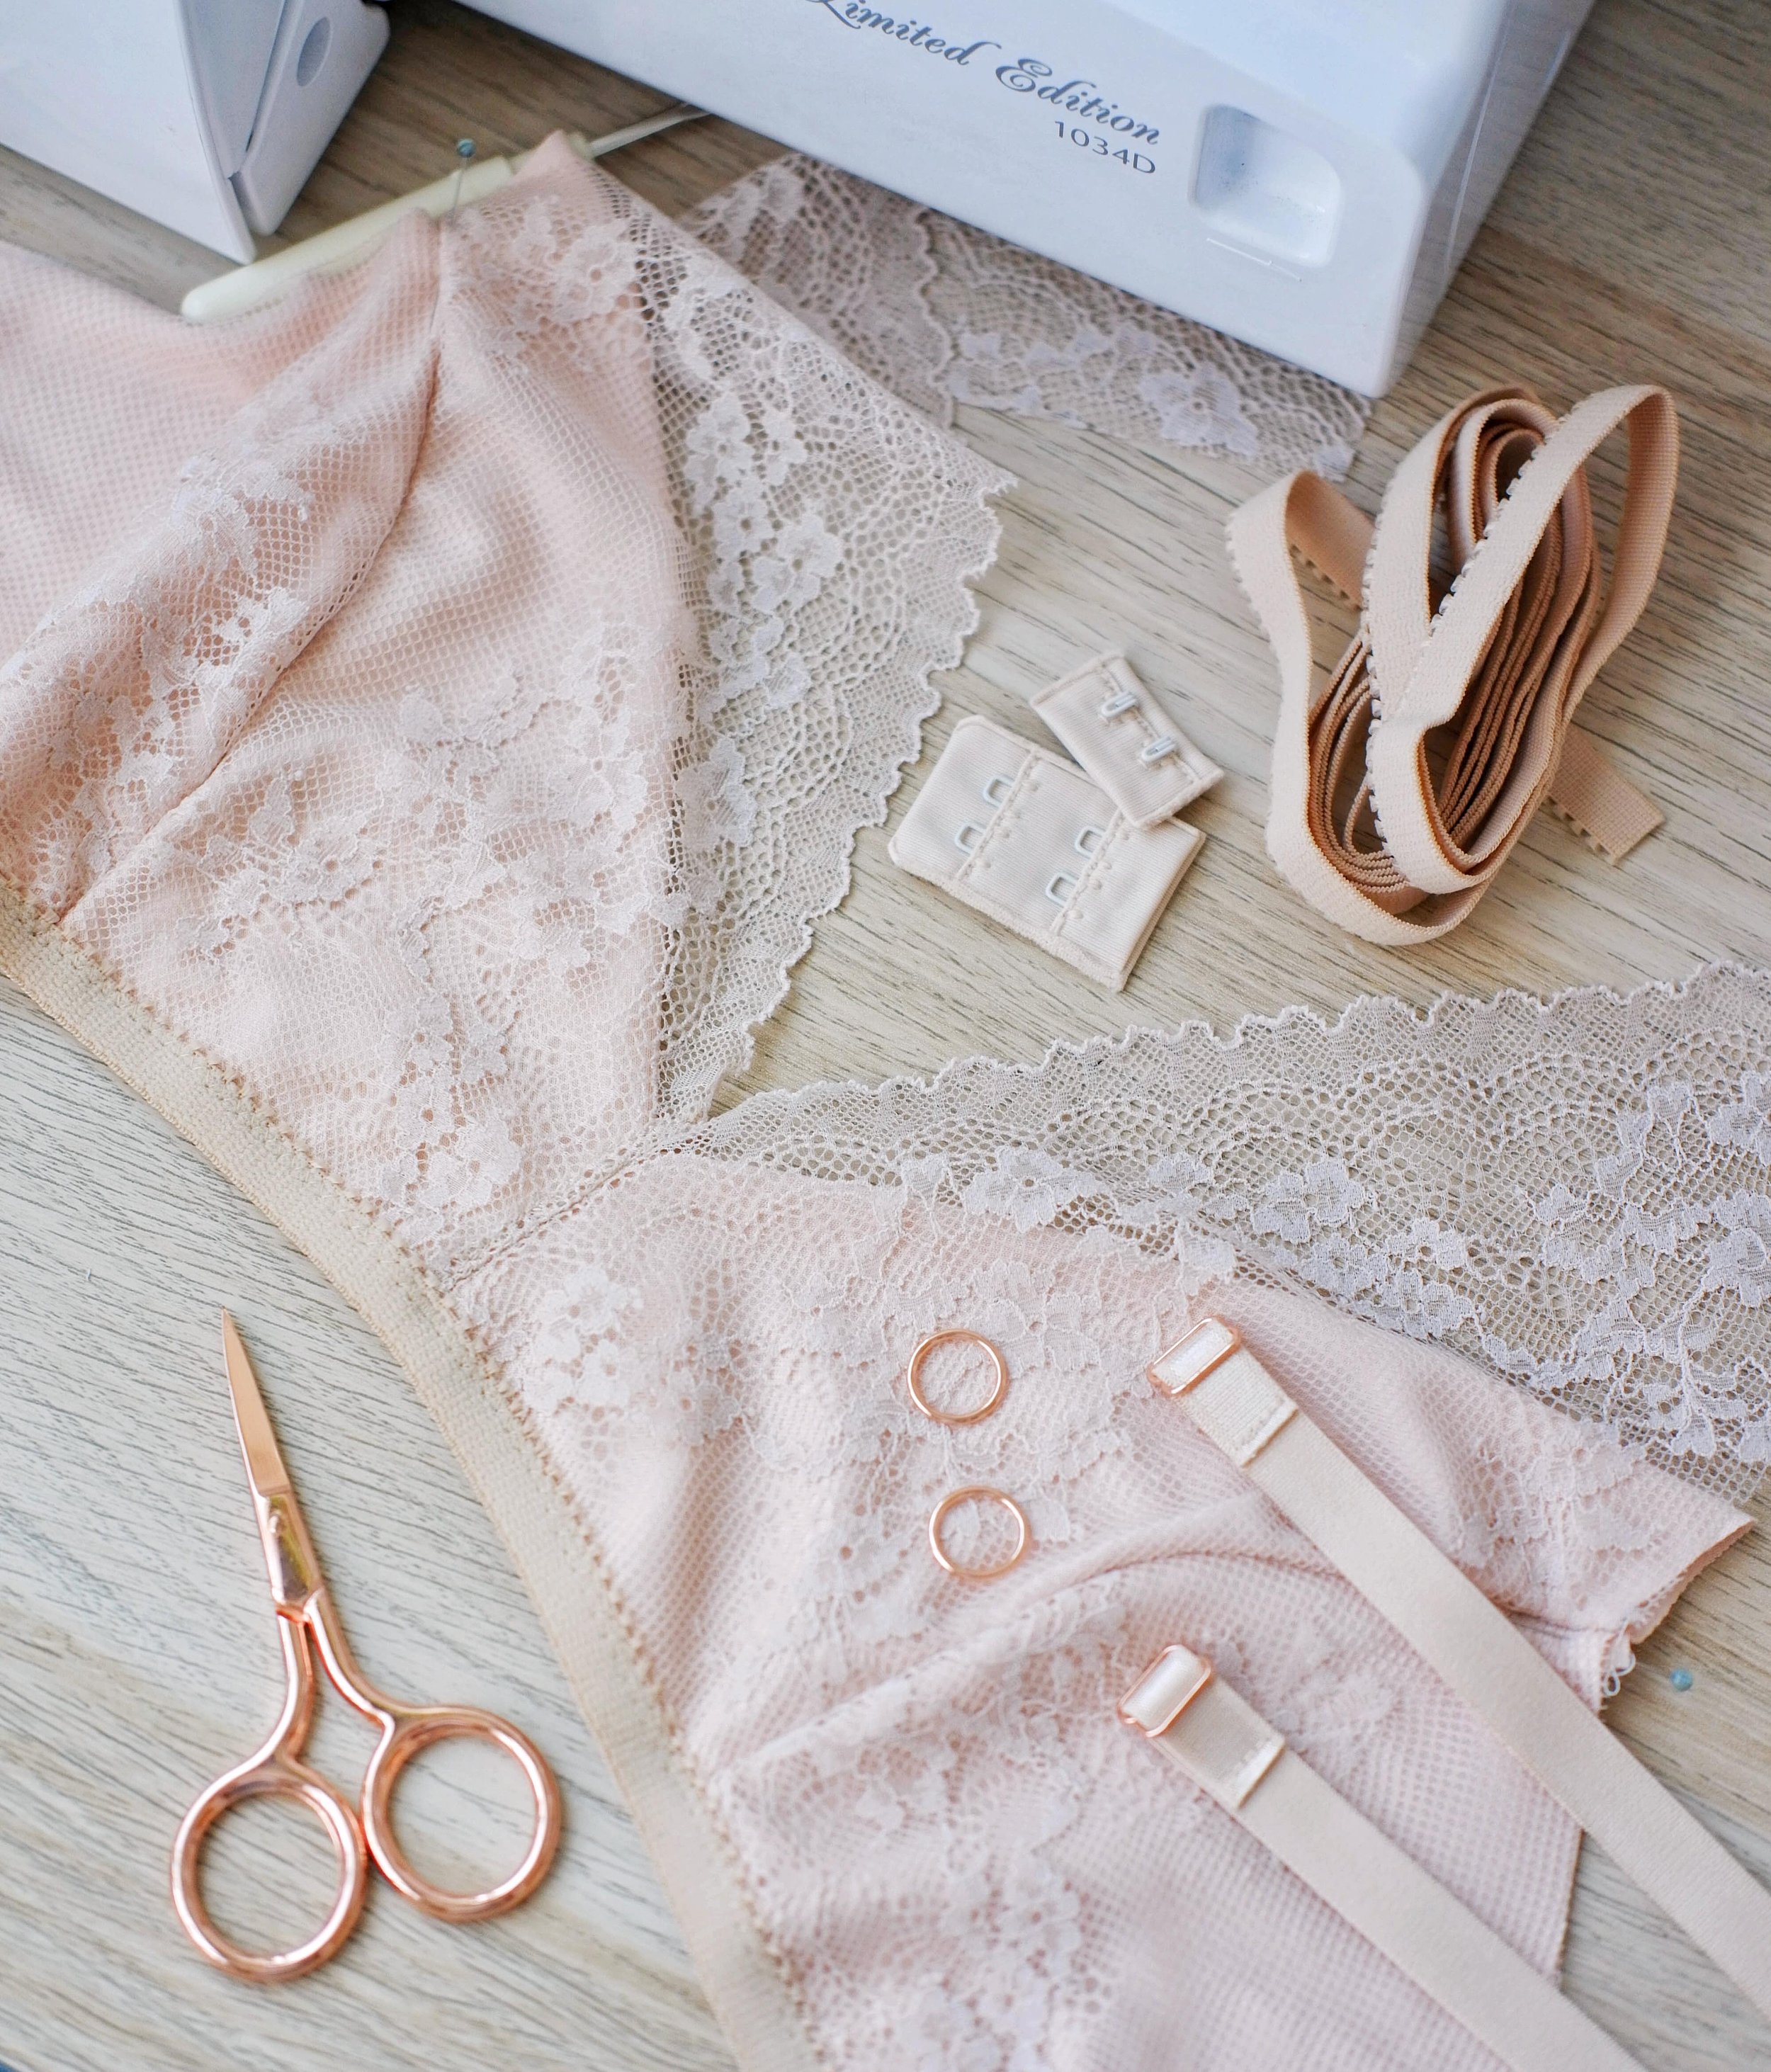
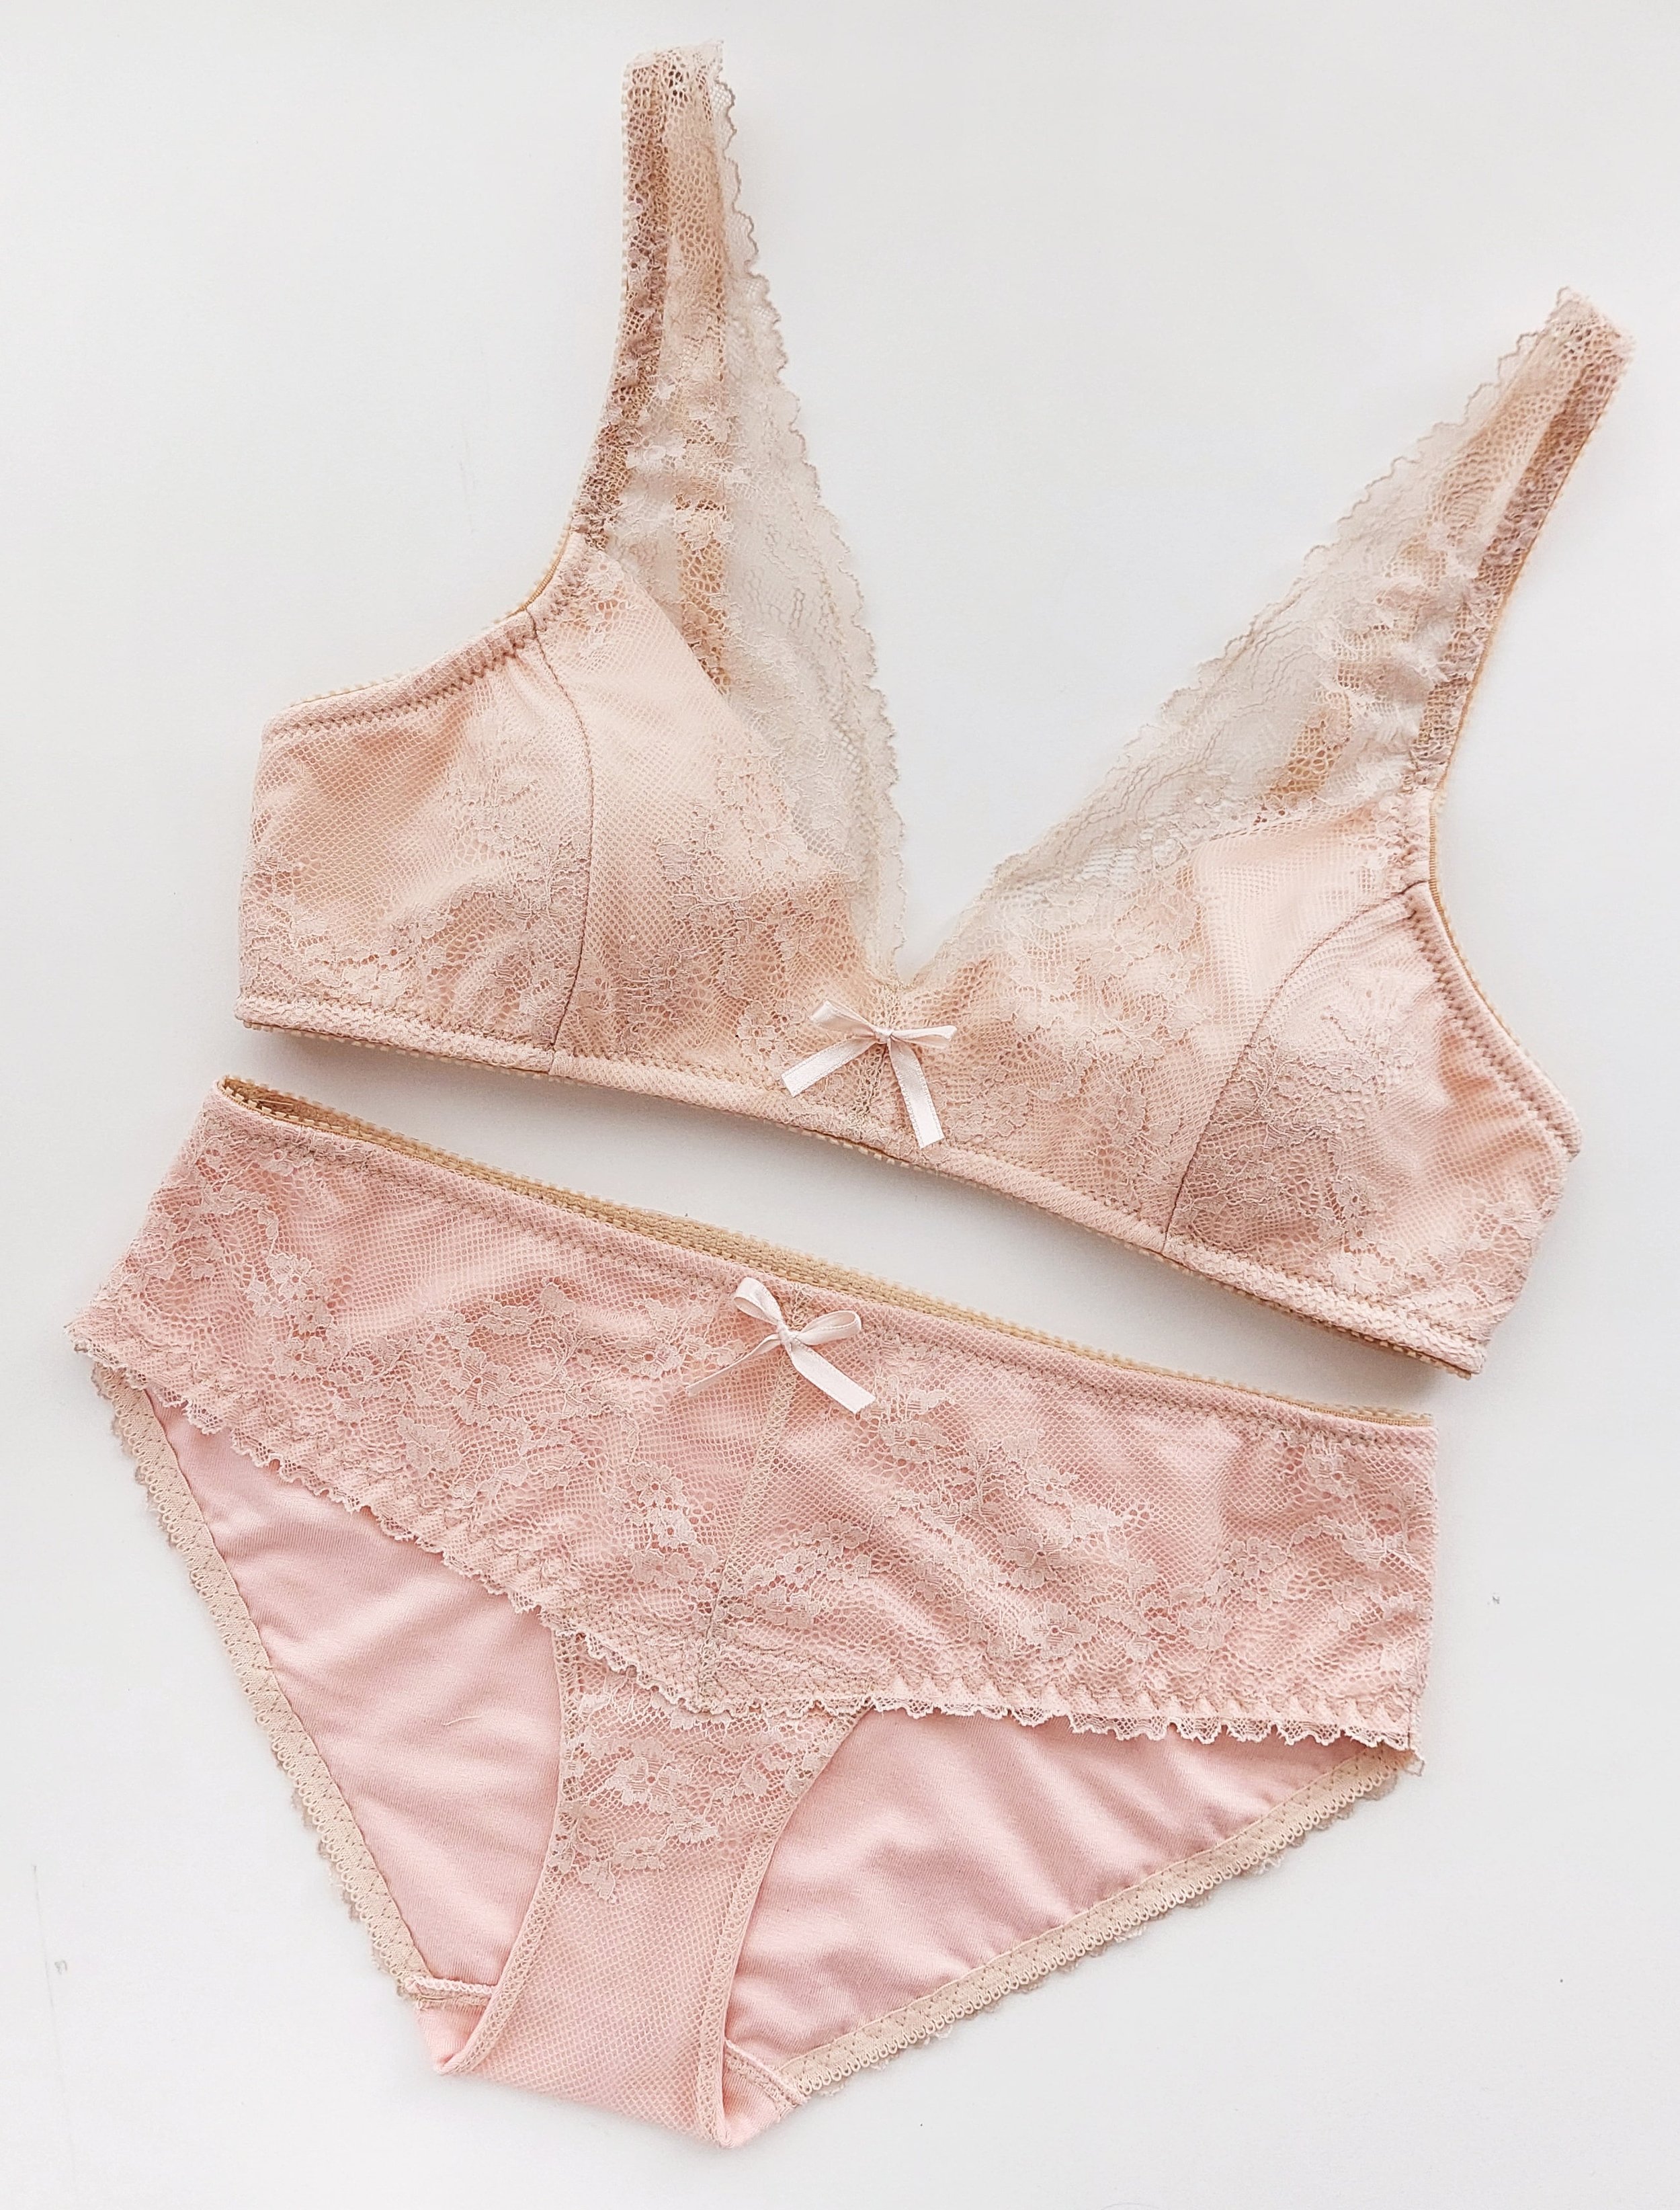
And that's it, insert the cups and wear that new bralette! The pattern is the Hanna bralette and I used a beige lace that is currently not available at the store, but you have these other kits if you want to give them a try.
I also made a quick pair of matching Stella undies and underlined the lace version with the same Tencel modal jersey knit. I’ll write about that modification in the next post.
Remember that you also have the complete sew-along for the Hanna bralette with step by step photos on the blog, as well as several other tutorials for modifications. For matching panties, you can get ideas by checking out the e-book about undies I’ve made (if you sign up for my newsletter, it will be sent to your inbox).
And if you want to learn directly with me in class so that I can help you with everything, you can find my course dates here!
Y ya está, metes las copas y a llevar ese nuevo bralette! El patrón es el Hanna bralette y yo he usado un encaje beige que ahora mismo no está en la tienda peor tienes estos otros kits por si lo quieres probar.
También cosí un par de braguitas Stella para para completar el conjunto. Usé la versión de encaje forrándolo entero con la misma tela de punto Tencel modal. Escribiré sobre esta modificación en la siguiente entrada.
Recuérdate que tienes aquí en el blog también todo el coseconmigo de bralette Hanna paso a paso y además muchos tutoriales de modificaciones. Para las bragas en conjunto puedes tener ideas si le echas un ojo al libro electrónico sobre ropa interior (apuntándote a mi newsletter te llega a tu bandeja de entrada).
Y si quieres aprender directamente conmigo en clase para que te pueda asesorar en todo, tienes mis fechas de cursos aquí!
Discover my ebook about sewing lingerie
10 step by step illustrated sewing tutorials that will teach you new techniques and inspire you to get creating

