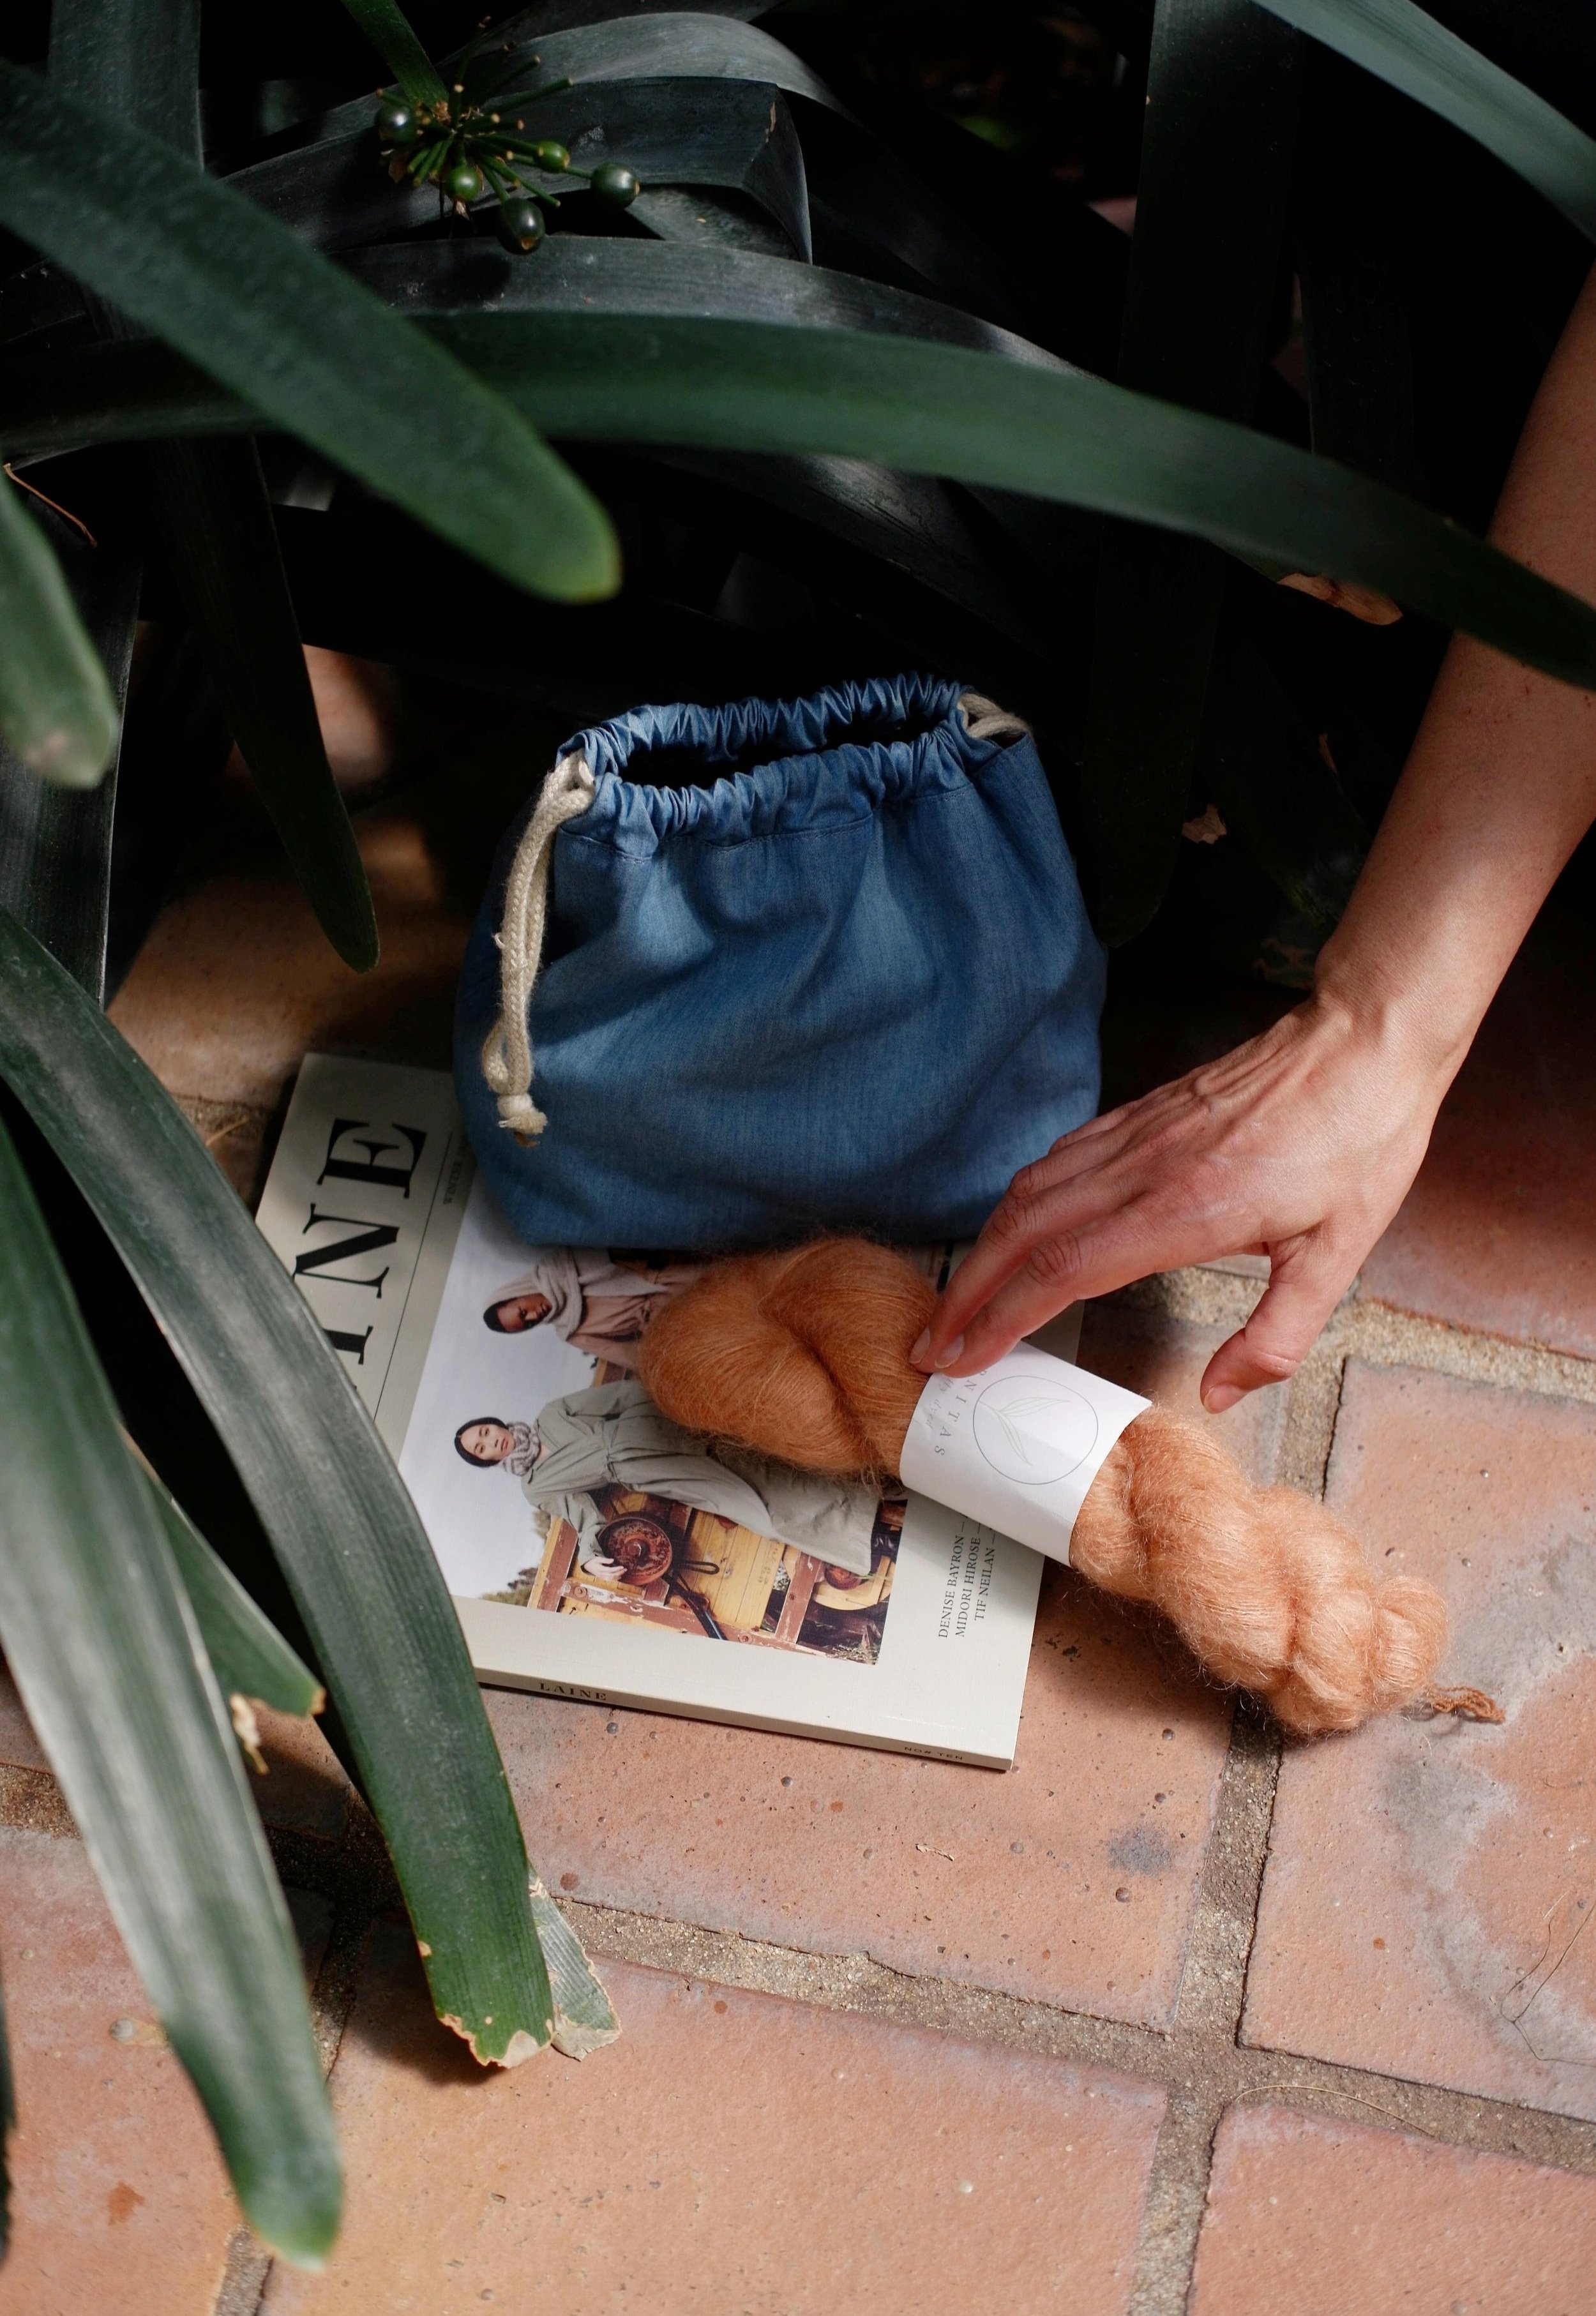
Say hello to the latest pattern we’ve published under Laola Patterns, here goes the Tote Bag. This pattern makes a super versatile tote bag with all the nice details you wish a simple tote would include. The pattern includes two different versions and I’ll walk you through the different options on both of them.
Te presento el último patrón que hemos publicado en Laola Patterns: aquí está el Tote Bag. Este patrón es perfecto para poder hacer un bolso tipo tote súper versátil con todos esos detalles que siempre quisiste que tuviera un tote sencillo. El patrón incluye dos versiones diferentes y te voy a contar las distintas opciones de ambas.

I originally published this design as the Daily Tote under Studio Costura back in 2018. I had already been using that pattern so much for my personal makes and in classes. Then in 2020 when the pandemic and the lockdown hit, I actually offered the pattern for free (there was a small fee of 20 cents because there had to be a fee for the Etsy shop listing basically). It was the perfect project to use up the fabrics you already had at home without needing to buy any special notions and as the situation was so complicated, it felt like a good project to keep our hands busy and our minds occupied with making.
It’s crazy to think it has already been five whole years since that happened! I think I had the pattern available in that format for at least six months until I took it off from the shop to redo the instructions and to edit it under Laola Patterns brand (Alex and I decided to start Laola during the pandemic and we published our first pattern together in 2021). Fast forward five years…here we are.
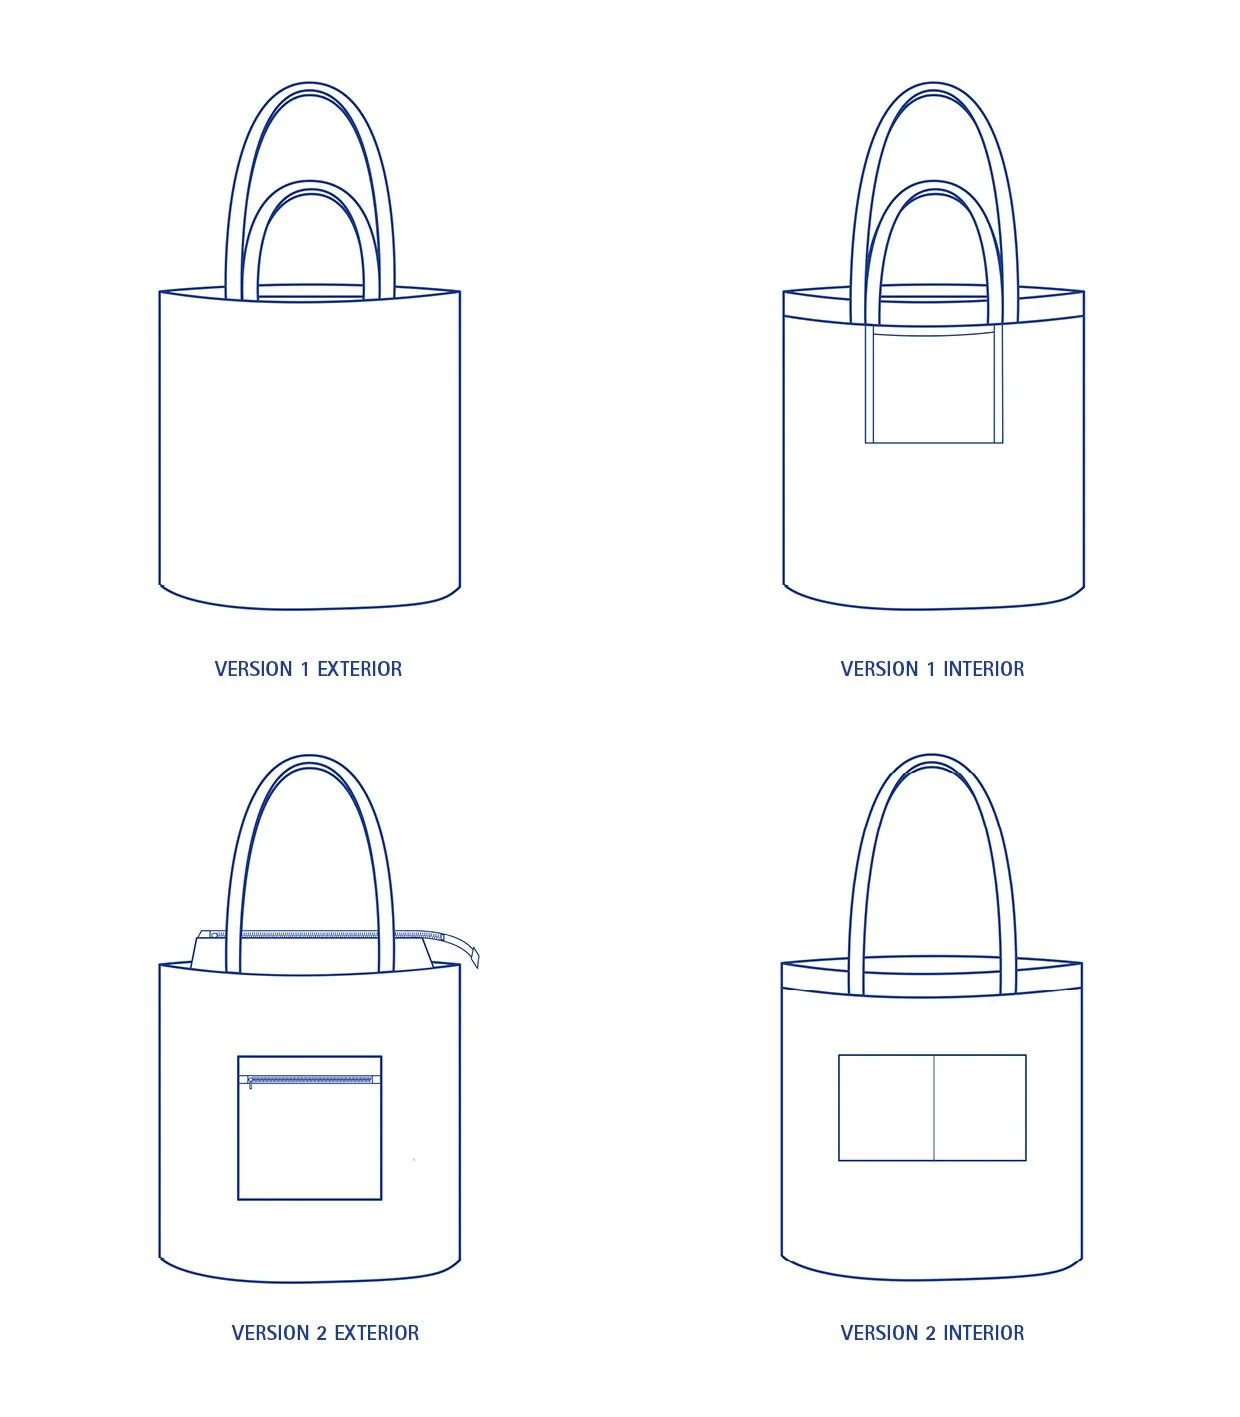
So let me tell you more about this pattern and the reason why I’ve added the specific features to both versions. The cool thing about this pattern is that you get two patterns that look very similar but both of them actually have their very own style and functionality.
Originalmente publiqué este diseño como el Daily Tote con el nombre de Studio Costura en 2018. Yo ya estaba usando muchísimo ese patrón para mis proyectos personales y también en clases. Luego, en 2020, cuando llegó la pandemia y el confinamiento, ofrecí el patrón gratis (había un pequeño precio de 20 céntimos porque en Etsy era obligatorio poner un precio). Era el proyecto perfecto para aprovechar las telas que ya tenías en casa sin necesidad de comprar materiales especiales, y como la situación era tan complicada, estuvo bien tener algo con lo que mantener las manos ocupadas y la mente en algo que no sean las noticias todo el rato.
Es una locura pensar que ya han pasado cinco años desde entonces. Creo que el patrón estuvo disponible en ese formato por lo menos seis meses, hasta que lo quité de la tienda para rehacer las instrucciones y editarlo bajo el nombre de Laola Patterns (Alex y yo decidimos crear Laola durante la pandemia y publicamos nuestro primer patrón juntas en 2021). Cinco años después… aquí estamos.
Así que voy a contarte más sobre este patrón y por qué añadí ciertas características a ambas versiones. Lo genial de este patrón es que tienes dos modelos que se parecen mucho, pero que en realidad tienen estilos y funcionalidades bastante distintos.


Version 1 is a simple tote that is the perfect companion for carrying stuff around (I tend to always find a way to need to pick up stuff on the go, haha). I use my totes made with version 1 mainly as an extra bag inside my other bag so I can pull them up like a substitute for a paper or a plastic bag. It’s perfect for carrying your groceries, extra stuff for work or just for errands.
I’ve made the version 1 in many different fabrics and I’d say that the weight of the fabric defines a lot the general style of the bag. If you decide to use a finer fabric like a patchwork cotton for example (this is what I’ve used for the pink and beige gingham versions), you can easily fold the bag away and it won’t be bulky at all. If you use a sturdier fabric like canvas (I used mid-weight canvas for the yellow sample), it makes a simple tote with a bit of extra shape. I’ve used these bags made with a sturdier fabric more like an actual tote bag, not as an extra bag, as you already have a good shape there.
Version one is finished with french seams so it has a super neat inside and you can decide if you use both the long and the short handles or only one length. For me it has been very convenient to have both lengths on this version as then it’s easier to carry around depending on the weight you’re going to have inside the bag.
There’s a hanging pocket for your small stuff like a wallet or a phone and you can use that same pocket to actually fold the bag inside it and to keep it in place. I’m relatively bad at folding mine to be honest so I personally don’t use it a lot, but you can of course! You can also add a little strap for the keys that is practical so you won’t lose these in the bottom of your tote.
I usually don’t add a closure for the totes I make with finer fabrics as I usually don’t need one for these. I do add something for the canvas ones as these come in handy to avoid stuff falling out when I’m using these bags as my regular bag. My favorite is the magnetic closure as it’s super simple to use. A plastic one would be a good option for finer fabrics too!
La versión 1 es un tote sencillo que es el compañero perfecto para llevar cosas de punto A al punto B (no sé cómo lo hago, pero cada vez que salgo de casa, acumulo cosas y necesito guardarlas, jaja). Yo uso mis bolsos hechos con la versión 1 principalmente como una bolsa extra dentro de mi otro bolso, para poder sacarla como si fuera una bolsa de papel o de plástico. Es perfecta para llevar la compra, cosas extra para el trabajo o para hacer recados.
He cosido la versión 1 en muchas telas distintas, y diría que el peso de la tela define mucho el estilo general del bolso. Si usas una tela fina como algodón patchwork (es lo que usé para las versiones de vichy rosa y beige), puedes doblar el bolso fácilmente y está muy bien para llevar cuando sales. Si usas una tela más gruesa como loneta (usé loneta para el bolso amarillo), tienes un tote simple pero con más estructura. Estoy usando las versiones con loneta como bolsos “principales”, no como bolsa extra, ya que tienen buena forma por sí solos.
La versión 1 está acabada con costuras francesas, así que el interior queda muy bonito y puedes elegir si quieres usar las asas largas y cortas a la vez o solo un largo que te guste. A mí me gusta tener los dos largos de asas, ya que es más fácil de llevar la bolsa según el peso que tengas dentro de ella.
Tiene un bolsillo colgante para cosas pequeñas como la cartera o el móvil, y puedes usar ese mismo bolsillo para doblar el bolso dentro y mantenerlo doblado y guardado. La verdad es que a mí se me da mal doblarlo, así que no lo uso mucho, jaja, pero tú sí puedes hacerlo! También puedes añadir una cinta para las llaves, que es muy práctica para que no se pierdan en el fondo del tote.
Yo normalmente no añado cierre en los totes hechos con telas finas, ya que no lo necesito. Pero sí que le pongo algo a los de loneta, porque es útil para evitar que se caigan las cosas cuando los uso como bolso principal. Mi favorito es el cierre de imán porque es muy fácil de usar. Uno de plástico también sería una buena opción para las telas más ligeras.


Version 2 is the real workhorse of a tote bag. On the outside it looks like a regular simple tote bag…but be aware, there are so many cool details on the inside. The most important is of course the zipper closure. This is super handy both for keeping your stuff in the bag and also for more security if you use public transport or stroll around the city. The zipper is sewn in a way that it won’t reduce the capacity of the bag and you can have it wide open to have good access to all your belongings. I am someone who usually carries a full bag so it was super important for me to have a very versatile bag.
There are two pockets. The one on the outside has a zipper, it’s good to keep small stuff you need in hand. The other pocket has compartments and it’s on the inside. This is where I usually put my keys, the wallet and other small stuff like this. You can of course change the order of pockets, use the zippered one for the inside like I did for this dark green version or you can omit them too. I have a tutorial for this other pocket option that you could easily add in order to have even more storage space.
La versión 2 es la verdadera estrella de los tote bags. Por fuera parece un tote normal y sencillo… pero ojo, hay un montón de detalles muy guays por dentro. Lo más importante, por supuesto, es el cierre con cremallera. Esto es súper útil para mantener tus cosas dentro del bolso y que no se caigan, y también por seguridad si usas transporte público o vas por la ciudad. La cremallera está cosida de forma que no reduce la capacidad del bolso y puedes abrirlo bien para tener acceso fácil a tus cosas. Yo soy de las que siempre lleva el bolso lleno, así que era súper importante que fuera muy versátil.
La versión 2 tiene dos bolsillos. Uno en el exterior con cremallera, perfecto para tener a mano las cosas pequeñas. El otro está en el interior y tiene compartimentos. Ahí es donde suelo guardar las llaves, la cartera y otras cositas pequeñas. Por supuesto, puedes cambiar el orden de los bolsillos, poner el de la cremallera dentro como hice con la versión verde oscuro, o incluso omitirlos. Tengo un tutorial para esta otra opción de bolsillo exterior que podrías añadir fácilmente para tener aún más espacio de almacenamiento.


Version 2 is fully lined so you have again a very neat inside and the combination of both the exterior and the interior fabrics gives a sturdier finish. I love to use canvas fabrics for totes like these and you could combine a heavier outer fabric with a finer cotton lining but you can of course try out different solutions. One of my favorite bags is the black and white gingham one I made using a rather fine corduroy fabric for the exterior. To make it have more shape I actually used this slightly resinated fabric (here in Spain they sell these for tablecloths for example) and the result is more body and a waterproof finish for the inside. I actually did have my water bottle a bit open the other day and it was really nice to just wipe off the water as the fabric didn’t let it pass to the other side.
La versión 2 está completamente forrada, así que de nuevo el interior queda muy limpio y la combinación de las telas exterior e interior le da una estructura más firme. Me encanta usar lonetas para bolsos como estos, y puedes combinar una tela exterior más gruesa con un forro de algodón más fino, aunque puedes probar diferentes combinaciones. Uno de mis bolsos favoritos es uno de cuadros vichy que hice con una tela de pana bastante fina para el exterior. Para darle más forma usé una tela ligeramente resinada (aquí en España se vende esa tela como manteles, es como una cosa entre el hule y la tela) y el resultado fue un bolso con más cuerpo y un acabado impermeable por dentro. De hecho, el otro día se me abrió un poco la botella de agua y fue muy bien poder secarlo fácilmente porque la tela no dejó pasar el agua.

So that’s a little recap of different functionalities for the bag, I really hope you like it as much as I do. I’ve sewn so many of these for gifts during the years and they make such a cute present for honestly anyone in your life (because everyone needs a nice tote with pockets). I’ll post some new tutorials about this pattern soon, so watch out this space for more inspiration. In the meantime here’s an older post about tote bag inspiration and this tutorial about adding an extra pocket for this pattern.
If you haven’t tried any patterns from Laola Patterns yet, I’d encourage you to sign up for our newsletter so you can get the free Mini Pouch pattern and start sewing!
Así que ese es un pequeño resumen de las funcionalidades del bolso. Espero de verdad que te guste tanto como a mí! He cosido muchísimos de estos como regalo a lo largo de los años y son un detalle precioso para cualquier persona (porque todo el mundo necesita un buen tote con bolsillos!). En breve voy a subir nuevos tutoriales sobre este patrón, así que estate atenta al blog para más inspiración. Mientras tanto, aquí tienes una entrada del blog sobre inspiración para tote bags y un tutorial sobre cómo añadirle un bolsillo grande extra para el exterior.
Si todavía no has probado ningún patrón de Laola Patterns, te animo a suscribirte a nuestra newsletter para recibir gratis el patrón del Mini Pouch y empezar a coser y conocer cómo son nuestros patrones.