Here goes a pattern hack I’ve been happily trying out at the beach the past weekend! I wanted to publish a tutorial about modifying the Hanna bikini pattern into a swimsuit for a while now but let’s be honest…my main motivation to actually make it happen was that I wanted to have a custom swimsuit for myself. And I had a beach trip just around the corner so no better excuse, right?
Remind me it really was me talking about how slow making was such a nice thing (making this robe as a gift while taking care of all the details)...because here you have the usual me who sews on the same day of the flight. I know, it’s all about contrasts.
There are many different ways to make a swimsuit using an existing bikini pattern, it really depends on what style you’d like to make. For this particular style I was inspired at the beach last month in Barcelona. I saw a similar strappy style where the swimsuit straps were passed through some rings on the back and then tied in a knot on the back.
I myself was wearing my black high waisted Hanna bikini…and thinking that I actually don’t care about sunbathing (I used to like it back in the days, now I occasionally fall asleep at the beach and get some tan lines, but mostly I really only go to the beach if I have a parasol to hide underneath, haha) so why not just wear a swimsuit, it could actually be so much more comfortable? And these straps on the back could be a cool style element to try out.
To make the swimsuit you essentially need to add what’s missing between the top and the bottoms of the Hanna bikini so it’s easiest if you just try on the bikini you’ve made and decide how much length there has to be in the middle of the two pieces. As we’re talking about a very elastic fabric like lycra you probably need to adjust a bit and if you need to take out some length you can easily do it after the first try.
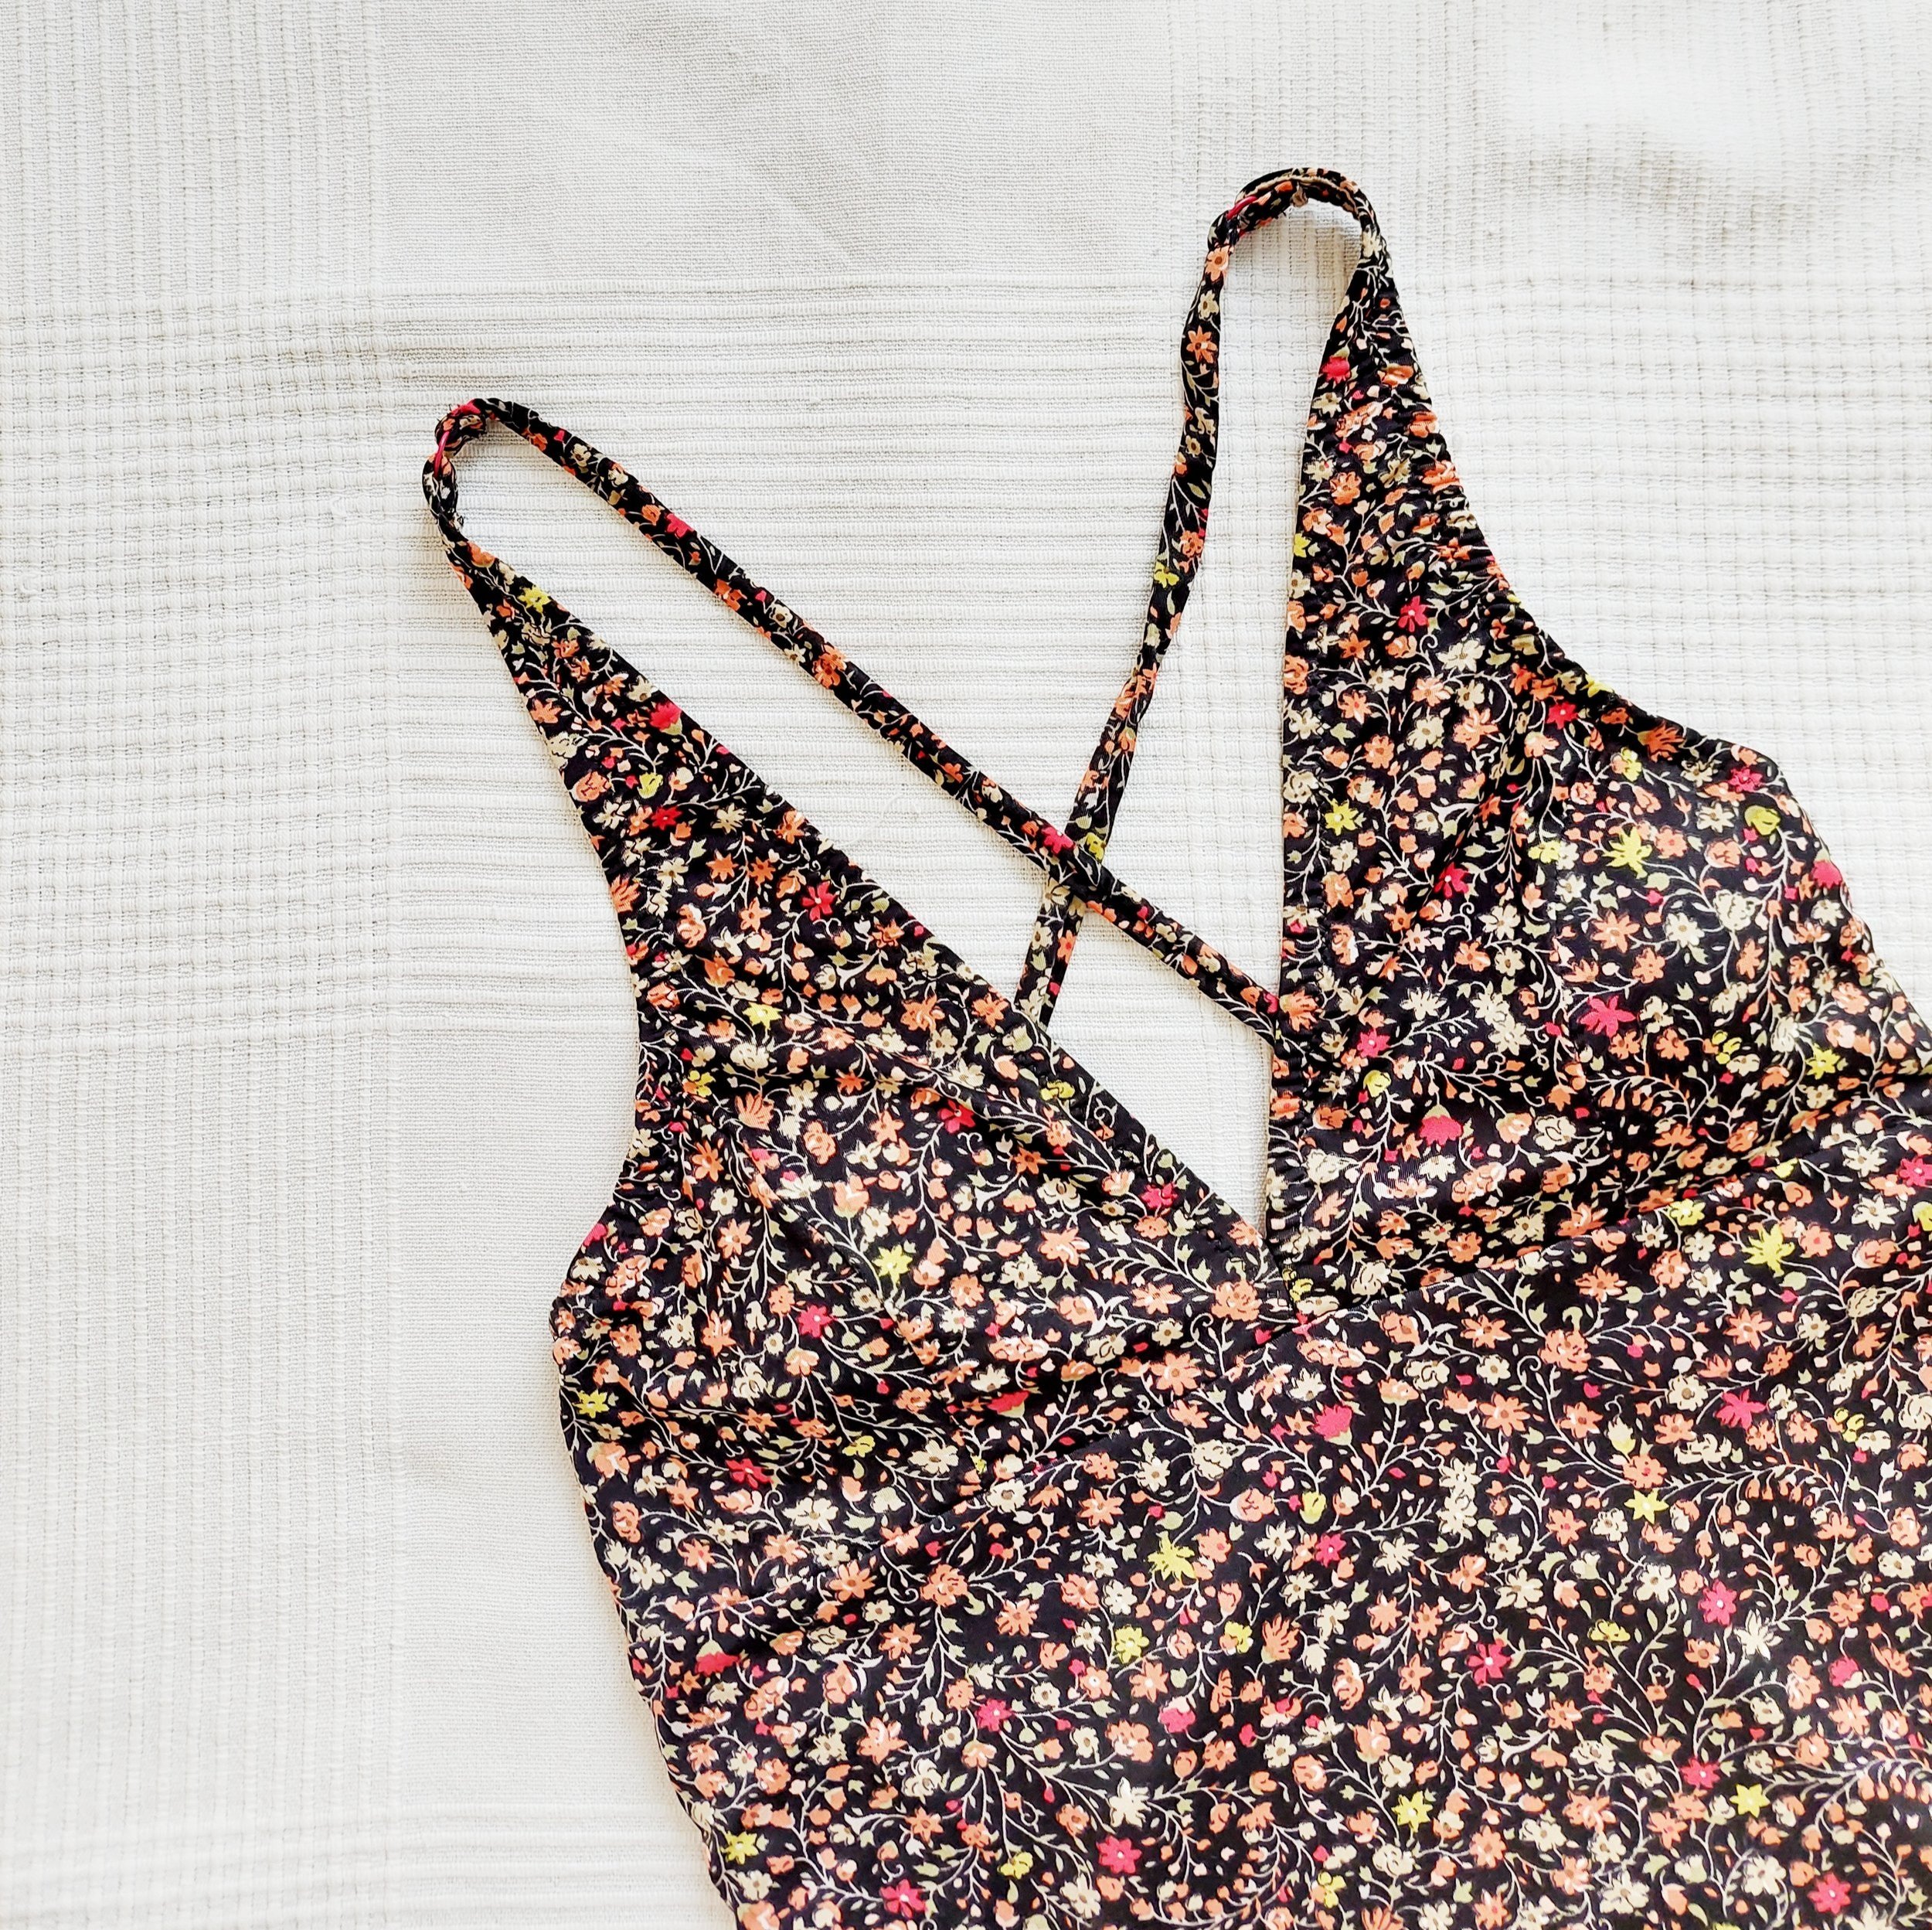
I made the black suit as the first try and then passed my modifications to the floral one which turned out exactly as I wanted. I’ll describe what I did here so you can try it out yourself! This is an overall tutorial and I’m not adding any measurements as they would vary a lot depending on each body and your own personal preference. I hope you’ll get creative with it :)
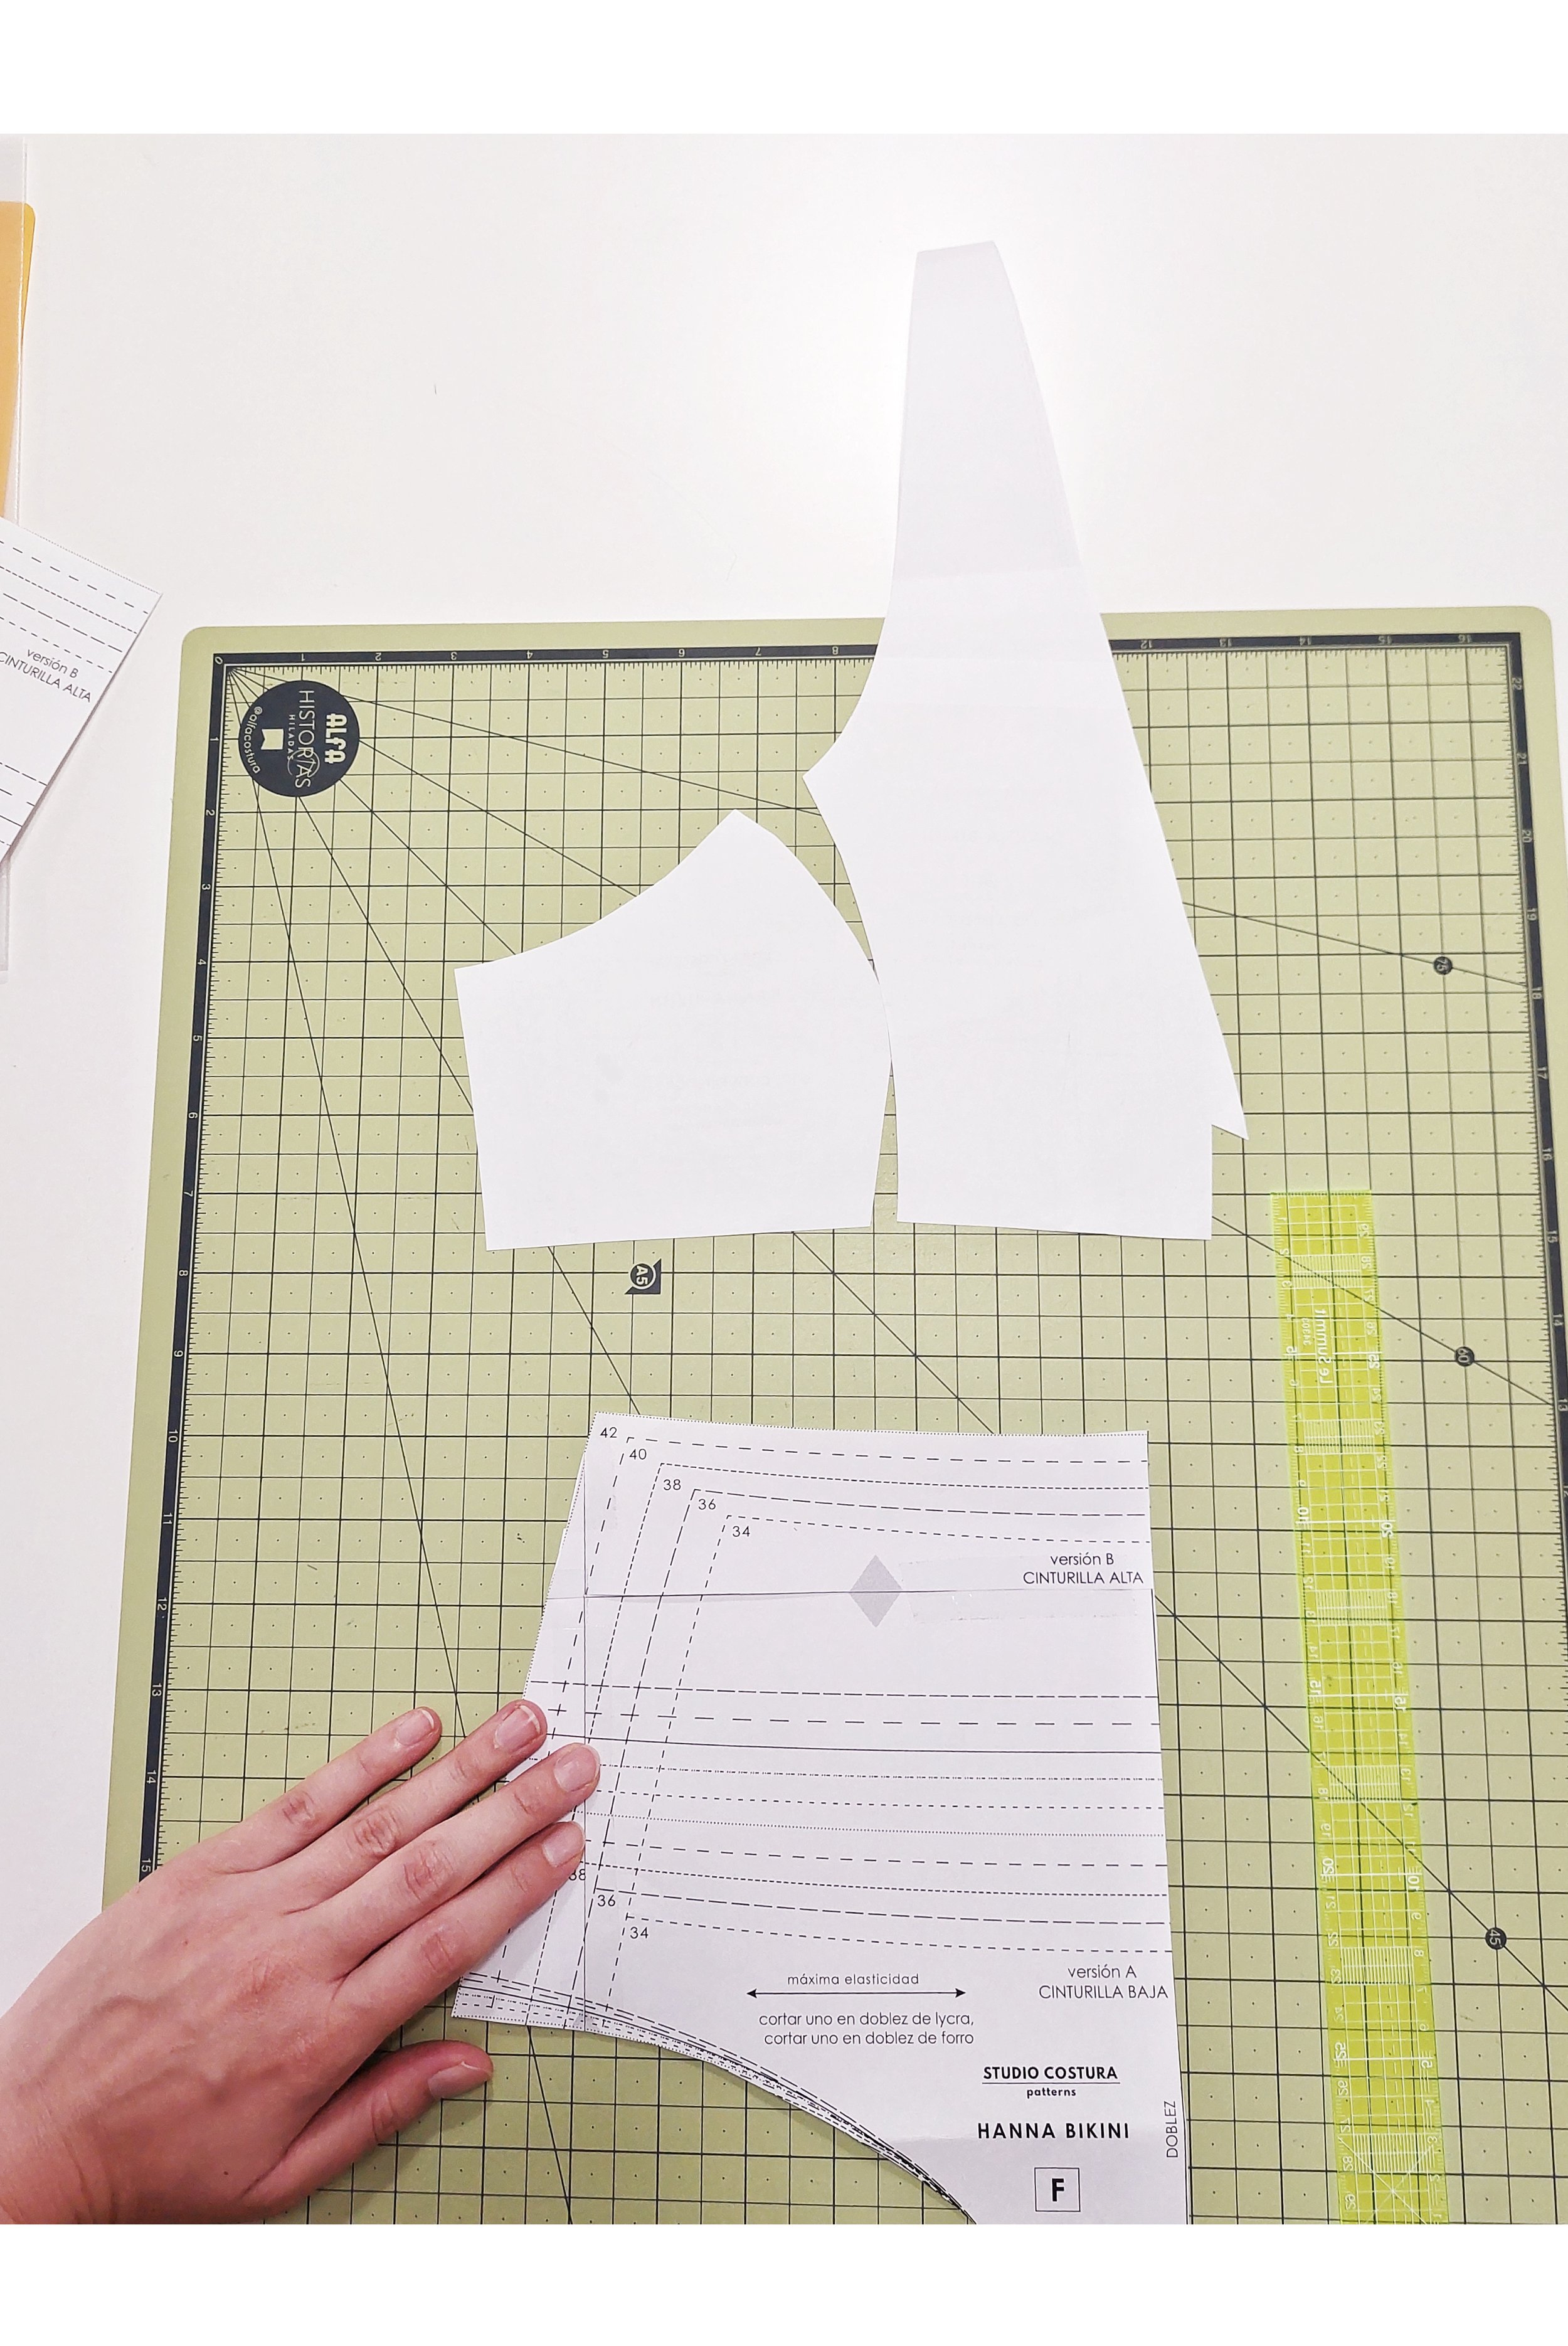
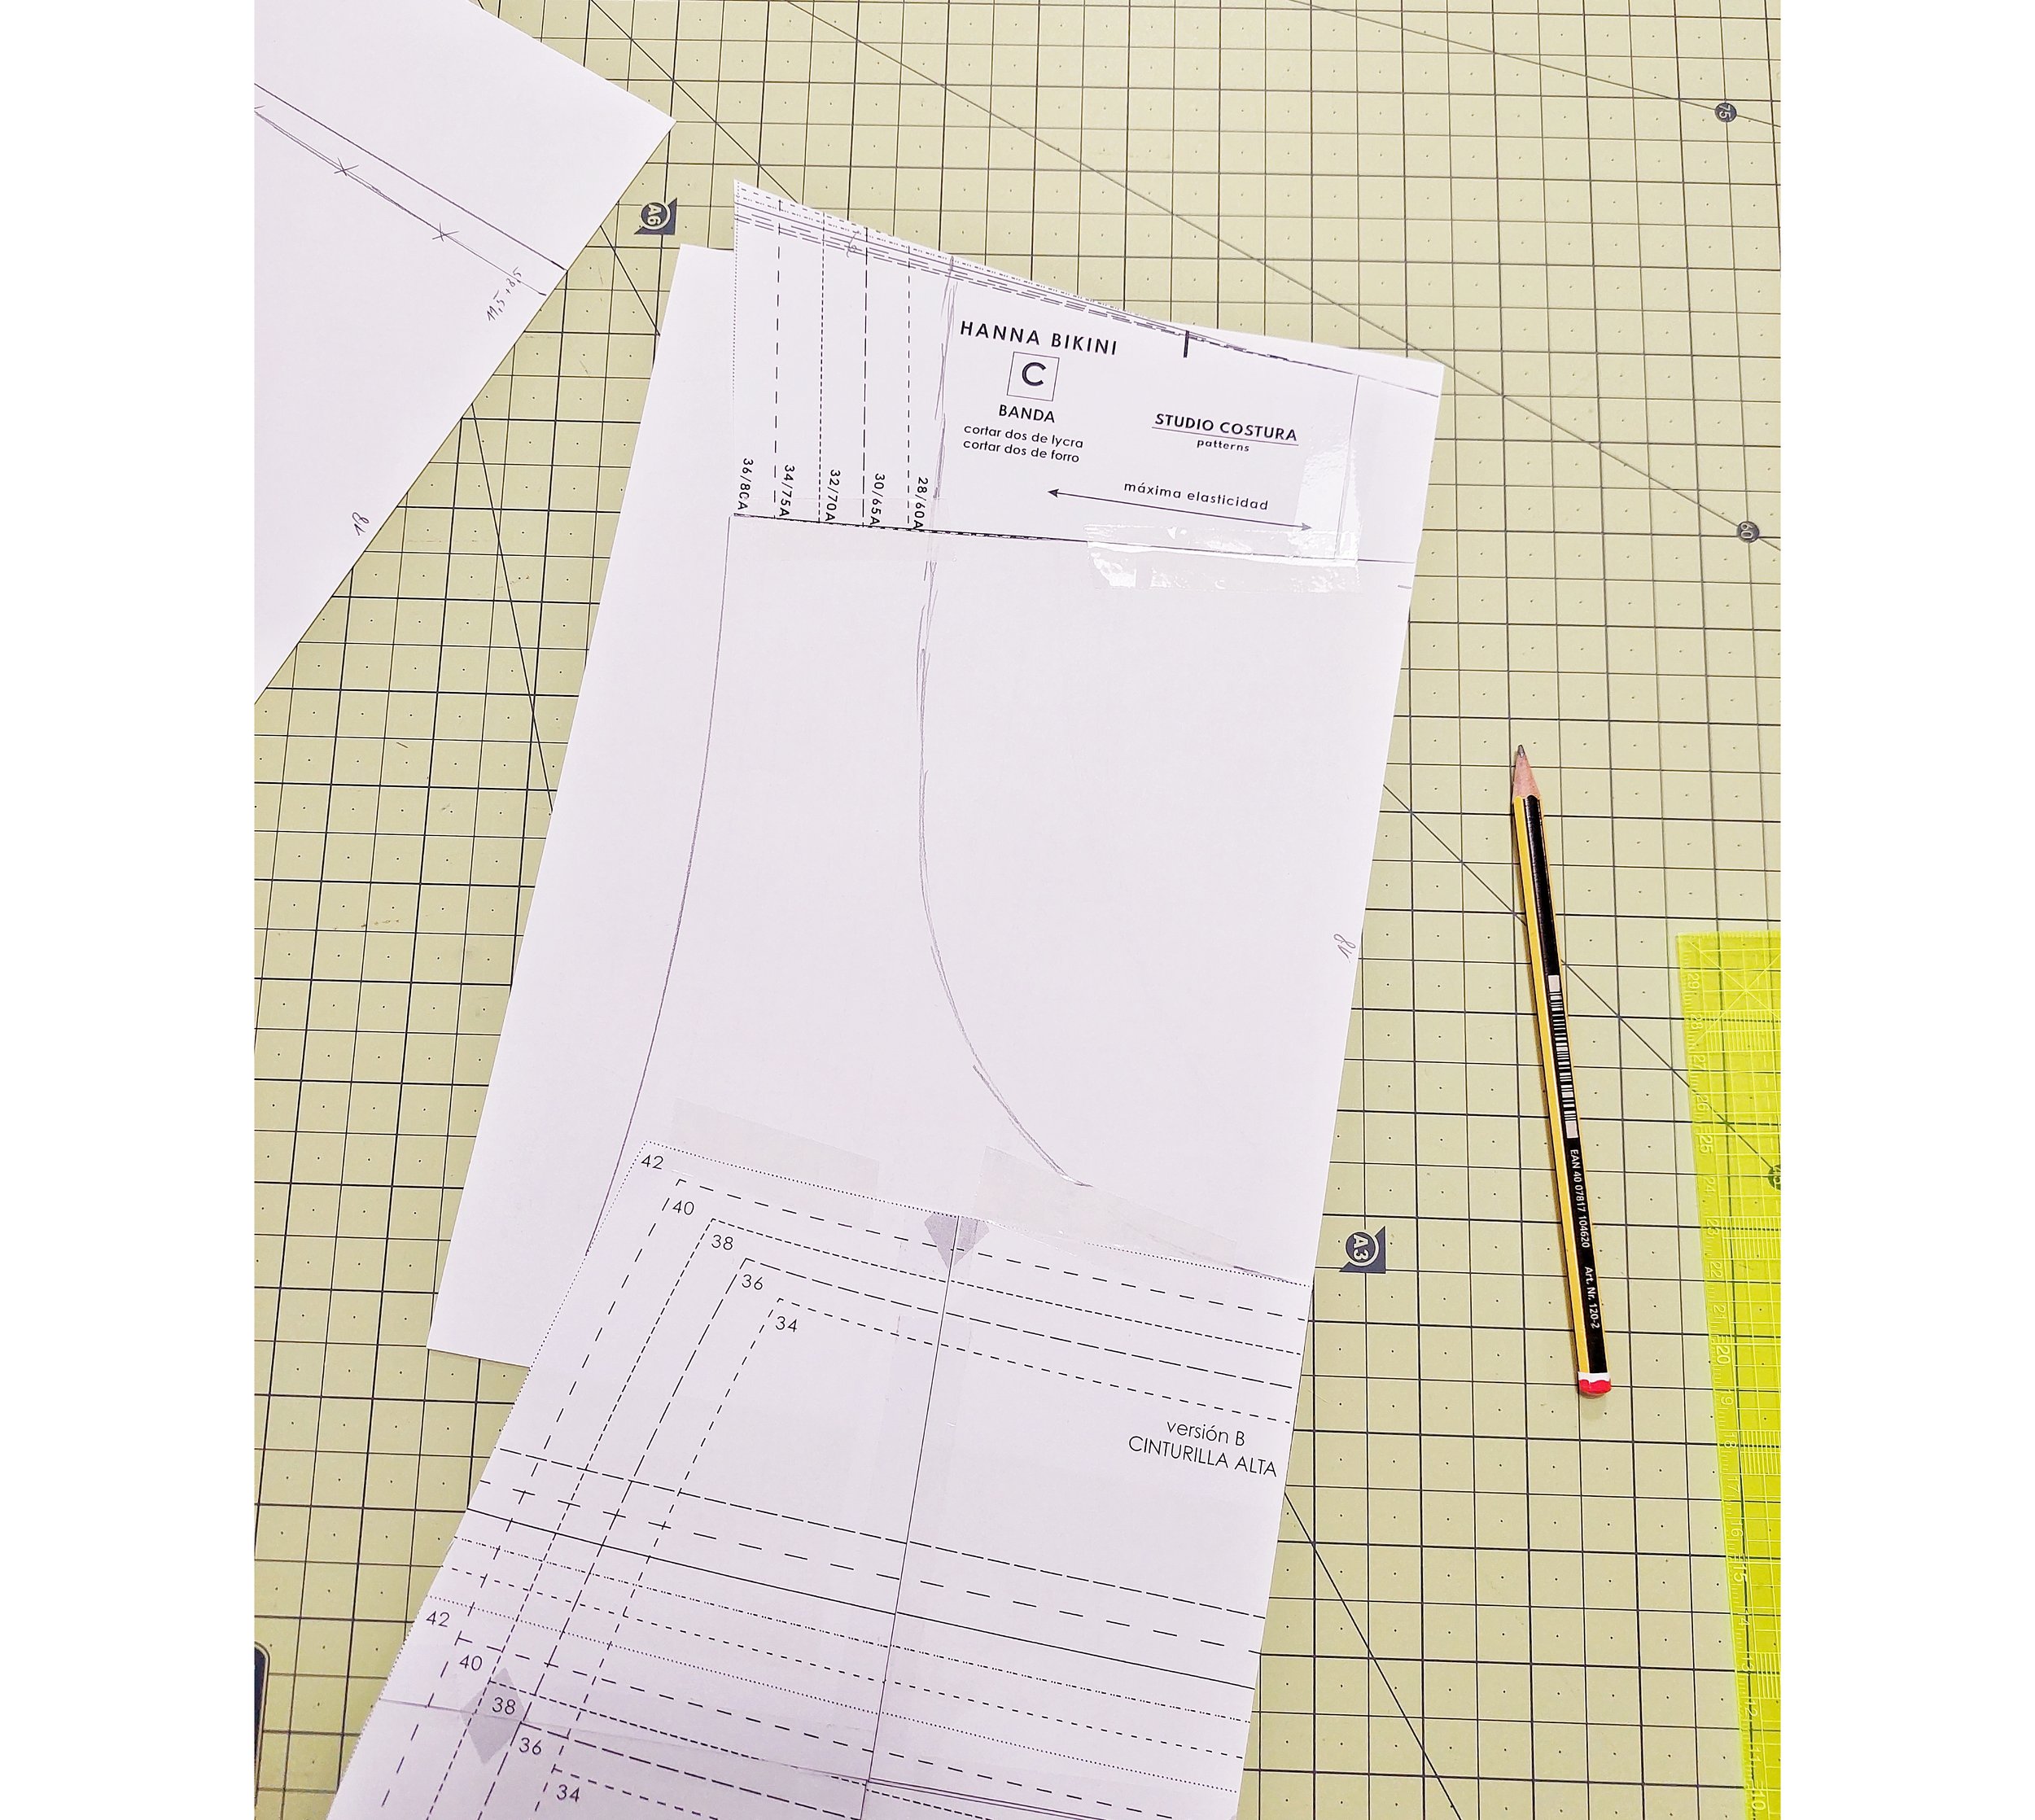
For the new front I first placed the (high waisted) bottom and top pieces in correct order and marked the extra I needed in the middle (there’s a crossed curved line on the photo under the real line I used, just forget about it, haha). For me it was 18 cm in the beginning but I ended up taking out a bit after the first try (My height is 173 cm for reference). To know how much is the width in the upper part of your new front piece you need to measure the lower part of the cup pieces and subtract 18 mm. Those 18 mm come from 3 x 6 mm seam allowance that will be used up on the cup pieces (two cup SAs and one center front SA). Once you know this measurement just mark it and then you can smooth the curve between the end of the bottom piece and the new upper part of the front piece.
For my first version in black I did that and the piece had a slight waist shaping. Fast forward I actually prefer more room as the open back “opens up” even more if it’s under tension. My waist measurement is in a bigger size than my bust and hips which means that I actually don’t need that waist shaping there. The bigger part of my waist measurement is my belly which means that opening the back makes the fabric shift more on the front where it’s needed, hehe. To fix that I cut my second version with straight side seams to give me more room and I’m very happy with that modification.
For the back it’s essentially the same process but as I wanted a lower back I eyeballed the opening. For the black one I made the opening quite wide, I reduced it a bit for my second floral version. If you don’t want all that strappy action there you can also just make a regular back and call it a day. I’ll add a photo of the version that Auxi made like this, it looks super cute!
Another thing I did was to lower the neckline a bit for the black version, for the floral one I ended up raising it again…it really depends on your preference. I actually did this thing later on to have all the seams pretty: When I added the elastic for the neckline in a new lower position I sewed the elastic on until the end of the “diagonal”. After that I sewed the center seam and I did not cut the SA, instead I folded it on the sides. This created a cute triangle which wasn’t very bulky so I just left it like this. You could of course cut the excess, serge it and just leave this seam not enclosed.
So once you have your new pieces go on and cut both of them from swimwear fabric and lining and do the same with the cup pieces. I also cut two long strips to make the elastic straps. I made mine about 75 long (and 3 cm wide as always for the 8 mm elastic width).
First join your cup pieces as you’d do normally (choose if you’re leaving an opening for the foam cups or not), add neckline elastic end sew the center front. Now would be a good time to machine baste (just use the longest straight stitch) the front together with the cups and the back together with the whole front. Prepare the straps as described in the instructions and temporarily attach them to the upper part of the cups. You could also temporarily add the rings if you want to get a better idea about the ring placement and the fit (I cut aprox 2,5 cm long strips of the same strap I already prepared to use as a hoop for the rings).
Try on the suit and see if you like the length of the body pieces, if you need to take in something etc. If everything is good just unpick the side seams a bit so you can add the front lining in a way that there will be an enclosed seam (lycra body right sides together with the lycra cups and the lining with right sides together with the lining cups, four layers at a time). After that you can do the same to have enclosed seams on the side and gusset seams. Then add the back opening elastic and the underarm elastic. After that sew the loops and rings and you are done!
You can also tie the straps in many different ways depending on how or how many times you cross them. I used two sets of rings but you can also use one set. You could also use the same technique for a bikini back…the possibilities are endless here.
More ideas about the swimsuit hack:
I haven’t tried it out myself but you could try using the loops directly instead of the rings to attach the straps
adding a panel of power mesh for the center front can work as a reduction factor if that’s something you’d like to try out
rutching the front piece (first you’ll need to add space by opening up the pattern) for a flattering look or also for a maternity friendly swimsuit (check out Mei’s Hanna bikini here…I also think I should describe both the Mara bralette nursing bra hack she did and this maternity bikini hack in a separate post!)
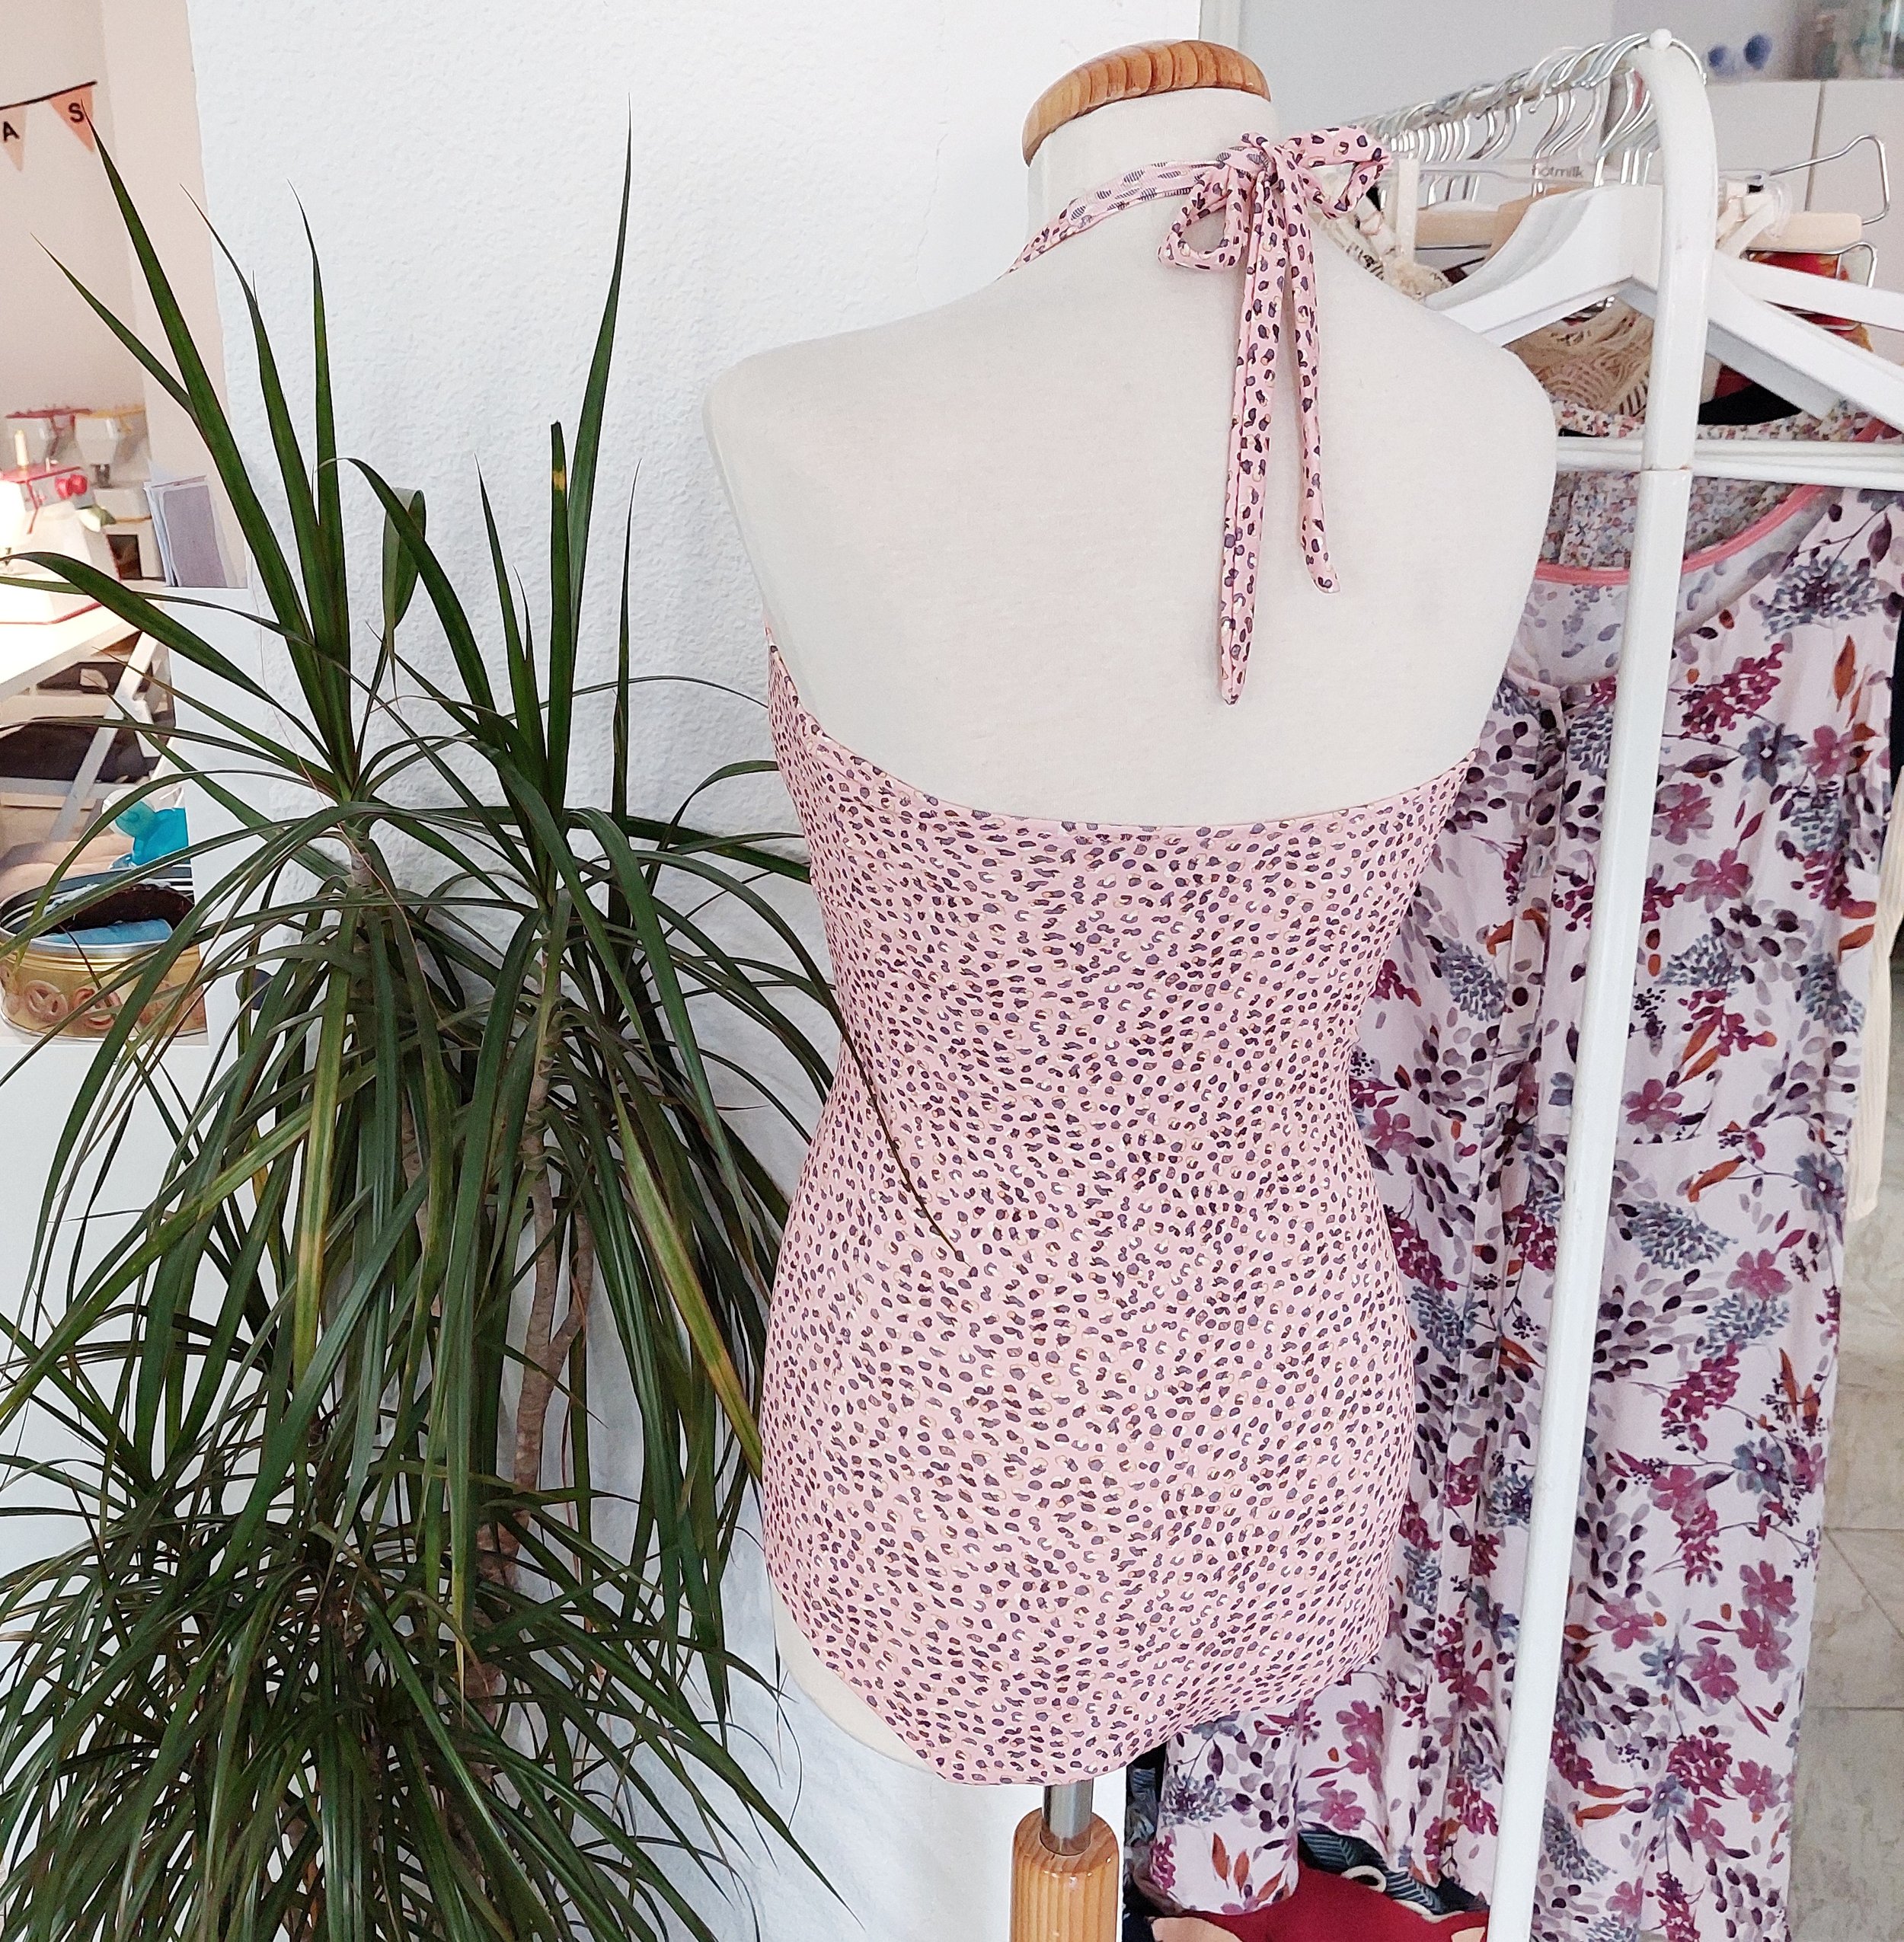
As I mentiones you can also do a regular back version as Auxi did here. She used the halter neck tie version and a normal back.
More posts about the Hanna bikini:
Discover my ebook about sewing lingerie
10 illustrated sewing tutorials that will teach you new techniques and inspire you to get creating!
Find the rest of the lingerie sewing tutorials here and sign up for online courses to learn more about lingerie and swimwear!


