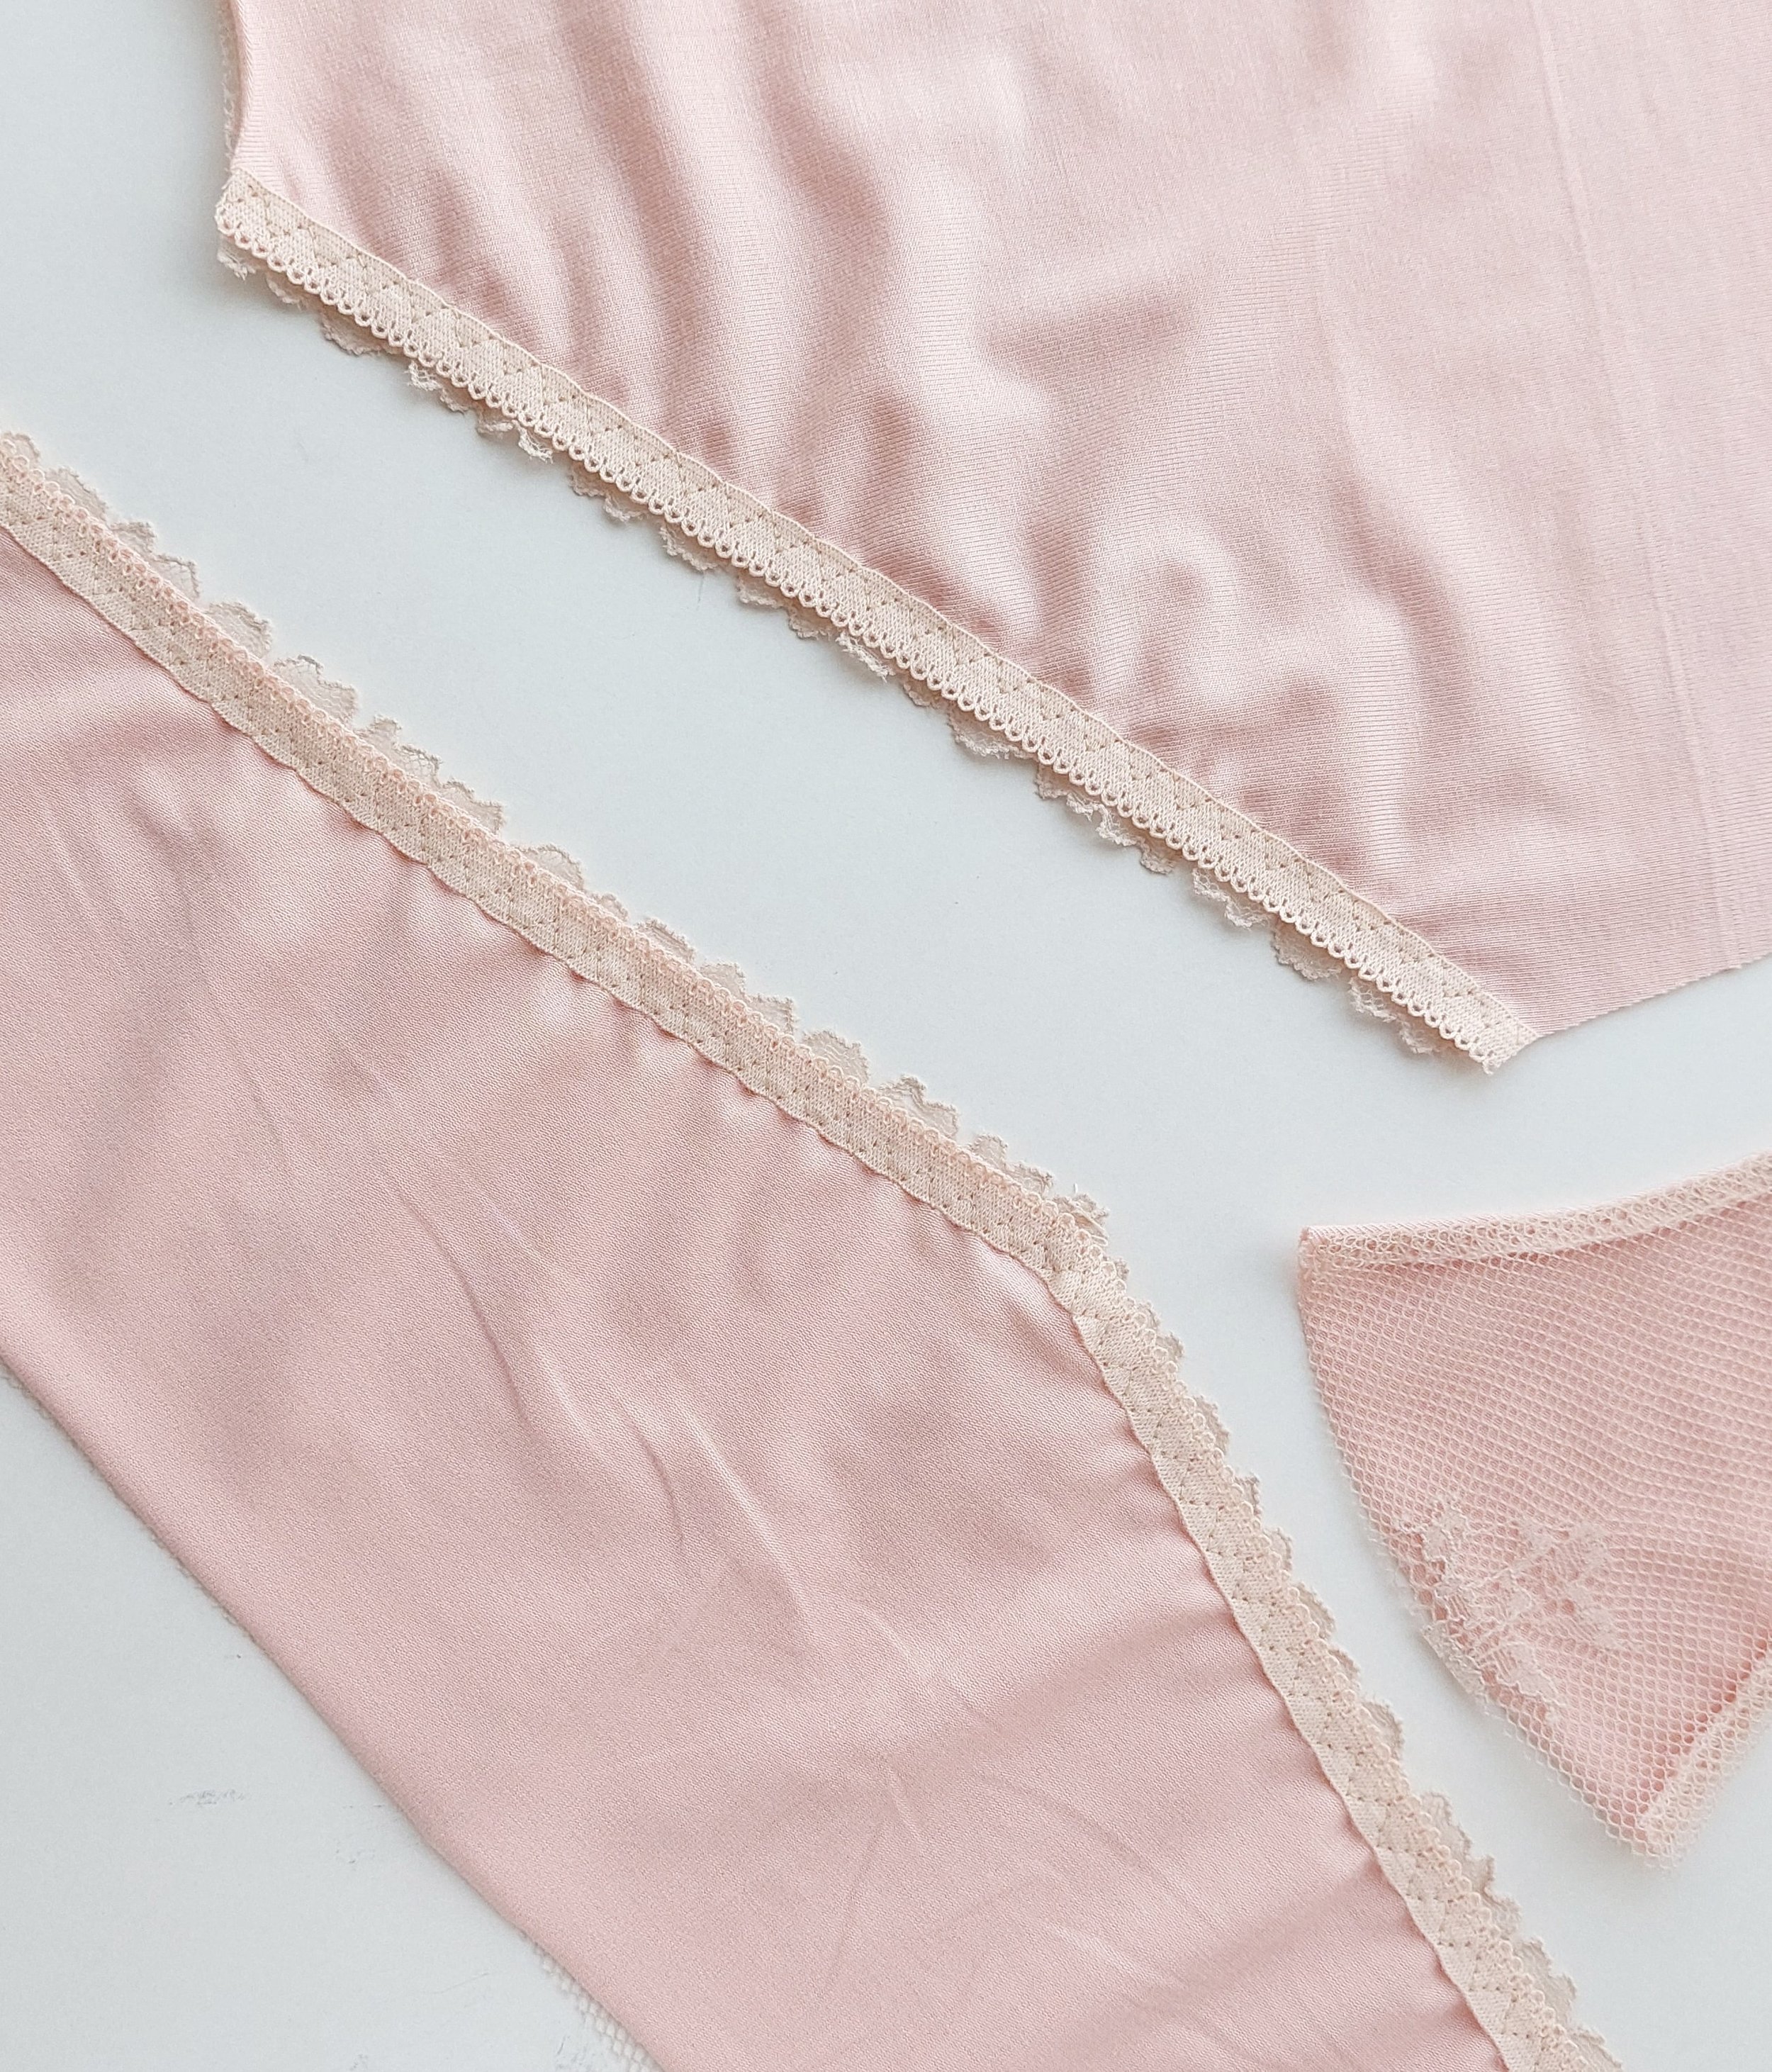
As I mentioned in the last post about the Hanna bralette tutorial with removable foam cups, I was also going to explain how to make the panties I sewed for that beige and pink set. What makes them different from the original version is that they are fully lined with knit fabric.
Como comenté en la última entrada sobre el tutorial de Hanna bralette con copas de foam, también iba a explicar cómo hacer las bragas que venían en ese conjunto beige con rosa. Lo que las hace diferentes de la versión original es que van totalmente forradas de tela de punto.
You can have different reasons for using this technique. First, you might want the panties to have exactly the same tone as the bralette or bra they're paired with. Since laces tend to be more or less transparent, depending on the lining you use, the top part with its lining and the panties part with more the transparency can end up different. To have the whole set in the same tone, you can use this method.
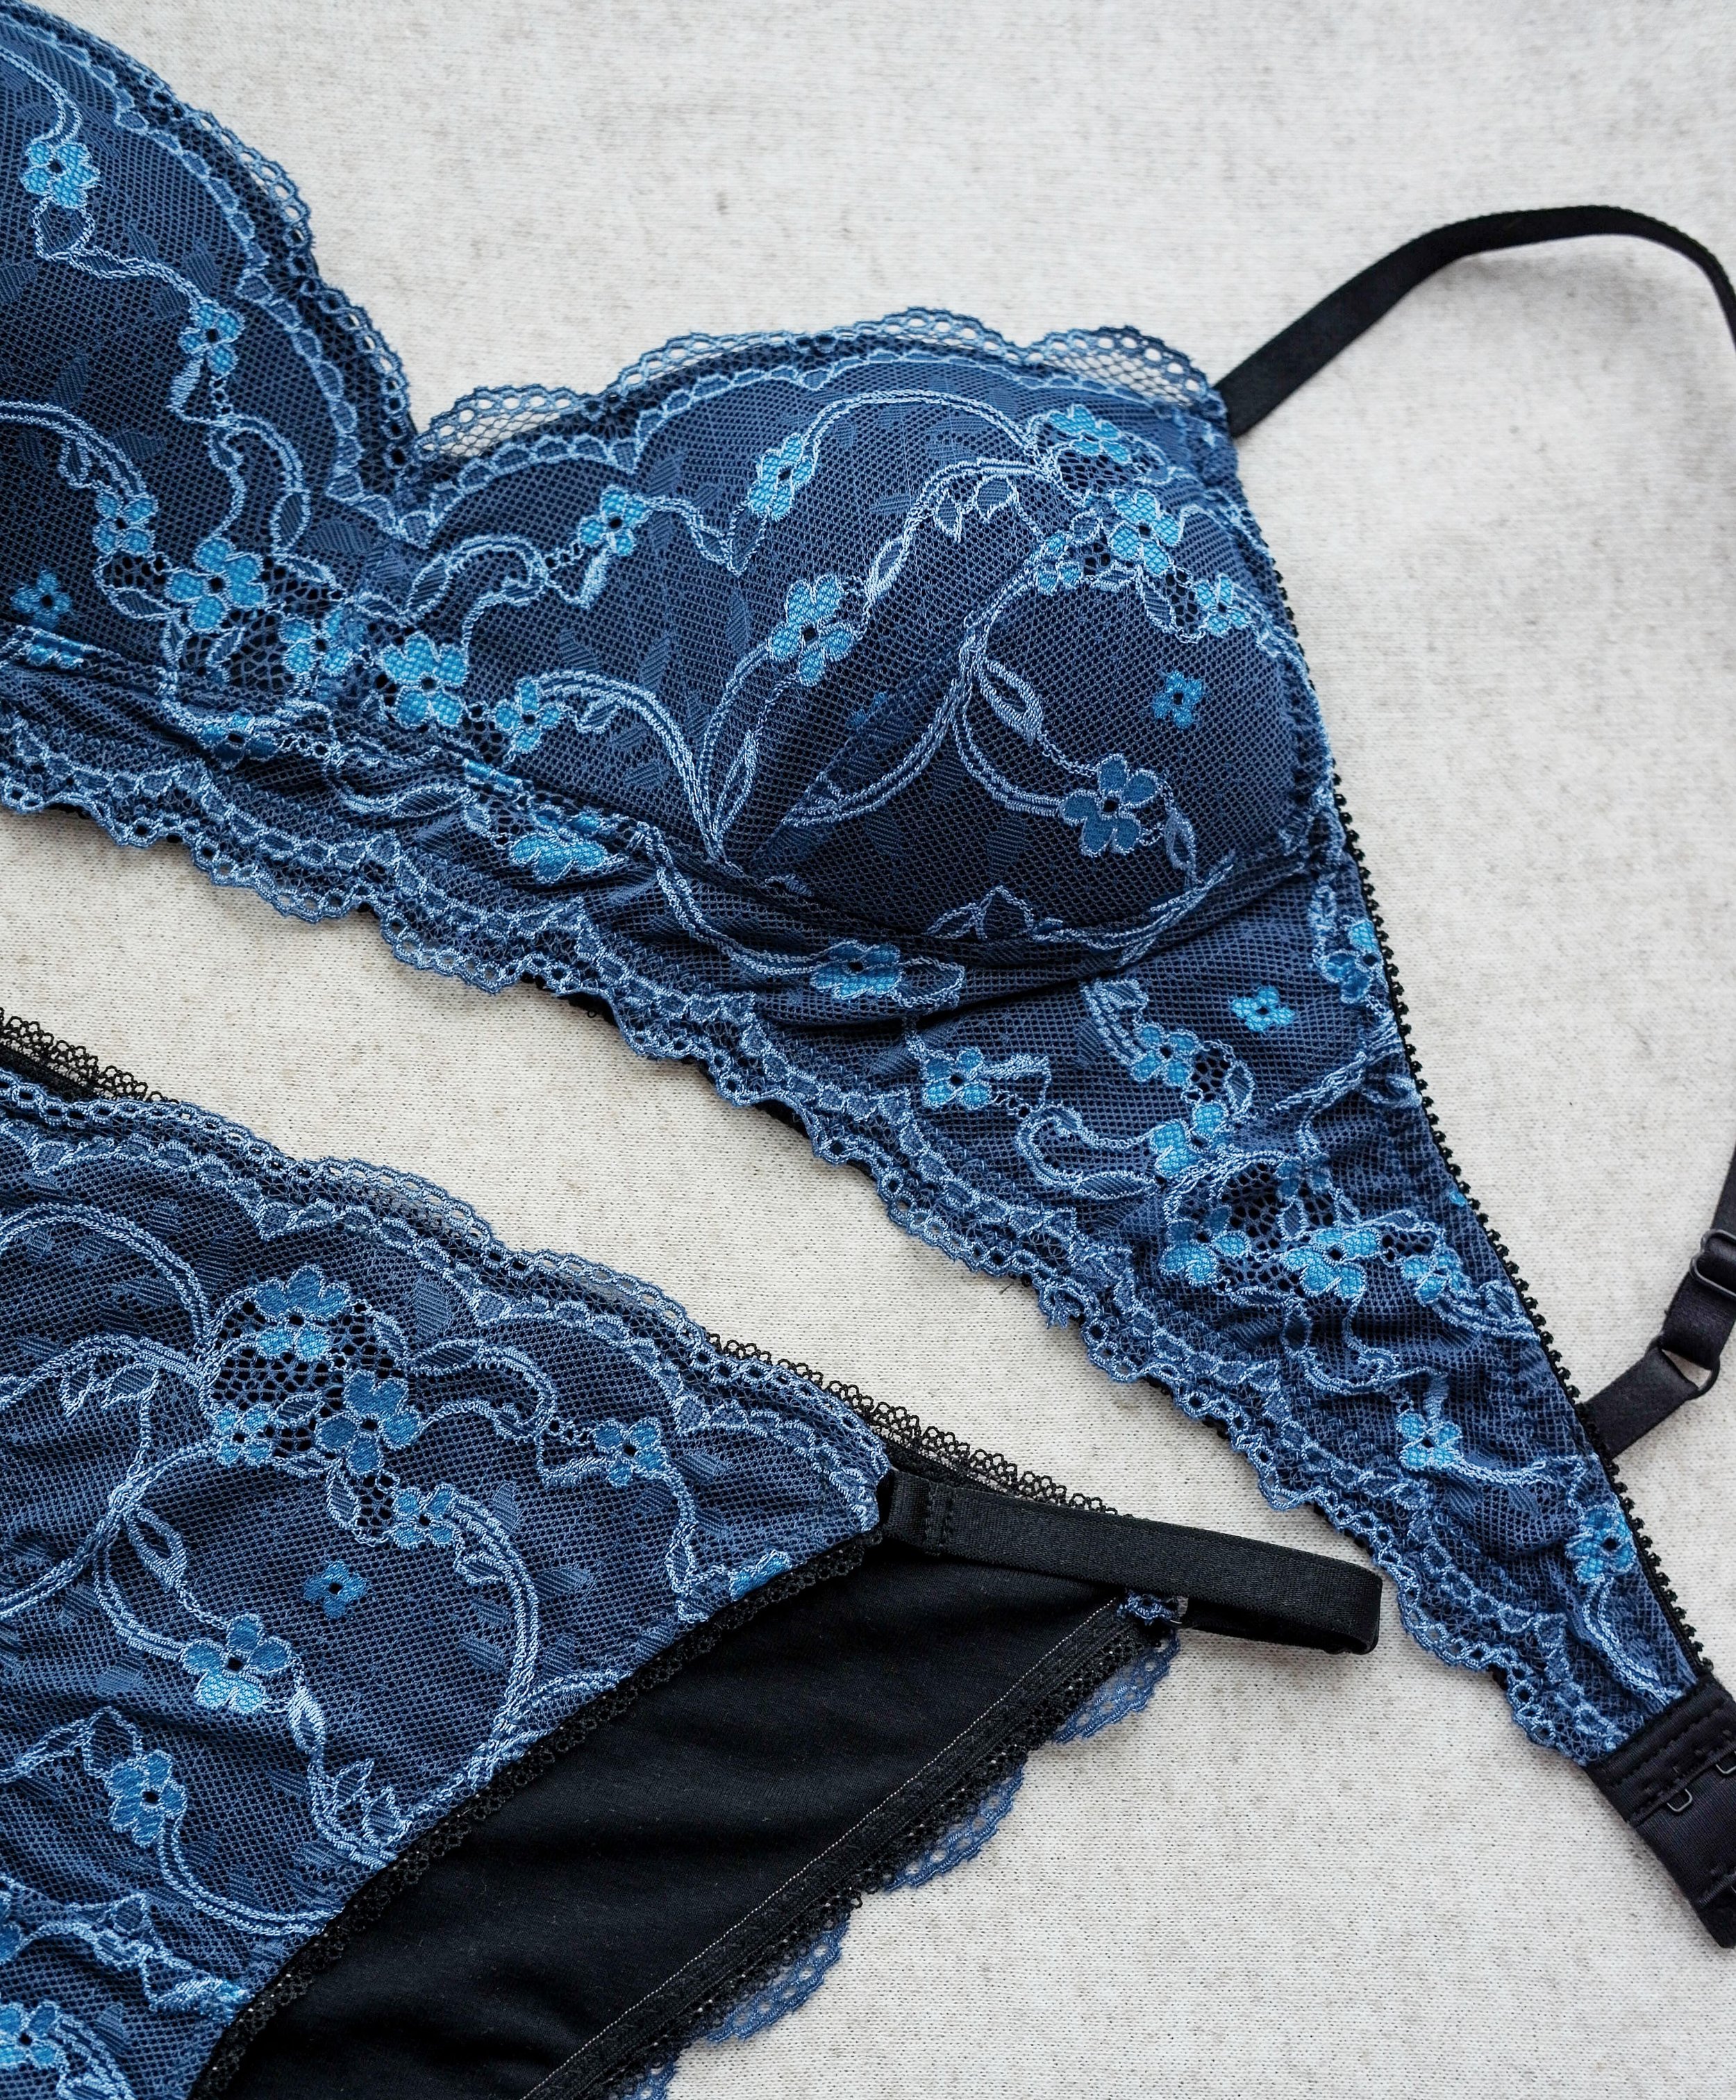
On the other hand, this method is also useful to avoid transparencies (if that's what you want) and also for a more comfortable touch against the skin than with lace alone. The pink and beige version is made with the Stella panties pattern and the blue and black version is the Vera panties (paired with a Mara bralette).
Las razones para usar esta técnica son varias. En el primer lugar puede que quieras que la braga tenga exactamente el mismo tono que el bralette o sujetador con que va en conjunto. Ya que los encajes suelen ser más o menos transparentes, dependiendo del forro que uses, puede quedar bastante distinta la parte de arriba con su forro y la parte de bragas que dejará ver tu piel por la transparencia. Para que todo el conjunto tenga el mismo tono, puedes usar este método.
Por otro lado es también útil para evitar transparencias (si es lo que tú quieres) y también para que sea más cómodo contra la piel que el encaje solo. La versión rosa y beige está hecho con el patrón de braga Stella y la versión en azul y negro es la braga Vera (junto con el bralette Mara).
The method itself is very simple. It involves cutting the same pieces of knit fabric as lace but you have to be aware of the seam allowances. The lace pieces are cut one by one (two of them for the front and two for the back, according to the pattern) to have symmetrical pieces and to have that beautiful lace edge. For knit fabric we want to cut the front and back in one piece, we don't need that seam in the middle.
First, cut the lace pieces as always. Then, subtract from the front and back pieces their seam allowance in the center front/back, it’s 6 mm (1/4”). You don't need it because these pieces are cut on the fold. Cut both the front and back on the fold of the knit fabric putting the direction of the maximum elasticity across the width of the panties. I used the Tencel modal jersey knit from my shop for the lining. It is super soft and I love it for all types of underwear.
El método en sí es muy sencillo. Se trata de cortar las mismas piezas de tela de punto que de encaje pero hay que estar pendiente de los márgenes de costura. Las piezas de encaje se cortan uno en uno (dos de ellas para el delantero y dos para el trasero, según el patrón) para tener las piezas simétricas y que salga ese bonito borde de puntilla. Para tela de punto queremos cortar el delantero y la espalda en una misma pieza, no necesitamos esa costura en el medio.
Primero corta las piezas de encaje como siempre. Luego, resta a las piezas del delantero y del trasero su margen de costura en el centro delantero/espalda, es de 6 mm. No lo necesitas porque estas piezas se cortan al doblez. Corta tanto el delantero como trasero en doblez de la tela de punto poniendo la dirección de la máxima elasticidad a lo ancho de la braga. Yo he usado para el forro el punto de Tencel modal de mi tienda, es super suave y me encanta para todo tipo de ropa interior.
Once you have all the pieces cut out, join the front lace pieces together and the back ones as well (for the Vera pattern version 3 you have the front already complete, no need to join it). Place the knit pieces on top of the lace pieces, with wrong sides together.
Now you have to sew the elastic to cover the part where knit and lace layers meet. The idea is that the knit piece reaches just the bottom part of the lace, where the scallops start. That's where we're going to sew the elastic. Basically, you sew it on top of the two pieces right at the edge so that the elastic is not visible on the outside. I have used a three-step zig-zag to secure the elastic in place and to catch its entire width (adjust the width of the zig-zag according to the width of your elastic and your machine). You could also use two lines of regular zig-zag if you want. I usually don't stretch the elastic when sewing it but if you want, you can give it a slight tension. That's up to your individual taste.
You have to sew the elastic on all the parts where there’s the scalloped lace edge. Once you have done that, continue as per the usual instructions. Join the pieces and finish the waistband with elastic. And you're done!
If you’d like to learn about more hacks like this, there’s the ebook about 10 tutorials for making panties, get it when you subscribe to my newsletter!
Una vez que tienes todas las piezas cortadas, une las piezas delanteras de encaje entre sí y los traseros entre sí también (en el patrón de Vera en la versión 3 tienes el delantero ya completo, no hace falta unirlo). Coloca las piezas de punto encima de las piezas de encaje, los reveses juntos.
Ahora hay que poner el elástico para tapar la unión de punto y encaje. La idea es que el punto llega justo hasta la parte baja de la puntilla, donde empiezan las ondas. Allí es donde vamos a coser el elástico. Básicamente lo coses encima de las dos piezas justo al borde para que no se vea el elástico por fuera. Yo he usado un zig-zag de tres pasos para asegurar el elástico en su sitio y así pillar todo su ancho (regula el ancho del zig-zag según el ancho de tu elástico y tu máquina). También podrías usar dos líneas de zig-zag normal si quieres. Yo normalmente no estiro el elástico a la hora de coserlo pero si quieres, puedes darle una ligera tensión. Eso ya es gusto de cada uno.
Tienes que coser el elástico en todas las partes de aberturas donde va la puntilla. Una vez que hayas hecho eso, sigues como las instrucciones normales, unes piezas y acabas la cinturilla con elástico. Y ya lo tienes!
Si te gustaría probar más modificaciones como ésta, tienes un libro electrónico sobre 10 tutoriales para coser bragas, te llega gratis cuando te apuntas a mi newsletter.
Discover my ebook about sewing lingerie
10 step by step illustrated sewing tutorials that will teach you new techniques and inspire you to get creating!


