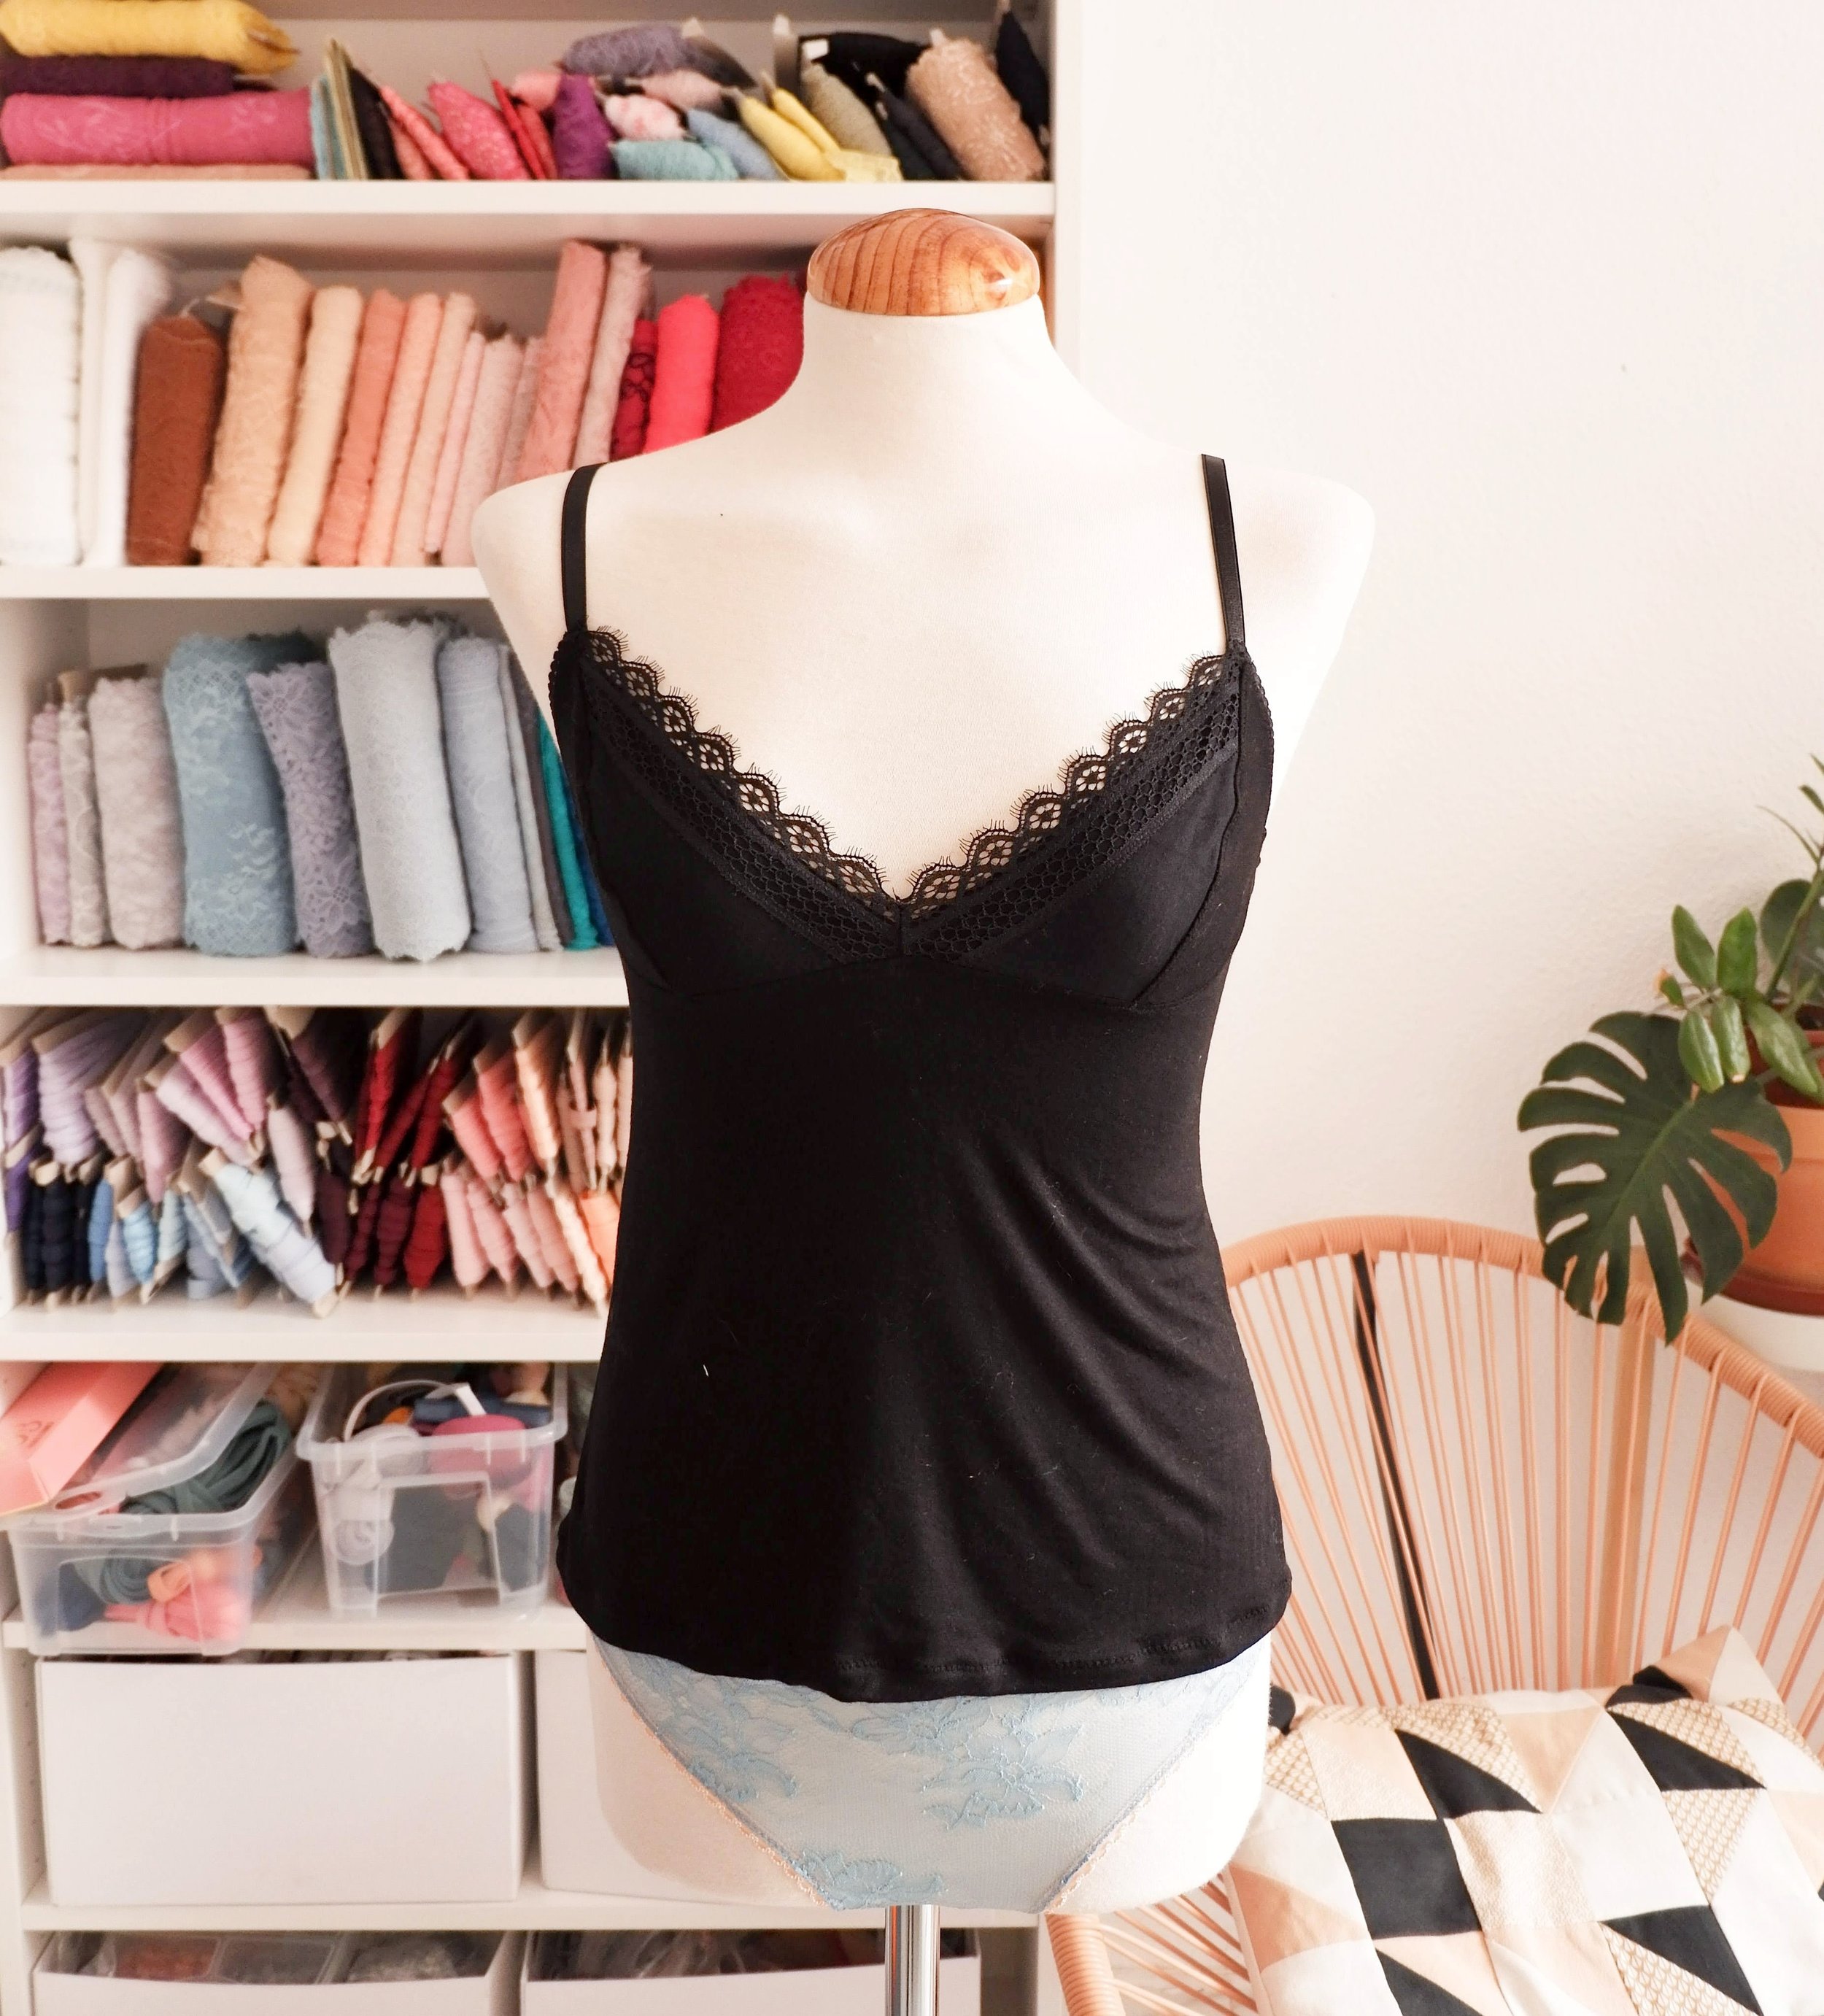
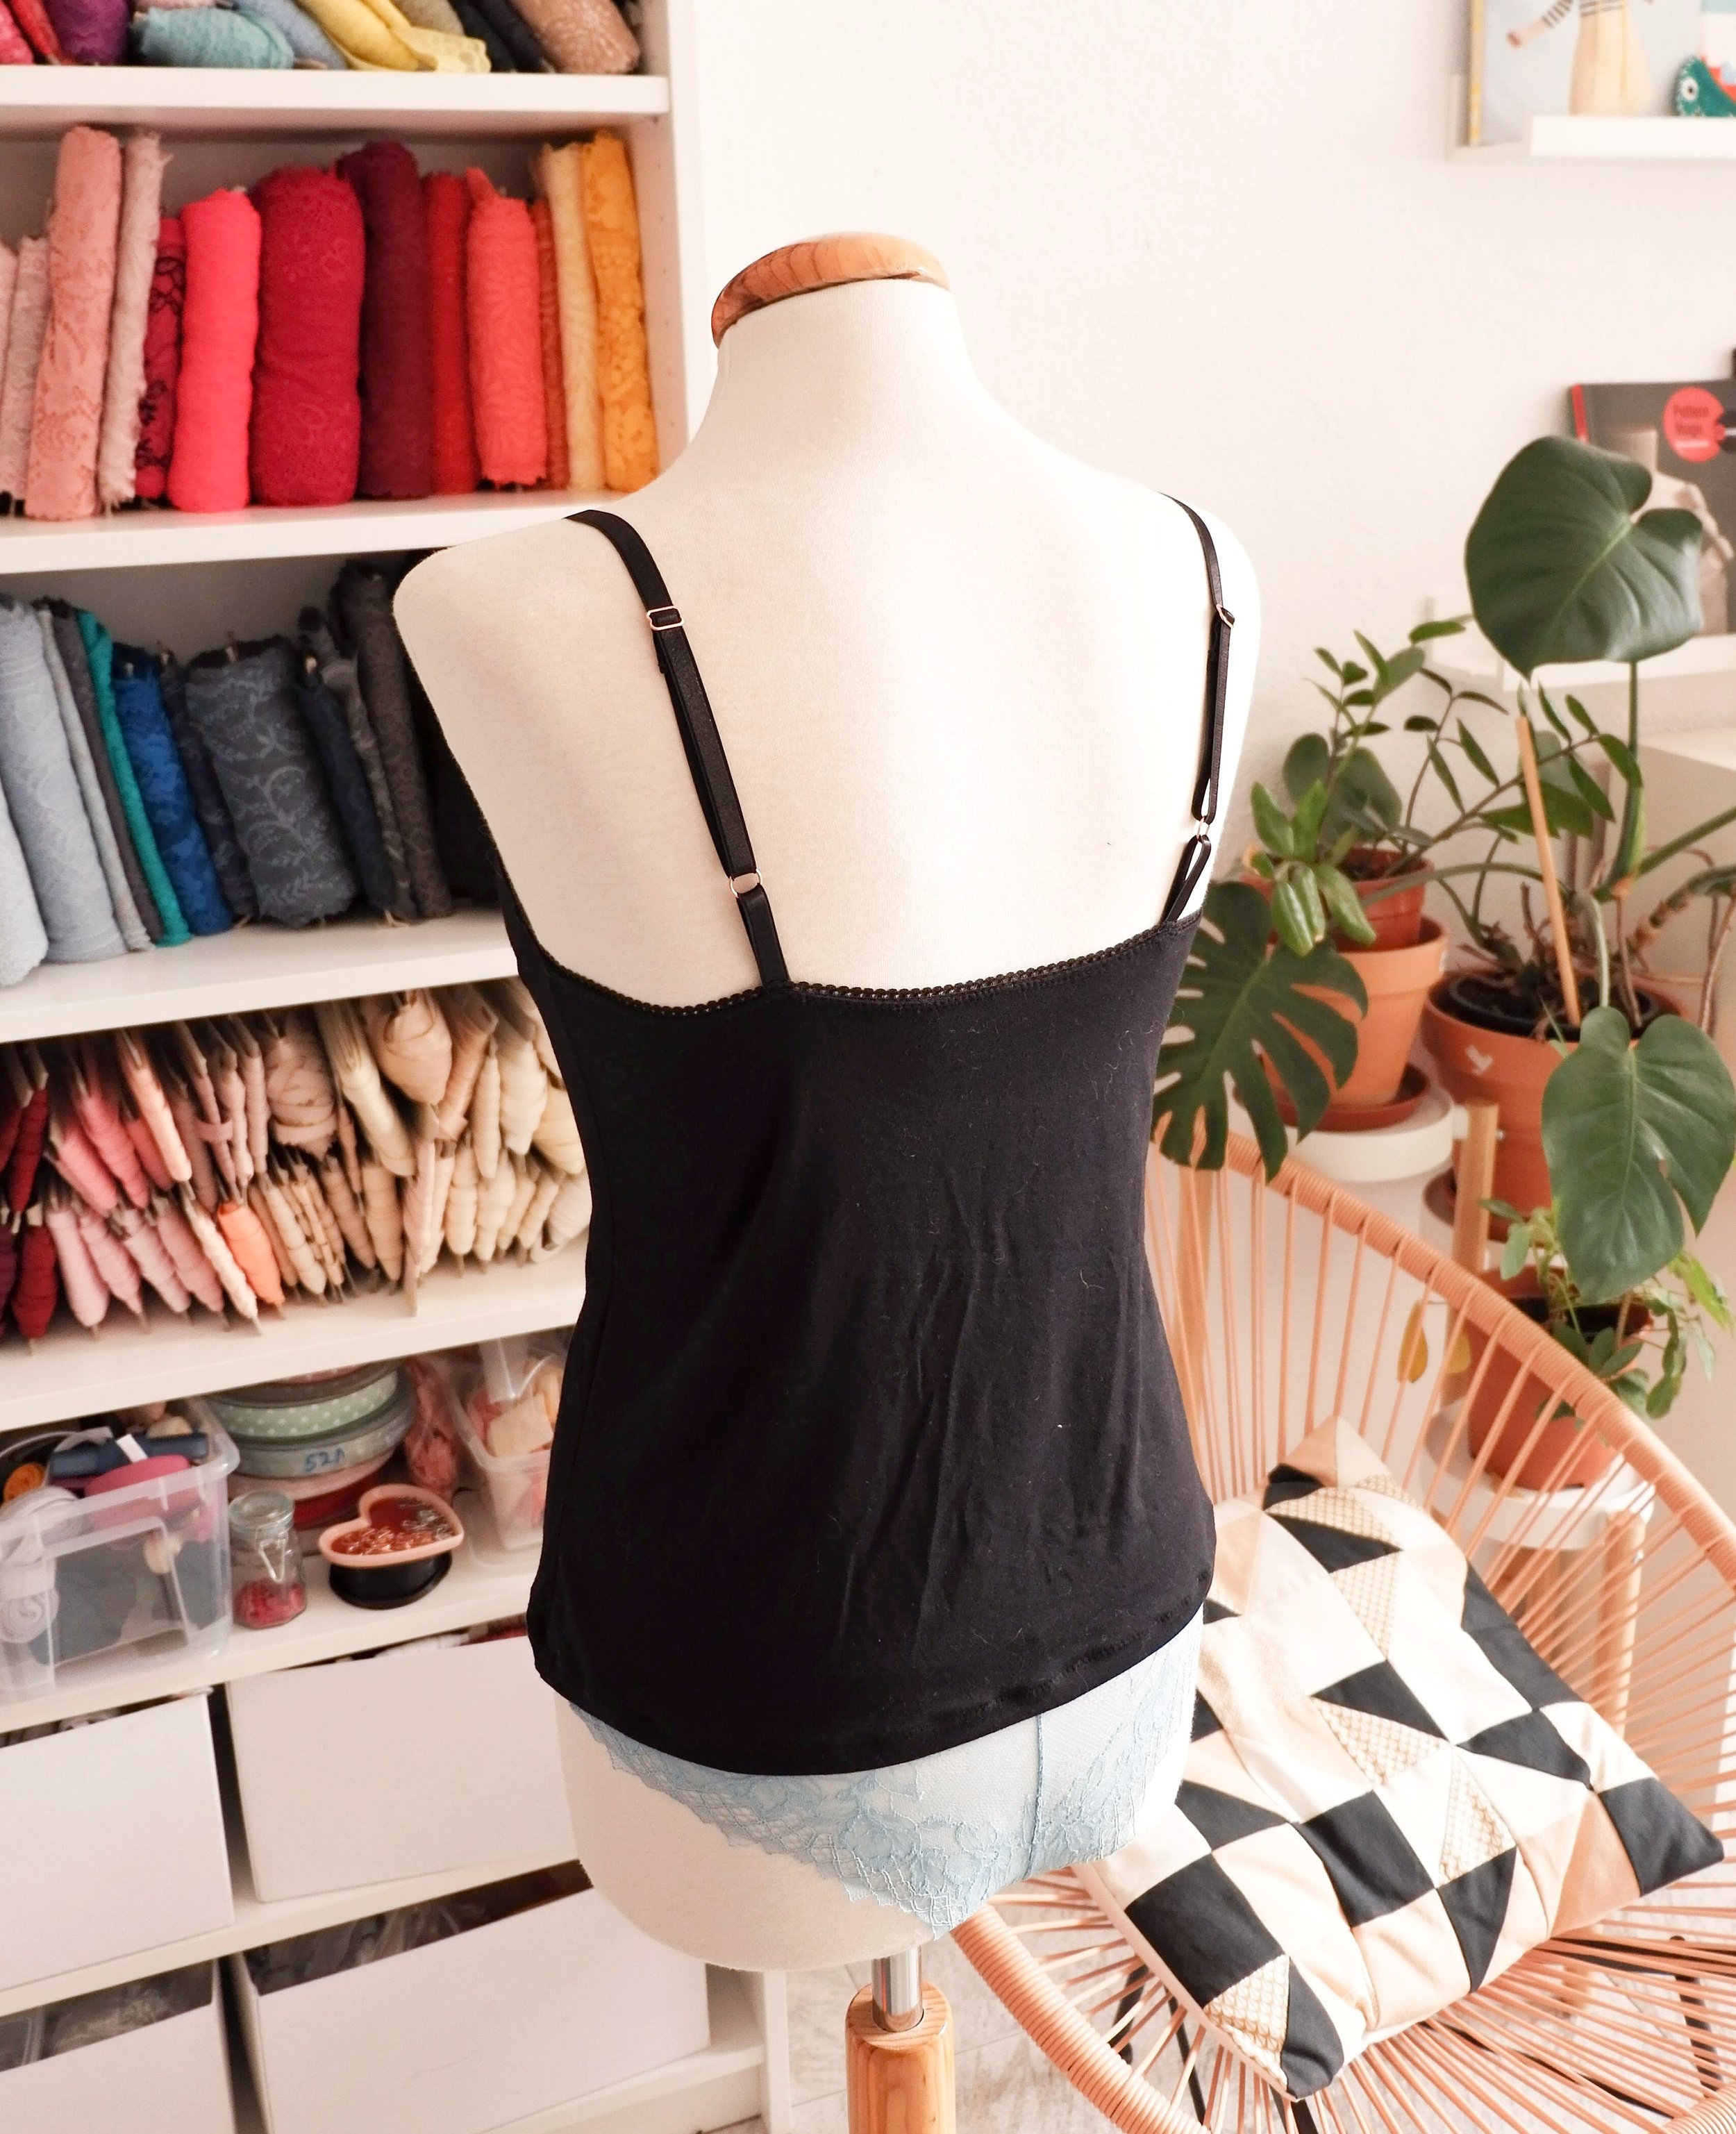
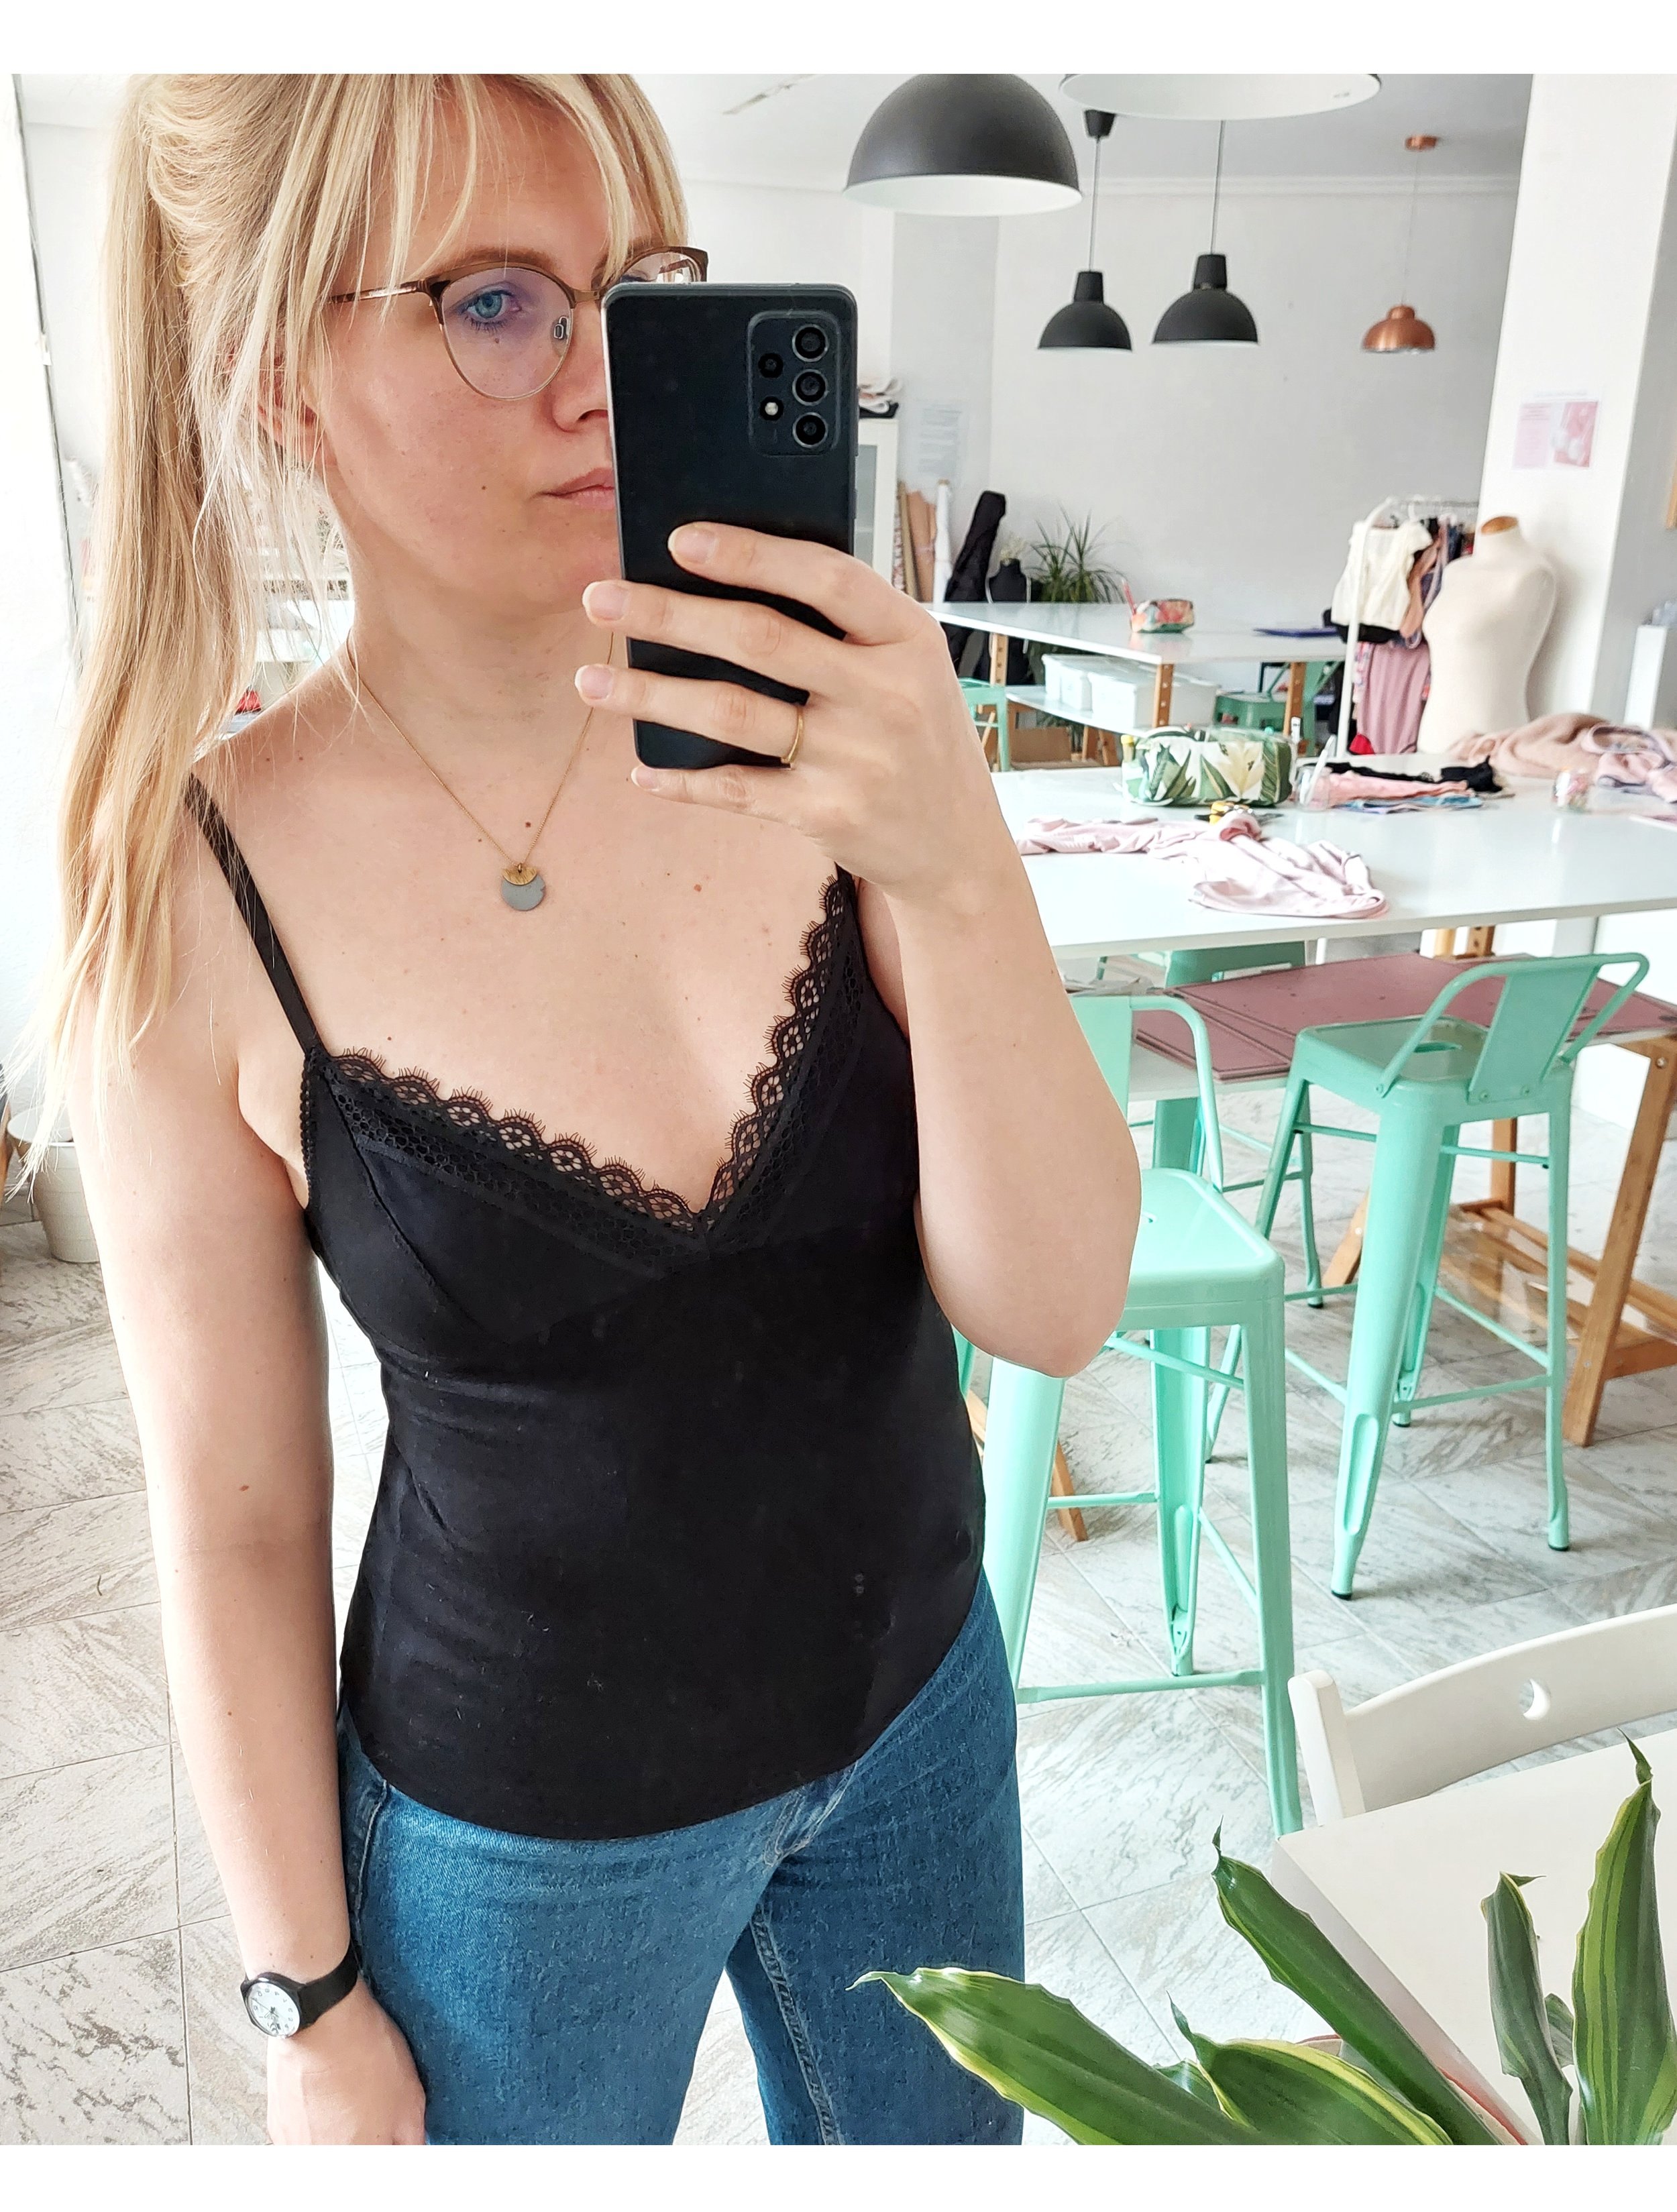
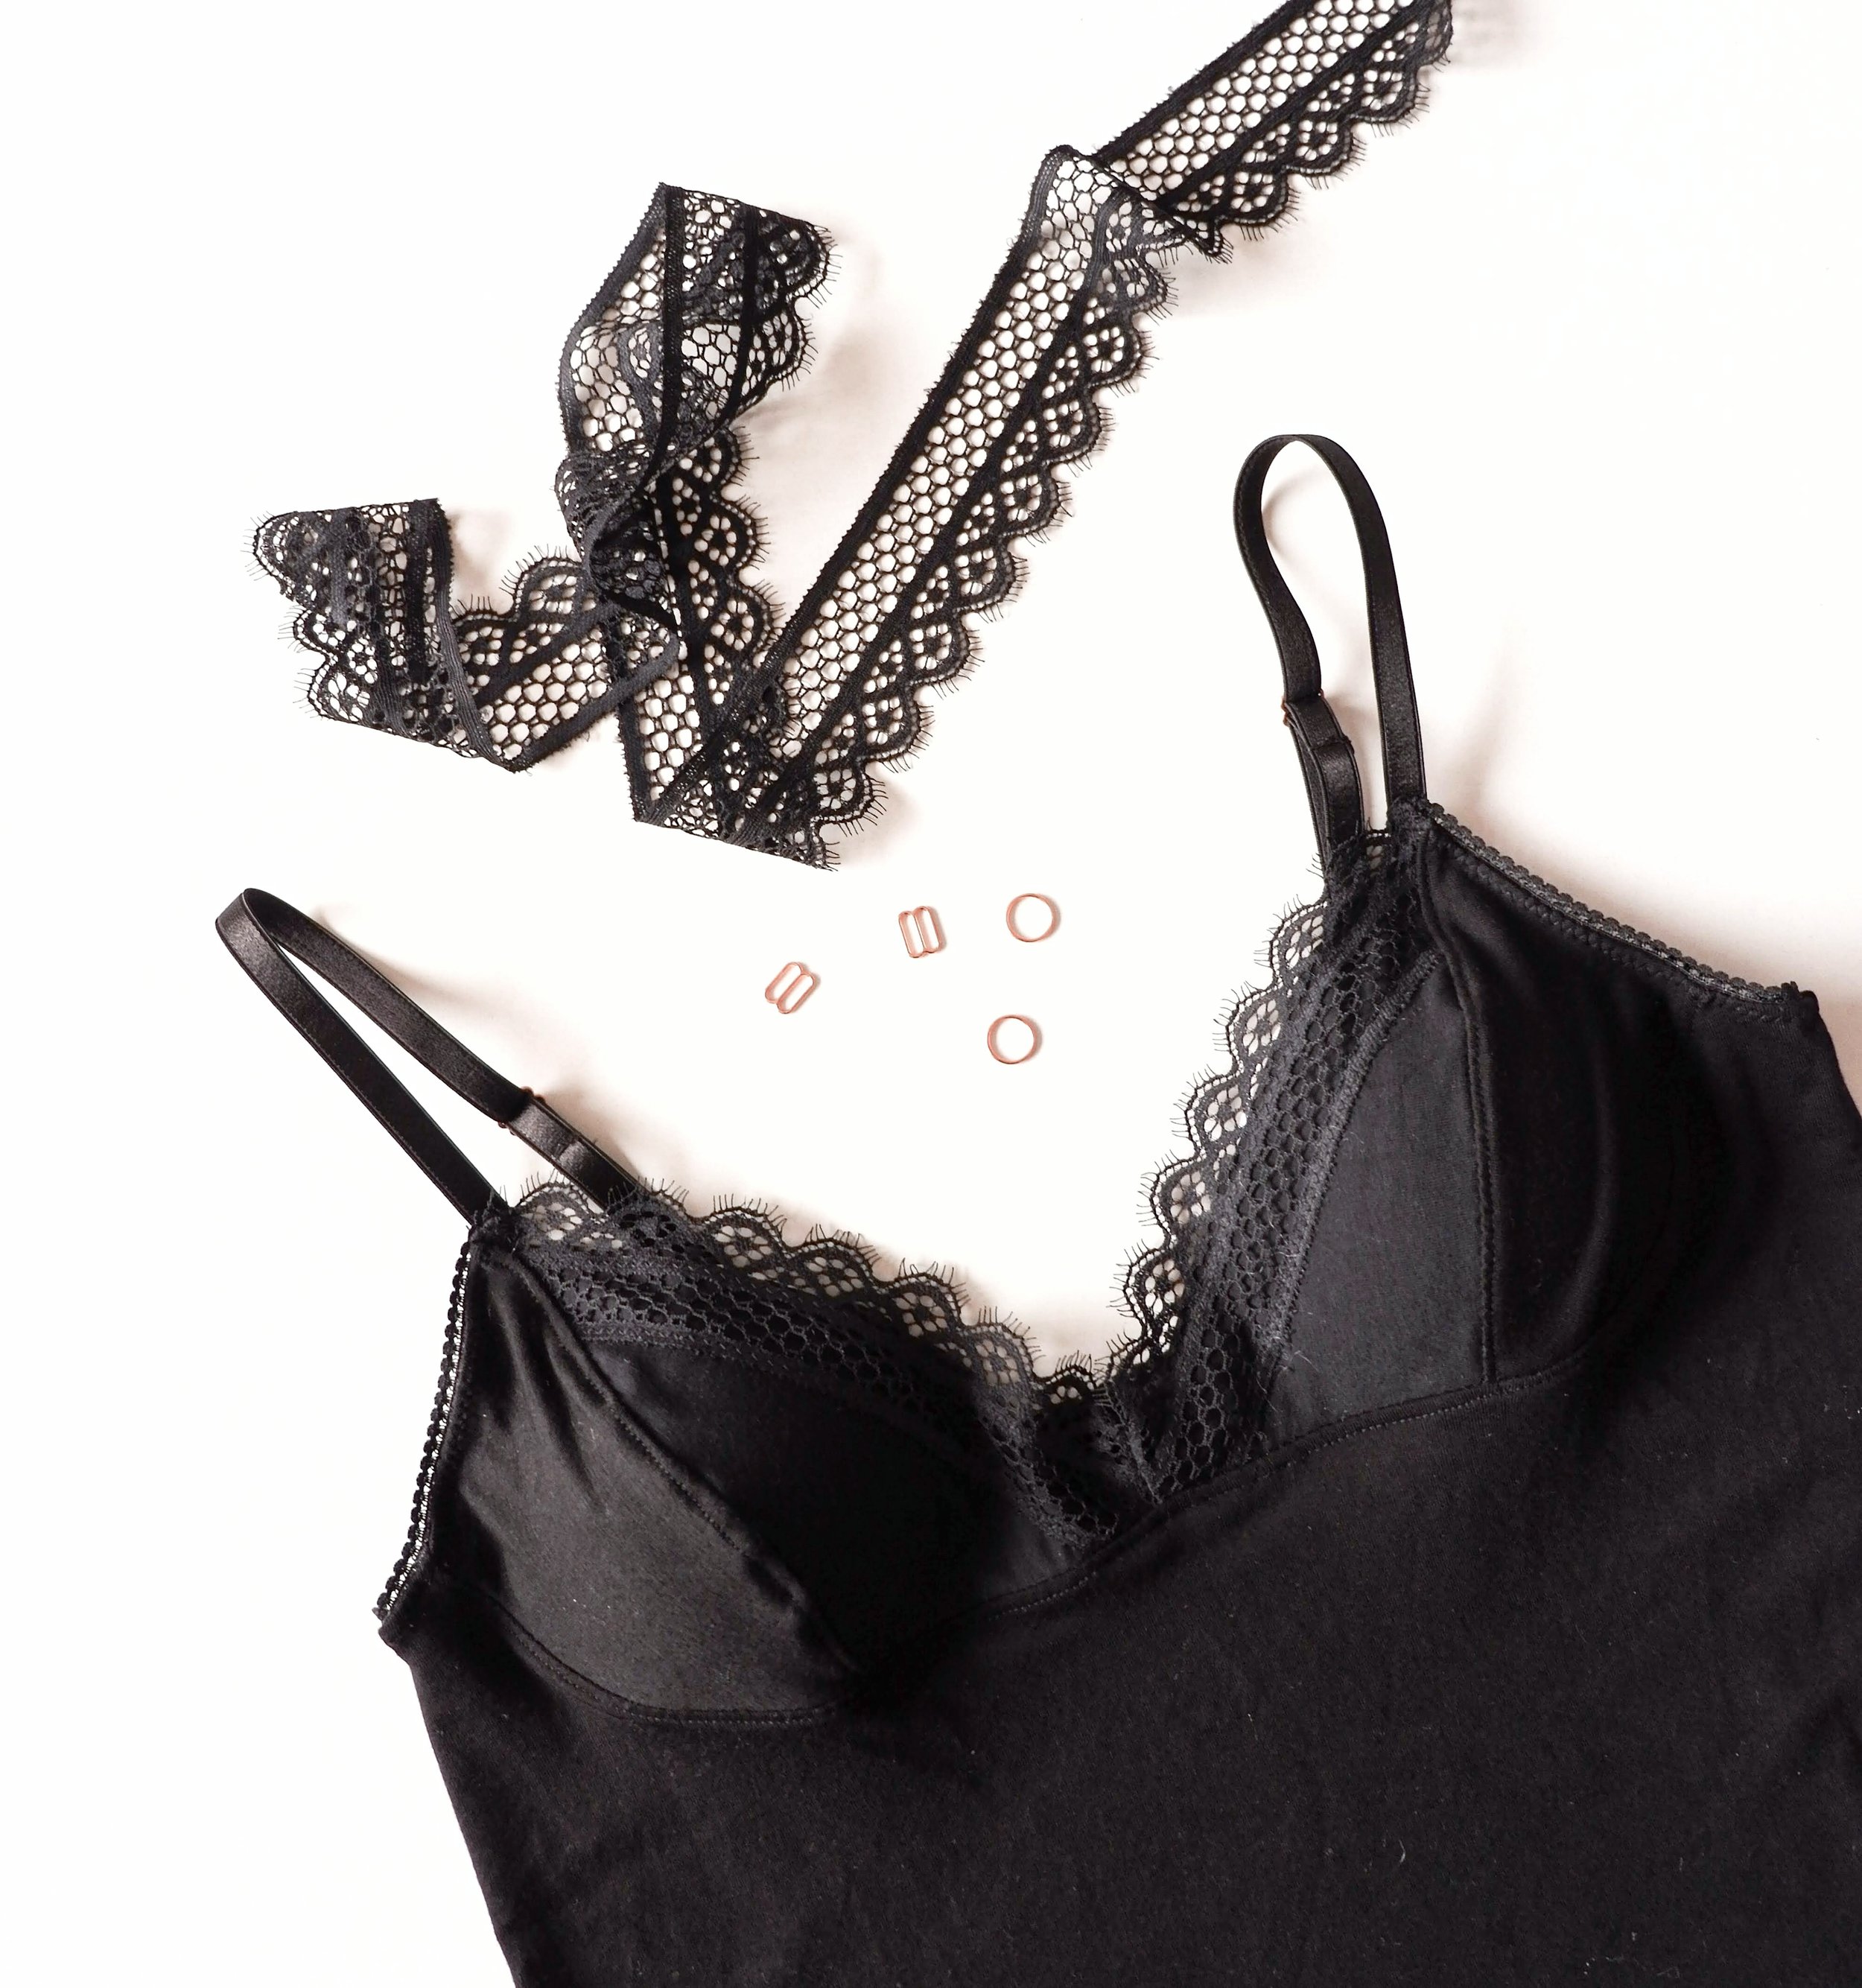
Making a knit top with the Mara bralette base has been on my mind for a while now so I decided to go ahead and sew it for this month's lingerie post (you can find all the posts here). Also I was teaching a student in class to make one for herself so I had just tried it out on her and she was super happy with the result.
I was thinking about all the cute lace + knit color combinations I could use for this sample but I opted for a solid black one first to try out the idea…a black lace will always look pretty no matter what (although it’s not easy to photograph, haha)! Even though my initial idea was to use regular stretch lace for the cups and a knit for the body, I also had this pretty black narrow stretch lace trim that I wanted to use somewhere and it was a good match for this project.
For the cups and the body I used the same bamboo viscose jersey knit that comes in all the bralette kits in my shop. It’s super soft and comfortable, lightweight but not too thin! For my version I wanted to try out something like a cami for sleeping or lounging around at home in summer so I decided to use only one layer of knit for the cups (and the lace trim for the inner cup edge). This means that it’s not as supportive as the original Mara bralette (I also didn’t use underwire channeling tape under the cups for the top).
If you want to make something like a hybrid between the bralette with the support and a knit cami you can of course do it. You can line your cups with power mesh and use the channeling tape. You can even underline the back band with power mesh as a lining on the upper part of the cami, but I’d keep the closure then and I’d make some kind of circular opening at the center back to accommodate the back band with a closure.
So first off to make this hack you need the Mara bralette pattern and preferably you’ve already used it so you know that the cups fit you etc. If you’re making a cami in a knit fabric without lining it for more support like I did, it’s actually quite easy to fit as you go (this is how I did it) as the stretch in the fabric will let you play around with the shape easily.
I used the cups as they are and then more or less eyeballed the body pieces using the front and back band pieces. The back needs a couple of extra cm in the center part as there’s no closure. To do that I measured an existing top I have to know the length and the width. You can also just take your own measurements for the waist and the hip and use a quarter of these measurements to prepare your pattern. As I mentioned you can fit as you go so don’t worry too much about cutting your pieces as most probably you’ll end up taking the seams in as the knit fabric alone is stretchier than the lined pieces that are originally used for this bralette and you’ll probably have excess fabric on the upper part of the side seam.
I first added the lace trim to my inner cup pieces making sure these are mirrored (just follow the pattern instructions) and then joined both cup pieces and the center front. I then machine basted the cup pieces together with the front body piece using the longest straight stitch length on my machine. Then I joined the front with the back again with machine basting. After that I prepared the adjustable straps as usual for bras and basted these on temporarily to try on the cami and see where I had to tweak the fit.
I mostly had to take in the side seam on the upper part, as like I mentioned before I was using a stretchier fabric alone instead of lace/knit underlined with power mesh. I also reduced the curve of my front body piece where it meets with the outer cup to accommodate the shape better with my (small) cup, it was easy to do as the cups were only basted to the body piece (I only took out some of the curve on the body but none on the actual cup, making it lay flatter).
Adjusting the cup area on the go is actually something that I do a lot in class to try the Mara bralette on my students. It’s also something I want to add to the pattern instructions once I’ll update the pattern (soon!) like I did for the Hanna bralette when I changed the cup sizing and added a better chapter about fitting (Have you got your updated version of the Hanna bralette? If not, write to me on Etsy under your pattern purchase and I’ll send it to you).
While I will work through the updated pattern I’m just going to leave the instructions here in text format for anyone who might find this information useful! To get closer to a good fit on your first try with this pattern I’d suggest two things:
“Muslin” the cups to see the fit
Before sewing anything with the actual supplies I try on the cup pieces that are cut in a knit fabric and joined together. It would be best if you can use a knit fabric with stretch only in one direction with the other direction being stable. That way you’d have a more similar effect as your stretch lace that usually only stretches in one direction. Cut the pieces out following the same direction of stretch as you’d do when using lace (the outer cup B has a greatest stretch direction marked on the pattern piece but the inner cup A has the scalloped edge lace direction only. Use that direction as the greatest stretch direction). Cut out both inner and outer cup pieces twice and join them with each other and also join the center seam.
Try on the cup pieces on top of a bra that fits you (no padding). It’s easier to do the fitting if you have someone helping you to hold the pieces on top of your bra. The volume of the cups should fit with your breast size, if not you can try a smaller/bigger cup size.
The cup center seam should go over the apex of your breast (the nipple). If it looks like it’s too far away towards the side you can try if pinching out excess fabric at the center seam will help. As the pieces are stretchy it’s usually enough when taking in a bit of excess fabric in the center seam in order for the cup seam to move where it should be. In that case I usually don’t adjust the front band even when I’ve taken out a bit from the inner cup. Why? The front band is stabilized with sheer lining and it won’t stretch as much. Usually you can adapt your new cup pieces with the band easily by pulling the pieces slightly to make them fit (stretchy knit fabric bonus!). In that case don’t try to match notches as they won’t be matching anymore. Taking out fabric from the front band makes a bigger difference in your overall band size and you might end up with a band too tight.
Once you’ve taken out the extra space at the center seam you now need to lower the neckline a bit as taking out space there makes the neckline rise. If it’s something you’re OK with you don’t need to do anything but if you want to maintain the original neckline height you have to lower the diagonal line to have the same center length as before. Also mark your 6 mm (1/4 in) seam allowance again to have the reference point as the notch you’ll use to cut the lace piece.
You can now go on and cut all your pieces and start sewing
Adjusting the front band + cup curve on the go
Another tip to adjust the fit is to try on the bralette without the elastics nor the channeling tape but with all the pieces sewn together and with the straps and closure basted on temporarily. This step will help a lot with the cup fit as you can adjust the outer cup curve.
Join together all the pieces but sew the cups to the front band with a long stitch on the machine so it will be easy to unpick if there’s a need to do that. Prepare the straps and baste them on temporarily. Do the same with the closure.
Now try on the bralette. Check the cups to see if they fit well. If you need to pinch out some excess fabric on the outer cup or on the band where it meets the outer cup you can just try it out while in front of a mirror, you want to eliminate any wrinkles appearing on the cups. Usually I don’t take out fabric on both pieces, it’s either one or another. Try and see how your particular shape fits with the bralette cups.
Once you’ve figured out your changes just unpick the curve on the cup and band union and adjust either of those pattern pieces by cutting away the excess fabric. Then sew the seam with a regular 2.5 length straight stitch and continue as usual.
This method has been used a lot in my lingerie sewing classes and I hope you’ll find it useful if you’re sewing with this bralette pattern (or making this cami hack!).
To finish off the cami once I had the fit right I just used a narrow lingerie elastic for the upper part, added the straps and finished the hem. This hack has a lot of different possibilities as it depends so much on what fabric you decide to use! I will use it as summer PJs so I’ll now have to make some shorts to go with it! I hope you liked the idea :)
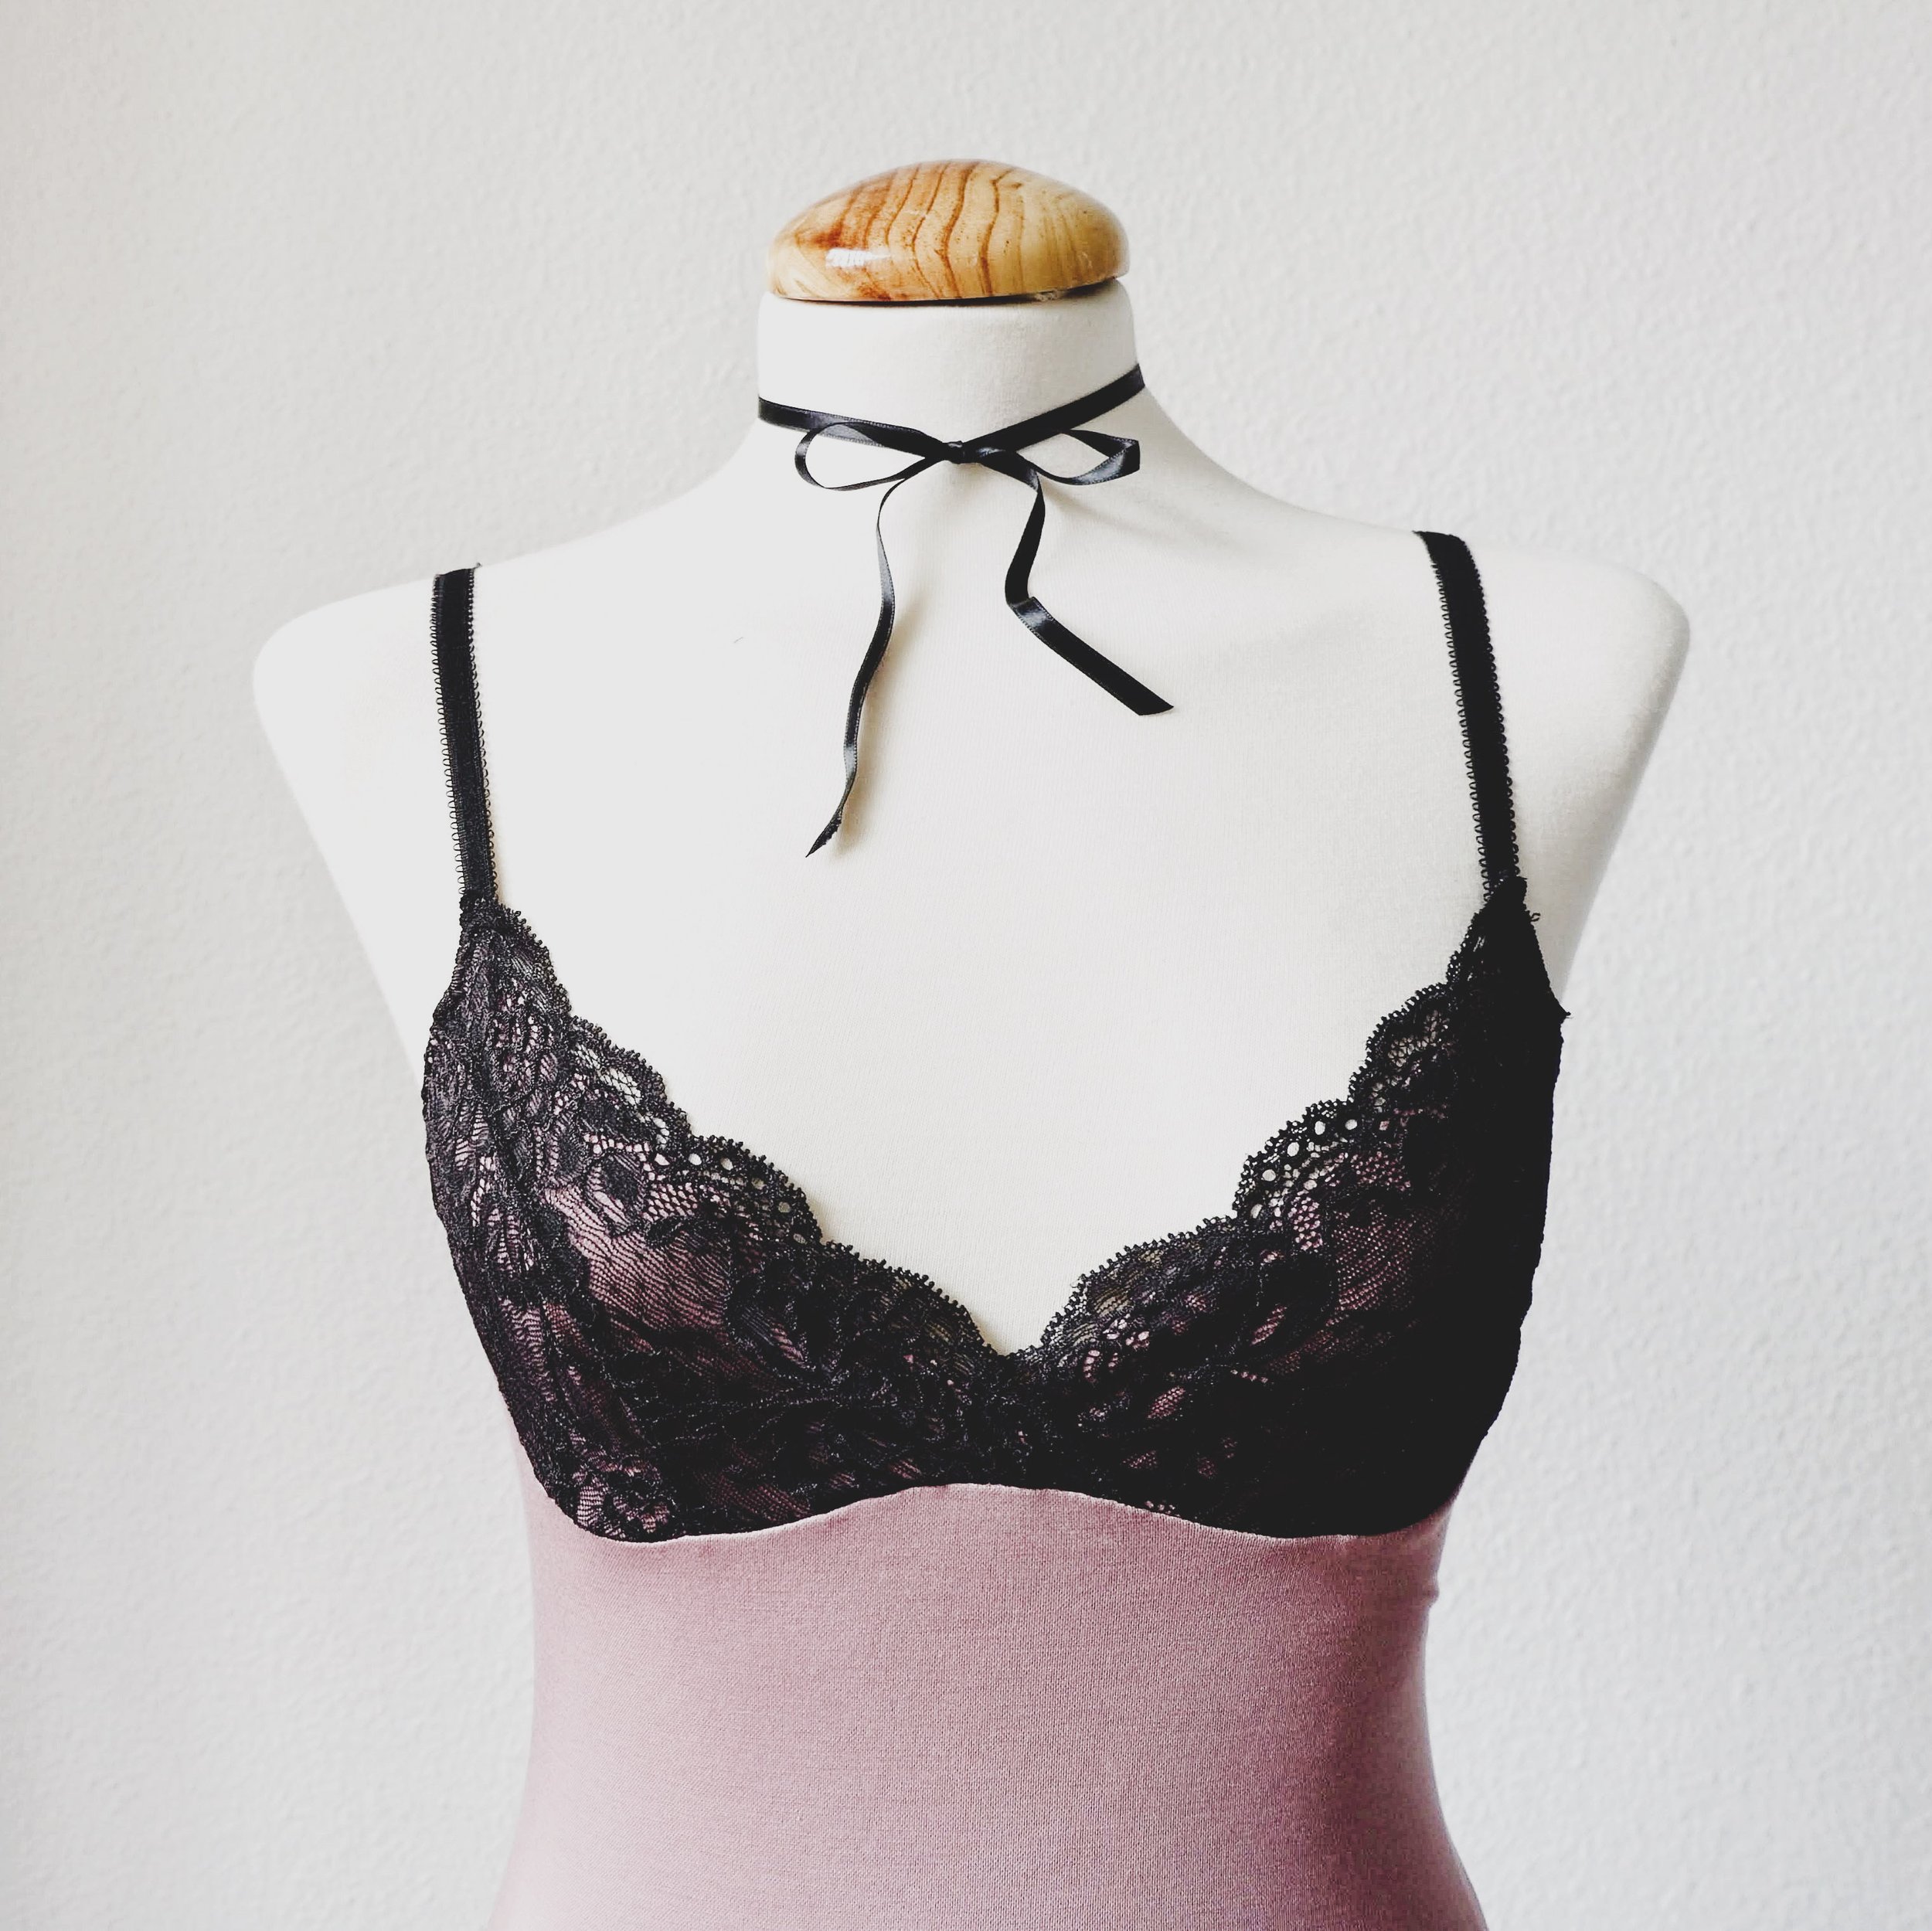
Here’s another sample of a similar hack but here I used the cups of the Mara bralette to make a bodysuit.
And if you’re into adding lace for woven fabric camis I have this tutorial about Ogden cami by True Bias here at the blog too!
Details
Pattern: Mara bralette by Studio Costura
Supplies: black bamboo jersey knit, black bramaking findings, black narrow lace trim all from my shop (this trim is not listed right now but you can write me on Etsy as I have it available)
Tutorials: Mara bralette sewalong + hacks page on the blog


