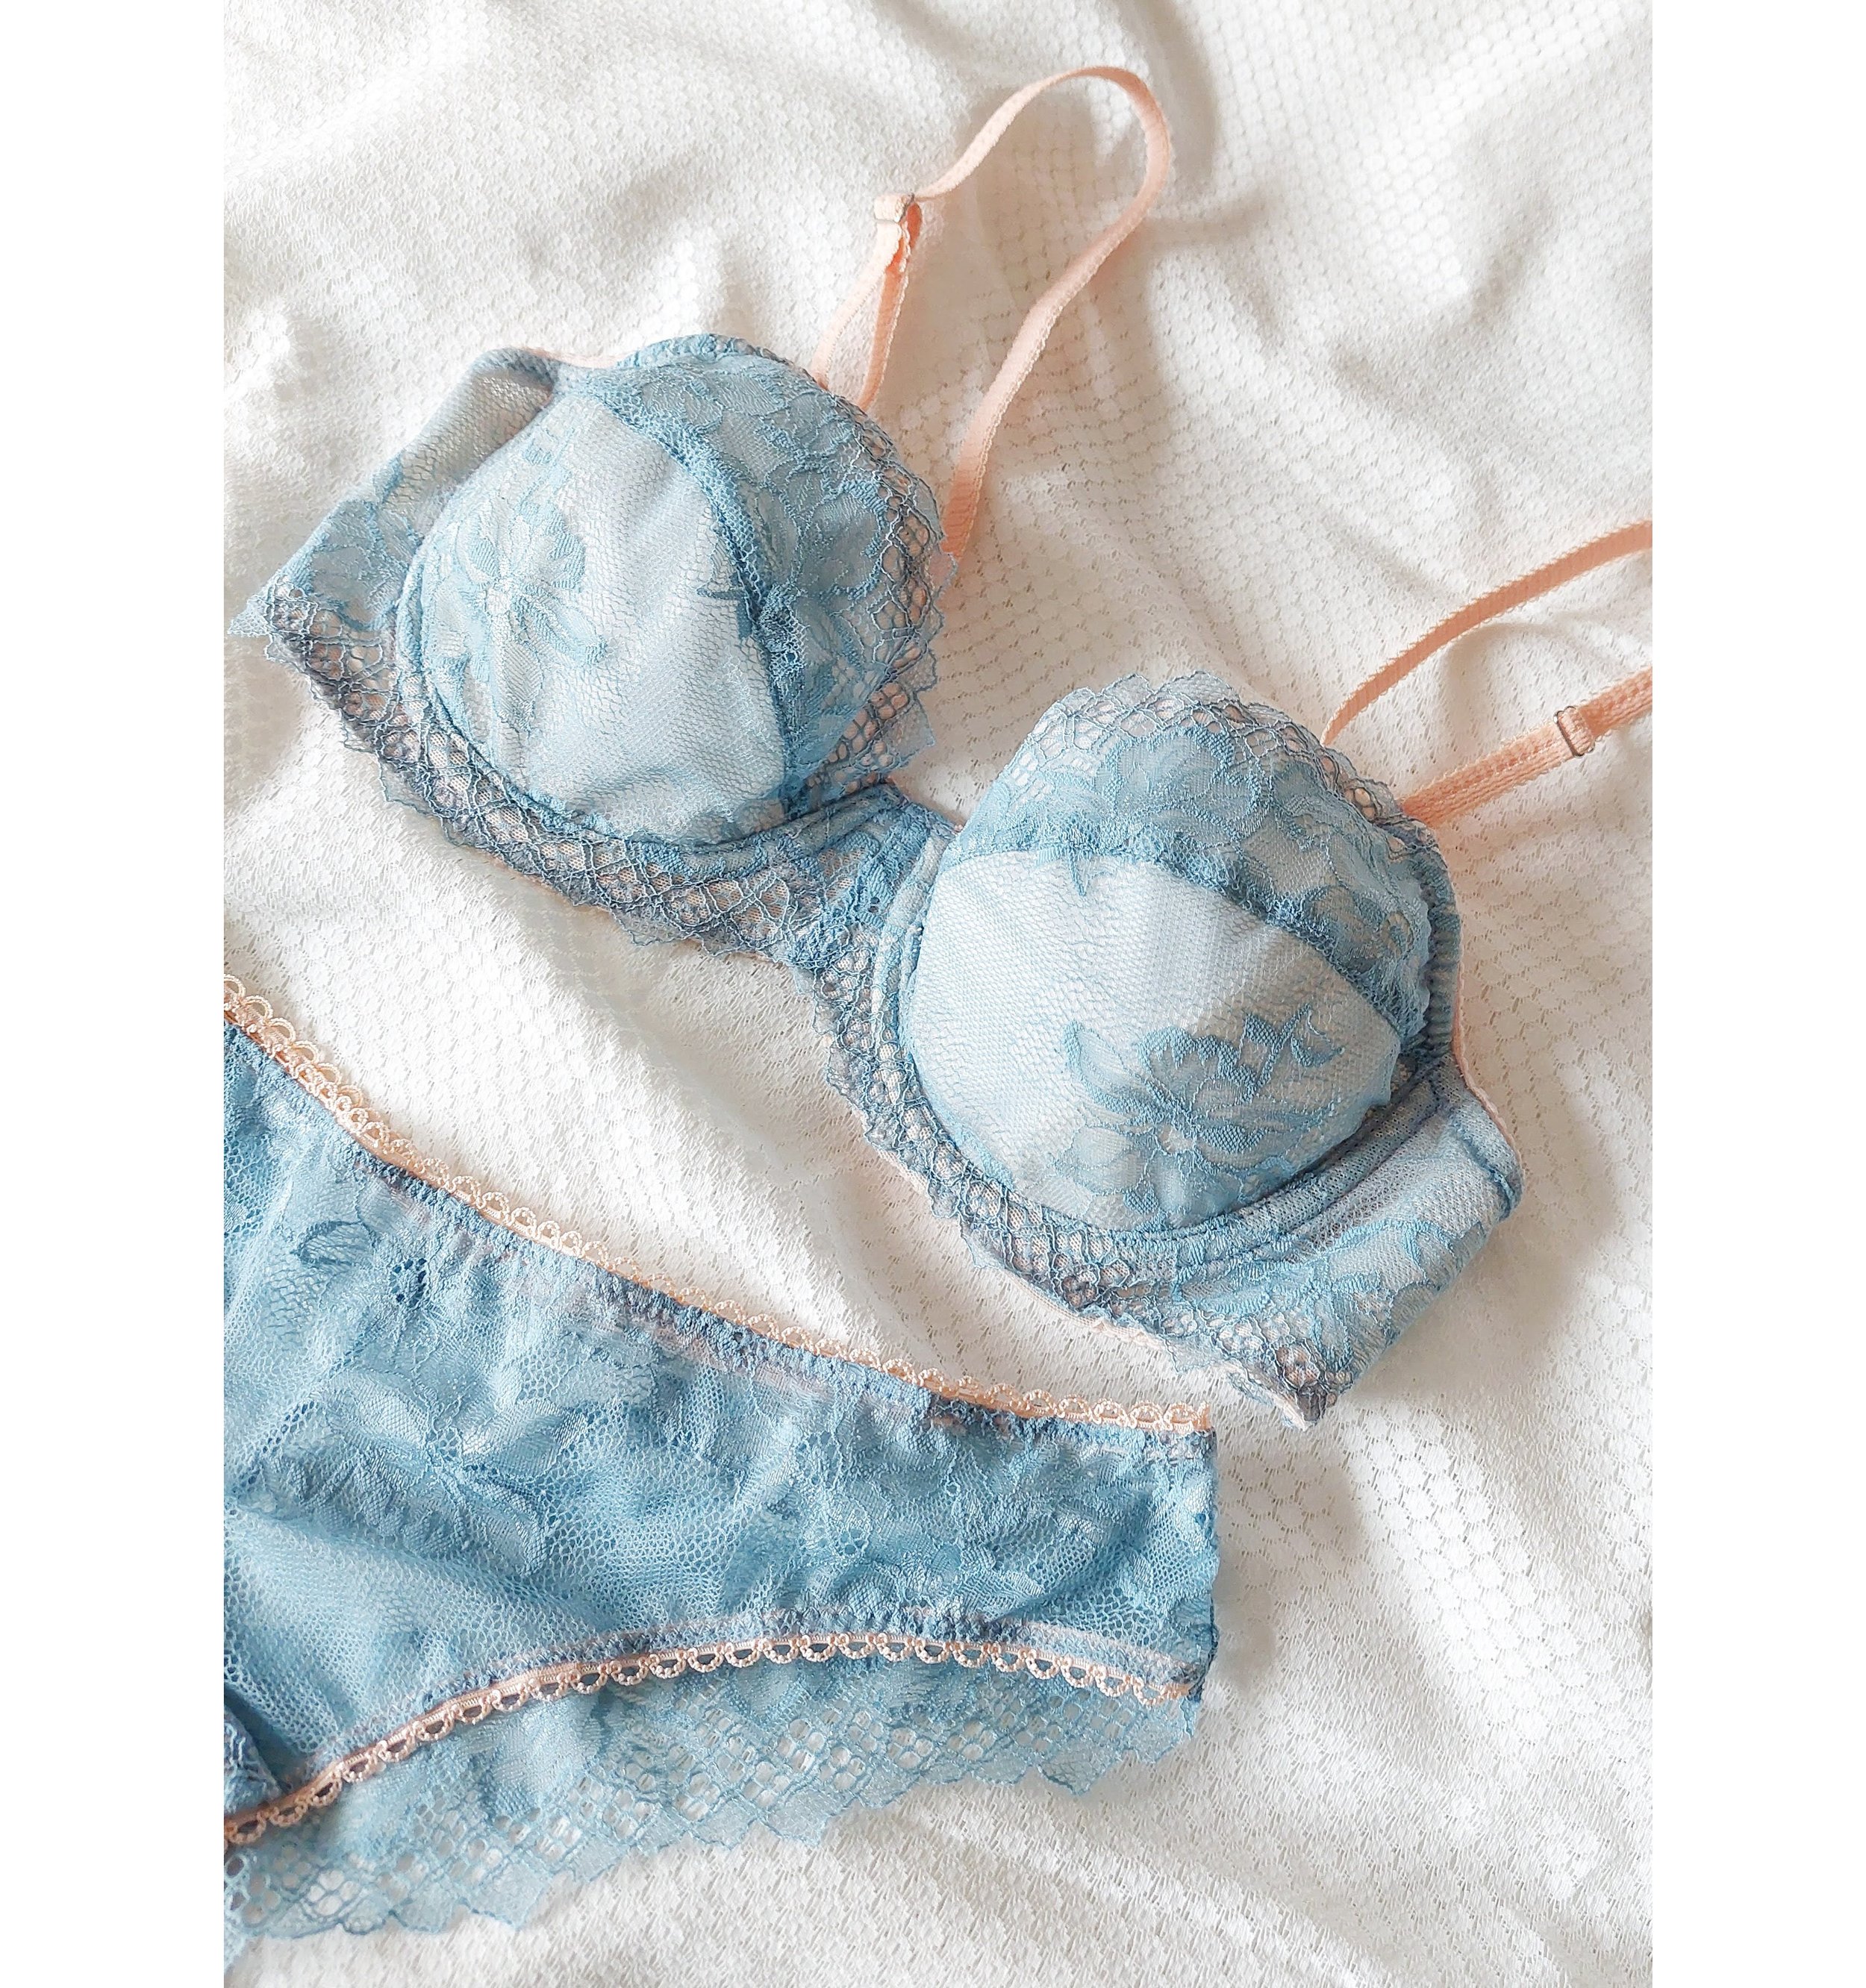
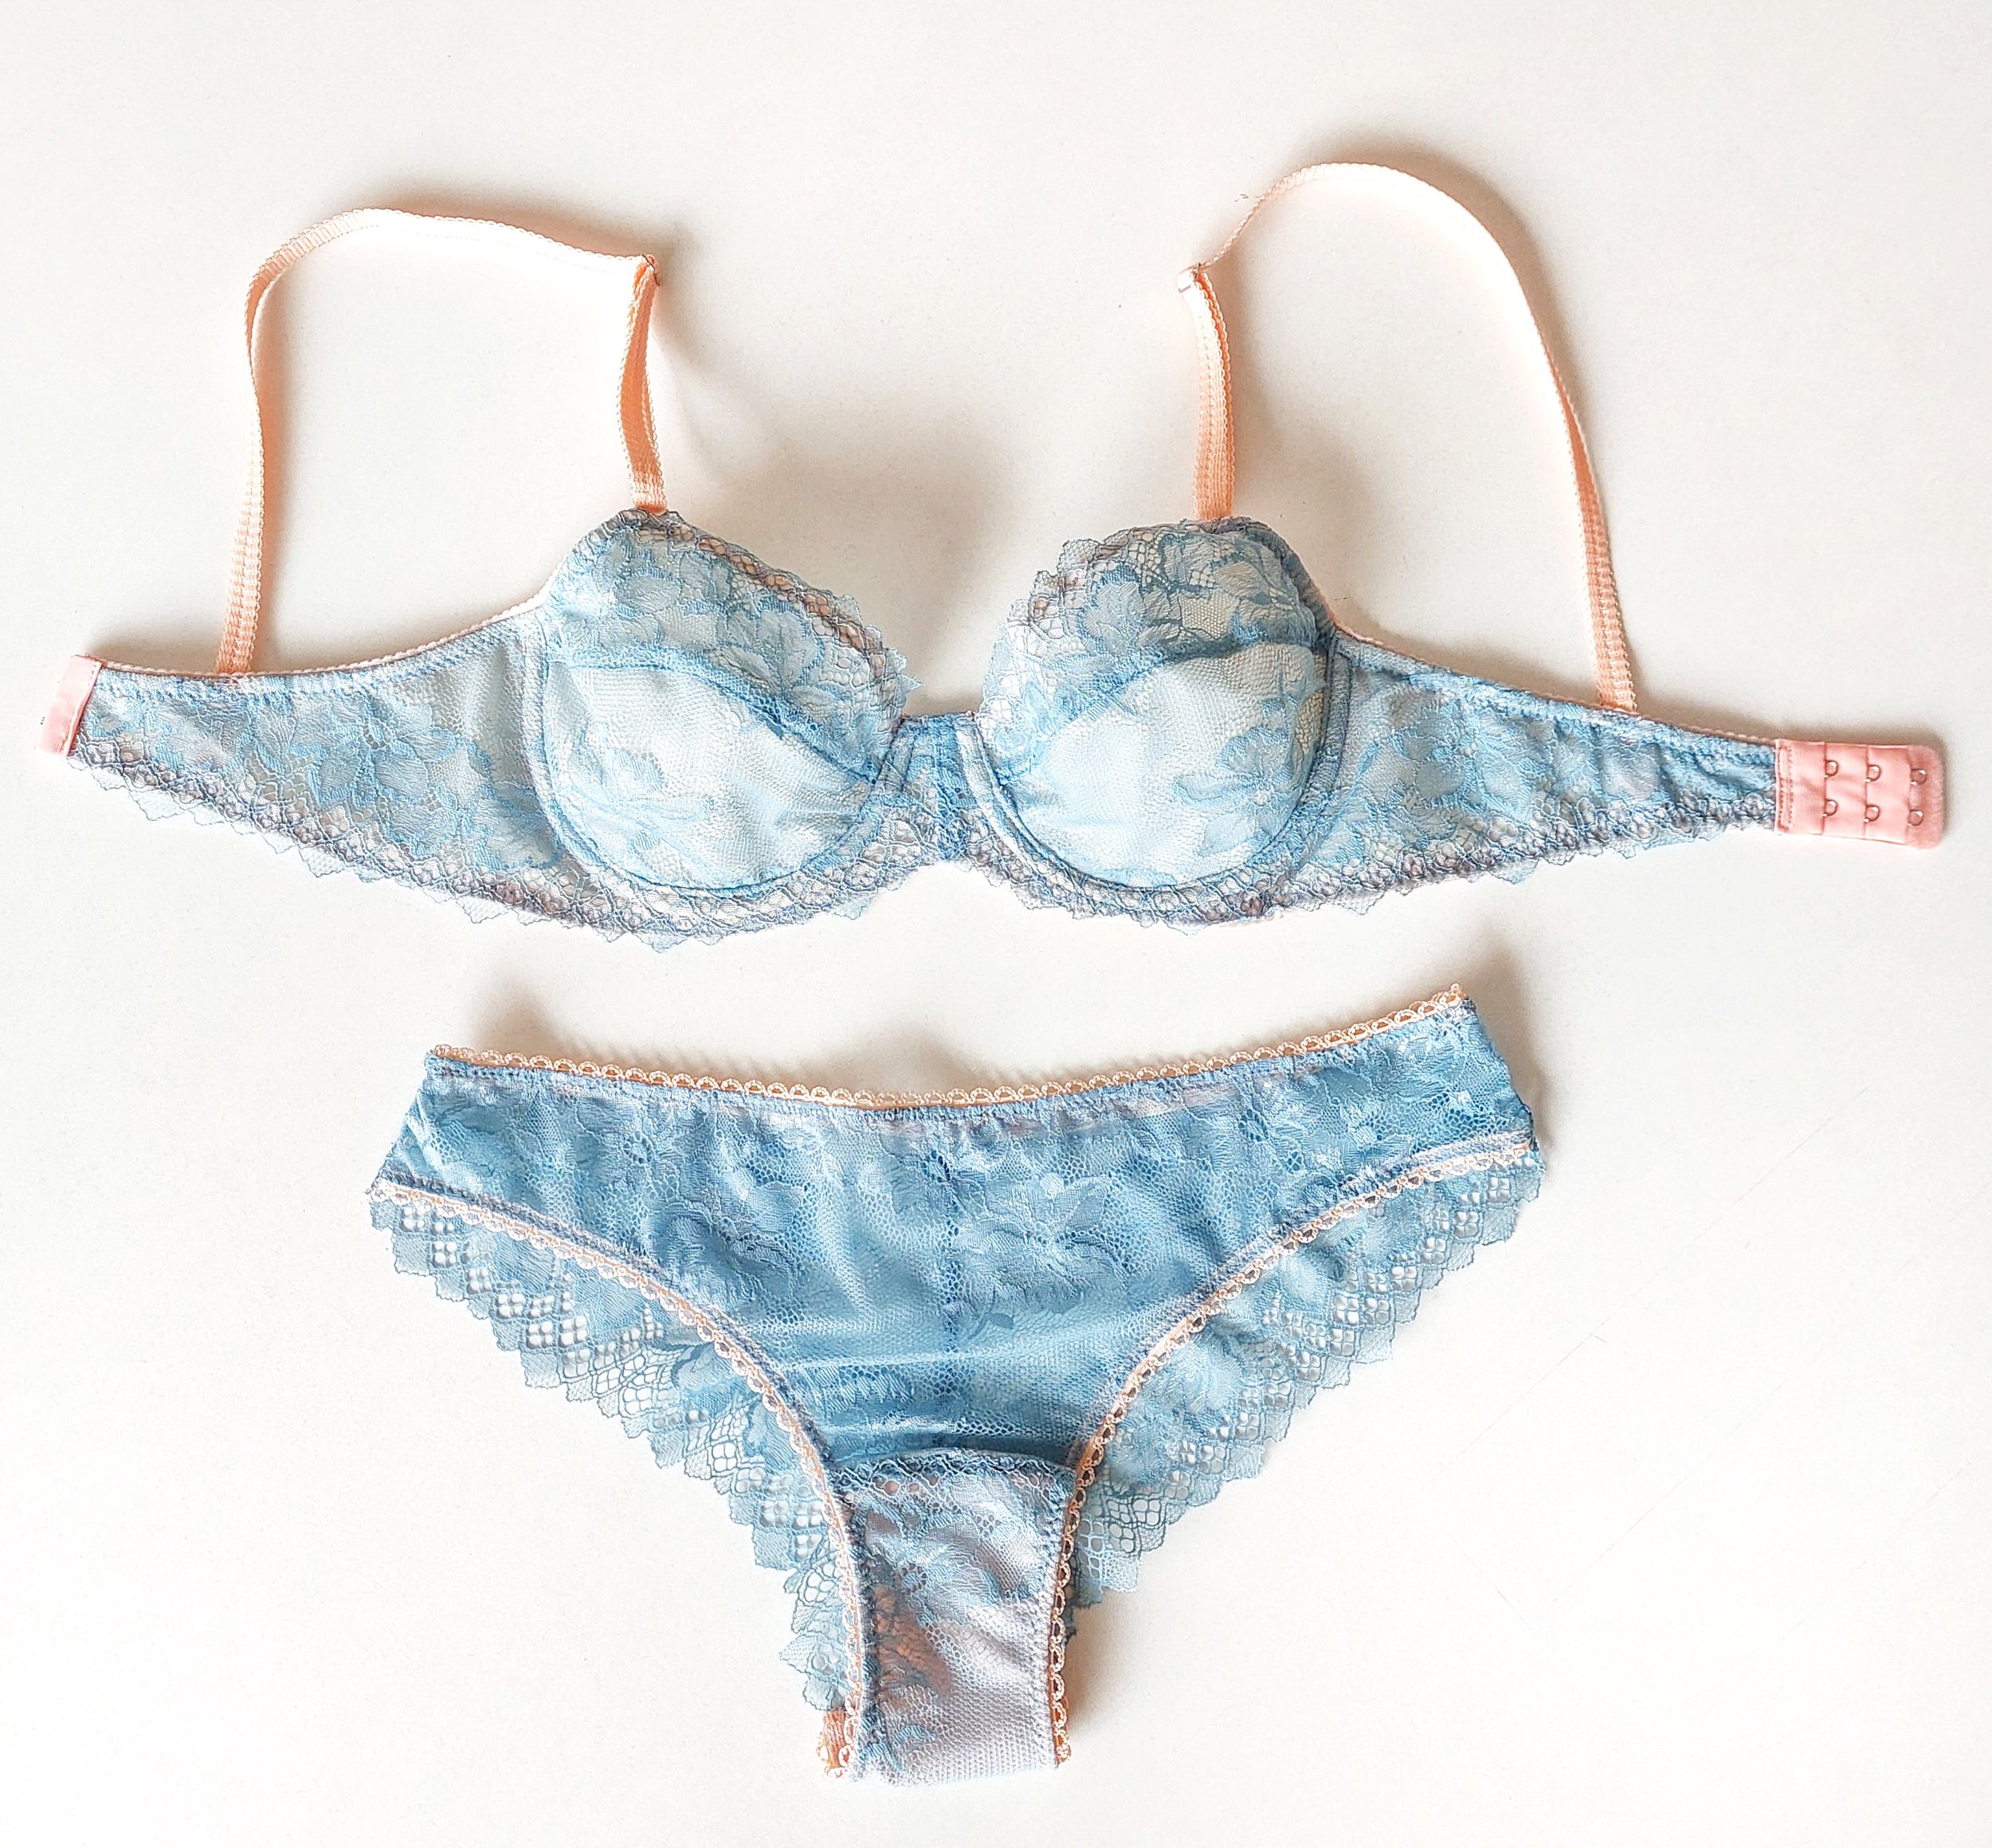
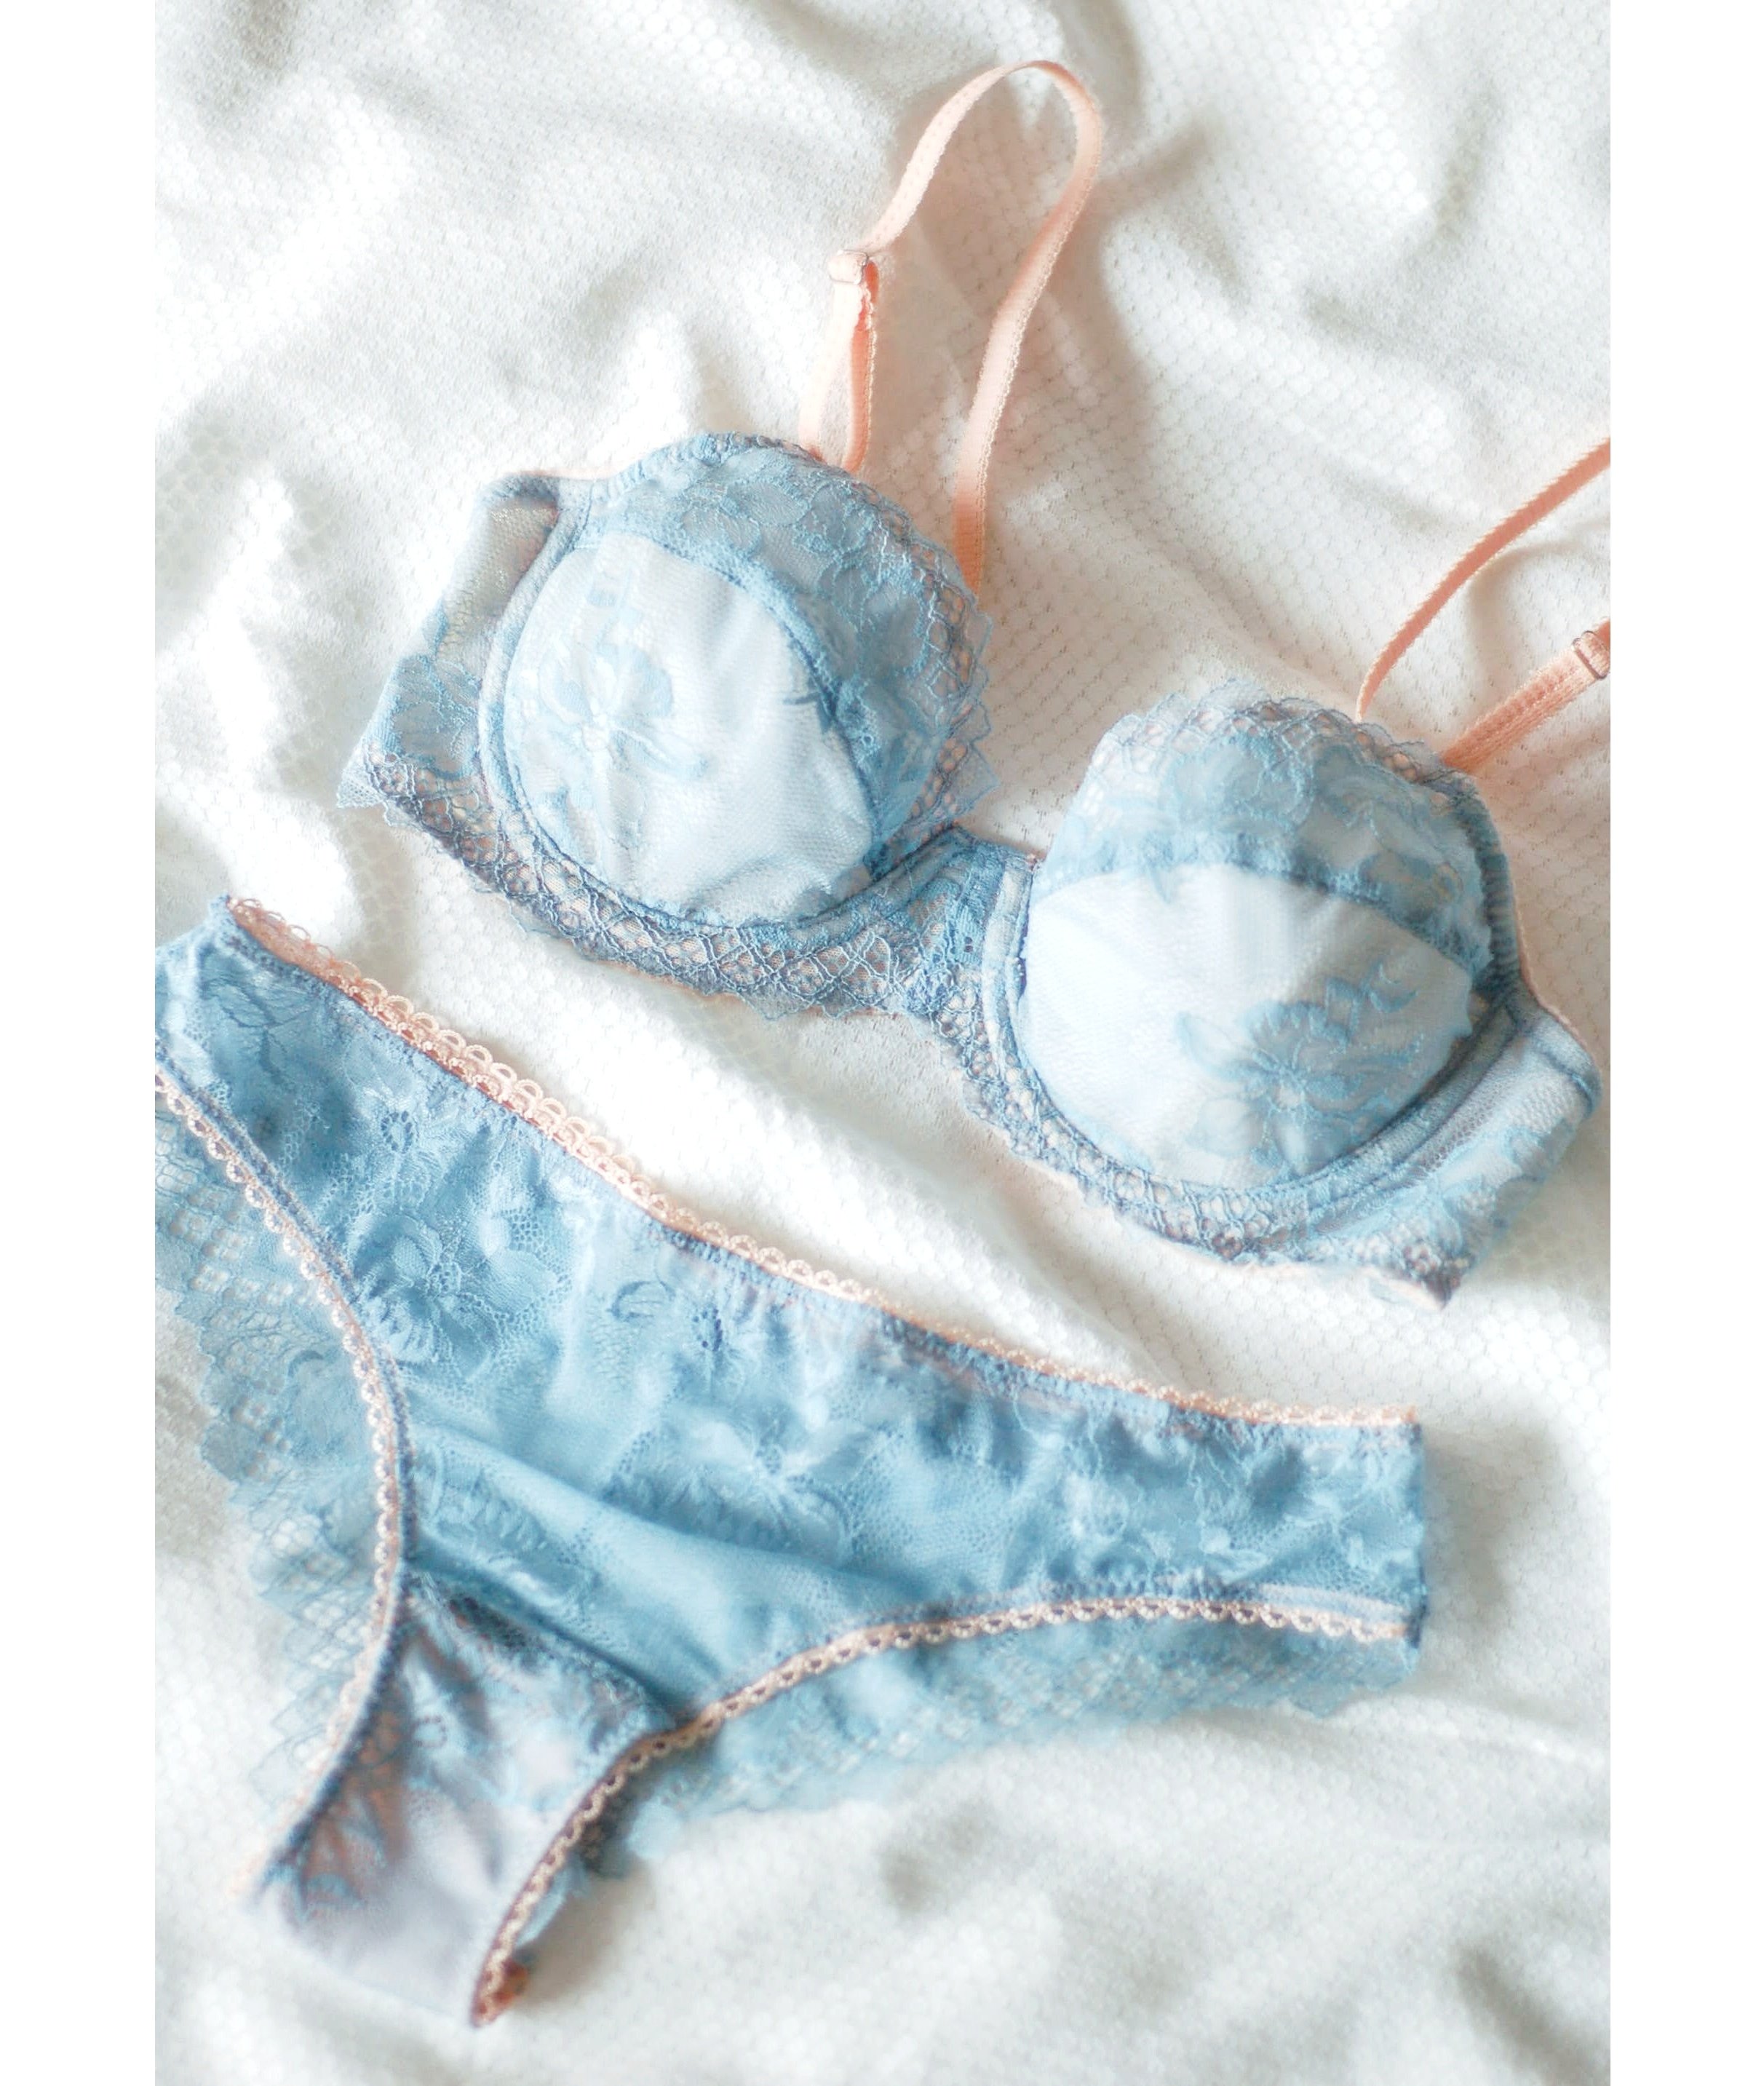
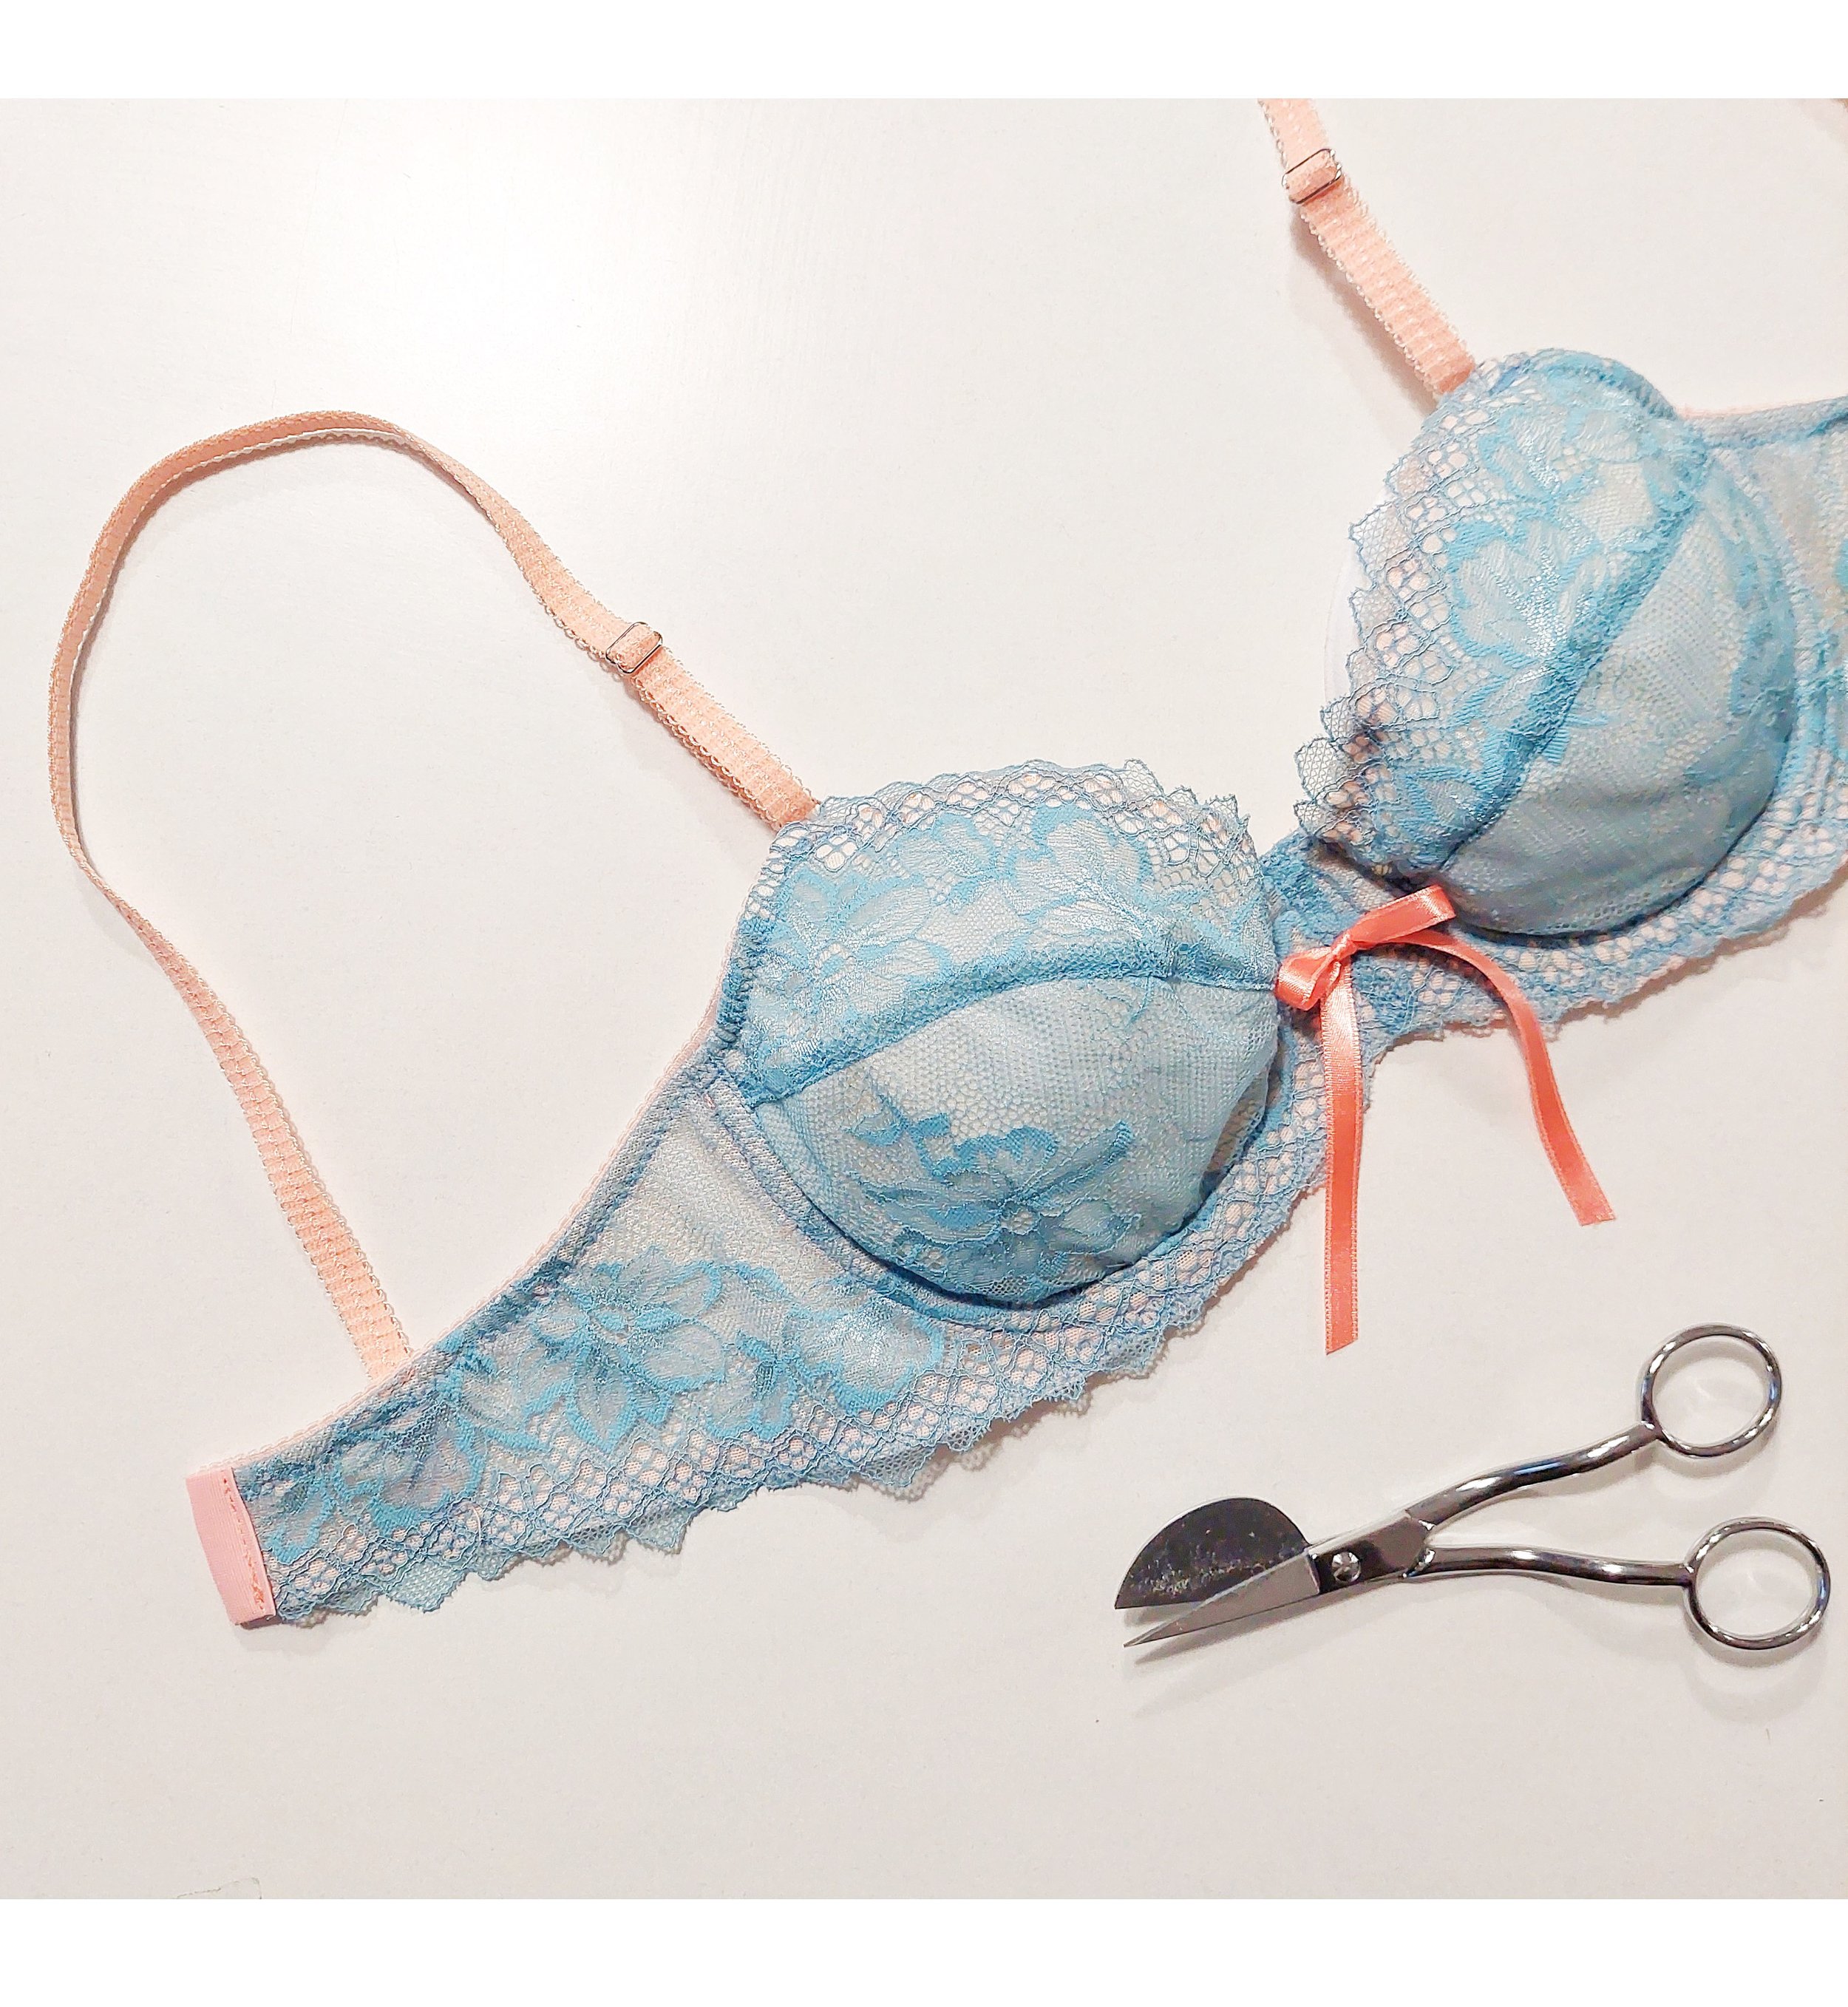
Blue & peach…I fell in love with this color combination right away when I found this lace! The warm tone of this particular blue combines in a really nice way with the peach elastics and creates a super cute set. So here goes my second set of the month of February (you can see all the posts in this series here).
One of my goals for this lingerie sewing series is also to try out patterns I haven’t used before and I had the Berkeley bra by Orange Lingerie in my list for a long time so I decided this would be a good occasion to try it out. Combined with the Mia panties the complete set has a nice springy vibe!
Berkeley bra is in general similar to any normal underwired bra pattern but it’s drafted in a way that there's a beautiful scalloped lace edge on the lower part of the band which gives the bra a really romantic vibe. The bra is made out of stretch lace and the bridge + lower cup are lined with a stable sheer lining for more support. There’s also a construction detail that adds a power bar inside the cup for more support.
The upper cup is not lined as per pattern instructions but I actually did line mine because I wanted the whole cup to have the same look. The color difference would actually not be very important as this beige lining is quite similar to my skin tone but if I’d use a black or white lining I’d definitely line the upper part to have the same color combination all over the bra.
The band elastic is sewn with a three step zig-zag as it’s not folded under and it forms a cross under the bridge (mine was actually a bit shifted to one side and not as centered as I’m not sure what I was doing when sewing it, haha). The construction of this bra is straightforward and Orange Lingerie as per usual has a very comprehensive instructions booklet that makes the sewing process enjoyable.
Some adventures in bra sizing
When I sew with new bra patterns I usually try to read their instructions well and to do everything as they say. Especially the sizing part can be tricky as every patternmaker uses different methods so to be sure you really have to pay attention there. I had used a pattern from Orange Lingerie before, actually I started to learn how to make bras for the first time with their Boylston pattern. Back then I measured myself according to the same method (imperial) I now also use for my patterns which is taking your underbust measurement and adding 4 or 5 inches to get an even number. Using that system I always wear a 36A (80A in Europe and a 34 wire) and this has also been the size I buy in ready to wear.
I was actually using that size in every pattern I’ve sewn with…until I tried the Black Beauty bra by Emerald Erin (the pattern I’m currently using for all my underwired bra in person classes). She actually uses the system where you measure your underbust and round it to an even number and that IS your band size. So for her patterns I’m a 32C (also the same 34 wire). I’ve never been a C cup so I was of course a bit concerned with that calculation the first time I made that bra but I knew that the wire being the same number, the cup volume was the same, just the band was different. The thing is that in the Black Beauty pattern the 32 band, that’s my size, is not directly two sizes smaller than in the other patterns, it’s an entirely different bra sizing approach. I have to say that I was very confused when I first found out about that. It wasn’t until I read this blog post on Erin’s blog where I had the lightbulb moment and I actually understood what’s going on with the sizing:
“Generally I find there are two main ways to measure bra sizing: American or European/UK sizing.
With American sizing you measure your ribcage (breathing out with a snug tape measure). Then you add 4 or 5 inches to give you a round number, that is your band size. Alternatively some measuring methods will take your overbust measurement instead of your ribcage. Then you take your full bust measurement, and you subtract your band measurement. Every inch remaining is one cup size. (American sizing can vary, but is generally A – H without double letters)
Alternatively with UK sizing you take the same ribcage measure, and full bust measure. Your rib cage measure is your band size, and then the difference between your full bust and your ribcage, each inch is a cup size. (In UK sizing the cup sequence is: A, B, C, D, DD, E, F, FF ….)
…
Neither of these systems are wrong, and some systems will work better for certain bodies. Generally speaking I find people with smaller cup sizes and more athletic body types work well with the American measuring system, where people with larger cups work better with the UK system. It’s really about your preferences with how you like your bras to fit you.”
There’s an American and a UK sizing system?! Believe me, my head basically exploded when I found out about that. I actually make patterns and I’ve read my fair share of bramaking books (not all of them of course as it’s as always a work in progress) and I had no idea, I learned pattern making with the technique where you add those 4 or 5 inches and for me it was the only way. At first I felt stupid, then I felt enlightened, haha. Now I understand the reason behind this different measuring system and I also understand what she said about the UK system working better with bigger cup sizes. The Black Beauty pattern has definitely a tighter fit “right out of the envelope” and it’s drafted exactly with that support in mind.
So, I’m writing this because apparently there is no such thing as a generalized bra sizing system…and when using different patterns you should listen to the pattern maker. So when I read through the Berkeley bra pattern instructions, their sizing informations is this:
There is no single measurement method to determine what bra size will work for every body. The only reliable way to determine bra size is to try on finished bras made from that pattern. Given the bra sizing challenge, we recommend starting by making your ready-to-wear size.
If you do not have a ready-to-wear size or you are at a loss for what size to start with, we offer the below sizing guidelines for our bra sewing patterns.
…
Measure body circumference directly under the bust with the tape measure parallel to floor. Round the measurement to the nearest inch, rounding down if you are at the ½” mark.This is the band size.
At first I got confused as the last time I made a bra with Orange Lingerie pattern they instructed you to use the + 4 or 5 inch measurement system. But now it says you should use your RTW size and if you don’t know one you should measure the underbust and that would be the band size. I know that my RTW size is a 36A, I also know that my Black Beauty / UK size is a 34C…so I didn’t really know what to do. But I decided to use the measuring system mentioned and make a 34C as I wanted to follow pattern instructions as I hadn’t used this particular pattern before.
…annnnd the result turned out too small for me, haha. This is where I started to investigate if I actually read the instructions correctly and I also pulled out the Boylston instructions and saw that there was a different system (the + 4 or 5 inch one) there. The bra was clearly the wrong size for me but I wanted to understand the WHYYY behind it, haha.
So I wrote to Norma, the designer behind Orange Lingerie patterns. She told me that I should have used the same size as I previously used for my first Boylston bra as this was also my usual RTW size (that was what the instructions said too, so me rigorously following instructions was only half way true as I rigorously followed them but just the second part, lol). She told me that based on her own work as a teacher and after fitting so many people, she preferred to use that system (starting with the RTW size) as it works for more people than just calculating the size based on measurements, something that does not always work. But she knows that us sewing people need some measurements as we are used to working like this, so that’s why there’s that option too.
This sounds very reasonable! The only problem that I see with this method is that most of the people I’ve worked with in class don’t really have a good understanding about their RTW size. Probably it’s because there are just not so many size options available in the more affordable end of the bra selection at the retail stores. Which means that women will make work whatever size is closest to what their actual size is, whether it’s actually the correct fit for the band or not. Especially when talking about bigger cup sizes there are not so many options that are affordable for everyone and the confusion about the size is even bigger.
So yeah, the sizing part is complicated, it definitely is. It’s something I say in the beginning of all of my underwired bra classes…it’s a process! Because it’s not only the bra size, it’s also the underwire size, the exact supplies you use, the design of a particular pattern…so many variables! But it’s also not the end of the world…and it’s actually quite exciting to figure it out :)
This bra will be a sample anyway so I’m not very devastated about the wrong size. I also learned a good lesson about sizing again…and I could share it with you so maybe you can learn from my mistakes, haha.
To complete the set I used the Mia panties pattern as I wanted the peach elastic to be a bit more visible. This pattern also uses elastic for the front even for the lace version so it was perfect to show off this cute color combination. Mia is a Brazilian cut panties pattern that is somewhere between a bikini and a thong style…if you’re into showing some skin but not too much, this pattern is a good choice for you!
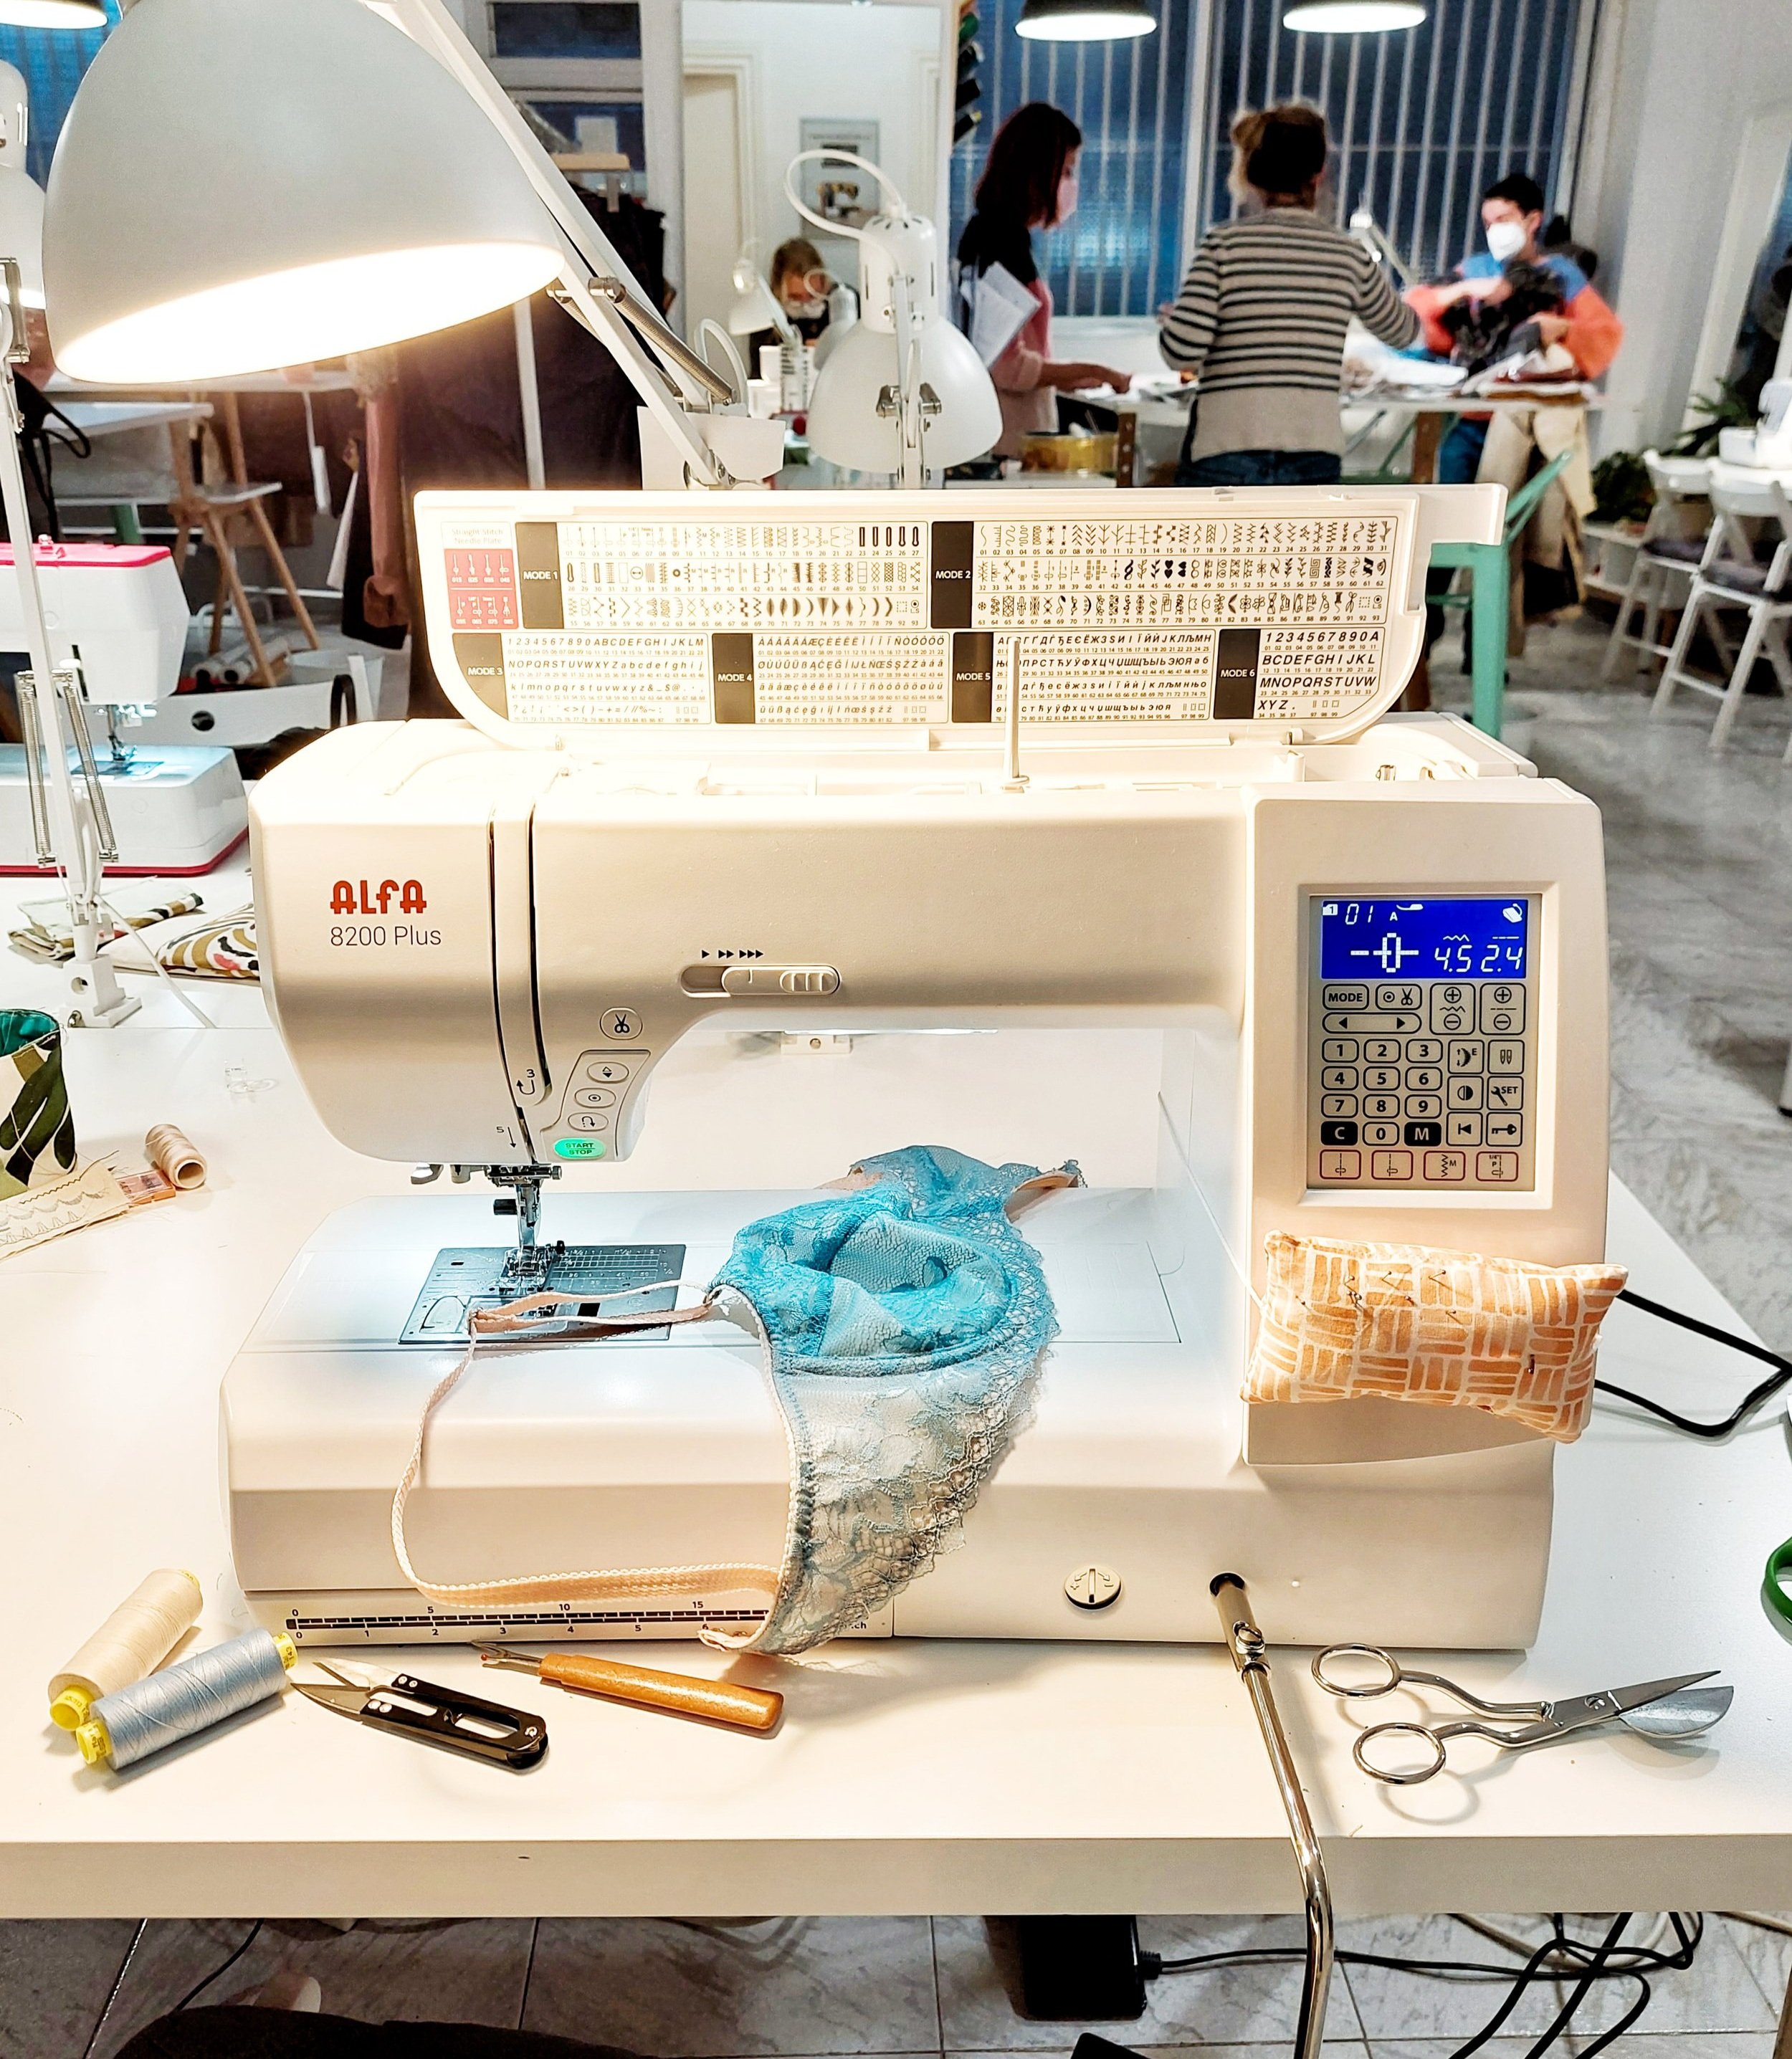
Also just a little note about this new machine I used when sewing this set. Laura got two new machines (and a coverlocker!!!) for the academy and I’ve been testing one of those, it’s the Alfa 8200 Plus. It’s definitely the most expensive sewing machine I’ve ever used and it’s a smooooth one for sure. If you know me I’m all about the basics + quality parts when talking about sewing machines. I know I don’t use all the bells and whistles or hundreds of decorative stitches…but I need good feed dogs and an overall sturdy machine (that’s why I love sewing on industrial machines + they are actually quite cheap).
Sewing with this machine has been an absolute dream for sure, I love it! I haven’t had time to try out everything it offers yet (the Acufeed system that works like a walking foot for quilting!), but it sews like a dream and the 7 piece feed dogs move fabric really evenly. For me the best part is that it has the adjustable knee lift like industrial machines, so comfortable! And there is the automatic thread cutter, nice high speed and automatic thread tension…basically it’s a dream to work with.
I’ve investigated a bit online and this machine should have the same system as the Janome Memory Craft and I’m a big Janome fan so it’s a no brainer that I love that machine so much. As I mentioned it’s the most expensive machine I’ve personally ever worked with (it’s somewhere around 1500 eur in the retail stores) but I know that there are very expensive machines out there for whoever wants to up their sewing game or needs one for their work so it’s obviously not the most expensive one around for sure. I’ve never really been in a position to get myself a machine like this because it’s clearly out of my budget, I already have various machines and I actually don’t have so much time to sew so that I could justify putting that kind of money to buy one…so I feel very lucky to be able to actually use it at work, hehe. And just to make it clear I’m in no way sponsored to say anything about the machine, everything I write here is my personal opinion (+ if you’re looking for a sewing machine I’ve got a post about that, maybe it can help you).
Thanks for reading and I hope you’ve found this post helpful/inspiring! This particular kit is now up at the shop as a bra and as a bralette option, enjoy :)
Details
Patterns: Berkeley bra by Orange Lingerie, Mia panties by Studio Costura
Supplies: blue + peach bramaking kit

