Buenas, un lunes merece un nuevo sujetador o bralette, verdad? Alguien podría pensar (ehmm...yo primero) que ya tengo demasiados con el ritmo que voy cosiendo por aquí pero realmente es todo por el amor al arte, jeje. Bueno, es verdad, con cada uno aprendo nuevas cosas y así sé también qué más cosas traer a la tienda. Así que ya está de poner excusas y vamos con lo nuevo.
Hello, a Monday is way better with a new bra or bralette, right? Some people might think (hmm...me first) that I already have too many of them with the speed I'm sewing them up around here but actually it's all about the love of lingerie, haha. Well, it's true and with every different pattern I also learn new stuff and I'll know what supplies to bring to the shop too. So let's stop making up excuses here and I'll show you the new stuff.
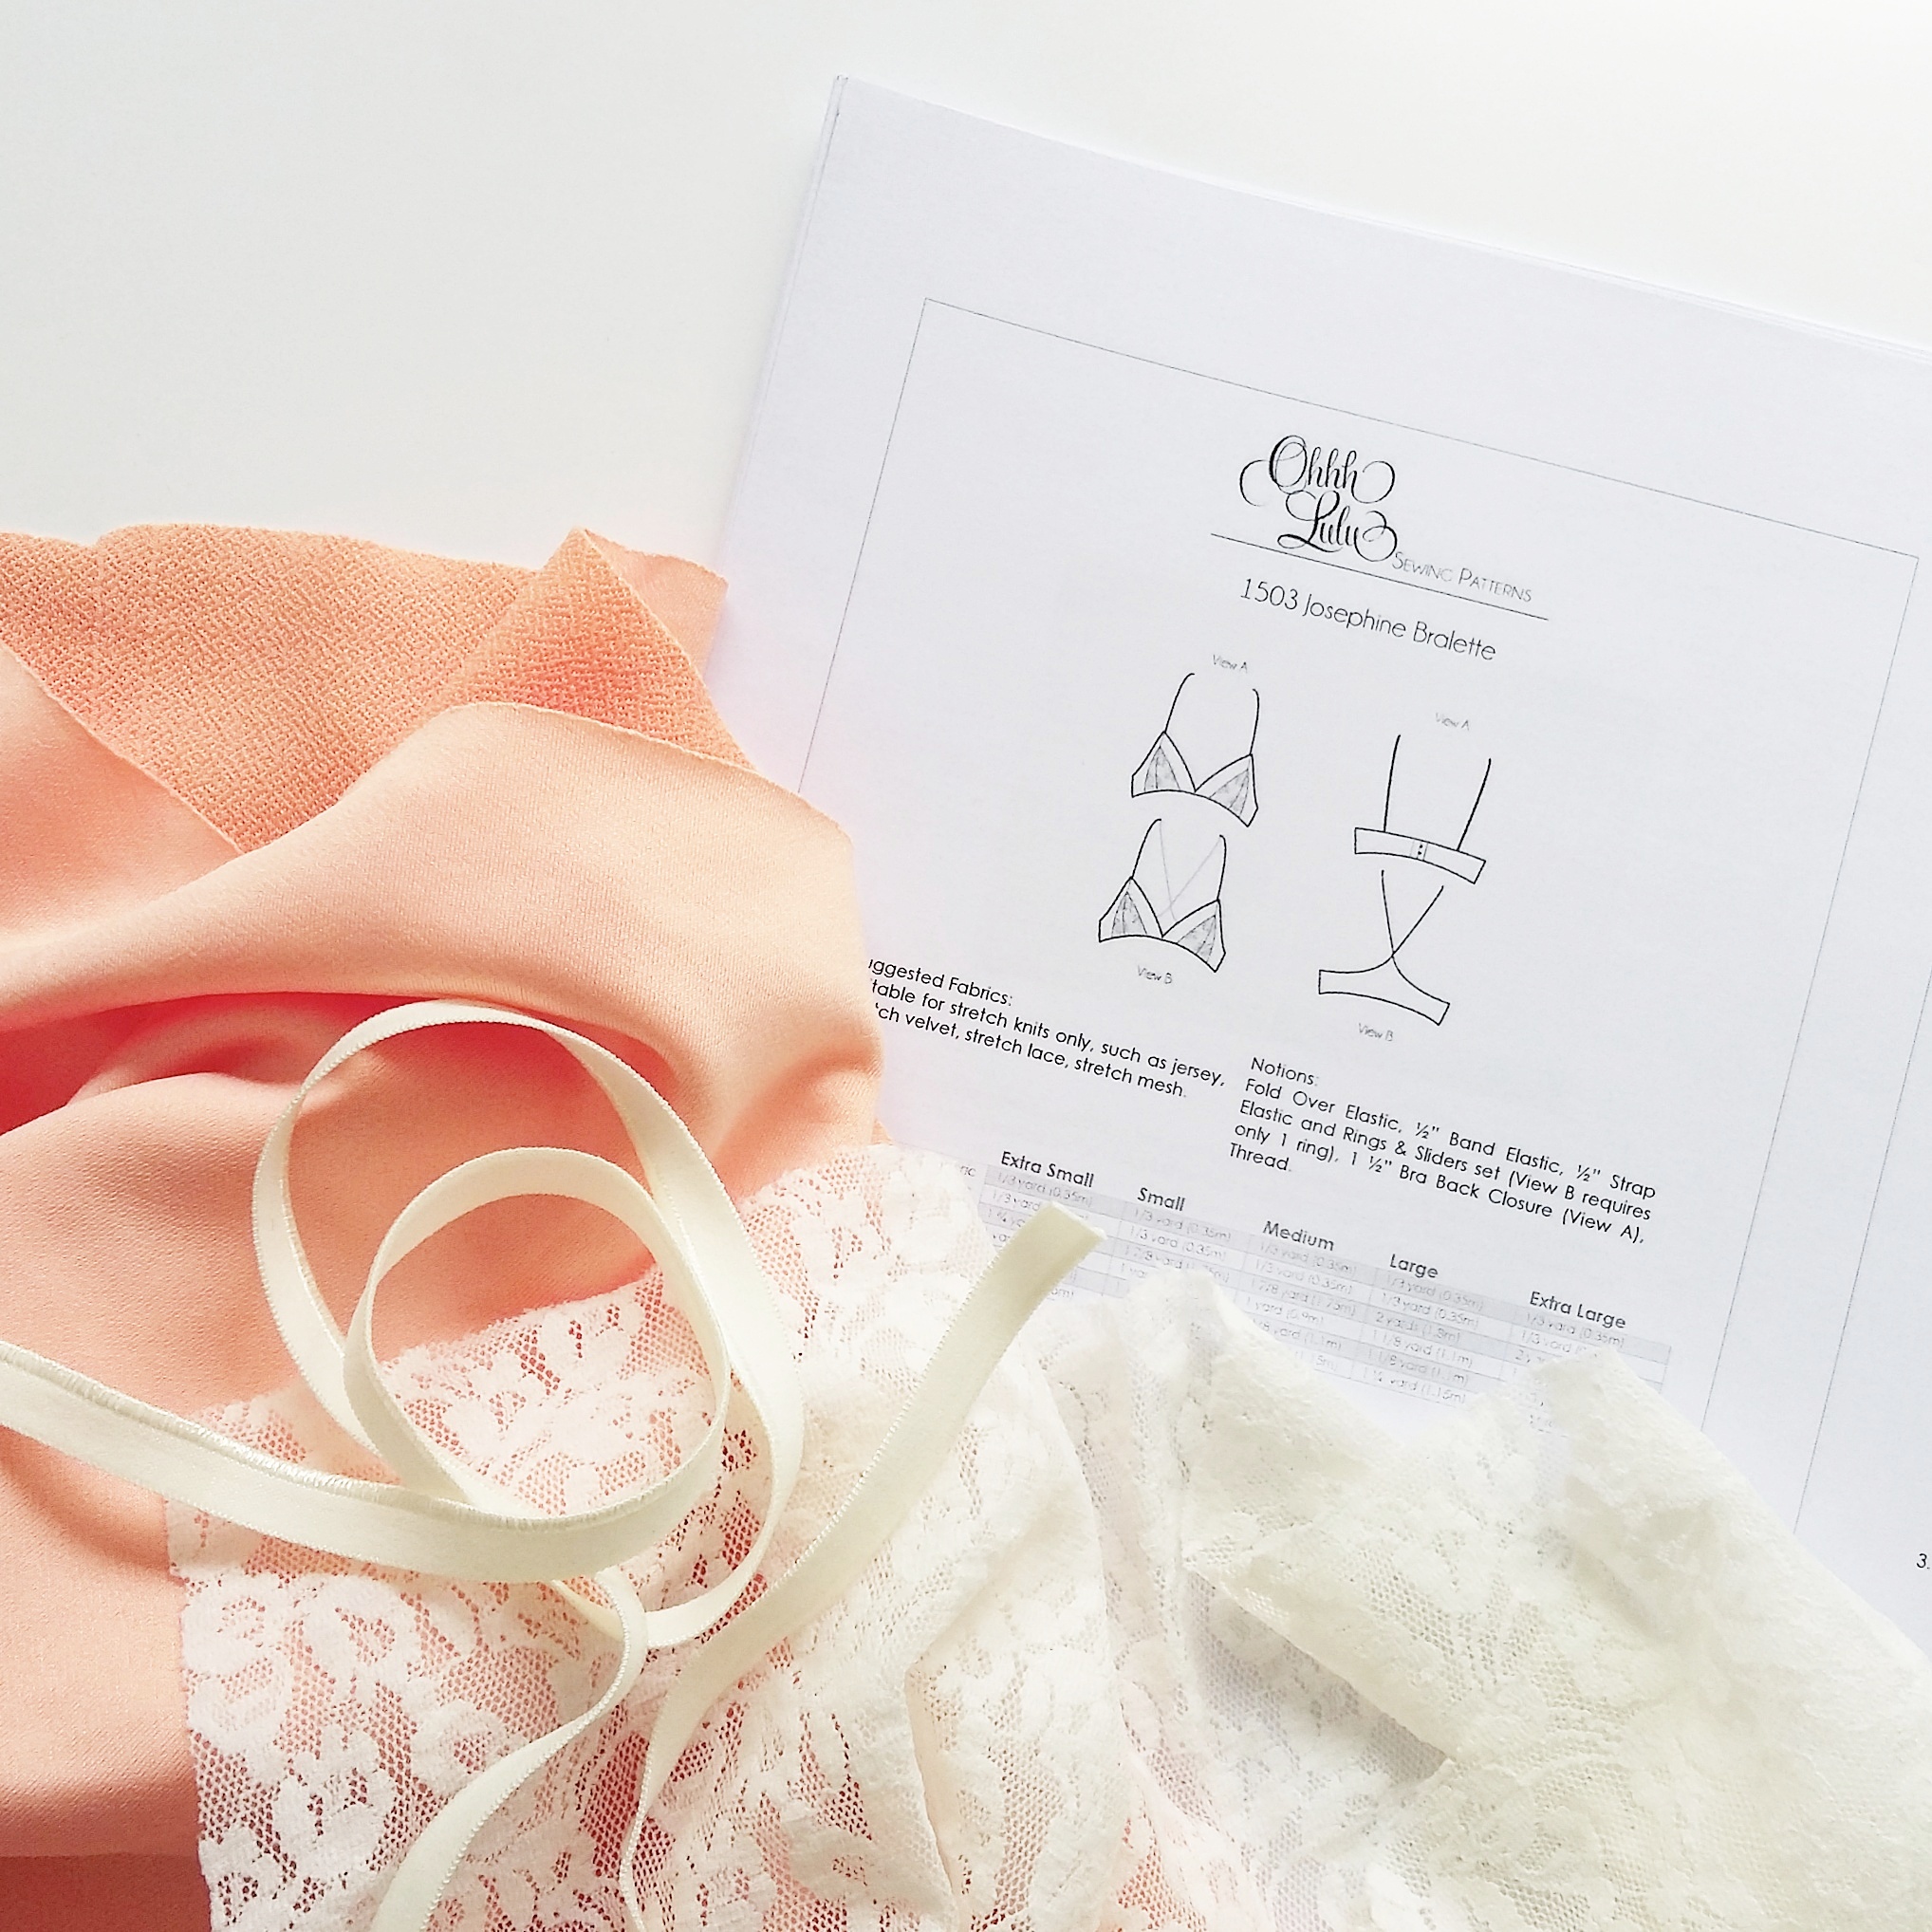
Tenía ganas de probar algún patrón de Ohhh Lulu y también me encantan los bralettes con copas triangulares que veo por todas partes (y lleno con ellos el feed de la tienda en IG). Decidí por Josephine Bralette porque tiene dos variaciones con el cierre normal y con la espalda tipo deportiva (racerback, en castellano?!). También me parece muy bonita el corte que te permite usar diferentes telas en las copas.
I wanted to try out Ohhh Lulu patterns for some time now and I also love the bralettes with triangular shaped cups that I see all over the place (and which fill most of my shops IG feed lately). I decided to go for Josephine Bralette pattern because it has two different variations with normal closure and the racerback style. I also find really nice the color blocked detail on the cups which allowes for a good mix of fabrics.
La primera diferencia con otros patrones que he cosido hasta ahora es que los patrones de Ohhh Lulu tienen más margen de costura, 1,2 cm que es bastante y la verdad es que tardé un poco más al encajar las piezas. Por costumbre me gustan más los de 0,5 cm de lo siempre en lencería pero no es una cosa que me fastidia demasiado tampoco. Yo uno la mayoría de las piezas con la remalladora y es más cómodo la margen de 0,5 cm, una vez probado el patrón es fácil de quitar lo que sobra, eso sí.
The first difference with most of the lingerie patterns I've been sewing up this far was that the seam allowances are bigger, 1,2 cm which is quite a lot and it took me a bit time to put the pieces together correctly. I'm more used to a small 0,5 cm seam allowance as usual in lingerie sewing but it's not a thing that worries me too much either. I sew most of the seams with a serger and the 0,5 cm seam allowance is more comfortable but once I've tried out the patterns it's easy to take away the extra space.
Lo segundo, las tallas. Eso ya lo había visto por los bralettes que se venden, en vez de las tallas de sujetadores o sea el número y la copa, aquí vamos con tallas pequeño, mediano etc. En las instrucciones vienen las típicas medidas de cuando coses prendas, el pecho, la cintura y la cadera. Obviamente aquí sólo nos interesa el pecho, pero allí viene un poco de confusión. La medida del pecho es sobre el punto más alto del busto, o sea, todo lo que tienes. Bien, ahora, esta medida no dice realmente nada sobre el diámetro bajo las copas y eso es muy importante a la hora de coser un sujetador. En mi caso concreto según la medida del pecho voy con Extra Small (sin sorpresas, jaja) pero ya sabía yo que el resto de mi cuerpo no tiene mucho de "muy pequeño", así que sin poder calcularlo mucho pues dejé unos 4 cm extra en los costados, donde el cierre, por si me haría falta.
Efectivamente a la hora de llegar casi al final comparé el bralette con mi otro Watson y necesitaba los 2 cm extra que había puesto. Quité los 2 sobrantes y listo. Así que si vais a usar este tipo de patrones es mejor dejar que sobre por si acaso. En este sentido diría yo que el Watson es un patrón mucho más "elaborado" al tener todas sus tallas con las dos medidas. Pero las modificaciones no son del otro mundo así que vamos bien igual con Josephine.
The second thing was the sizing. I had already noticed it in the ready to wear bralettes: instead of using the same sizing as in bras, the cup and underbust size, here you'll have small, medium etc. In the instructions you see the normal body measurements when you sew garments: the bust, the waist and the hip. Of course here we only need the bust measurement but here comes also a bit of confusion. The bust measurement is over the largest part of the bust, or well, all you've got there. This however doesn't really tell you anything about what you have on your underbust and this is really important when sewing bras. In my case the bust size in this pattern is Extra Small (no surprise here, hehe) but I knew well that the rest of my body for sure isn't any close to "very small" so as I couldn't really calculate it before sewing the bralette up I left 4 extra cm for the band extension where the bra closure goes, for extra room if necesary.
As I had expected when I was almost done I compared the bralette with one of my Watson soft bras and I needed those 2 extra cm. So I just took the other 2 away and that was it. So if you're using this type of patterns I recommend putting some extra there as it's always better to have too much because you can just cut it off. In that sense I'd say that patterns like Watson are more "complex" as all of the sizes have both the bust and the underbust measurements. But the modifications are very easy to make so Josephine is definitely worth the little extra work.
Sobre los materiales. He usado un punto crepe de poliéster en color melocotón comprado en Ribes y Casals en el medio del bralette y el resto está hecho con encaje elástico en marfil que ya tenía. Los elásticos, las arandelas y los cierres son las mismas que en el kit de gomas en marfil que también está en la tienda (con la variación del modelo del elástico de tirante). La diferencia con el Watson es que no tiene esa pieza central bajo las copas que le de algo de estabilidad. En mi caso no lo necesito pero con copas más grandes pues es lo que tiene, no es lo más fuerte.
About the materials. I used this peach polyester crepe knit fabric I bought in Ribes y Casals in the middle part of the cups and a stretch lace fabric in ivory that I already had in my stash. The elastics and the notions are the same as in this ivory kit in the shop (with a strap elastic variation). The difference is that there is no cradle/bridge piece like in Watson to give the bralette more stability. In my case it's not a problem but with larger bust it's not the most stable option.
El patrón indica que aparte del bajo, todo va rematado con el FOE (fold over elastic). Como no lo tenía en este color he usado el elástico fino del kit, lo único que hay que ver es que si usas FOE, el patrón no tiene margenes porque el FOE no lleva nada, si usas los elásticos tienes que añadir el ancho de tu elástico al patrón en las partes donde va, porque si no, estás reduciendo el patrón. Yo no lo hice porque vi que las copas eran suficientemente grandes y no tenía problema con quitar medio cm que mide el ancho de mi elástico. En las copas hice un extra paso al hacer un pespunte encima de las piezas de la tela de melocotón porque no quería que los margenes de las uniones de las piezas se vean doblados hacia el encaje que se transparenta. Aparte de eso todo más o menos lo mismo como con otros sujetadores.
The pattern calls for FOE (fold over elastic) finishing everywhere apart from the hem. I didn't have a matching color so I used the narrow ivory elastic from the kit, the only thing to notice is that when using FOE there are no seam allowances as FOE doesn't need them but if you decide to use a bra elastic you'll have to add the seam allowance according to the width of your elastic, otherwise you'll reduce the size of the cups. I didn't do it because I saw that the cups were big enough and using up this half a cm wasn't a problem. When sewing the cups I did one extra step when topstiching on the sides of the peach fabric pieces because I didn't want the seam allowances to be seen on the lace side when flipping over. Apart from this the process was more or less like in other bras I've made.
Es muy cómodo y me gustan mucho los colores. Hace tiempo hice una braguita de Watson con el mismo encaje que ahora va bien en conjunto con el nuevo bralette. He usado elástico con puntilla en color melocotón claro para las braguitas.
It's really comfortable and I love the colors. I made also a Watson pantie with this stretch lace before so it's a good mix with the new bralette. I used this lovely pale peach elastic trim for the panties.
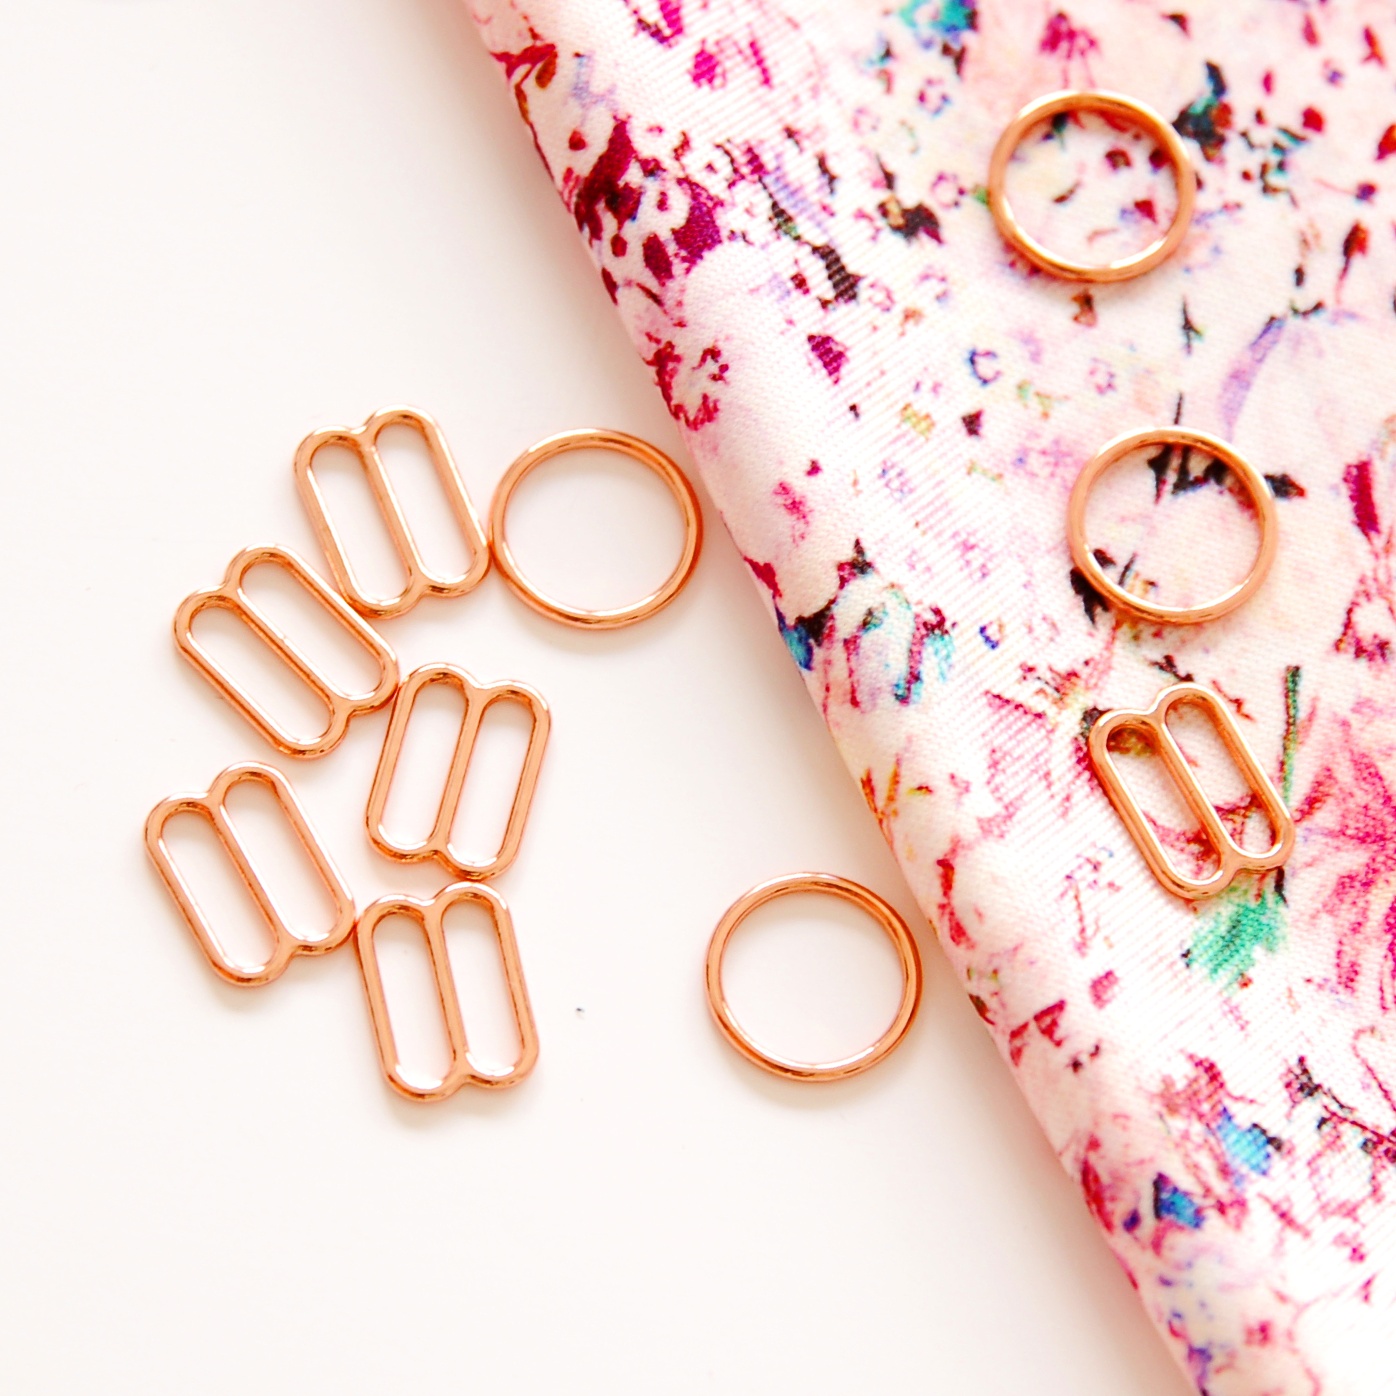
Ahora tengo que probar la otra versión también, y luego un par de ellas más porque en su blog en la página de OhhhLulu hay unas ideas de cómo hacer variaciones que ya me tienen muy intrigada, jaja. Por cierto, voy a hacer un post especial sobre las novedades en la tienda pero mirad estas arandelas y reguladores en rosa oro, recién salidos del horno (o sea, de la tienda, jaja)!!! Felices costuras de otoño (no es por nada, pero lo de lencería es atemporal así que...)!
Now I'll have to try the other version too and many more I guess because in Ohhh Lulus blog there are many variations that I've been thinking about, hehe. By the way, I'm making a special update post about new stuff on the shop but just look at those rose gold rings and sliders, hot on the shop today!! Happy autumn sewing (lingerie is an all year sewing theme, I'm just saying, so...)!


