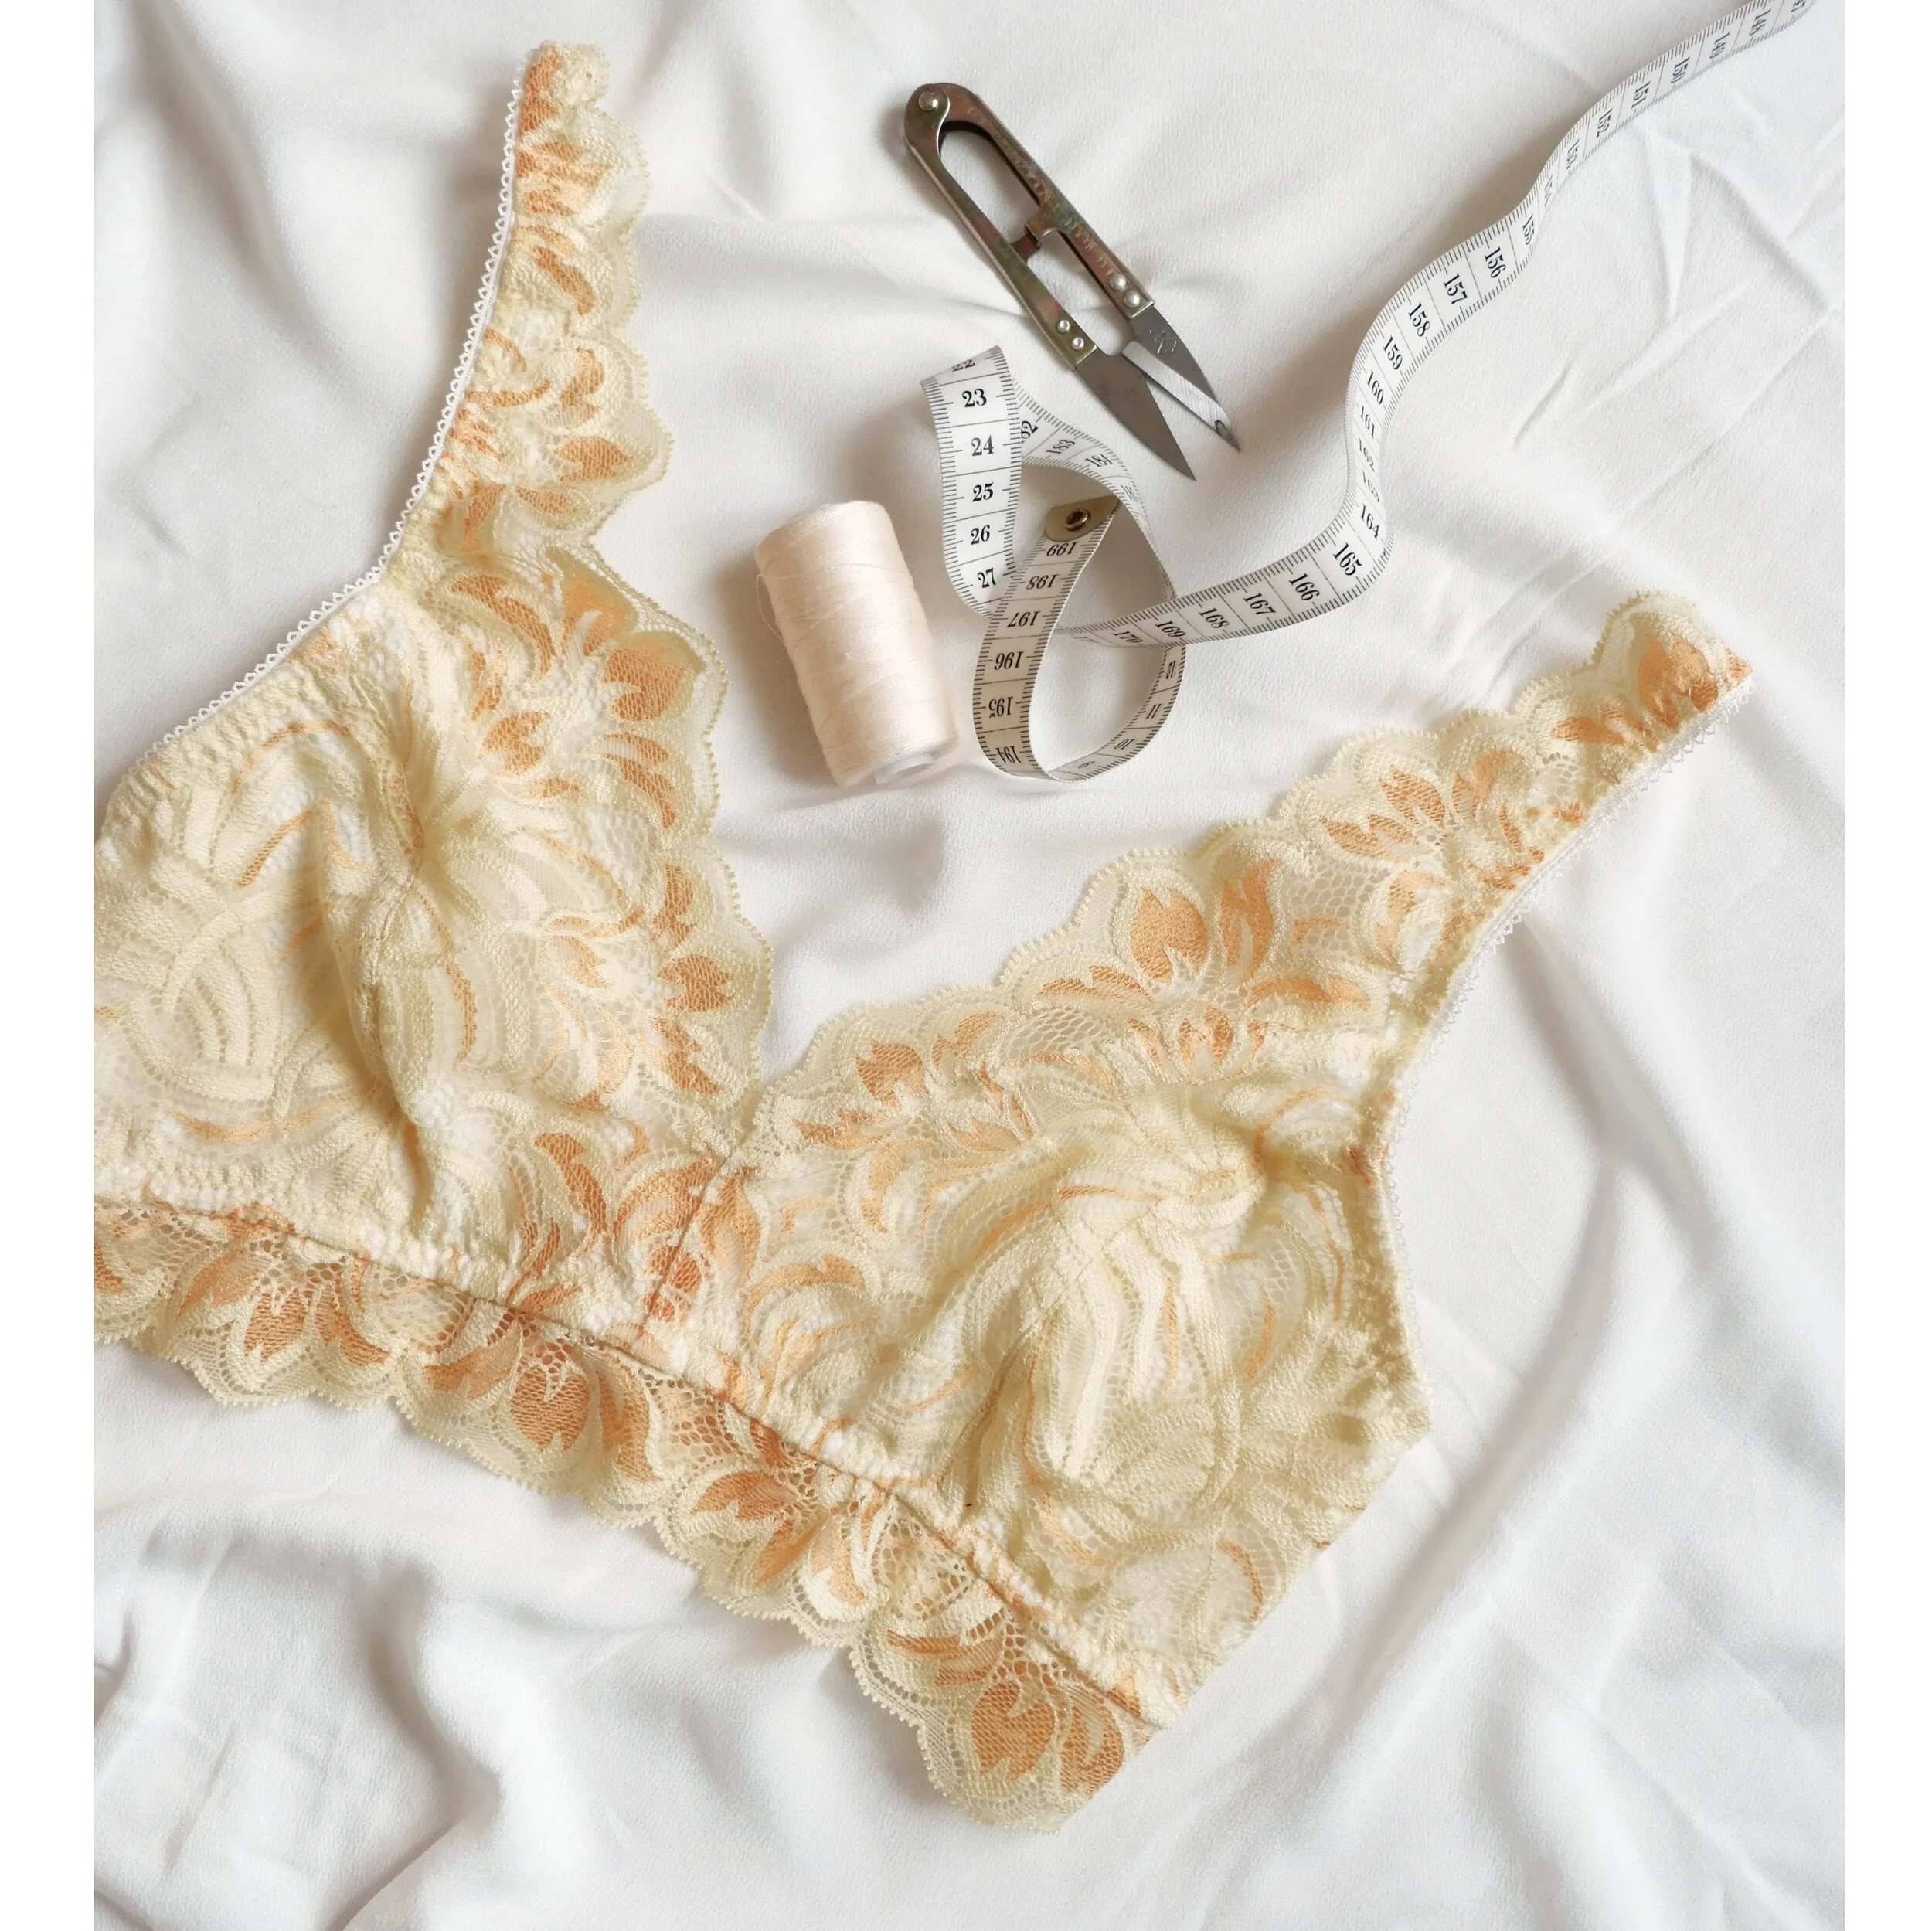
It has been some time since I wrote a tutorial over here…and it has been ageeees since I showed you a hack for the Hanna bralette! The other day I posted this image at my shops IG account as an inspiration and many of you did say you’d like to see how to make this modification to add a lace edge to the band so here we go!
You can find all Hanna bralette hacks and sewalong posts on this page, there’s quite a lot to try out :)
First off start sewing your bralette as always and complete all the steps until you have the pieces sewn together and you are about to sew on the elastics.
To make the scalloped lace band you need to measure how long is your band and you need to cut the lace in that same length. I used about 3-4 cm width this time but you can really choose whatever width you prefer. When you do want to use a wider piece of lace for a longline bralette you have to consider that it has to follow the shape of your body so you might need to alter the shape of the lace band. You can see how to do it in this Mara bralette lace band tutorial.
I cut the lace band in the same length because I did fold under both short edges by 6 mm so I could have them out of the way to attach the closure (see the photo in the end of this post). I prefer it this way as then you don’t have to alter the whole band a lot, the closure is attached to the main band piece and not to the extra scalloped lace band piece. I also did tilt the edges a bit to compensate the slight pulling once you wear the bralette (again, please see this Mara bralette lace band post where I’ve added more photos and I’ve explained why I do it!). So the upper part of the extra lace band has the same lenght as your bralette but the lower part is slightly longer on both sides, maybe 5 -10 mm to compensate the pulling.
I did cut the whole thing in one piece but you can of course sew different pieces together if you can use your lace better this way, you can for example have one piece for the front and two pieces for the band, this way your side seams will be in the same place.
First fold under the short edges of the extra lace band and stitch them down on the wrong side of the lace so you will have neat edges.
Then pin the bands in place with right sides together, leaving 6 mm free space on both bralette band edges (this is where you’ll attach the closure later on) and sew the pieces together using a zig-zag stitch.
Once you have the two pieces sewn together you need to sew on the band elastic. Attach the elastic with the soft side up and the decorative edge towards the extra lace band. You are sewing the band elastic just on top of the zig-zag stitching you used to join both layers in the last step. Sew with a zig-zag stitch close to the decorative edge of the elastic, slighly pulling as always (start on the edge of the main band piece).
Now flip the elastic towards the bralette on the wrong side of your work and sew the second pass of zig-zag on the other edge of the elastic. Don’t forget to attach your strap elastic as always!
This is how it looks on the right side of the work! I actually did forget to add my strap elastic on the second pass of the zig-zag stitch and this is when I took this picture, haha. I then went back and unpicked the stitching a bit to attach the straps!
Once the band elastic is sewn you just follow the usual steps. When you attach the closure you should have just the right amount of seam allowance left to fit the closure where the lace band ends.
And that’s it! It’s actually a very easy hack and you should definitely try it out if you want to change up your Hanna bralette a bit :)
This yellow lace is form this bralette kit that is currently available at my shop if you’re into making yourself a bright bralette with some spring vibes!


