
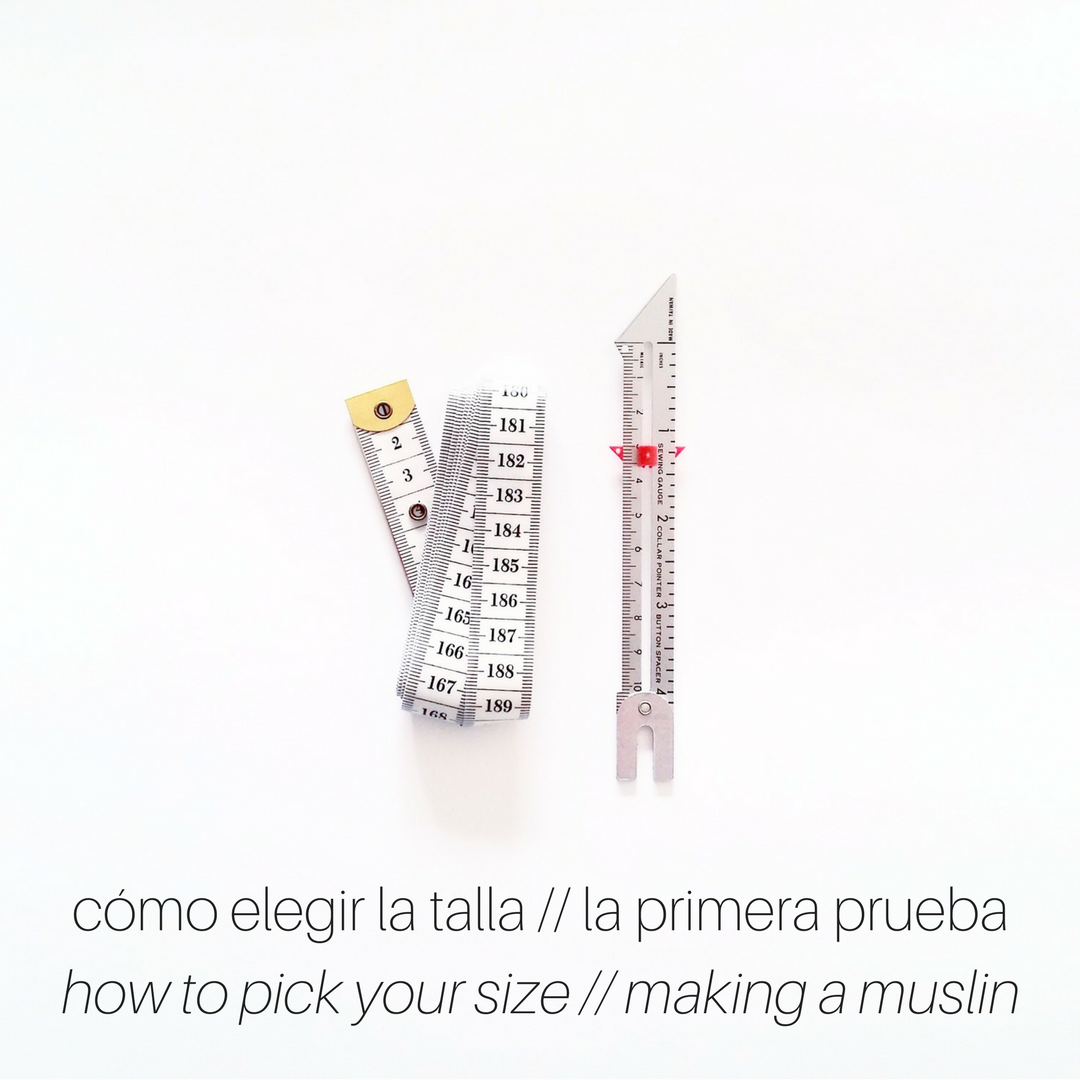
Hola! Hoy hablamos sobre las tallas de bralette Hanna. Ya sabéis que en las instrucciones del patrón te indican las medidas según el contorno de pecho. Para empezar tienes que medir el contorno de tu pecho en la parte más ancha manteniendo la cinta métrica en horizontal. Con esa medida tienes que buscar en el recuadro de las tallas qué talla te corresponde.
Primero quiero contaros un poco más sobre el tema de tallaje en lencería, también para el conocimiento general. Dejamos por un momento al lado este patrón en concreto que sólo te dice que escojas tu talla según el contorno de pecho y empezamos a hablar sobre cómo saber la talla de tu sujetador. Cuando empecé a trabajar en LeBratelier me vino de muchísima sorpresa que la mayoría de las mujeres que vienen a comprarse un sujetador no saben su talla, pero no es que si copa B o C, no tienen ni remota idea de qué se trata el tallaje de sujetadores. Me parece bastante raro porque es una prenda que usamos todos los días y todas tienen por lo menos uno. En fin...entiendo que las tallas varian según las marcas pero tampoco tanto! Creo que falta información sobre cómo tenemos que medirnos, que al final son sólo números.
Hey! Today we are going to talk about sizing in Hanna bralette pattern. As you already know the sizing is determined by the full bust measurement. To start you have to measure your bust in the fullest part while having the measuring tape horizontal. With this measurement you can refer to the sizing chart and pick your size.
First of all I want to tell you a bit more about sizing in lingerie for some general information. Let’s leave aside this specific pattern that only tells you to choose the size according to the full bust measurement for a moment and let’s see how you can determine your regular bra size first. When I first started to work at LeBratelier I was amazed how so many women who come to the shop to buy a bra don’t know their bra size. And I’m not referring to the fact that they don’t know if their cup is a B or C, they don’t know at all how the bra sizing is made. It seems odd to me as we’re talking about a garment that we use every single day and every woman has at least one of those. I mean I understand that different brands vary their sizing but after all they are not sooo different!

Para saber tu talla de sujetador necesitas saber dos medidas: el contorno debajo del pecho y la copa. El contorno debajo del pecho es fácil: mides cuánto tienes justo debajo de tu pecho mientras exhalas (si inhalas al mismo tiempo tendrás la medida demasiado grande). Ese número lo igualas al número más cercano que termine con 0 o 5. Por ejemplo, si mi contorno debajo del pecho es de 78 cm, lo igualo a 80. Si mi contorno es 76 lo igualo a 75. Los números de contorno luego van distintos en cada región/país. Para mí lo más fácil es el sistema europeo donde este número que termina en 0 o 5 directamente ya es tu número de contorno. En el sistema español se añade a ese número 15. Así que si anteriormente medí mi pecho y era 78 cm, deducí que el número sería 80 (talla européa 80) pues en sistema español sería la talla 95. Para que lo veáis os pongo un recuadro con las tallas de contorno más comunes (que luego hay más…).

Ok, tenemos claro la parte del número en la talla de un sujetador. Ahora vamos por la letra que representa el volumen de la copa. Para saber qué letra te corresponde necesitas saber la medida debajo del pecho que ya tenemos y ahora tienes que medir también el contorno en la parte más ancha de tu pecho. Tienes que restar del contorno de pecho la medida que tienes debajo del pecho. Cada 12.5 cm de diferencia es una letra de copa. Si mi contorno debajo del pecho era 79 cm y el pecho 92, me sale 13 cm de diferencia. Esto sería una copa A. Si mi contorno debajo del pecho fuese 79 cm pero el pecho 105 cm, tendría 26 cm de diferencia y mi copa sería un B. Y así vamos, cada diferencia de 12.5 cm te da una letra más de copa.
Hay otros métodos para medir la copa pero es uno de los más comunes y en general las copas sí que ya no varian tanto en sistemas distintos. Así que ahora ya sabes tu talla y luego lo tienes claro también en diferentes países: 80A europea es un 95A español y 36A en EE.UU.
Espero que eso te ha ayudado para entender mejor cómo funciona el tallaje de los sujetadores, tienen dos medidas independientes: el contorno y la copa. Nadie es solo una copa A o solo un contorno 90...eres la combinación de las dos y hay una tremenda diferencia entre una copa B en un contorno pequeño y en otro más grande por ejemplo.
To know your bra size you need to know two sizes: the band and the cup. The band size is easy: you have to measure your underbust while you exhale (when you do it while inhaling the measurement will be too big). You need to equal this number to the closest number that ends with 0 or 5. For example if my underbust is 79 cm I pick the number 80. If my underbust is 76 cm I pick the number 75. The band sizing numbers vary according to different regions/countries. For me the easiest is the European sizing, the number ending with 0 or 5 directy is your band size. In the Spanish sistem you need to add 15 to that number. That way if my underbust was 79 and the number would be 80 (European size 80) my Spanish size would be 95. I’ll add a little chart with the most common systems and how to convert your bra size (there are other systems of course…).

Ok, you now know your band size. Let’s see about the letter that represents your cup size. To know which letter represents your cup size you need to know the underbust measurement that we already have and the full bust measurement. You have to subtract the underbust from the full bust. Every 12.5 cm difference will be one cup letter. If my underbust was 79 cm and my full bust is 92 it would be a 13 cm difference between the two. This would be an A cup. If my underbust was 79 cm but my full bust would be 105 cm the difference would be 26 cm and my cup letter would be B. And so on, every 12.5 cm difference is one more letter in your cup size.
There are also other methods to do these calculations but this is one of the most common ones and in general the cup sizes don’t differ so much n different systems. Now when you know your size you can convert it into sizes in different regions: 80A in the European sizing is a 95A in the Spanish one and a 36A in the United States.
I hope that this made the bra sizing in general more easy to understand, there are always two different sizes: the band and the cup size. No one has just an A cup or a 90 band...your size is a combination of those two. There’s an enormous difference between B cut in smaller bands and bigger bands for example.

Quería aclararlo antes de entrar al tema de tallaje de este bralette Hanna. Después de todo eso que acabo de contarte me preguntarás que porque entonces sólo viene la medida de pecho y no las dos. Pues te cuento, en las prendas como este bralette ya que son elásticas y no tienen diferenciada tanto la copa y el contorno por piezas de patrón (no hay una banda entera debajo del pecho etc) es más fácil hacer el tallaje de esta manera. Este patrón está patronado para la talla 75B (talla européo) en la talla M y luego se ha escalado de la manera que crece el ancho del patrón en tallas más grandes y disminuye en las más pequeñas. Eso significa que el patrón es proporcionalmente más pequeño/más grande según cada talla en su contorno. Ya que estamos hablando de una prenda tan elástica va a quedar bien en copas A-C.
75B digamos que es una talla estándar en la talla M, en un mundo ideal la persona quien lleva esa talla M de bralette tendrá justo ese contorno y esa copa. Pero eso pasa raras veces. Y no pasa absolutamente nada por eso. Quiero que entendáis que es muy fácil modificar el patrón según vuestras medidas. Porque algunas vais a tener la espalda más ancha (más contorno) pero copa pequeña y otras vais a tener más pecho pero menos contorno, el patrón se puede ajustar según vuestras medidas, por eso mismo mola tanto poder coser tus propias prendas.
I wanted to tell you about the general bra sizing before talking about the Hanna bralette pattern sizing. After everything I wrote before you might ask why is there only one measurement then and not two. Well, let me tell you, as this is a bralette made with stretch materials and the pattern pieces are not so strictly different between the cup and the band (there isn’t a separate band below the cup pieces etc) it’s easier to have this kind of sizing. This pattern is drafted for the 75B cup (European size) in size M and later it has been graded with making the bigger sizes wider and the smaller sizes narrower. This means that the pattern is proportionally smaller/bigger in every size in the width. As we are talking about a stretch garment it can fit cup sizes A-C.
Let’s say that 75B is a standard size M and in an ideal world a person who wears the M size would have these exact measurements: this band and this cup size. But this rarely happens. And it’s totally OK. I want you to understand that it’s easy to modify the pattern pieces according to your measurements. Some of you will have wider back (wider band) and smaller bust and some of you will have bigger bust and narrower back. You can adjust the bralette to fit you and that’s why sewing is so cool!

Cosiendo lencería (o cualquier otra prenda realmente) hay que hacer pruebas. De verdad, es mi consejo número uno y el mejor de todos que te puedo dar: por favor haz una prueba antes de cortar tu encaje. Para empezar entonces volvemos a lo de anterior: mide tu contorno de pecho en la parte más ancha. Elige la talla en el recuadro de las tallas según esa medida. No compares esa talla/letra con lo que sueles comprar en las tiendas, cada marca tiene sus variaciones de medidas. En este momento no te rayes con las medidas, vamos a ver ahora si te queda bien o no y entonces modificamos. Te recomiendo hacer la prueba con una tela de punto, mejor aún si es el mismo que vas a usar para forrar tu bralette. Así sabes directamente qué tal esa elasticidad en este patrón concreto.
Corta las piezas A, B y C del patrón en la tela de punto y únelos con una puntada larga en la máquina de coser (no hace falta hacer remates ni nada, es sólo una prueba). No le vamos a poner los elásticos pero sí ponle los cierres y los tirantes (de nuevo con puntada larga, así es más fácil quitarlos). Si quieres puedes preparar el tirante ya de modo definitivo como explicado en el paso 18 en las instrucciones para la prueba. Ya veis que esta prueba parece un poco Frankenstein pero no pasa nada, la idea es poder descoser con facilidad para usar las piezas que te valen en el proyecto final. Prueba tu bralette con el cierre enganchado de la manera que sea lo más ancho posible (siempre en el último gancho porque luego con el uso los elásticos se dan de sí y allí es cuando tienes la opción de ajustar el sujetador) y observa las siguientes cosas:
Teniendo en cuenta que ahora mismo el bralette no lleva los elásticos no debería estar súper ajustado porque todavía le falta ese último toque de elásticos, eso sí debería estar cerca de de tu cuerpo. No tiene que estar flojo.
Mira las copas: qué tal se siente la tela, te aplasta el pecho o tienes arrugas por el exceso de la tela?
A base de esas observaciones identifica el problema:
- la banda parece apretar demasiado y las copas están demasiado ajustados
La talla que has escogido es en general demasiado pequeña, sube una talla y prueba de nuevo.
- la banda parece ancha (puedes apartarla con facilidad de tu cuerpo, no sujeta bien) y las copas tienen arrugas
La talla que has escogido es en general demasiado grande, baja una talla y prueba de nuevo.
- las copas están bien pero la banda parece ancha
Corta las piezas de copa A y B en la misma talla pero baja una talla en la banda. Esto debería hacer la banda más ajustada pero las copas siguen iguales.
- las copas están bien pero la banda parece estrecha
Corta las piezas de copa A y B en la misma talla pero sube una talla en la banda. Esto debería hacer la banda más ancha pero las copas siguen iguales.
- la banda está bien pero las copas te aprientan el pecho
Sube una talla en las piezas de las copas A y B pero sigue con la misma talla en la banda. Esto le dará el espacio extra que le falta ahora para tu pecho.
- la banda está bien pero hay arrugas en las copas y parece que hay demasiado espacio allí
Baja una talla en las piezas de las copas A y B pero sigue con la misma talla en la banda. Esto hará que se reduce el ancho en las copas y el bralette te sentará mejor.
Una vez que sabes qué piezas vas a usar para tu bralette puede que las piezas no cuadren del todo bien. Para cuadrar todo perfectamente tienes que colocar la pieza B de la copa exterior y la pieza C de la banda de la manera que sobrepasen 12 mm (6 mm de las dos costuras). Ahora vuelve a dibujar la línea en la parte superior para que tengan el mismo ancho.
When sewing lingerie (or any other sewing project) you need to try things out first. Really, that’s my number one and the best advice for you: please make a muslin before cutting into your lace. Let’s go back to the beginning: measure your full bust in the widest part of your breasts. Pick the size according to that measurement in the size chart. Don’t compare this letter to your ready to wear sizing, every brand has their own sizing systems. You really shouldn’t worry too much about the size at this point as we are going to see the fit first on a muslin and then we’ll modify the pattern. I recommend using a knit fabric for a muslin, even better if you can use the same knit you are going to use for your lining. That way you’ll see how the specific knit acts with this specific pattern.
Cut the pattern pieces A, B and C out of the knit fabric and baste them together (with longer stitch length) on your sewing machine (no need to backstitch or anything, it’s just a muslin). We’re not going to attach the elastics at the moment but you should sew on the hook and the eye and the strap elastic (again with a long stitch length so you can unpick easily after you’ve done with the muslin). You can attatch the strap elastic already with a slider on as shown in the instructions (step 18). As you can see this muslin looks quite Frankenstein like but it's OK, the idea here is to be able to unpick easily and if some of the pieces fit you, you can use them in your final project. Try on your bralette with the hook attatched to the last row of eyes (always use the widest setting as the bra elastics soften with time and then you can readjust with the next row of eyes) and observe the fit:
Considering that the bralette doesn’t have the band and underarm elastics attatched at the moment it shouldn’t be super snug as it still lacks this last touch but it should be very close fitting. It shouldn’t move around your body freely.
Look at the cups: how does the fabric feel, does it flatten your bust or does it create wrinkles?
Based on these observations see if you can identify the problem:
- the band feels too tight and the cups seem to flatten the breast tissue
The size you picked is overall too small, go up a size and try it out again.
- the band feels too loose (you can easily pull it apart from your body, it’s not snug) and the cups have wrinkles on them
The size you picked is overall too large, go down a size and try out again.
- the cups look good but the band is too loose
Cut the cup pieces A and B in the size you used but go down one size on the band piece C. This should make the band smaller but you’ll still have the same fit on the cups.
-- the cups look good but the band is too tight
Cut the cup pieces A and B in the size you used but go up one s ize on the band piece C. This should make the band bigger but you’ll still have the same fit on the c ups.
- the band fits good but the cups seem to flatten your breast tis sue
Go up a size on the cup pieces A and B, but cut the same size o n the band piece C. This will give your breast tissue the extra room that it’s lacking at the moment.
- the band fits good but the cups have wrinkles on the cup seams and looks like there’s some extra room there
Go down a size on the cup pieces A and B, but cut the same size on the band piece C. This will make the cup pieces smaller and they will fit your breast tissue better.
Once you know which pieces you are going to use there might be differences on the pattern pieces when you’ll sew them together. To make everything match up perfectly you have to overlap the outer cup piece B and the band piece C by 12 mm (6 mm of both of the seam allowances included in the pattern pieces). Now redraw the upper seamline to make the pieces measure the same. (In the example I’ve matched up a size M cup with size S band and then I’ve smoothened out the seam line on the upper part of those pieces.)

Así que como has visto se puede cambiar el tamaño del bralette para ajustarlo a tus curvas mezclando las piezas y usando copa de una talla y banda de otra. Espero que estas explicaciones os ayuden identificar problemas antes de coser todo el bralette, proceso que lleva tiempo y materiales. Después de la prueba en tela de punto y al tener la tranquilidad de saber que tienes la talla bien sí que vamos a poner las manos a la obra con la confección.
Os quería contar sobre el tallaje de sujetadores primero para que os hagáis un poco la idea cómo están relacionadas esas tallas de número + letra y el otro tallaje de S, M, L etc. Espero que ha quedado un poquiiito más claro. Por eso, un M en este patrón puede ser una persona con poco pecho y más contorno o al mismo tiempo una persona con poco contorno o mucho pecho...todo es probar y ver qué tal!
Si tienes cualquier pregunta me lo puedes escribir en los comentarios, espero que esa entrada hay sido útil también para explicar mejor el tema de las tallas de sujetadores en general :) En el siguiente post cortamos encaje y tela de punto para las piezas del patrón!
So as you’ve seen you can adjust the bralette to your curves mixing up the cup and band pieces. I hope that these instructions help you to find your fit before sewing the entire bralette as this takes time and effort. After you try out the knit fabric muslin you’ll be confident to start sewing the lace version.
I wanted to tell you a bit more about bra sizing first so you’ll get the idea how the number + letter sizing is related to the S, M, L etc typo of sizing. I hope it is just a bit more clearer now. That’s why a size M in this bralette can be someone who has a little bust but wider back or also at the same time someone who has bigger bust but narrower ribcage....it’s all about trying things out and seeing how it goes!
If you have any questions you can write them in the comments section. I hope you liked this post and it helped you with the general bra sizing information :) In the next post we’ll cut the pattern pieces from lace and lining!