Hola! Como prometido aquí tenéis el tutorial para coser el bralette Hanna con telas de punto. Aunque el patrón original está diseñado para encajes se puede perfectamente usar solo telas de punto para coserlo. Solo hay que hacer unas pequeñas modificaciones en una de las piezas.
Hey! As promised here's a tutorial about how to sew the Hanna bralette with knit fabrics. Altough the original pattern is designed for lace you can easily sew it with knits too. You only need to modify one pattern piece.

Primero un poco sobre los tejidos. Podéis usar todo tipo de telas de punto, cada uno dará un resultado distinto ya que unos son más elásticos, otros menos etc. Mi tela favorita para este tipo de proyectos es punto de viscosa con elastán. Los kits que tenemos en la tienda vienen justo con estas telas. Viscosa respira y es muy suave, al mismo tiempo también ligero. Pero podéis usar puntos de algodón, lycra, neopreno, lo que queráis realmente, el caso es que hay que probar cada tejido.
Para forrar el bralette de punto también tenéis varias posibilidades. Yo prefiero usar tul elástico para que las dos telas no abulten mucho. Pero podéis usar forro de viscosa o algodón o directamente forrarlo con la misma tela de punto que usáis para el exterior.
First some words about fabrics. You can use all kinds of knit fabrics, every one of them will give different results as some have more stretch than others etc. My favourite fabric for this kind of projects is a viscose elastan blend. The kits we have at the shop all come with viscose fabrics. Viscose is breathable and soft, at the same time it's also lightweight. But you can also use cotton knits, lycra, scuba, whatever you want really, you just need to try out the fabric.
For the lining part you also have different options. I prefer using stretch mesh so the two fabrics together won't be very bulky. But you can also use a viscose or cotton knit for the lining or even the same exterior fabric you are using.
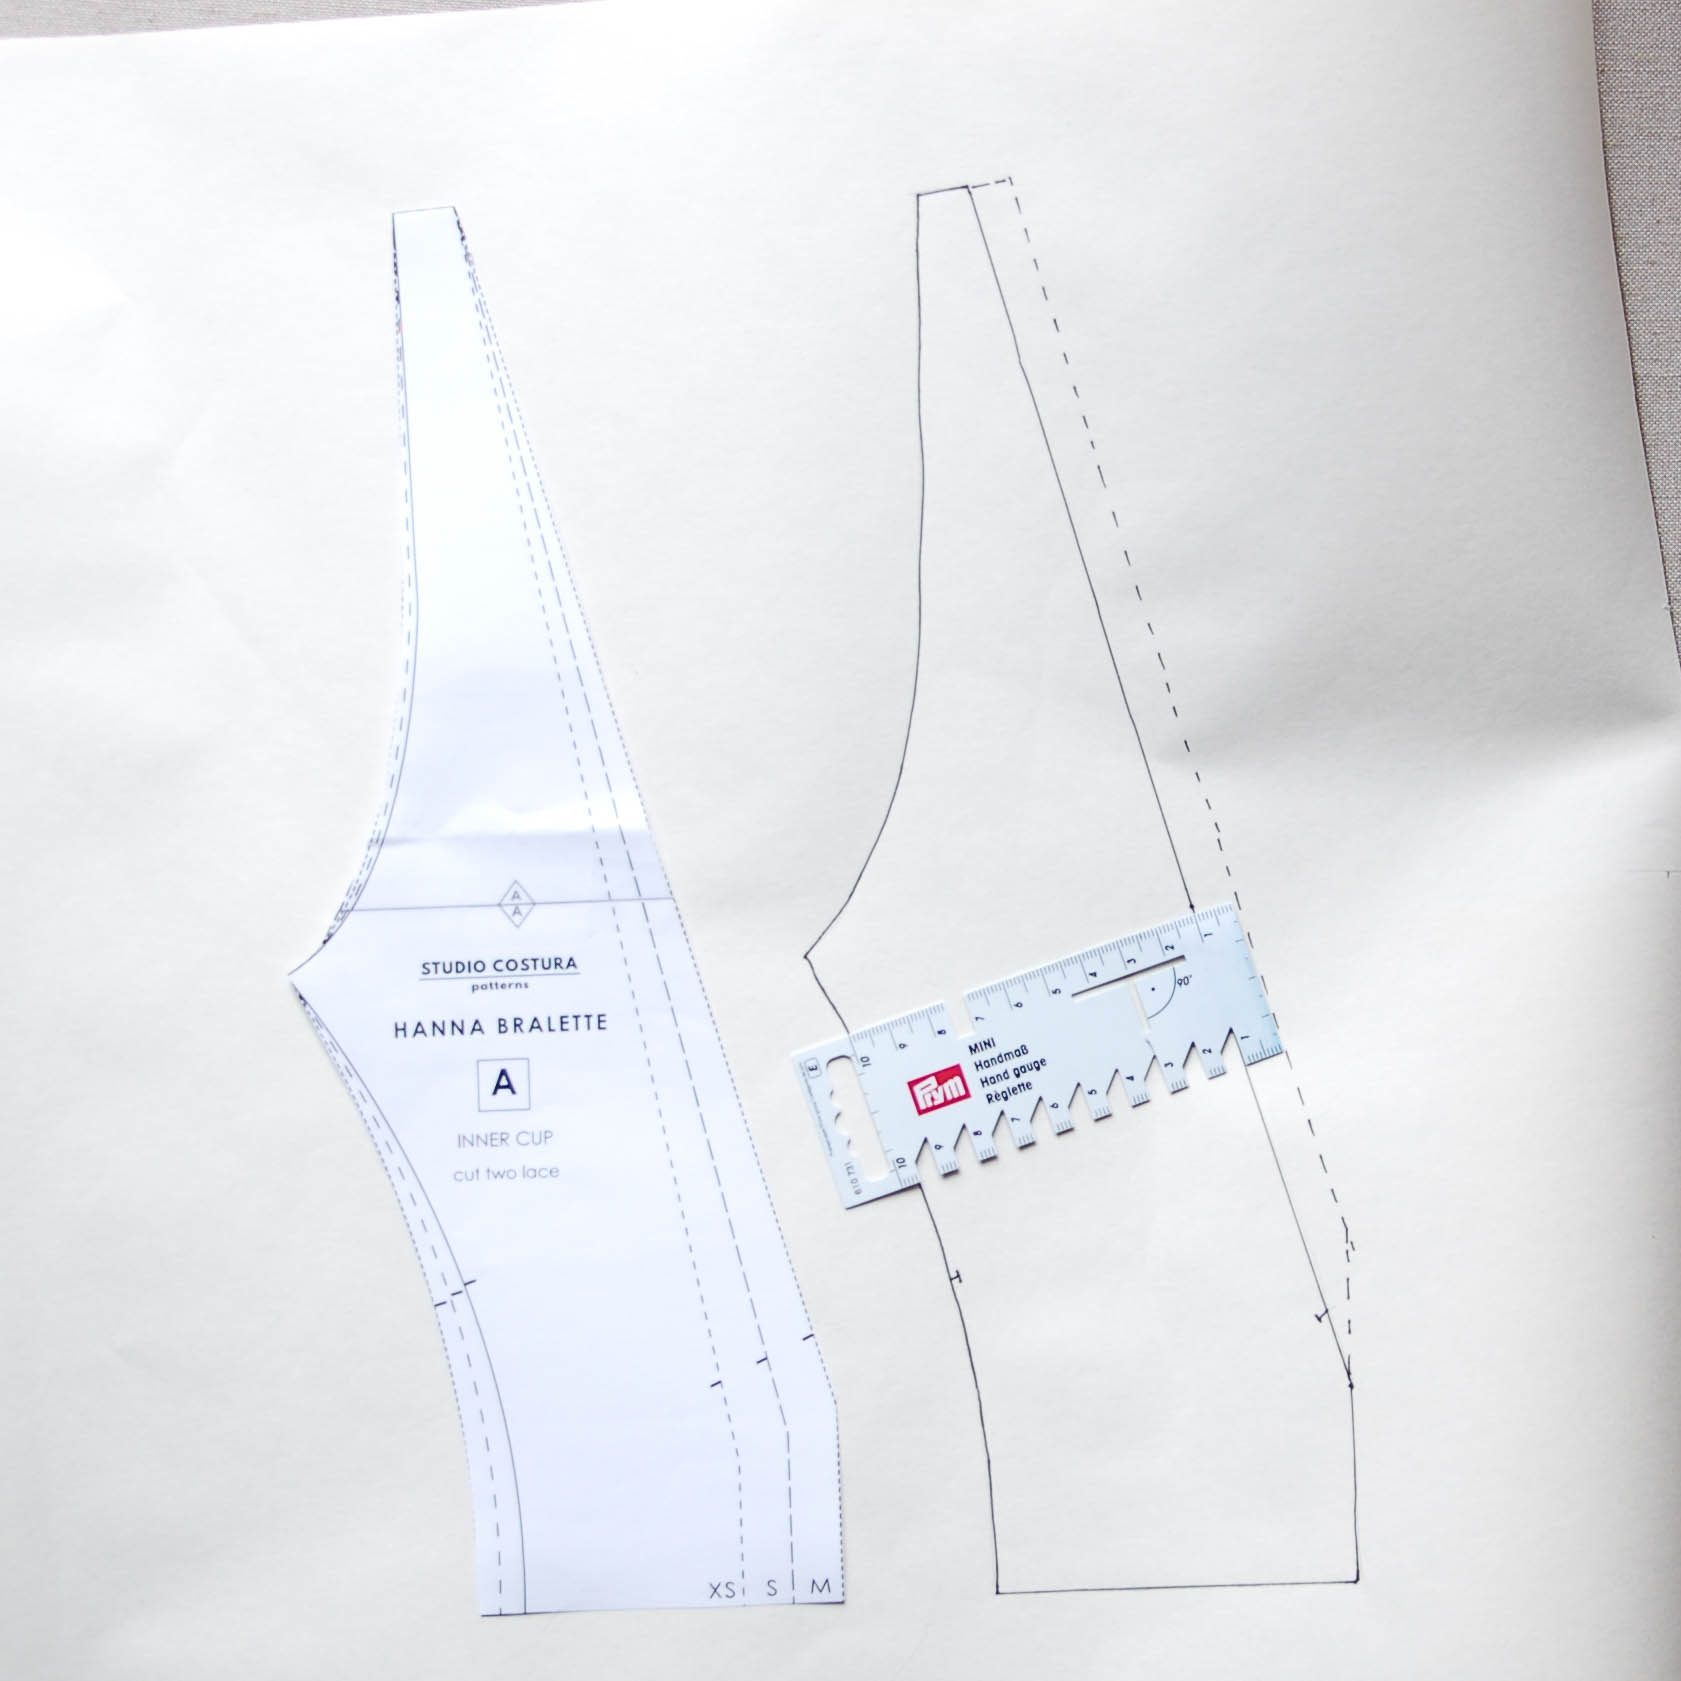
Vamos con el tutorial. La pieza A tiene el borde largo sin margen de costura porque allí se coloca en el versión original la puntilla de encaje. Como ahora hay que poner allí el elástico necesitamos que haya el margen de costura. El cambio en el patrón es muy fácil: mide el ancho de elástico que vas a usar en el escote (recomiendo de 5-10 mm) y añade ese margen al lado largo de la pieza A.
Let's start with the tutorial then. The long edge of the inner cup piece (A) doesn't have seam allowance as there goes the lace edge on the original version of this pattern. As we need to put elastic there, there needs to be a seam allowance. The modification on the pattern piece is easy: measure the width of the elastic you are going to use on the neckline (I recommend 5-10 mm) and add this same seam allowance to the long side of the pattern piece A.

Esta vez corta dos veces cada pieza del patrón A, B y C tanto en la tela del exterior como en la tela del forro. La pieza D que es el forro de la copa interior en la versión original no hace falta cortarlo porque vamos a usar la pieza A direcatmente como forro.
This time you need to cut each pattern piece A, B and C twice from the exterior fabric and from the lining. You don't need the piece D as we're directly using the piece A for the lining of the inner cup.

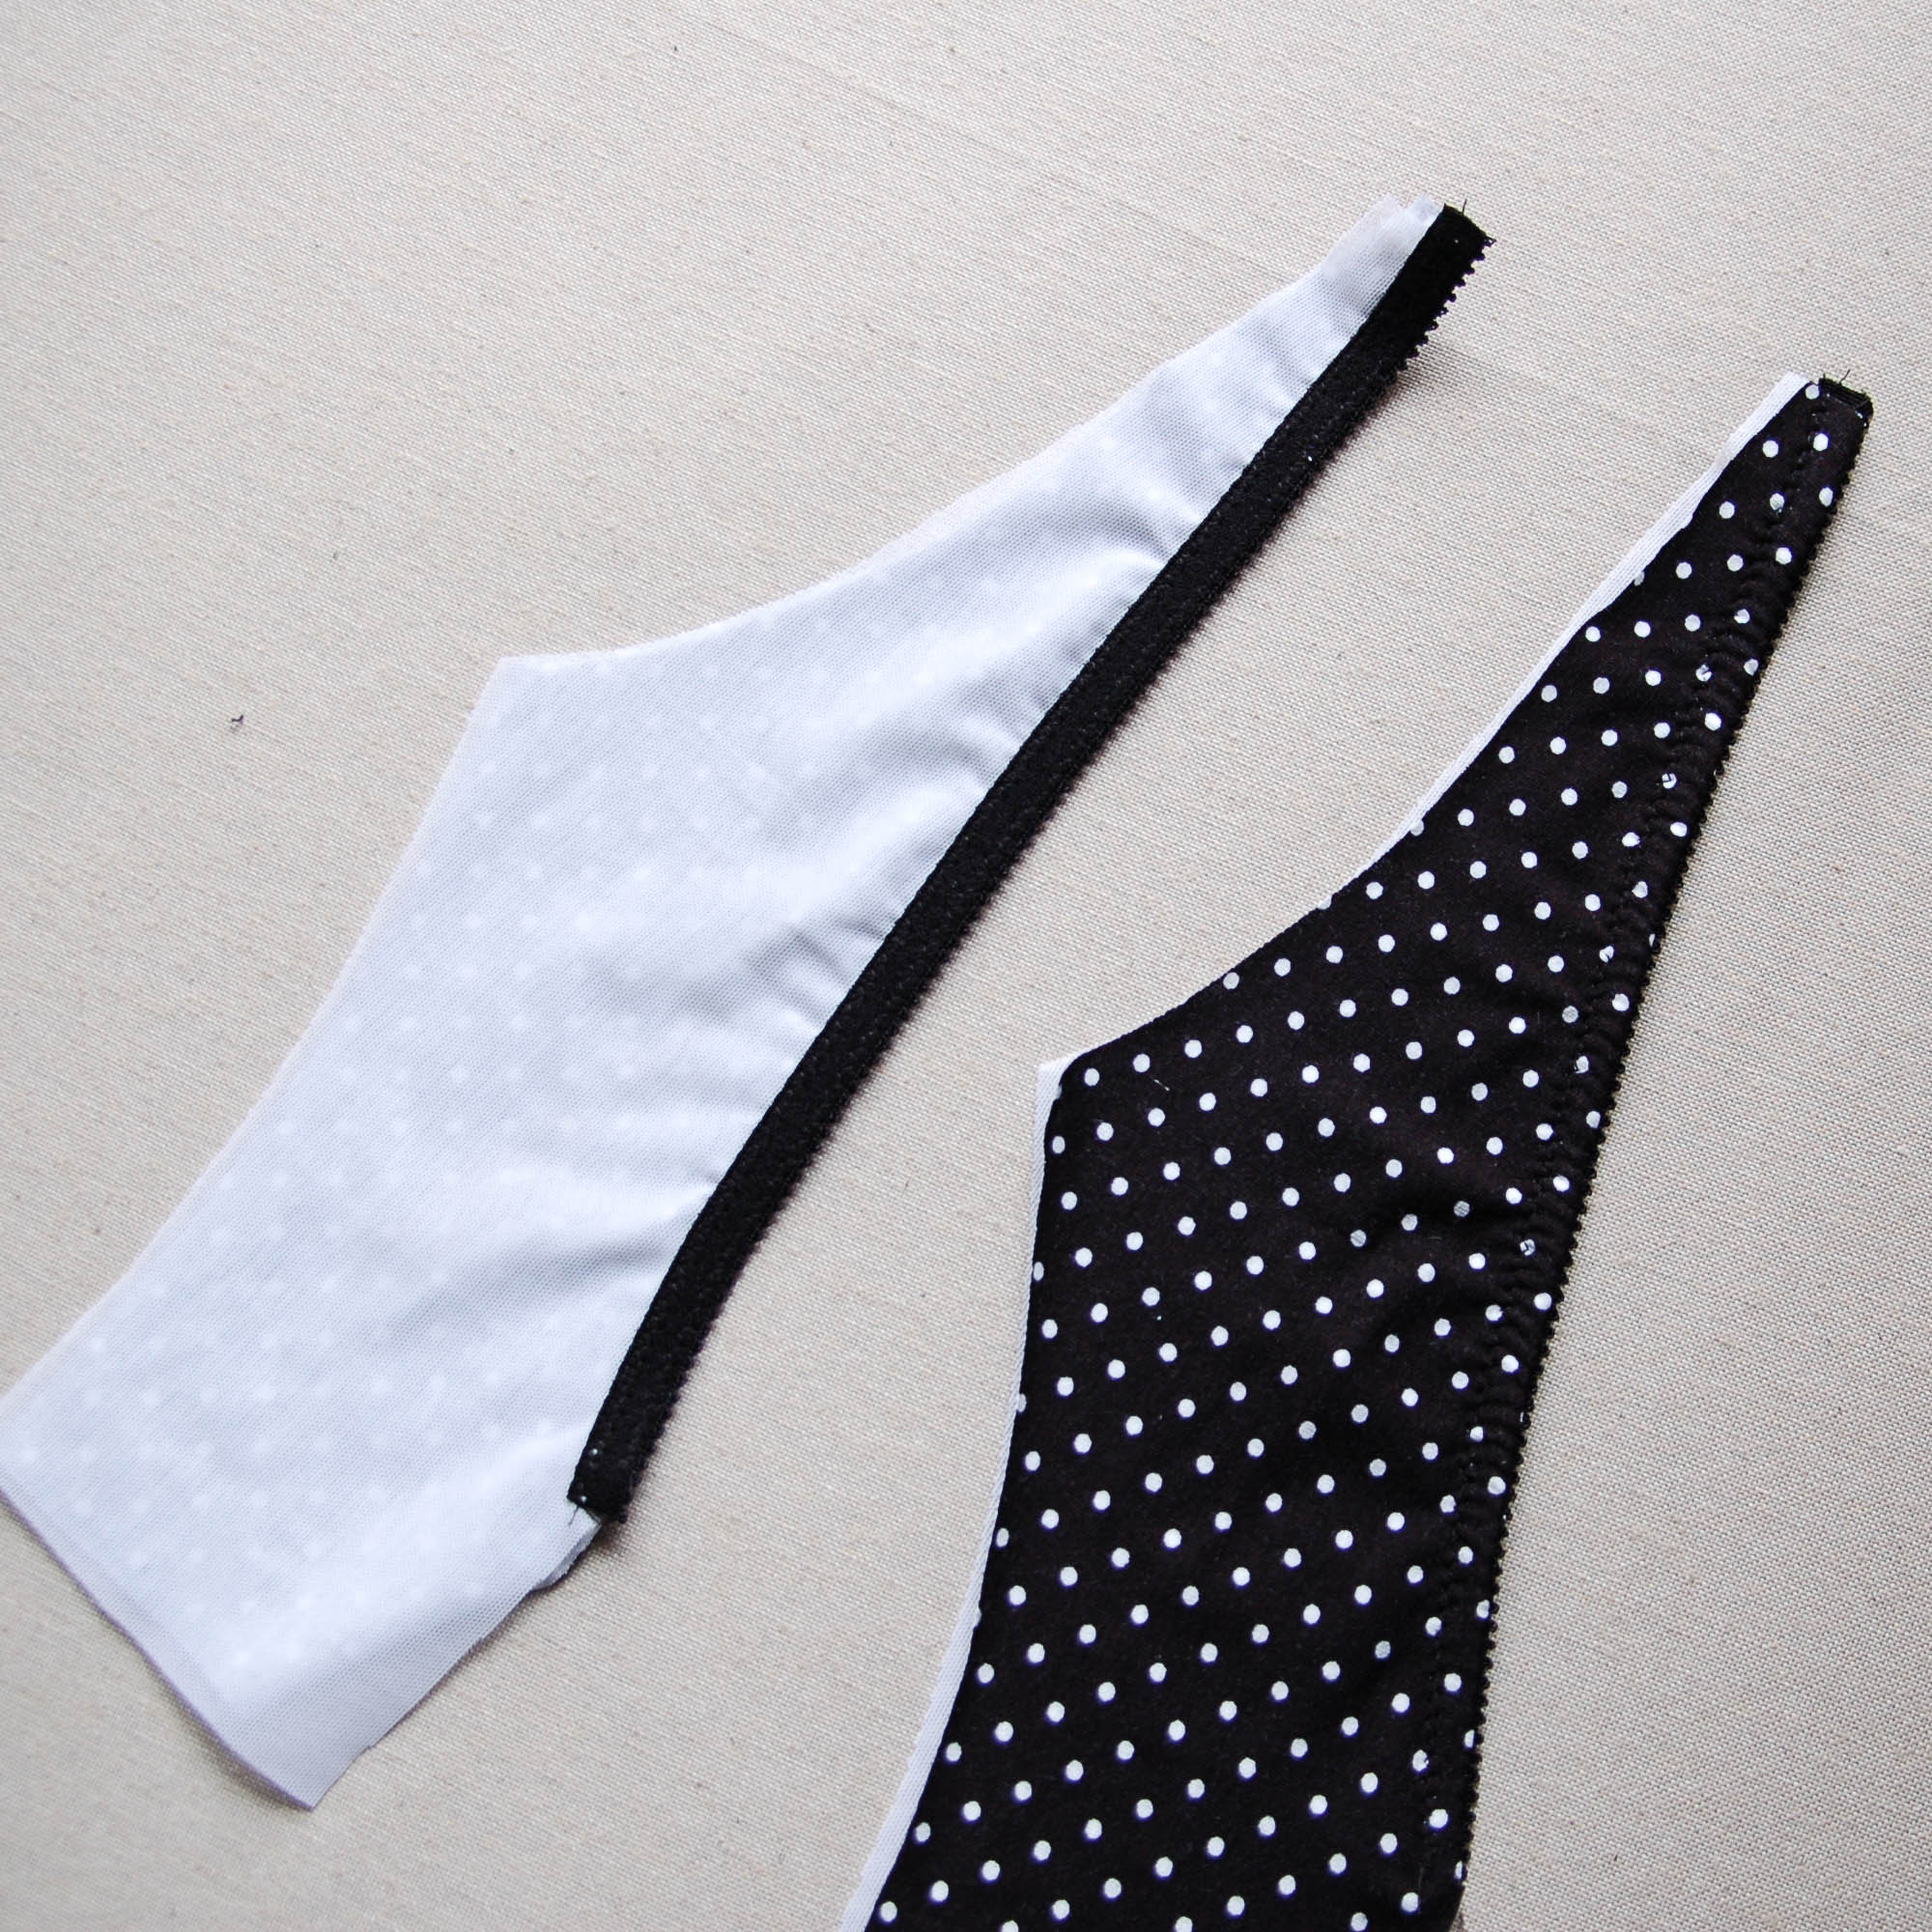
Empieza con colocar las piezas de la copa interior (A): el forro con el derecho hacia abajo y encima la tela exterior con el derecho hacia arriba. Colocamos el elástico con el lado suave y el borde decorativo hacia el interior de la pieza justo en el borde del escote.
Start with putting the lining with the right side down and the exterior fabric with the right side up on both inner cup (A) pieces. Put the elastic with the plush side up and the decorative edge towards the center of the bralette.
Cose el elástico primero en el derecho y luego en el revés (igual como en los tutoriales anteriores de versión con encaje). Repite con la otra copa.
Sew the elastic first on the right side and then fold it under on the wrong side of the bralette (like in the previous tutorials about the original version). Repeat with the other cup.

Pon las piezas derecho con derecho y haz la costura central con la remalladora o con un zig-zag pequeño. Ya está! Ahora ya sigue los mismos pasos que la versión original. La única diferencia es que si el original tiene casi todas las costuras ocultas pues aquí por dentro se ve esta costura central, sino no podríamos poner el elástico de escote.
Put the pieces with right sides together and sew the central seam with the overlock or with a small zig-zag stitch. That's it! Now just follow the same steps as in the original version. The only difference is that when making this bralette with lace you almost can't see any visible seam allowances but here you'll have this central seam visible on the inside. As we need to apply the neckline elastic it would be difficult to do it otherwise.
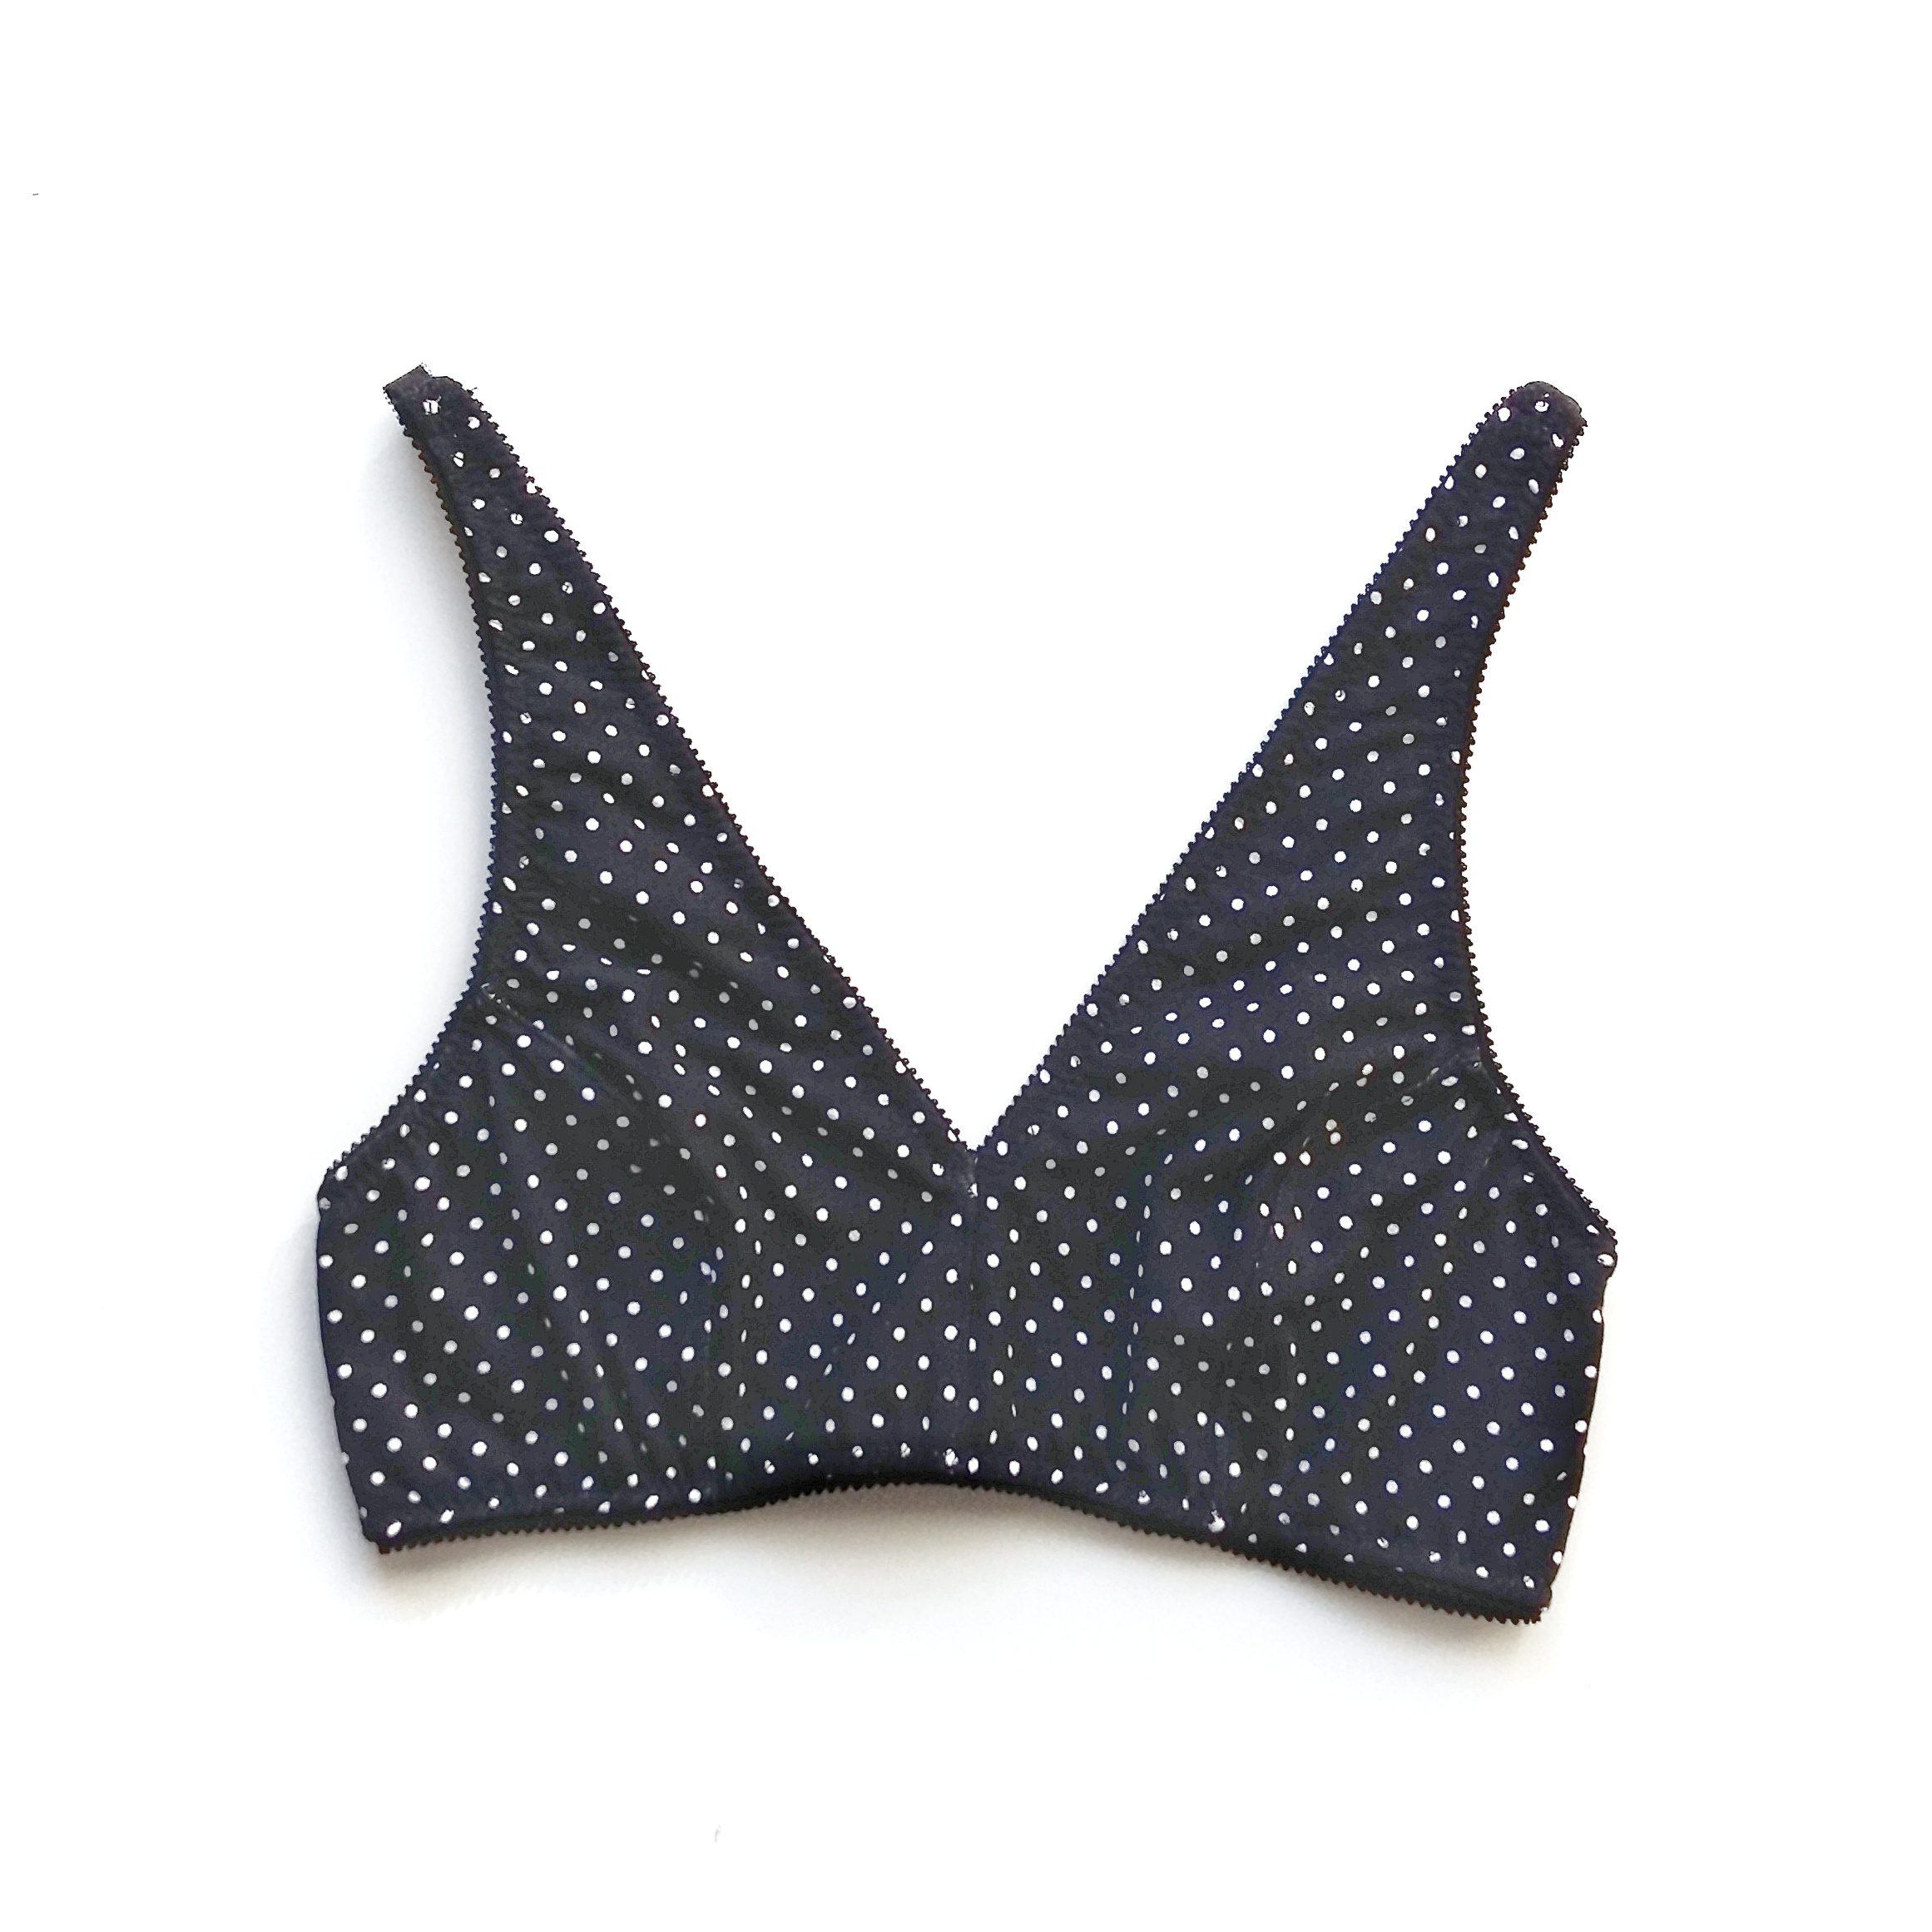
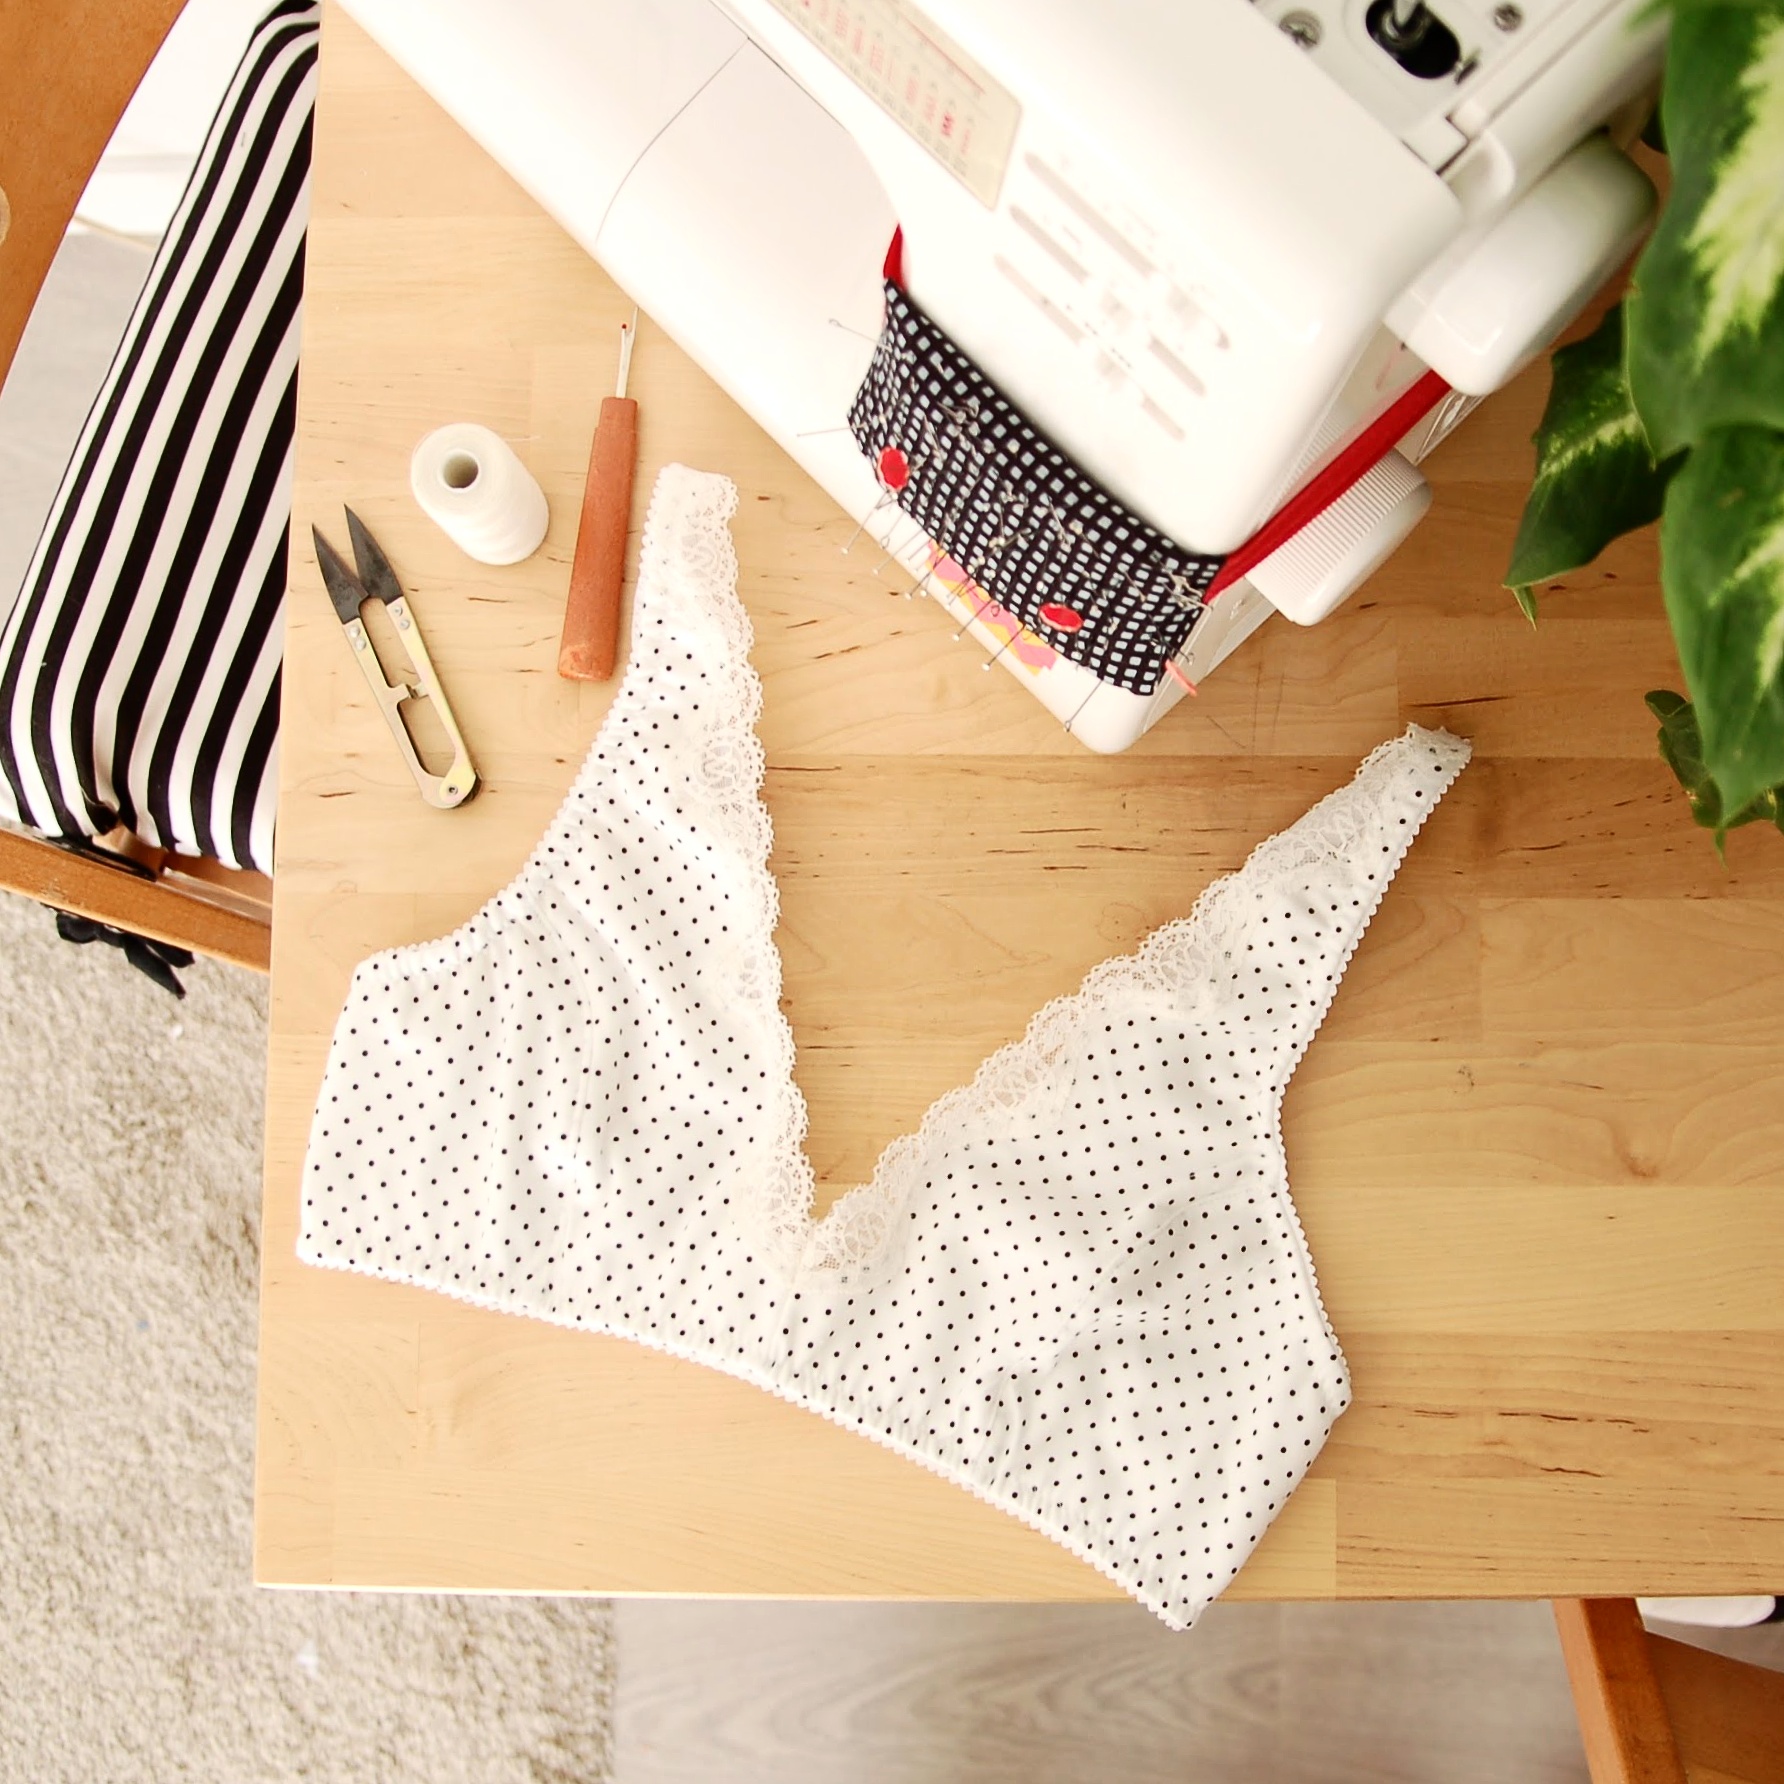
Nada más, el bralette terminado y queda super cómodo! Este mismo kit con la tela de lunares lo puedes comprar en la tienda.
That's it, the bralette is finished and this version is very comfortable! You can buy the kit with the same polka dot knit fabric at the shop.
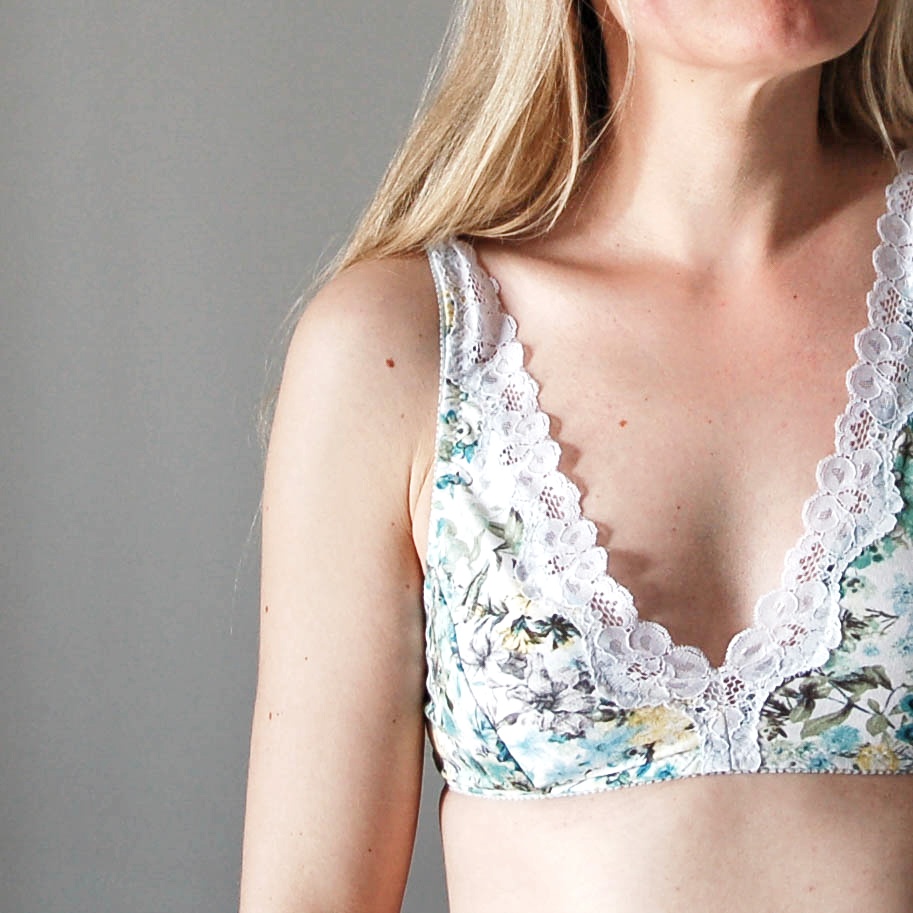
También os quería contar cómo hacer el bralette con punto y la puntilla elástica que viene en tiras más estrechas. En la tienda tenemos varios colores que se pueden combinar con telas de punto para tener un toque lencero pero sin que todo el bralette sea de encaje. Voy a enseñar cómo se cose y de la misma manera se puede coser la puntilla en las braguitas, bajos de las blusas etc. (El kit con esta tela de lunares en blanco lo tienes aquí)
I also wanted to show you how to use knit fabrics and narrow lace trim together for this pattern. In my shop there's a selection of lace trims that can be combined with knits to have a beautiful result with a touch of lace. I'll show you how I sew it and you can use the same method for panties or hems etc to add a little lace detail. (Buy the kit with this polka dot fabric on white here)

En el caso de usar la puntilla no hay que cambiar el patrón porque no vamos a poner el elástico en el escote. Corta las piezas A, B y C de la tela exterior y del forro (de nuevo no hace falta la pieza D). Coloca la pieza de la copa interior (A) en ese orden: el forro con el derecho hacia abajo y la tela de punto con el derecho hacia arriba, luego encima la puntilla.
When using the lace trim you don't need to alter the pattern as we don't apply elastic to the neckline. Cut the pieces A, B and C from the knit fabric and the lining (again you don't need the piece D). Put the inner cup pieces (A) in this order: the lining with the right side down and the knit fabric with the right side up, then on top the lace trim.

Asegúrate que la puntilla coincide con el piquete del patrón, que justo en ese punto igual que en la versión original empiece la parte de la puntilla que sube (luego se cose allí y que salga justo la parte bonita). Además cuando colocas la puntilla en la otra copa tienes que ver que coincide el dibujo de puntilla en ese punto para que todo sea simétrico entre las dos copas.
En el derecho, cose encima de la puntilla en la parte de las ondas (en la parte de la puntilla que queda hacia "dentro") con un pequeño zigzag (2 de ancho, 2 de largo) a través de tela de punto y el forro.
Make sure that the lace trim is correcly positioned with the notch. Like in the original version you want the scallop of the lace to start exactly there (you'll sew the seam there later and then you'll have a beautiful neckline starting point). Apart from that you need to put the lace trim in the same way on the other cup so everything will be symmetric. Use the notch to be able to see where the lace "drawing" has to be on both of the cup pieces.
On the right side and on top of the lace trim sew a small zig-zag stitch (2 width, 2 length) following the curves on the the lace trim (on the side that will be towards the "inside" of the bralette).

En el revés se ve así el pequeño zig-zag.
This is how the zig-zag is seen on the inside.
Ahora recorta el sobrante de la tela debajo de la puntilla dejando aprox 5 mm de tela en el borde de la costura que has hecho. Ten cuidado al hacerlo para no cortar el encaje.
Now cut away the extra fabric under the lace trim leaving aprox 5 mm from the seam you just made. Be careful in order to not cut the lace underneith.

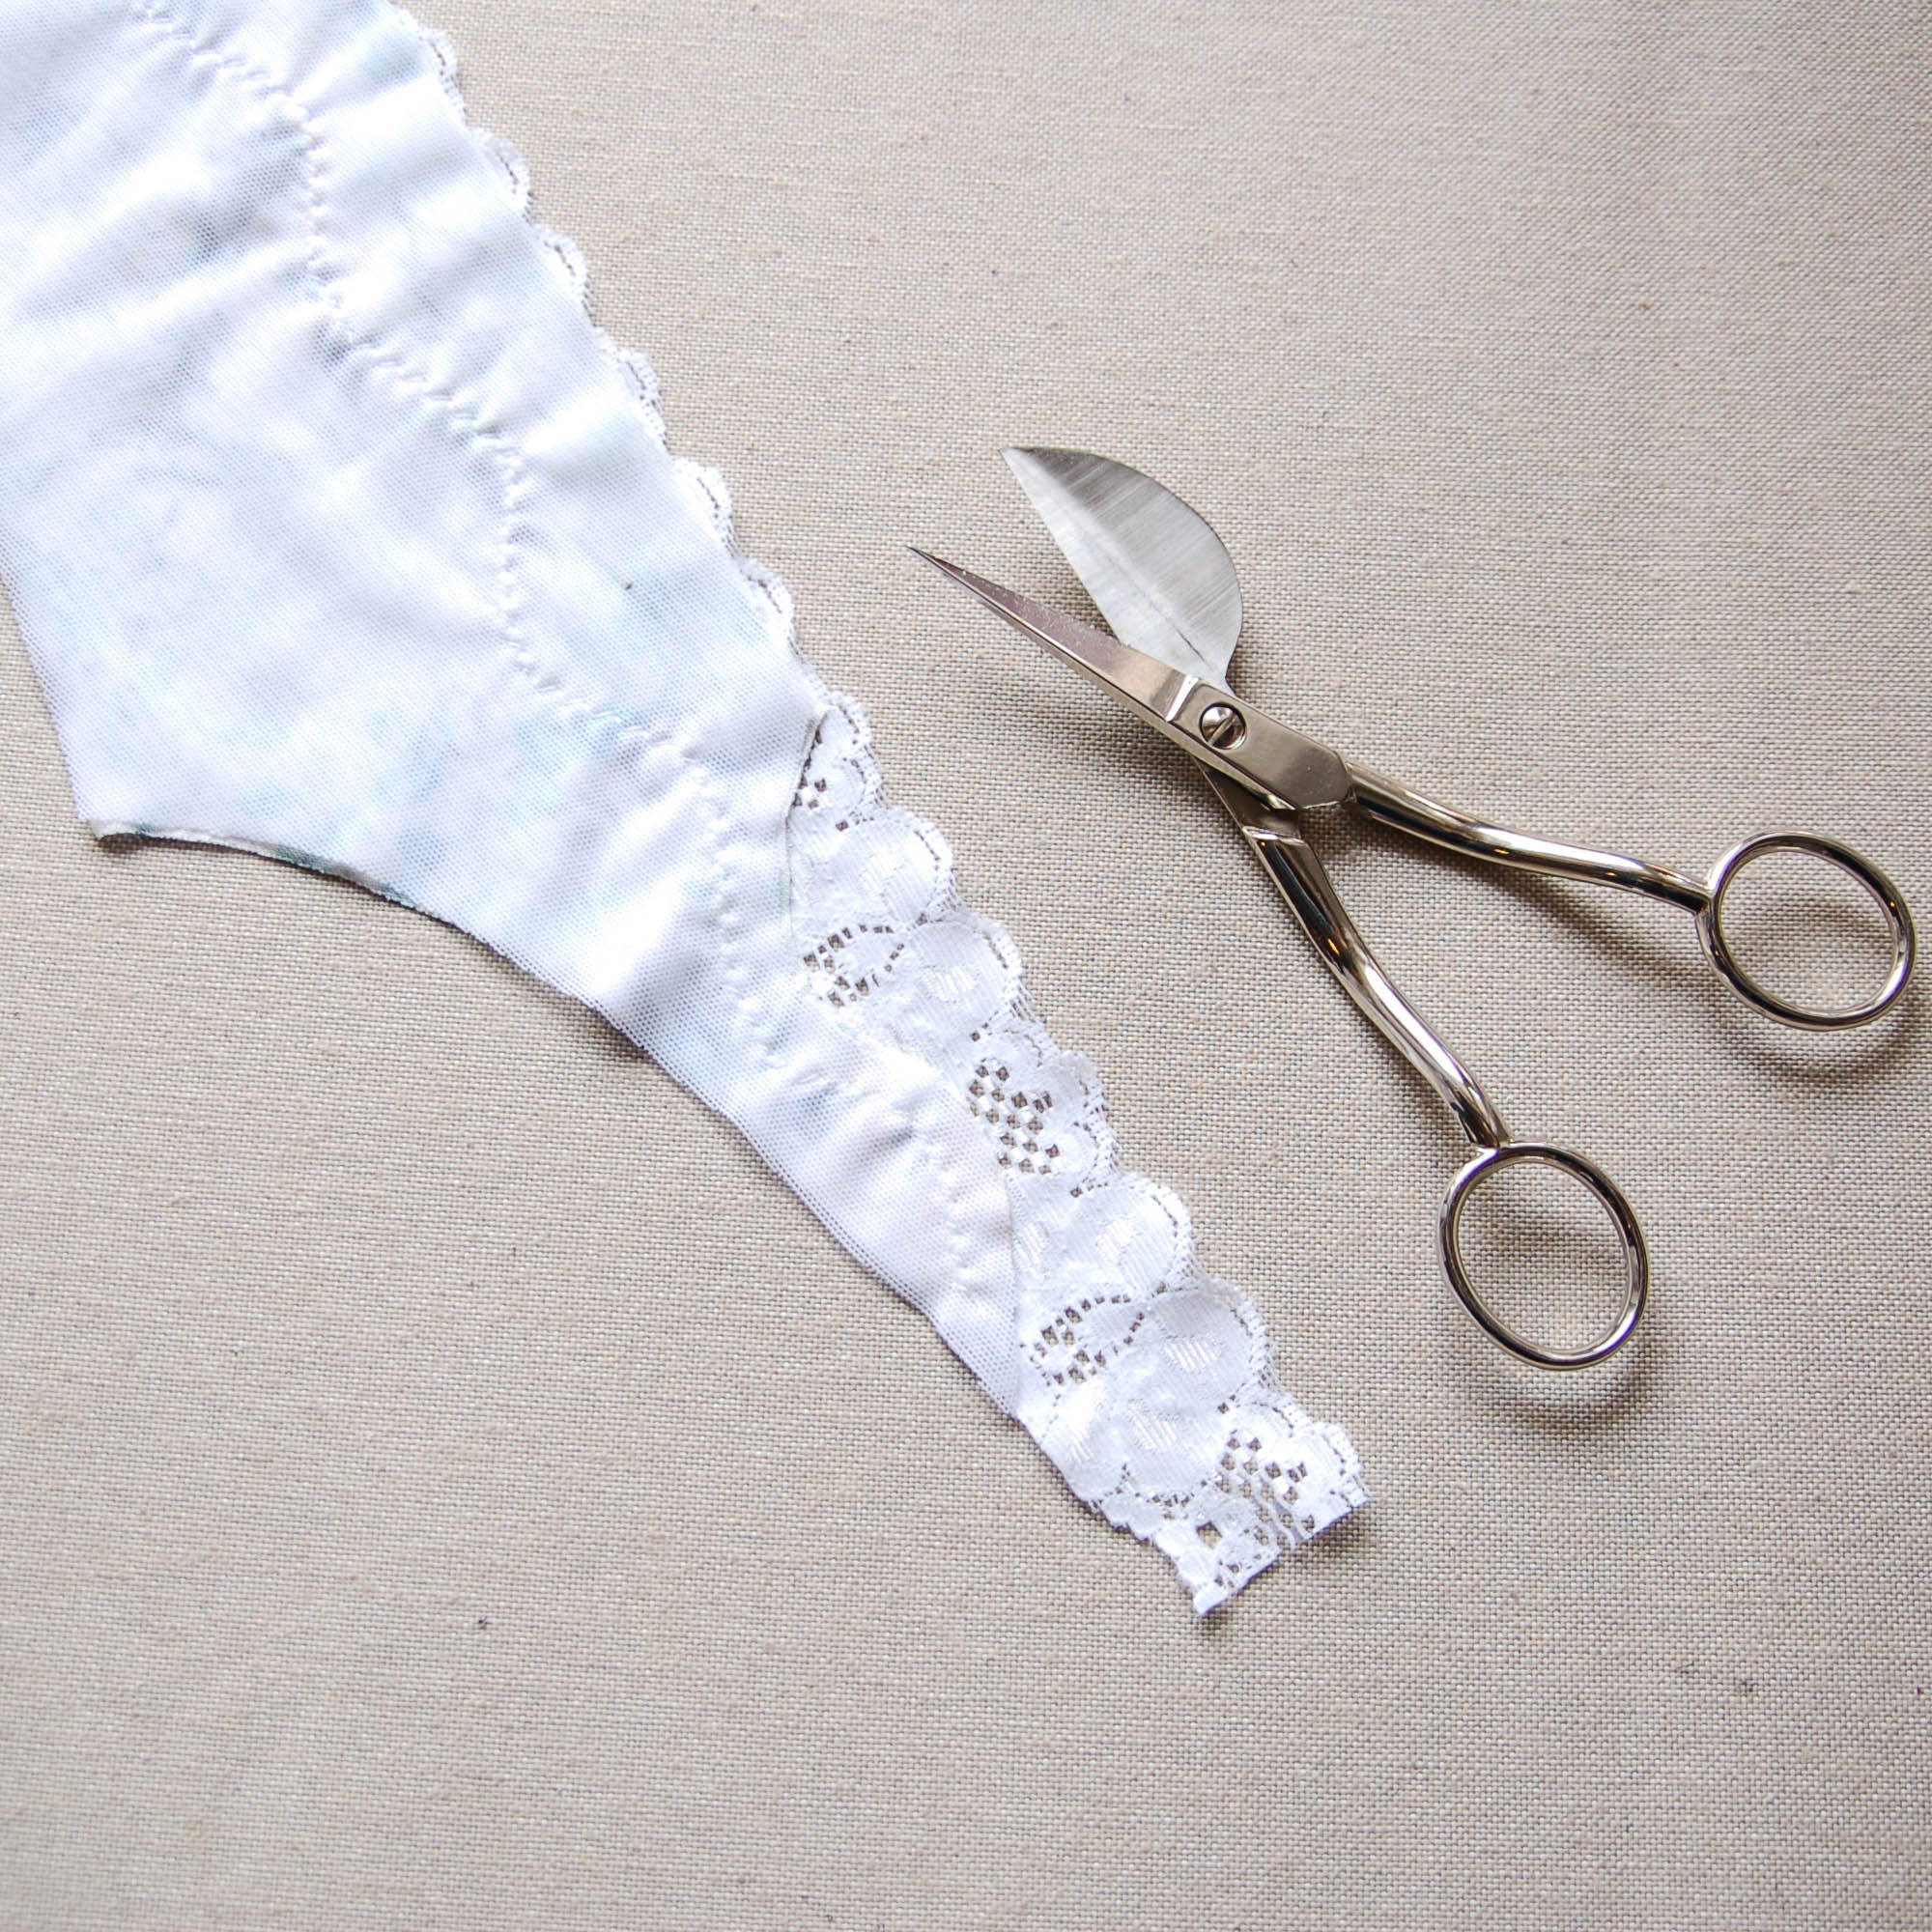
Recorta bien la puntilla en la parte de abajo para que la pieza tenga de nuevo su forma original. Repite con la otra copa.
Cut the extra part of the lace trim on the lower part to maintain the original form of the pattern. Repeat with the other cup.

Remalla o un con un pequeño zig-zag la costura central derecho con derecho y sigue con los mismos pasos que la versión original.
Overlock or sew a small zig-zag stitch to sew the central seam with the right sides together and continue with the same steps as in the original version.

Espero que os haya gustado el tutorial y que probéis a coser este patrón con telas de punto. Tenemos varios nuevos kits en la tienda y podéis combinarlos con puntillas a vuestro gusto (con 1 m de puntilla es suficiente para este patrón). En la próxima entrada hablaré sobre cómo usar foam y algunos trucos para coser neopreno y que no abulte tanto la costura.
I hope you liked the tutorial and that you'll try out knits with this pattern. We have some new knit fabric kits also available and you can combie them with lace trims as you like (1 m of lace trim is enough for this pattern) In my next post I'll tell you more about foam and about how to sew with scuba fabric.