I recently made a black silk Ogden cami with a lace detail on the neckline (and then another one in mint green as a gift too) and many of you liked it a lot so I thought it would be a good idea to show you how I did it in a little tutorial.
Read More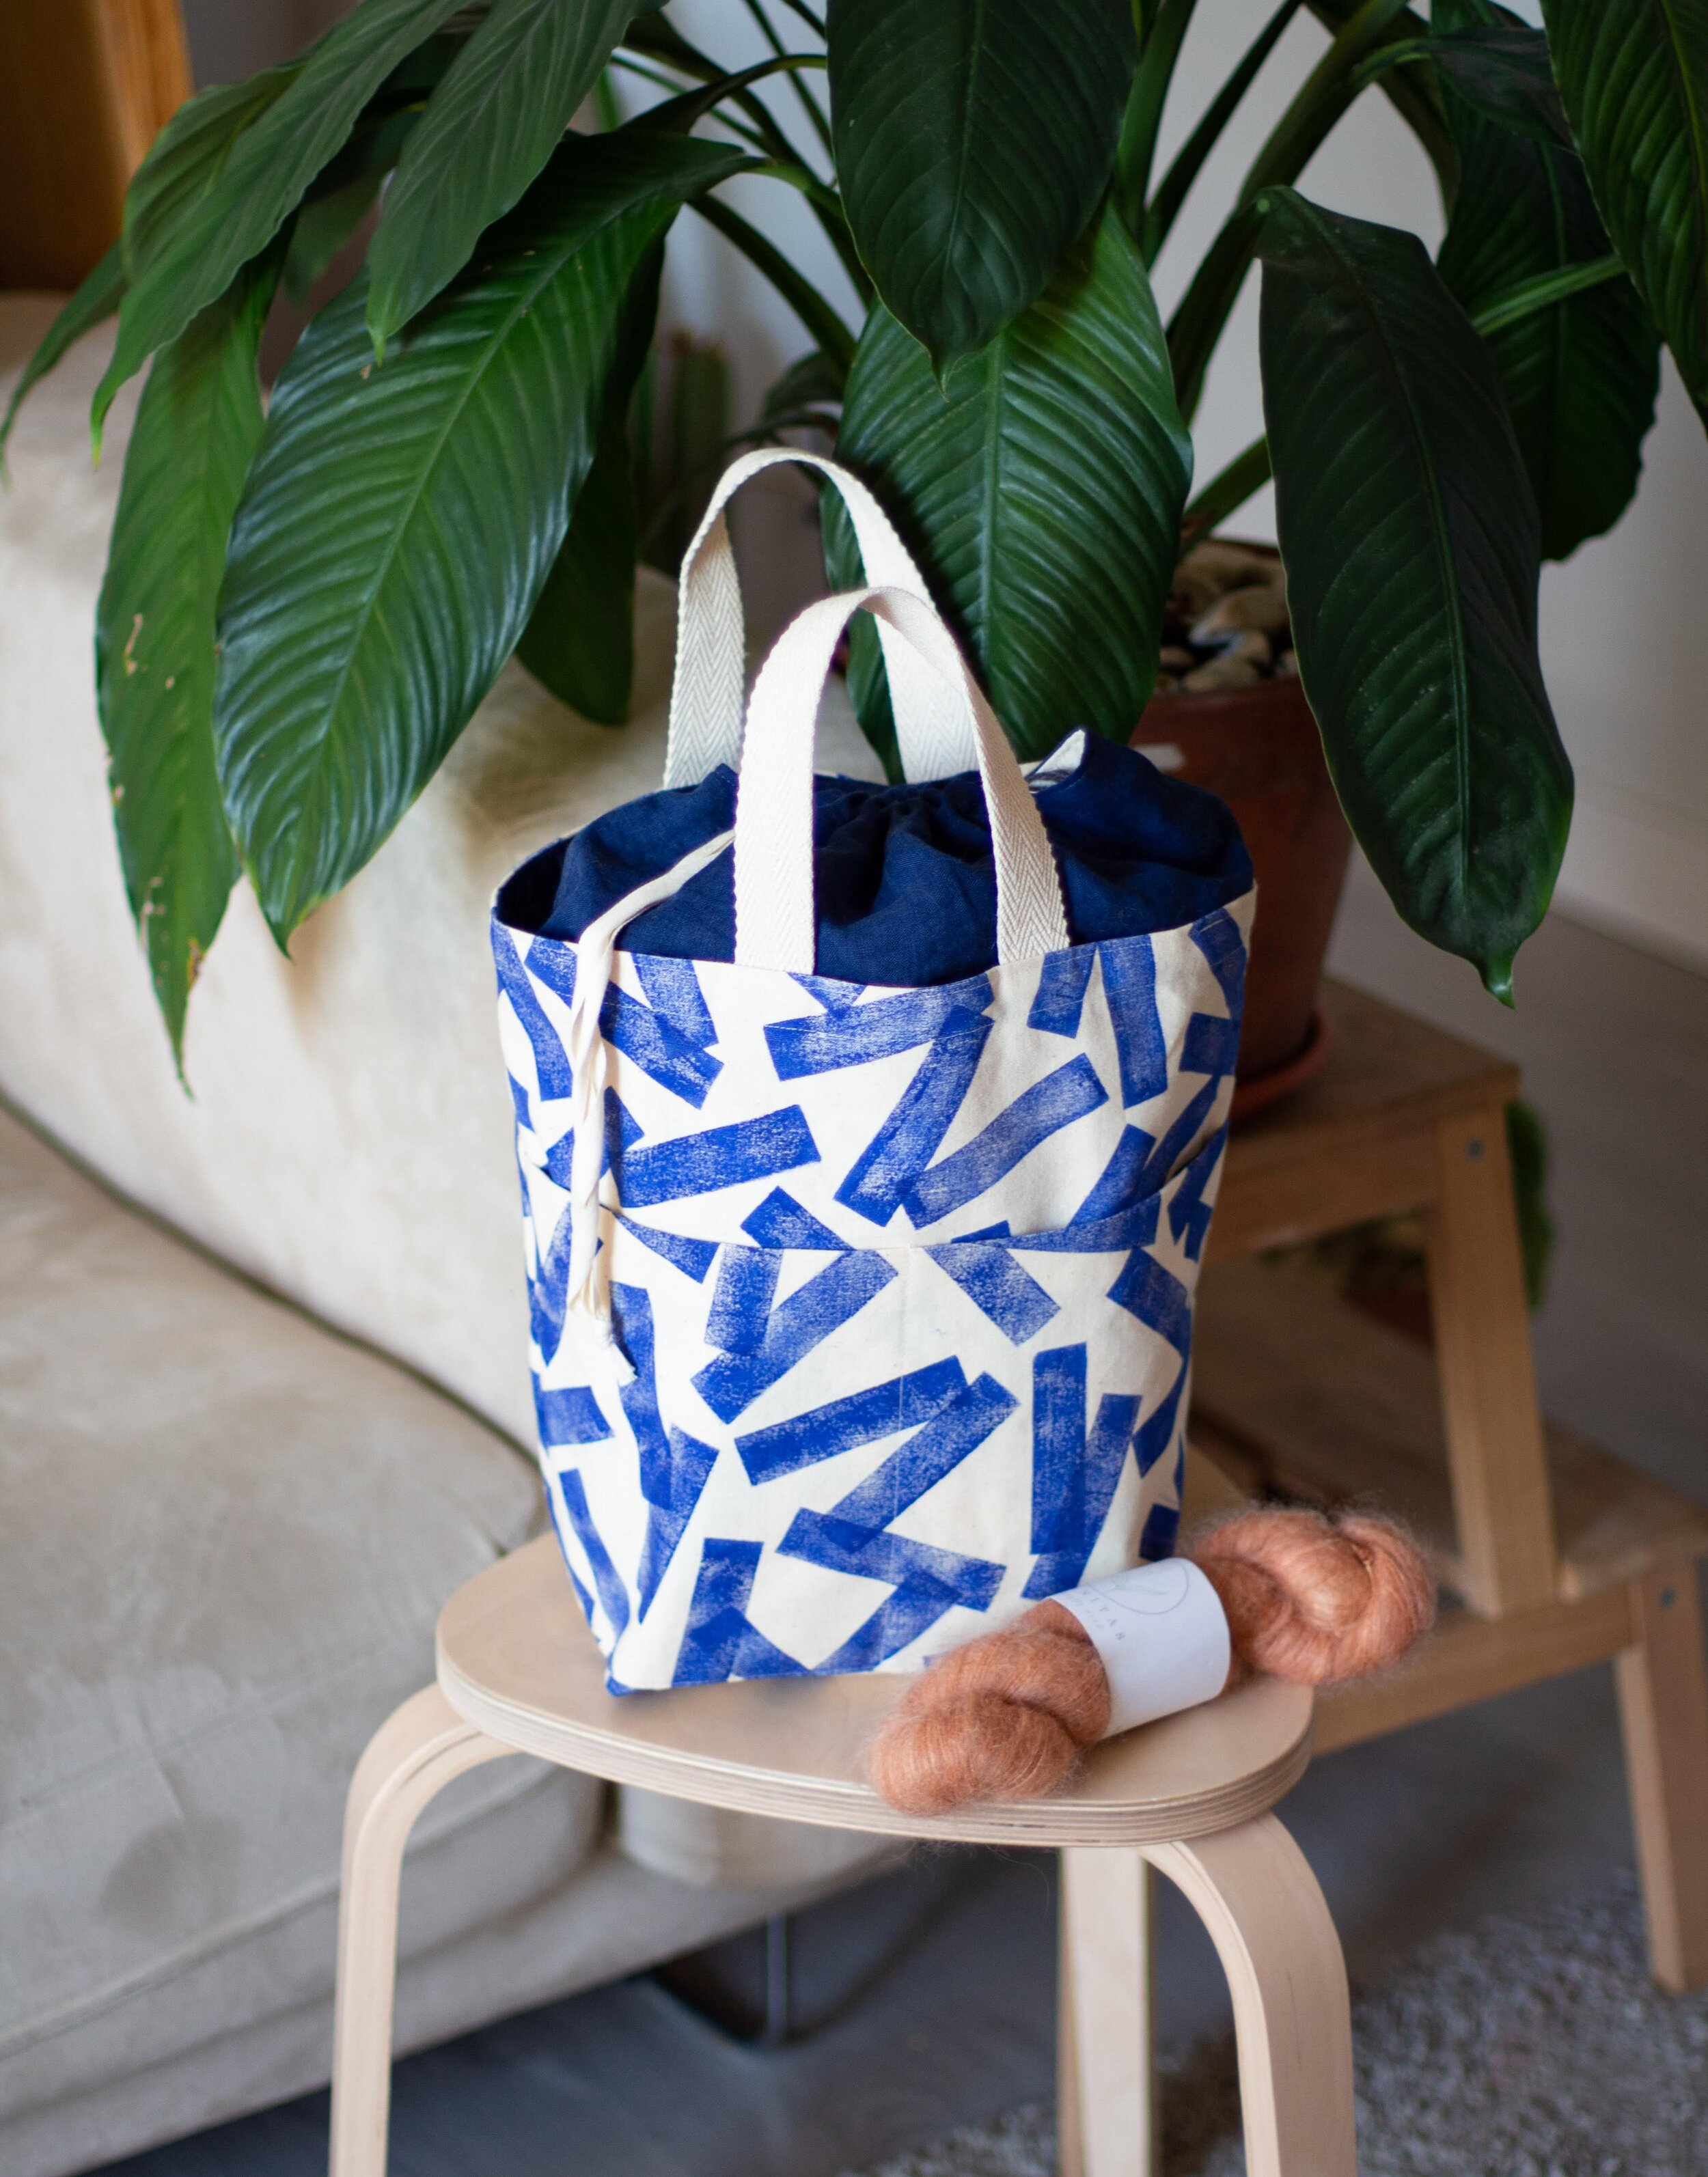
Introducing the Project Bag by LaOla Patterns
I’m really happy to present you my newest sewing pattern, the Project Bag! If you’ve been following me on Instagram you already saw that I announced that this pattern was going to be launched soon and today is the day!
Read More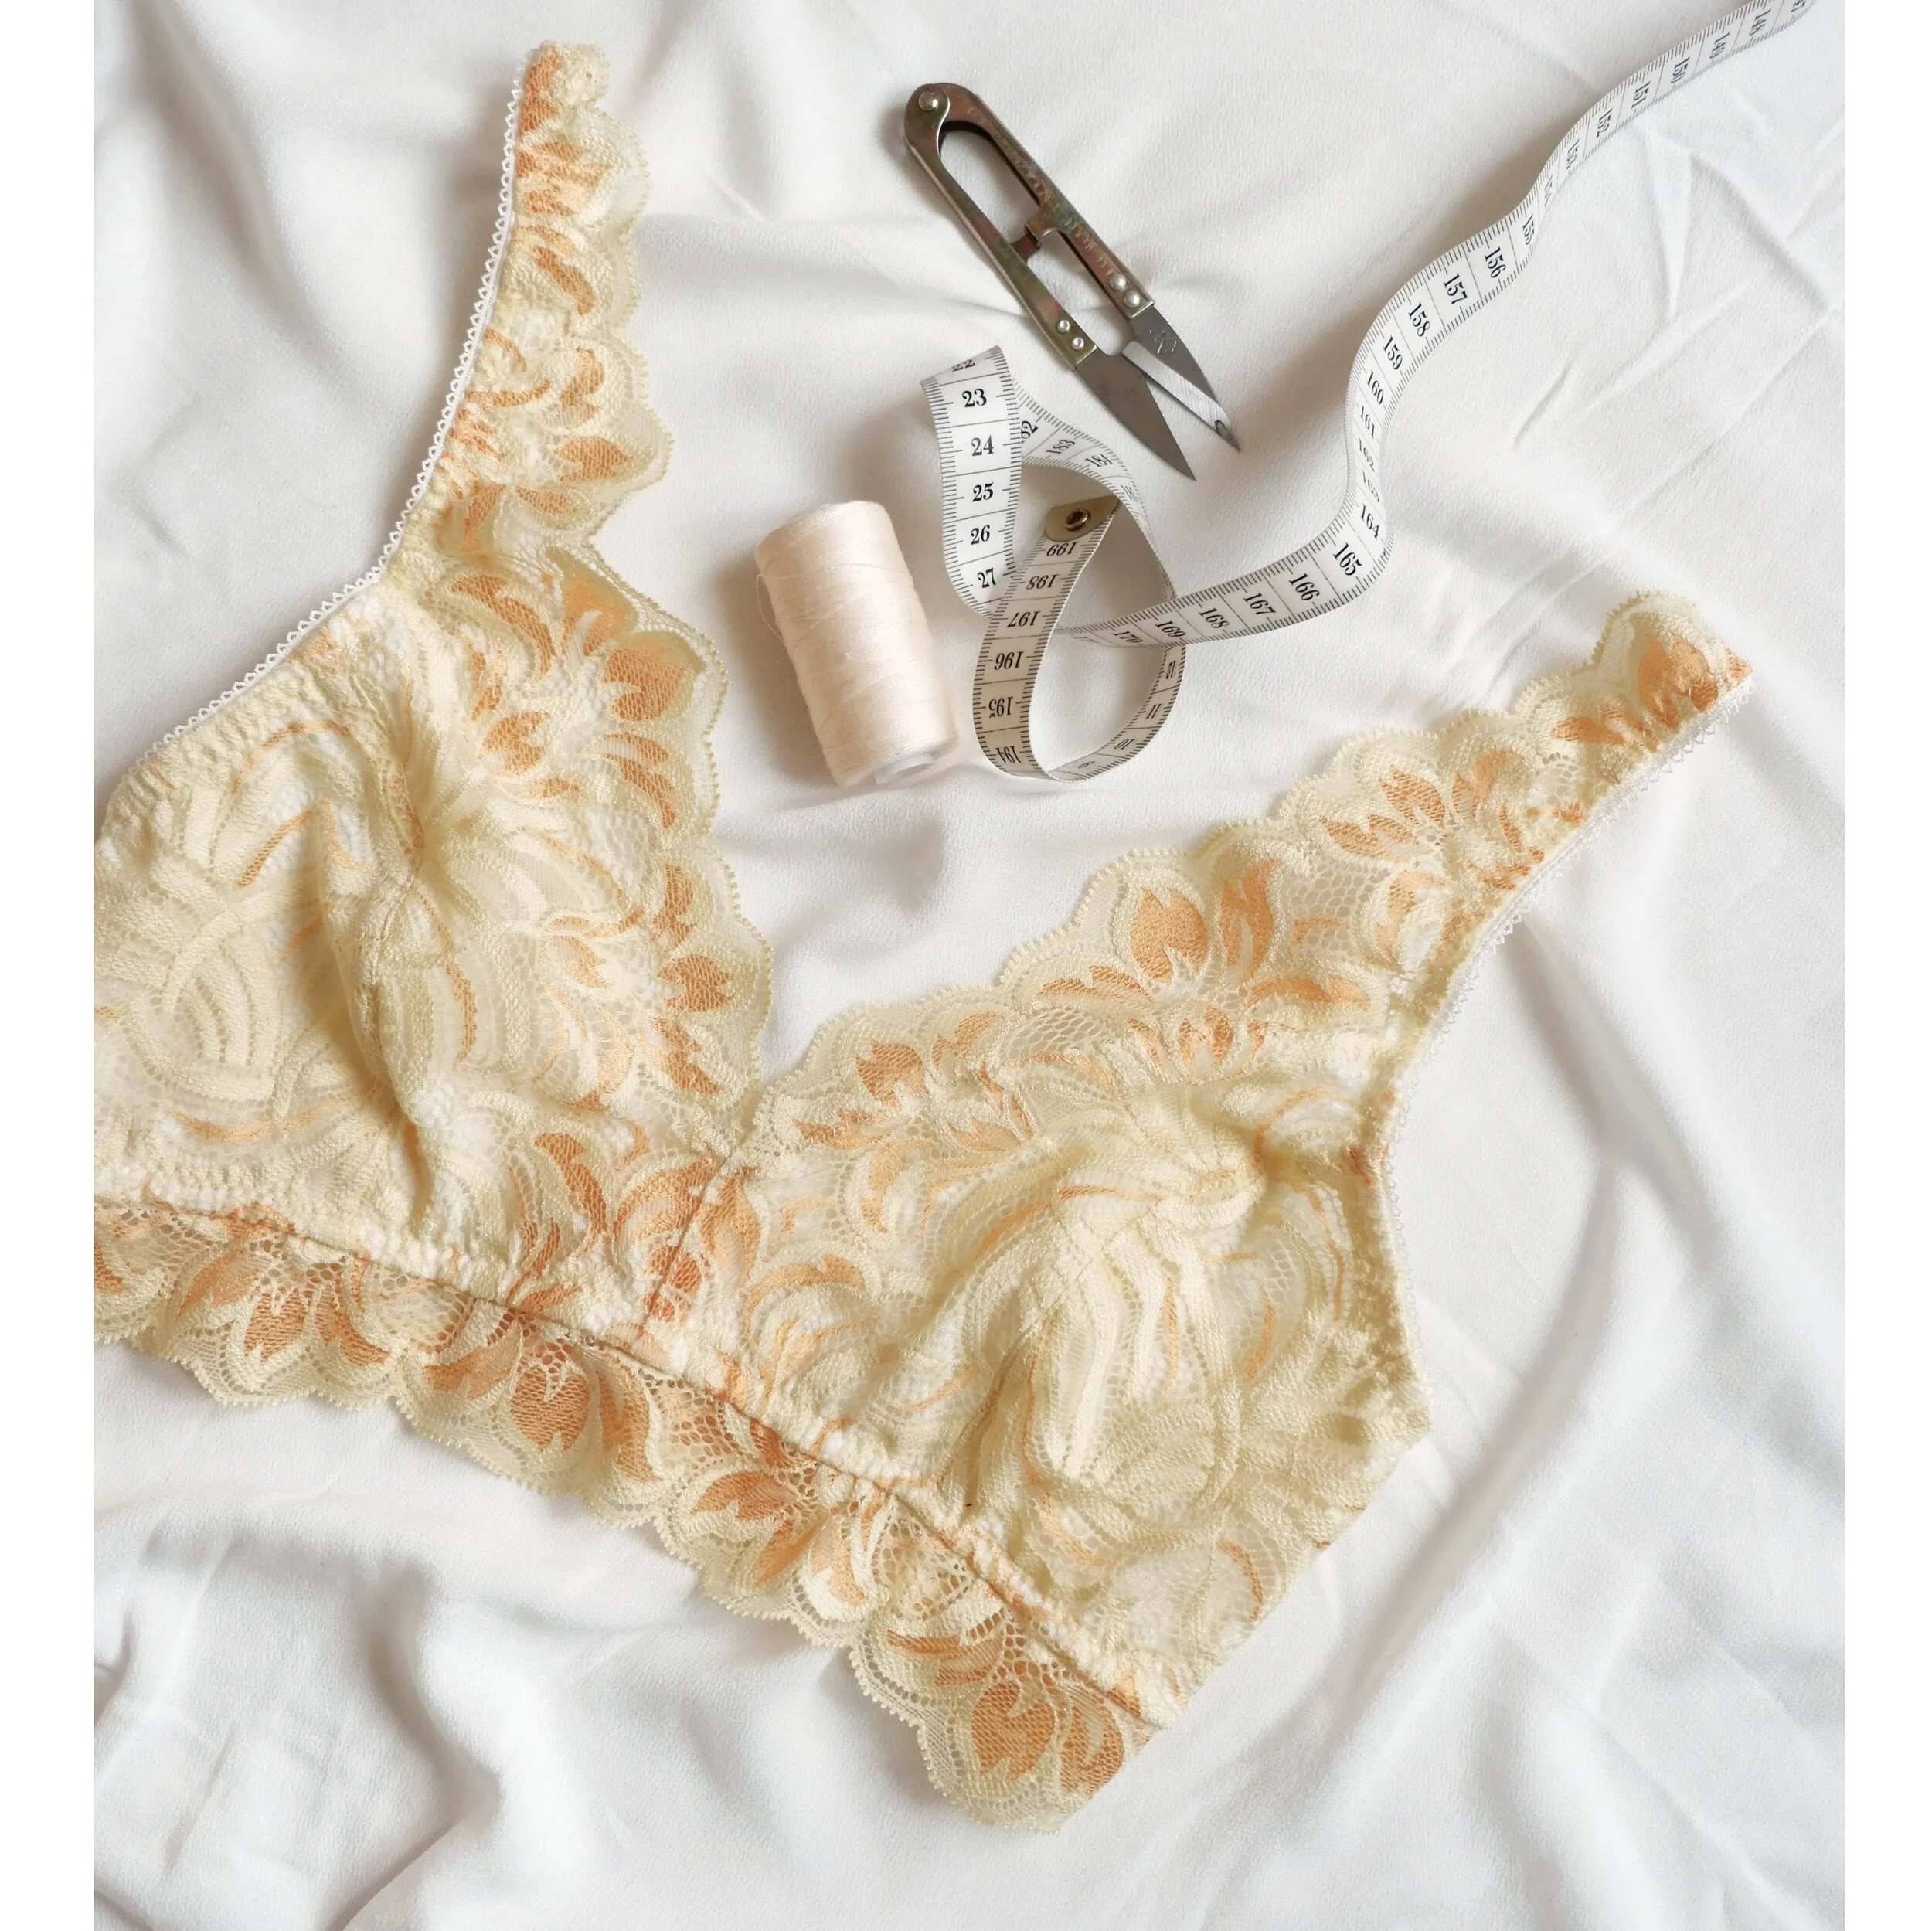
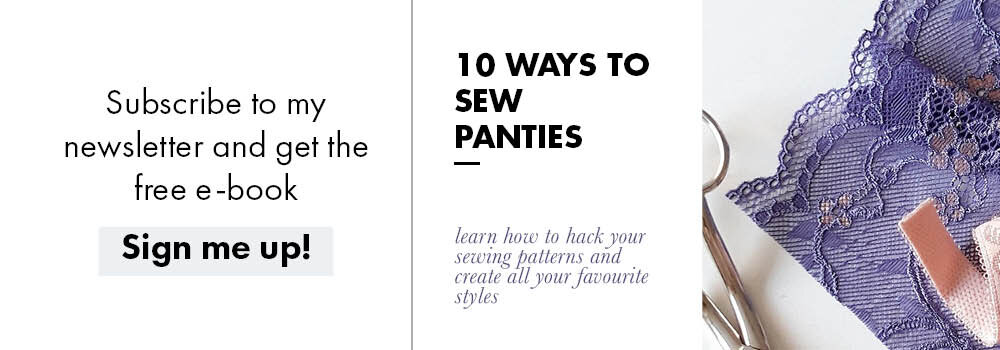
Hanna bralette scalloped lace band hack
It has been some time since I wrote a tutorial over here…and it has been ageeees since I showed you a hack for the Hanna bralette! The other day I posted this image at my shops IG account as an inspiration and many of you did say you’d like to see how to make this modification to add a lace edge to the band so here we go!
Read More
Five years of Studio Costura
This blog, and the whole Studio Costura project turned five years old past Sunday, 14th of February. If you follow me on IG you might have read my little stories about “behind the scenes” of all these years. I also wanted to collect them together here as a special anniversary post + I’ve written also about my thoughts on all of that at the end of this post.
Read More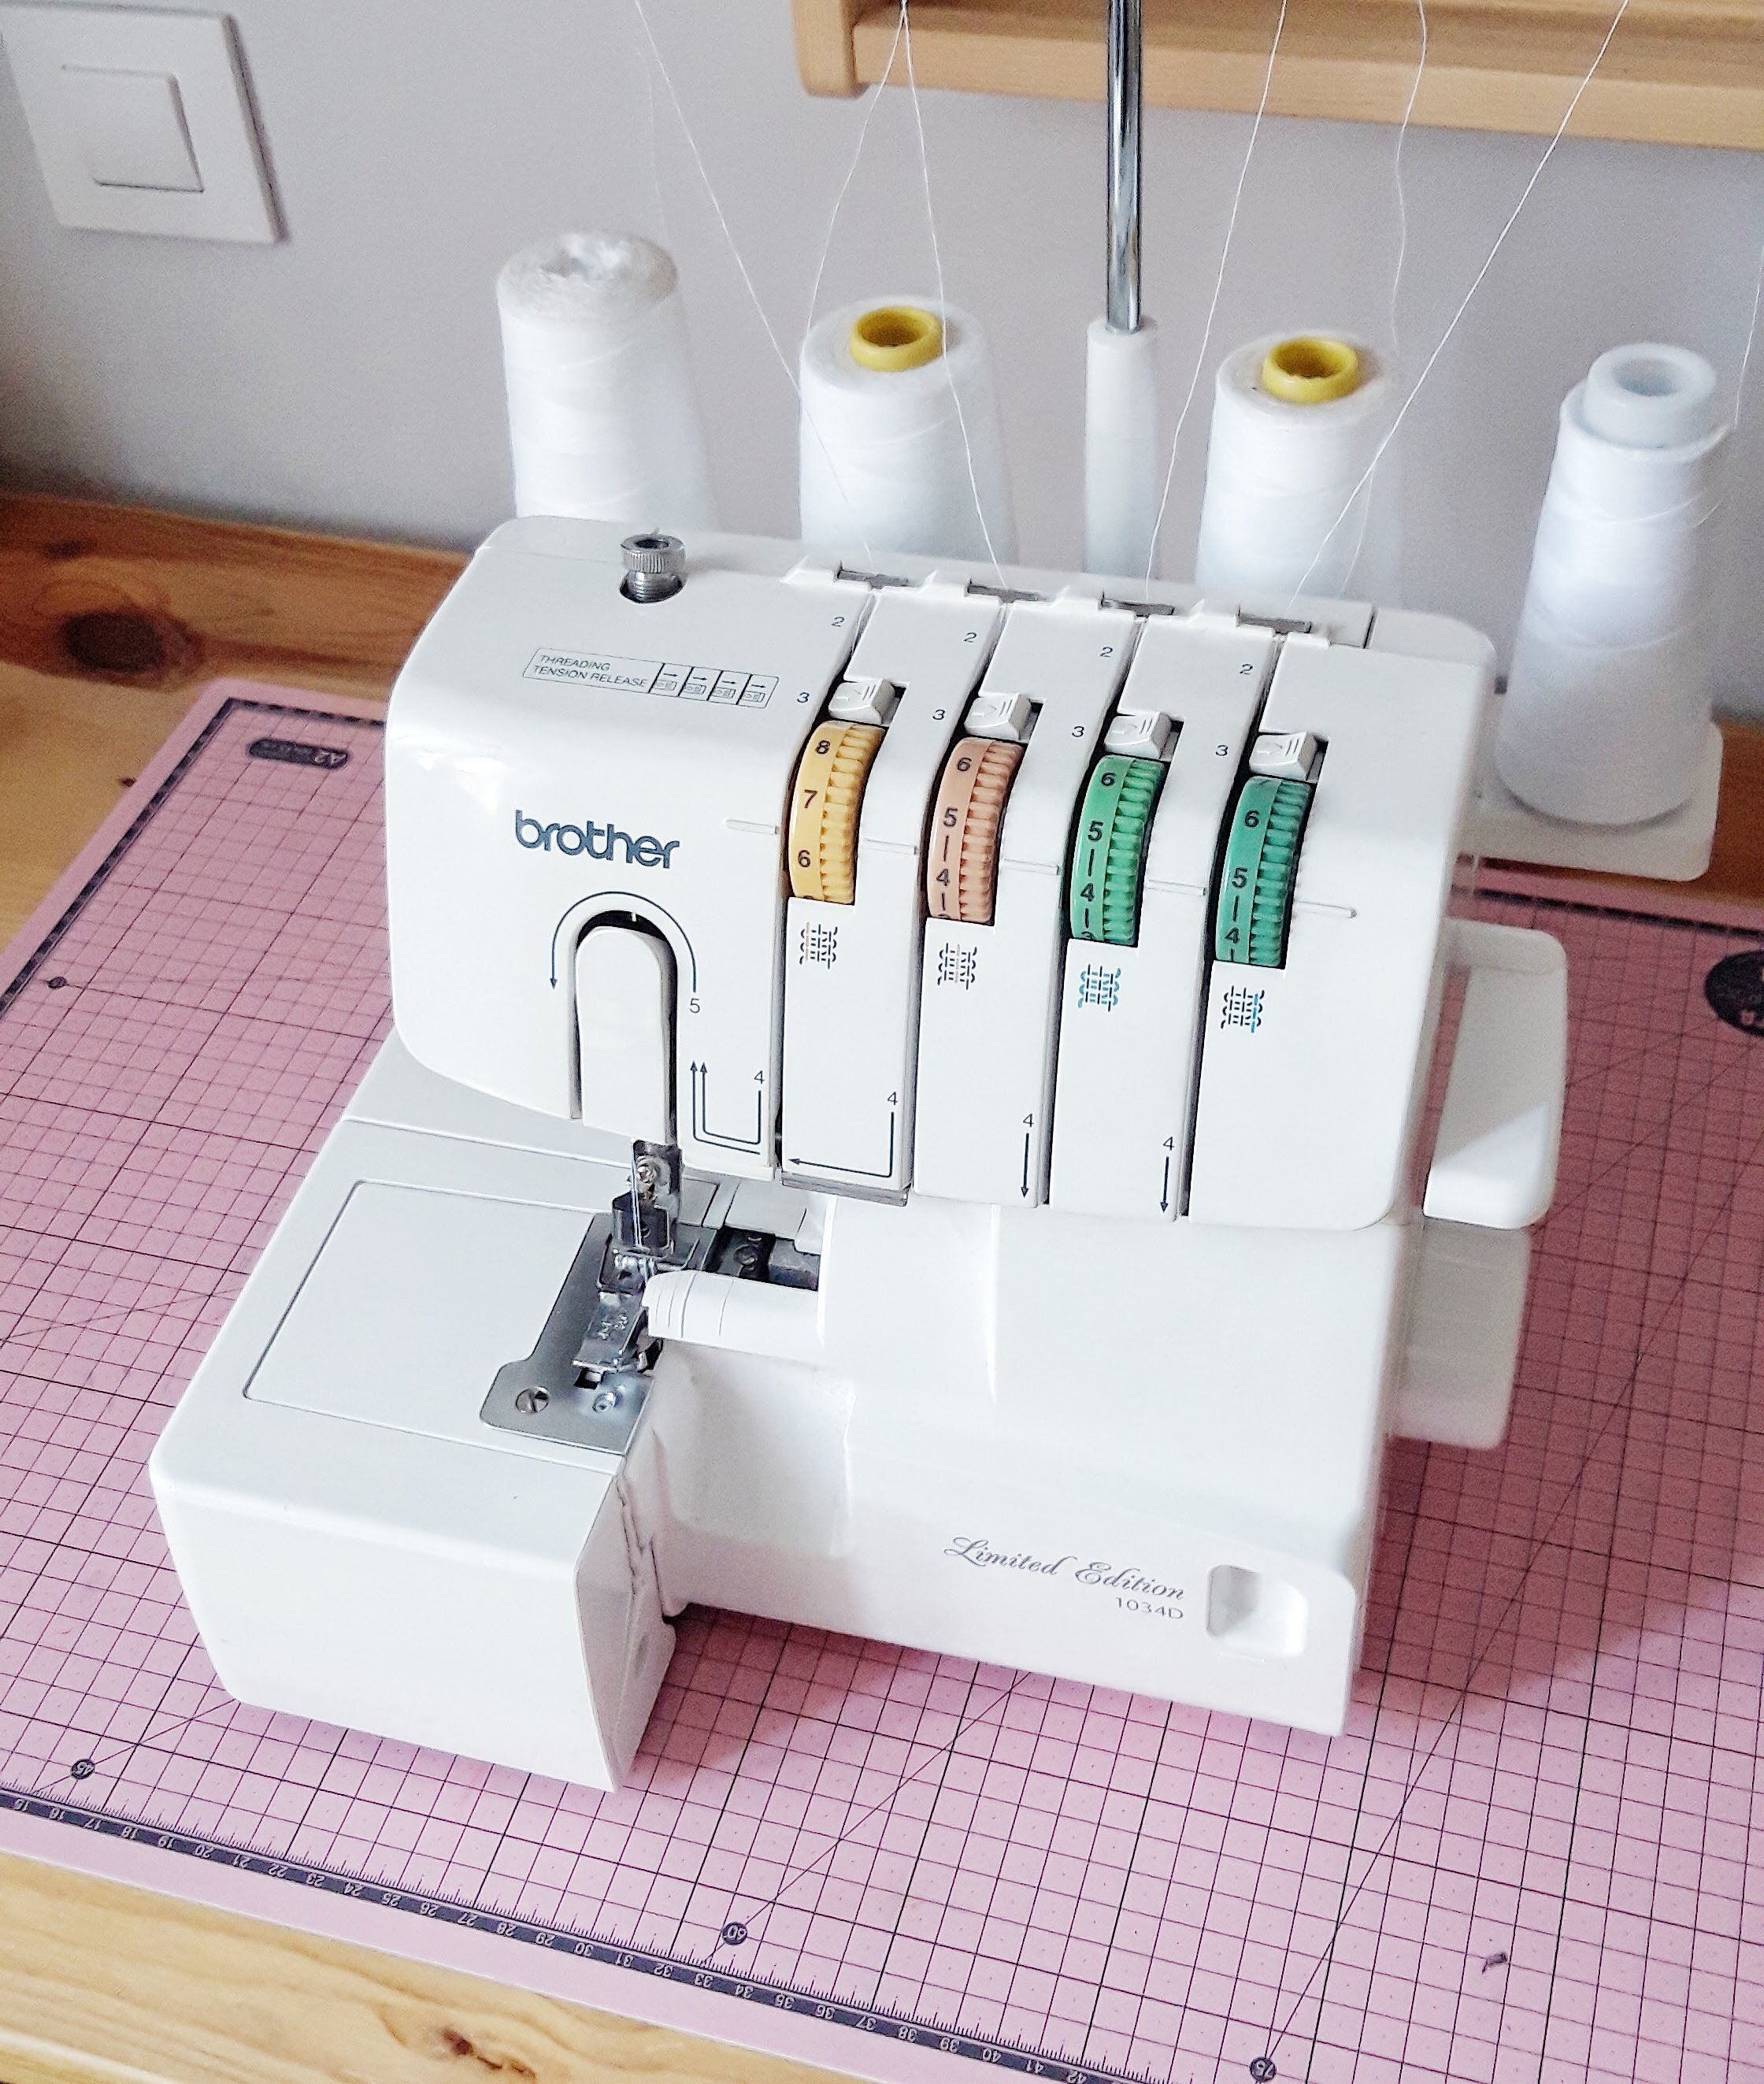
Choosing an overlocker
Welcome back, 2021 let’s do it! As the pandemic is not enough we were surprised with a massive snow storm in Madrid last weekend and everything is still pretty much collapsed right now when I’m writing this post. You really need to keep your head up...and your hands occupied while waiting for some better times! So let’s go with some sewing related talk here.
Read More
2020 in my sewing and knitting
So here we are, ending this surely “memorable” year of 2020. What an intense, unpredictable and for many people very tough year it has been. I know that everybody has had different experiences and life changes during this chaotic time, I hope that you are doing at least OK amidst all of what has been happening in the world.
Read MoreSoftshell anorak from Ottobre Design

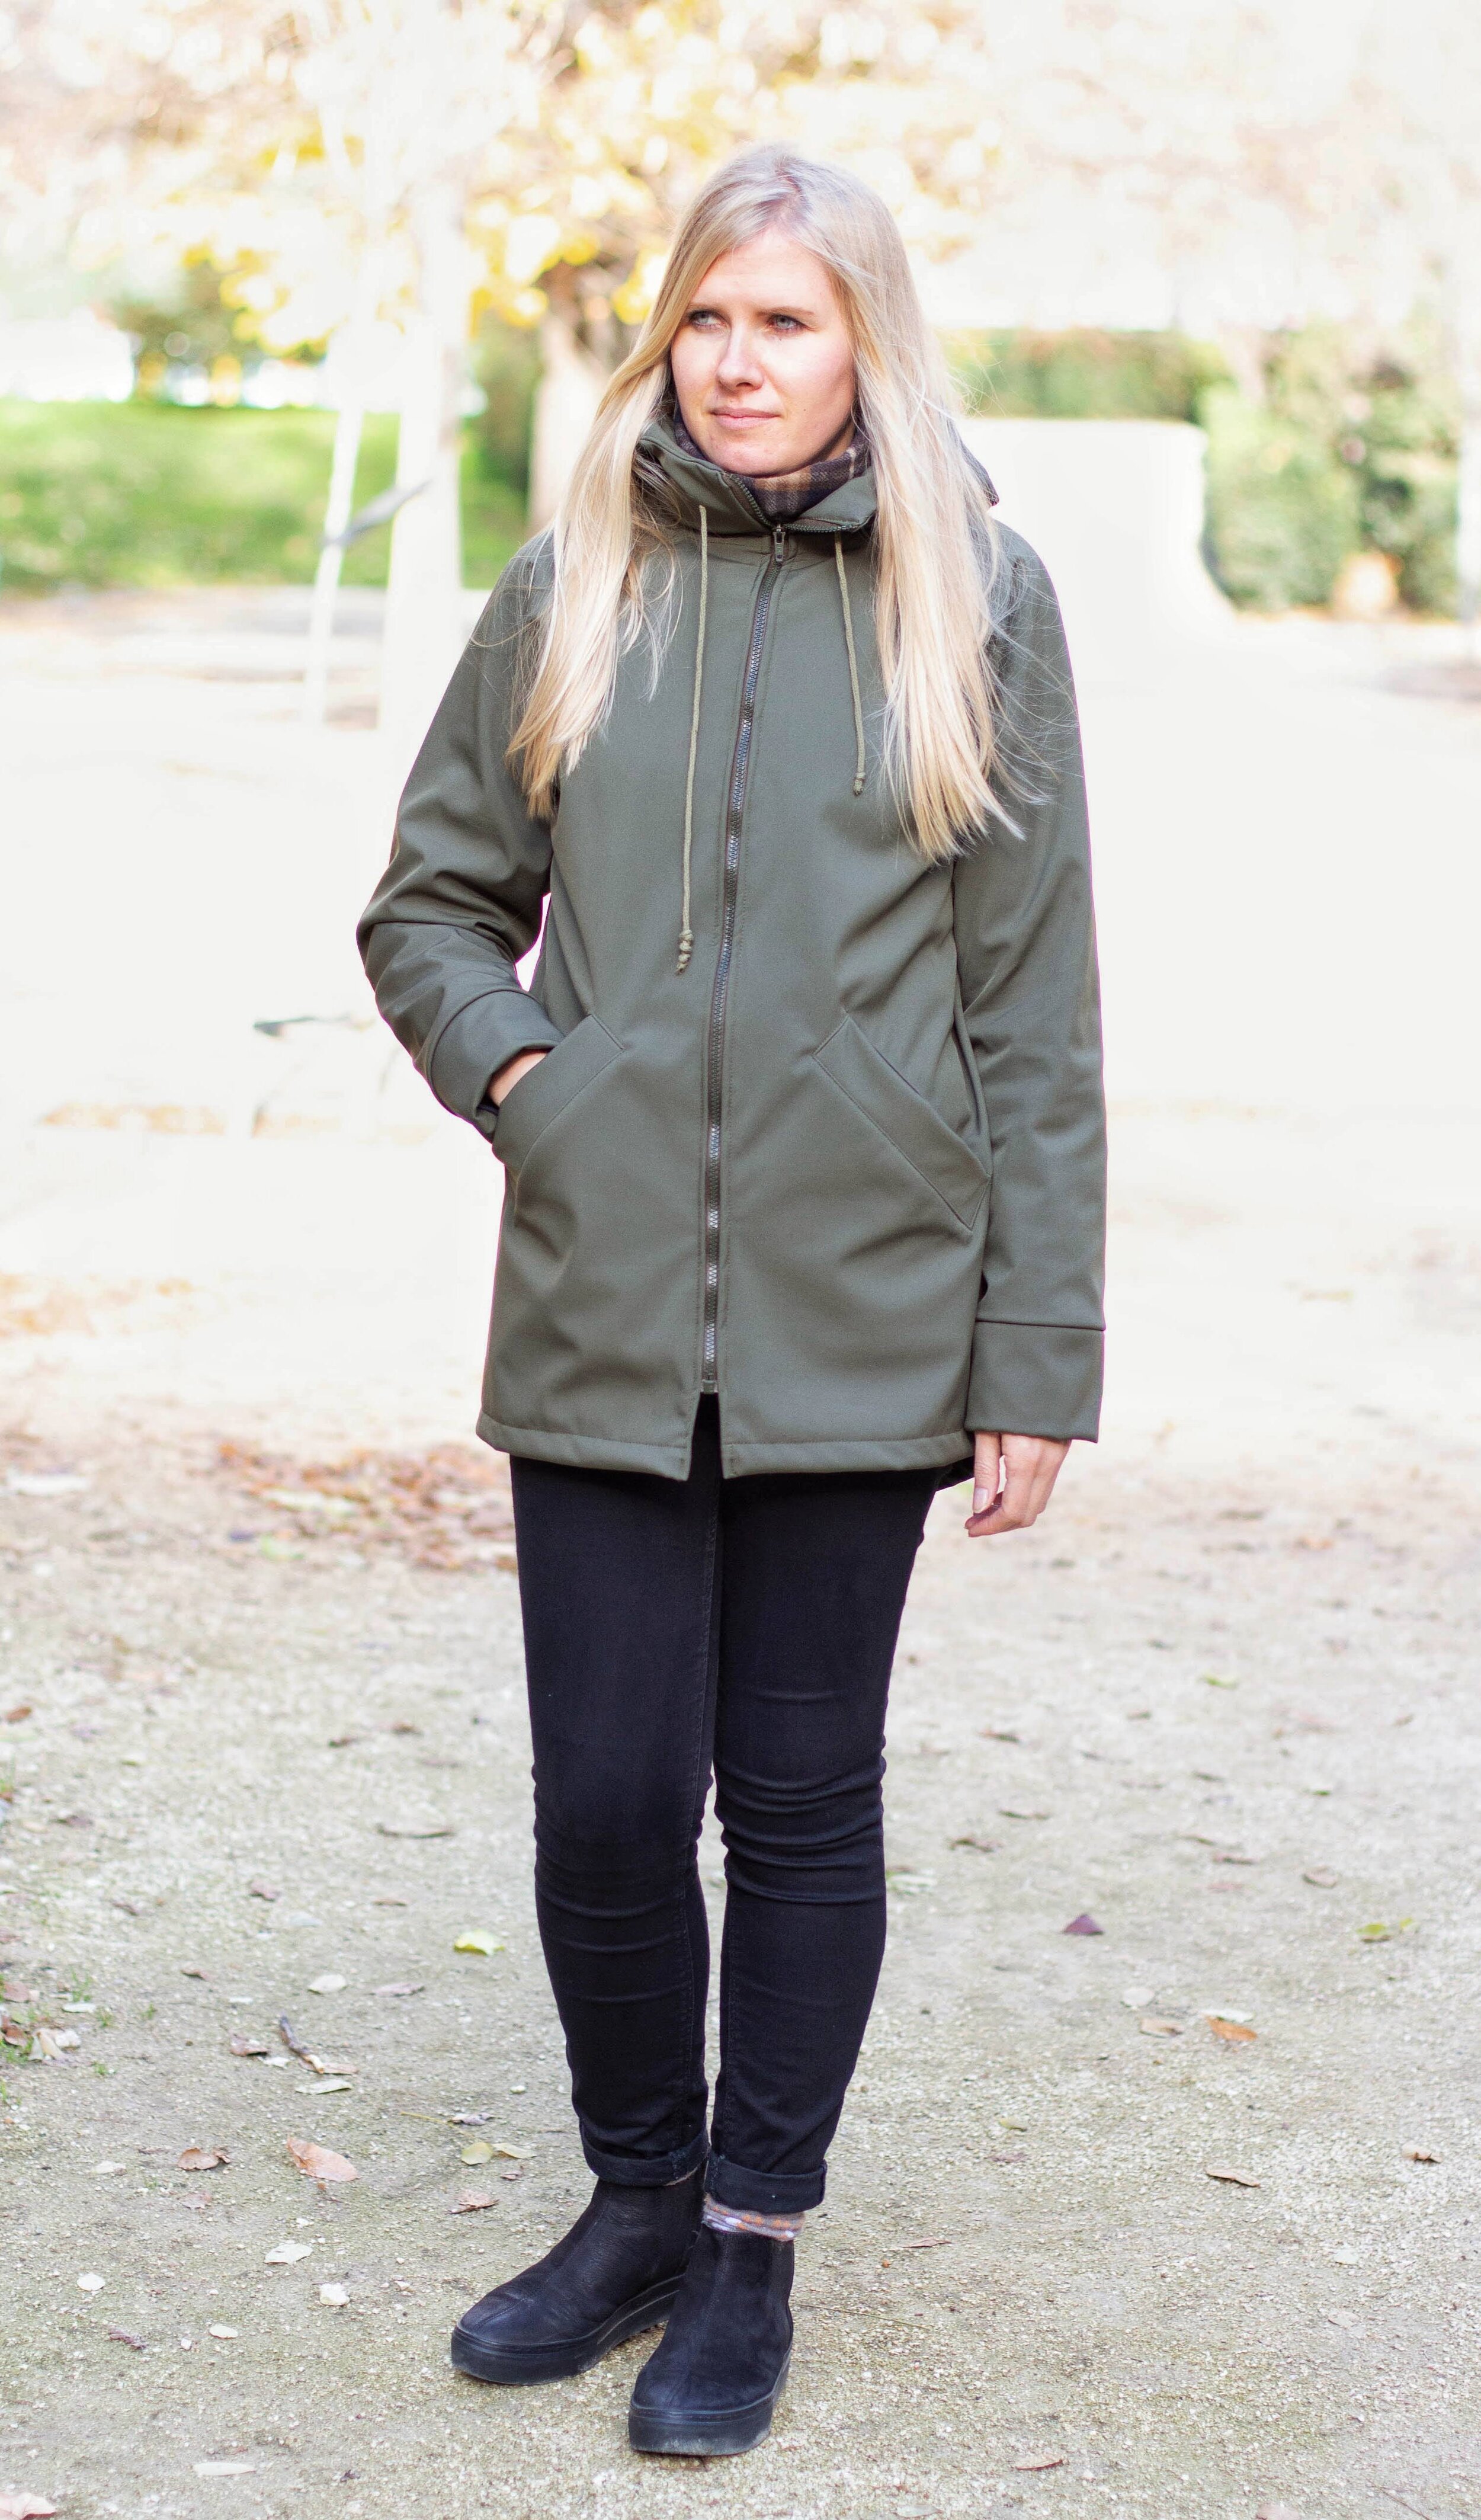
Today I’m sharing with you my newest make - this softshell anorak! I’ve already written about several softshell jackets I’ve made (see this first one for my daughter here and the Serra jacket and another jacket I made for her here) so you probably already know that I like this fabric a lot.
If you are not familiar with this fabric I’ll tell you a bit about it. This fabric is ideal for lightweight fall/spring jackets as it’s wind and rain proof (it’s not entirely waterproof so you can’t really use it in pouring rain but I have used it without an umbrella with light rain and it worked well). The exterior layer is a technical fabric that makes the fabric wind and rain proof and the interior layer is a lightweight fleece and the combination is just perfect for casual outerwear. You’ve probably seen this fabric used a lot for activewear!
There are several places you can get softshell these days but I will mention the shop I ordered it this time, it’s called Active Fabrics. I already mentioned this online shop (based in Germany) in my boiled wool post as we also tried their wool which is great and very reasonably priced (Laura used their wool for this pretty Clare coat). I ordered my softshell from this shop too as they have several types and lots of solid colors to choose from. The one I chose is the Arctic Softshell but I also ordered swatches for other types of softshell they have available and all of them looked just fine. The flat rate shipping is a bit expensive as they send the orders with DHL but we did order many different fabrics among the students at the academy so it was well worth the money and they delivered to Spain really fast!

So now about my anorak. I knew I wanted to make myself another fall jacket in softshell but in a more “neutral” color. I’d say that the print I used for my Serra jacket wasn’t the craziest I’ve seen (and as it was me who picket it, I obviously liked it, hehe) and I’ve been wearing the jacket a lot...but you have probably already noticed my tendency to wear more neutral colors so I was left with an itch to have another more “combinable” jacket too.
I’ve actually made an anorak style jacket before (this Kelly anorak) which I liked a lot but as I used a quite random canvas fabric when I made it several years ago it started to have some pilling and I knew I had to make another one. I actually wanted initially to use the Kelly pattern but the yoke and two part sleeve aren’t such a good fit with this activewear fabric. Also, I knew I wanted the zipper to go up until the raised neckline of the hood for maximum warmth.
When I received the latest Ottobre Design women's issue (5/2020) this summer I knew that the anorak pattern was just perfect for me...and I also liked the dark green color as I already have some outerwear in this color and I find it super easy to mix with all my other neutral/boring color choices, haha (I chose the Olive color from the shop for my jacket). The pattern in the magazine is not directly made for softshell but it’s very easy to adapt as sewing with softshell is very comfortable: you don’t need to worry about any seam finishing (well, I did use some bias tape but more about that below) as the fabric doesn’t fray.
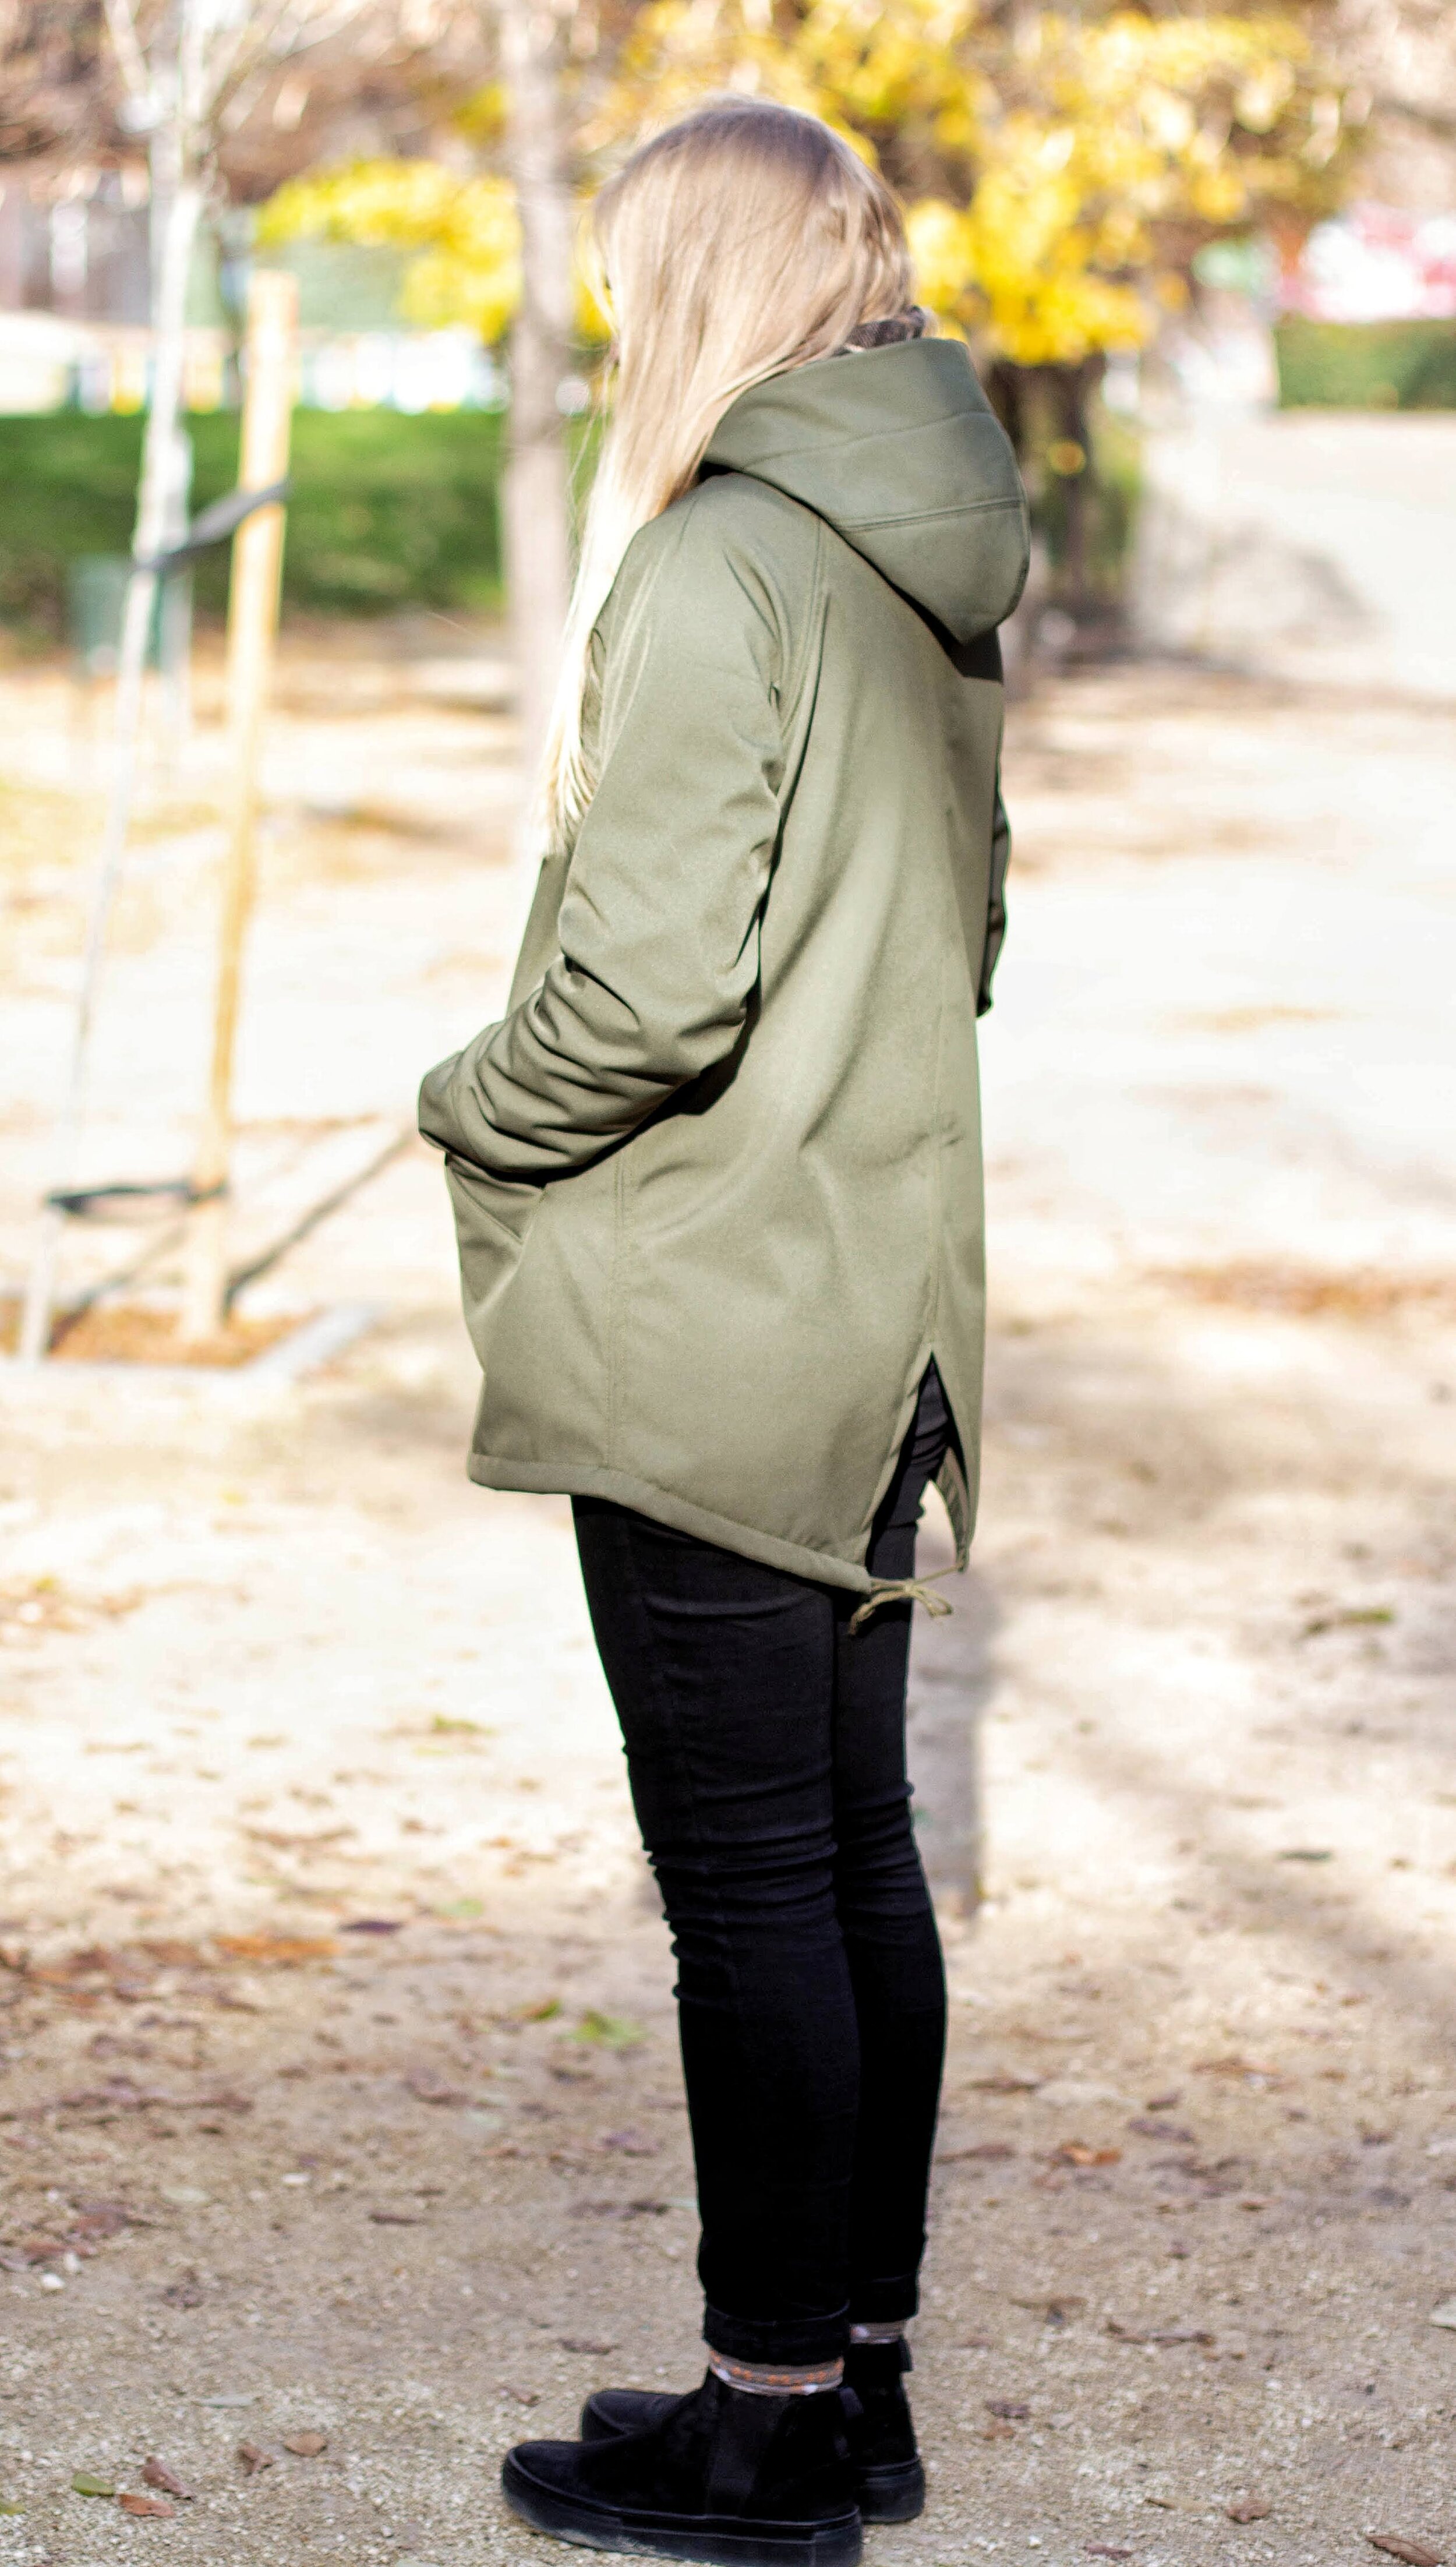
I of course made some changes...the first one being adjusting the pattern to have raglan seams instead of dropped shoulders. This modification is a bit complicated to explain here without diagrams but it’s not super hard to do for relaxed fit like in this anorak. But...if you’re like me and forget stuff, you can easily almost ruin your project, haha. I did modify the raglan seams a bit in a hurry (to cut the pieces at the academy so I could sew at home during the weekend with my industrial sewing machine) and forgot one crucial step which I found out about when I had already sewn together the body and the sleeves.
Long story short: I almost didn’t finish the project because I had some crazy wrinkles in the armhole area due to my poor patternmaking mistake but I somehow managed to correct this by cutting the sleeves off (yes, cutting, not ripping the seams, I was that devastated, haha) and recutting the armhole shape. I had to sacrifice about 5-7 cm of the sleeve and general length with this “hack” but it wasn’t that bad because I could just add cuffs for the sleeves and be OK with the body being a bit shorter (although my daughter made jokes about seeing my butt from the hem opening on the back piece…). Anyway….after being able to save the project everything else was quite easy, haha.

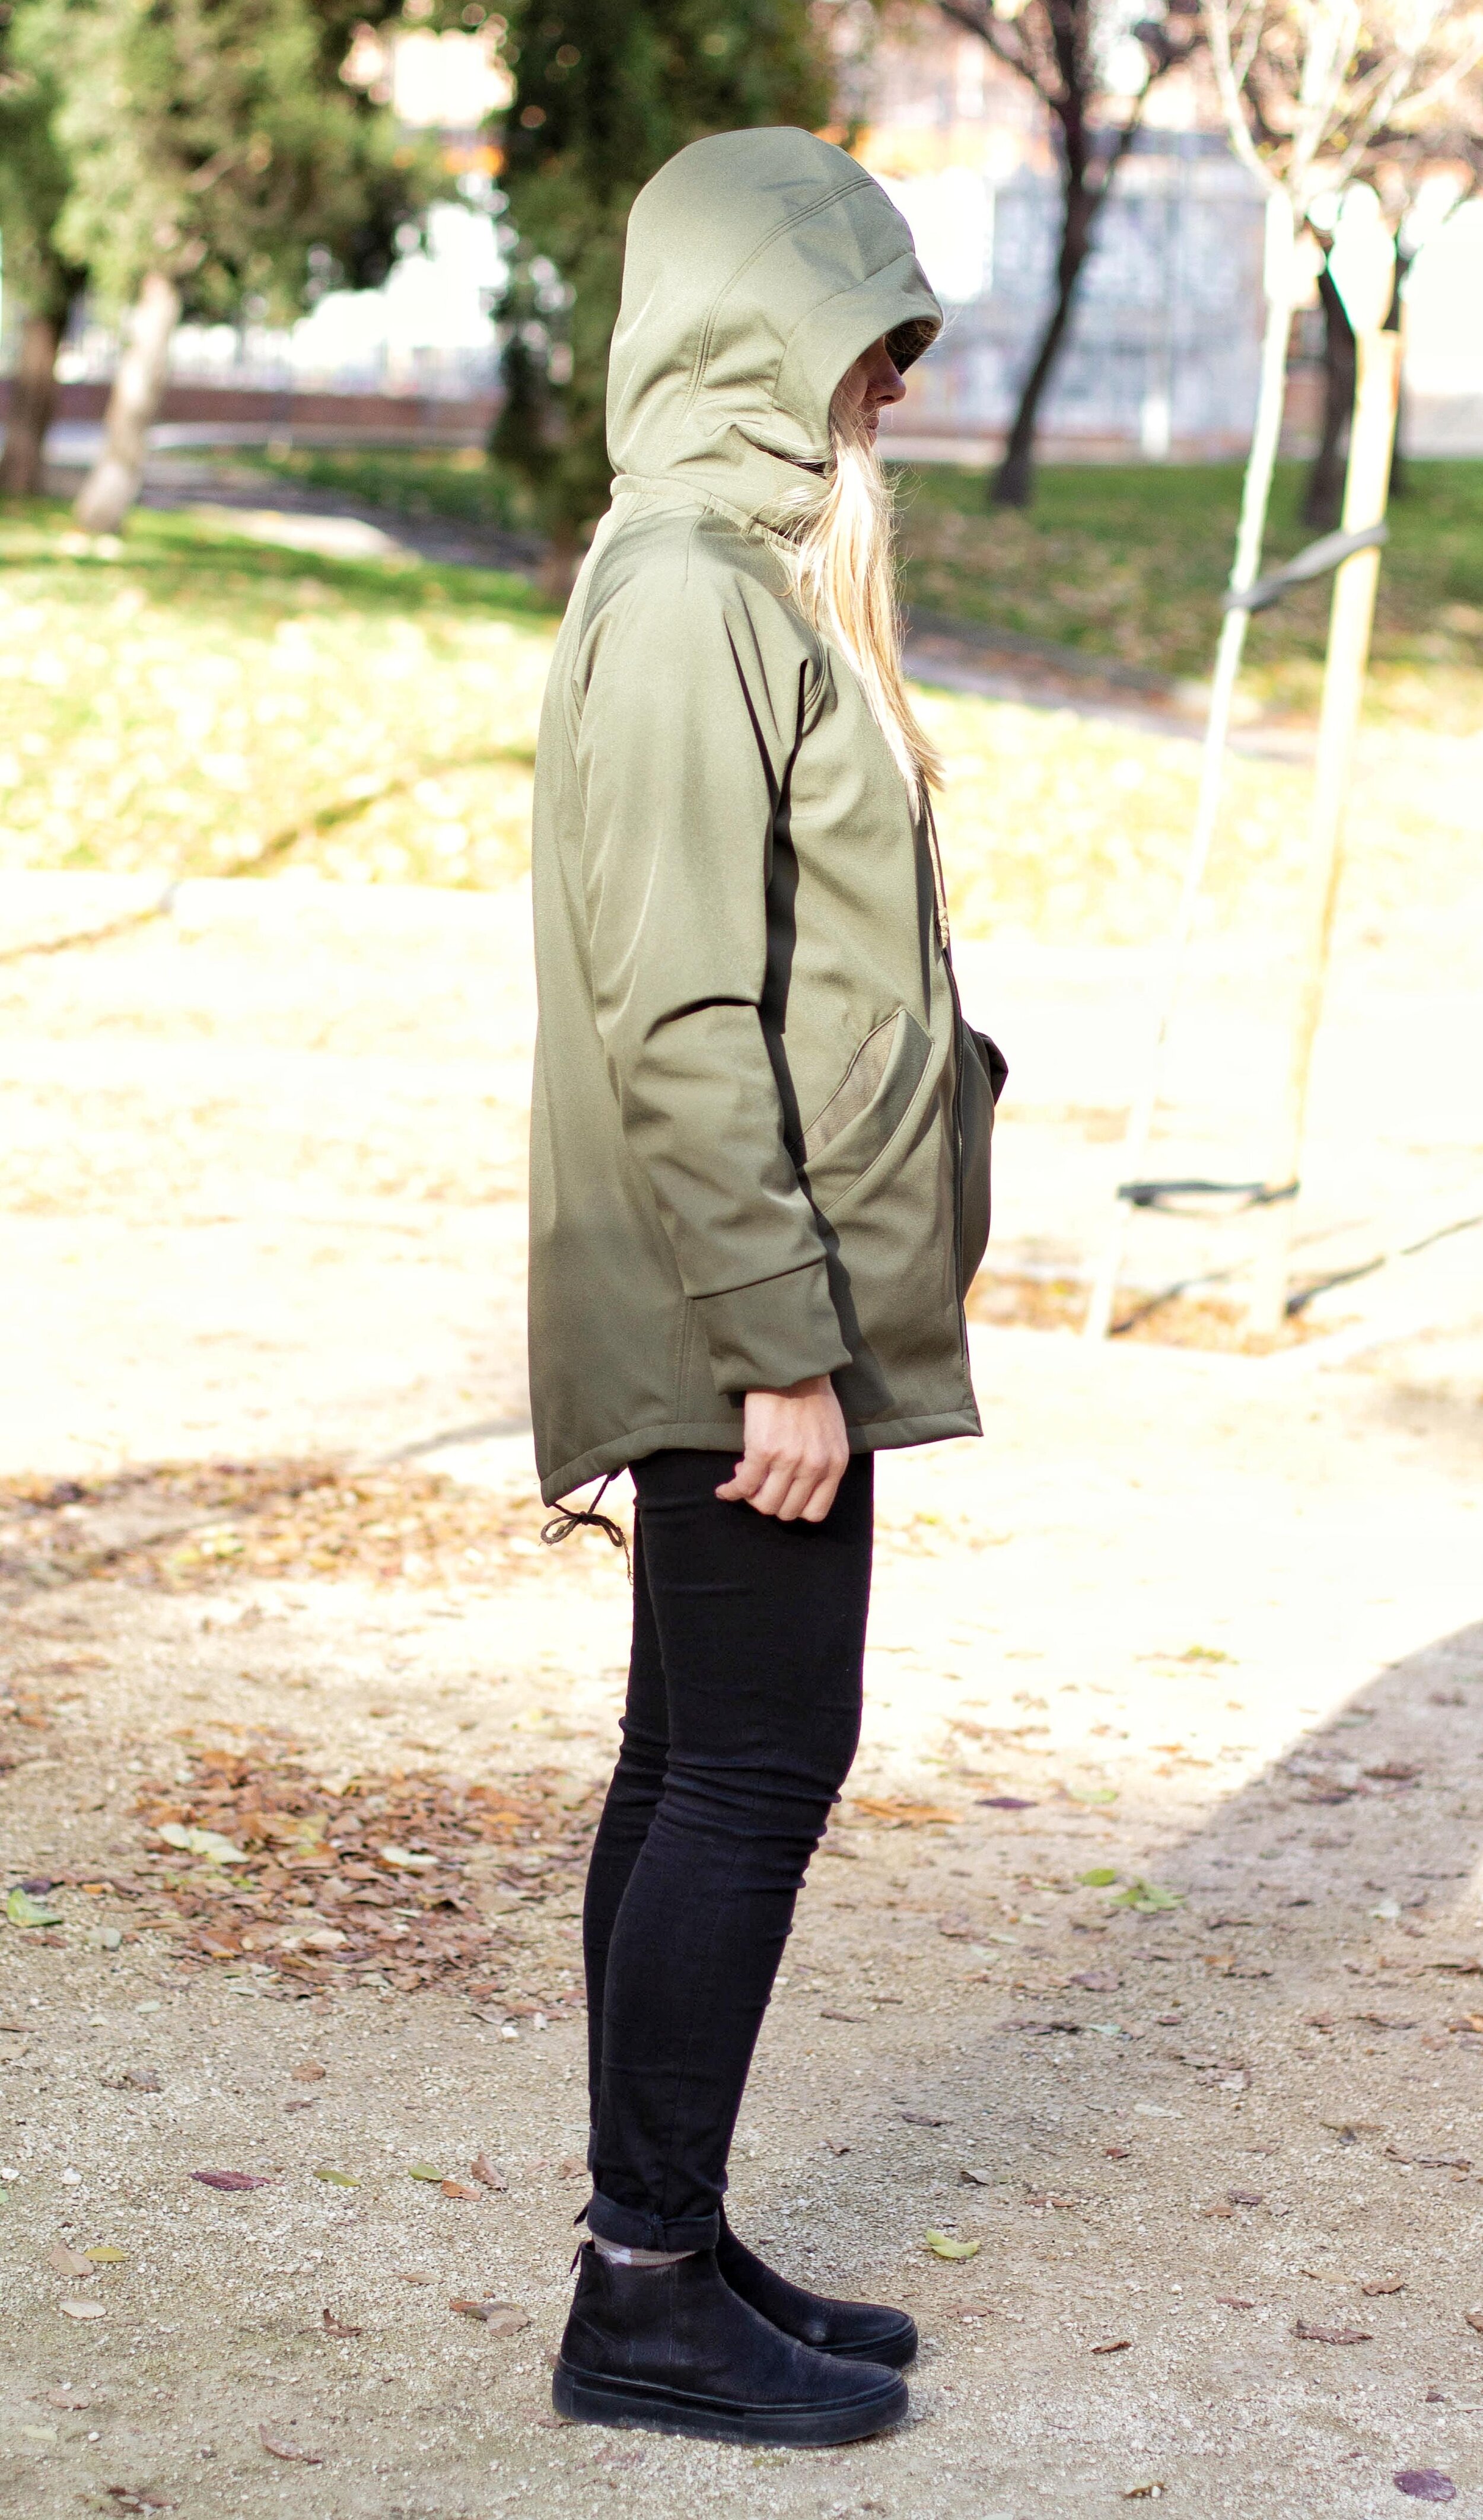
I didn’t use the original pockets as I wanted to have bigger welt pockets. Also, sewing welt pockets is way more exciting as you actually have to cut into your almost finished project (if you’re like me who’s basically winging it and marks/sews the pockets as the last thing, haha) so you can be scared about making a mistake you can’t really fix, hahaha. Anyway, I managed to make the pockets with quite a lot of success and the best part is that I used the soft fleece side of the fabric for the interior lining of the pockets so it’s super nice to put my hands in the pockets now! Also, you can check out the welt pocket tutorials (and other neat sewing techniques) on this resources page over at Ottobre Designs website (I already mentioned this page in one of my newsletters...if you want to get my best finds about nerdy sewing stuff in your inbox you can sign up here!).
The cuffs were a happy accident due to my sleeve wrinkle incident but I actually like them a lot this way and I don’t think I would have thought about doing this cuff detail otherwise. You can’t really see it but on the inside these cuffs also have a ribbed knit cuff...because you’ve got to keep this body warm, hehe. Rib knit cuffs are super comfortable and you can really add them to any sleeves, with or without cuffs!
As I mentioned before the fabric doesn’t fray but as usual when sewing with softshell fabrics I did open the seam allowances and topstitched through both layers on the right side of the fabric. I like how it looks and the fabric will lay nice and flat this way too. I did use bias tape to cover the body/hood seam as it gets kind of bulky and I like to cover it for a neater finish. I also used this Circa 2020 label from KTML to remember this very weird year!
I really like how this anorak came out and I’ve been wearing it a lot since I finished it! The fit is really good, I like the color a lot and these roomy soft and warm pockets make it so nice. The hood could be a bit smaller but it’s OK...I don’t know what’s up with my hood lately, haha, I always prefer bigger hoods but then they end up too big and they just fall on my eyes when I actually wear them. Oh well...at least it doesn’t rain so much in Madrid :)
So yes, I’d definitely suggest you try sewing something with softshell if you haven’t tried it out yet! I think the result is really professional and also comfortable + you can choose between many different styles. Thanks for reading and I’ll see you around here in two weeks when I’ll publish my annual project recap post. I’m really glad that this versatile piece is one of the makes of 2020 :)
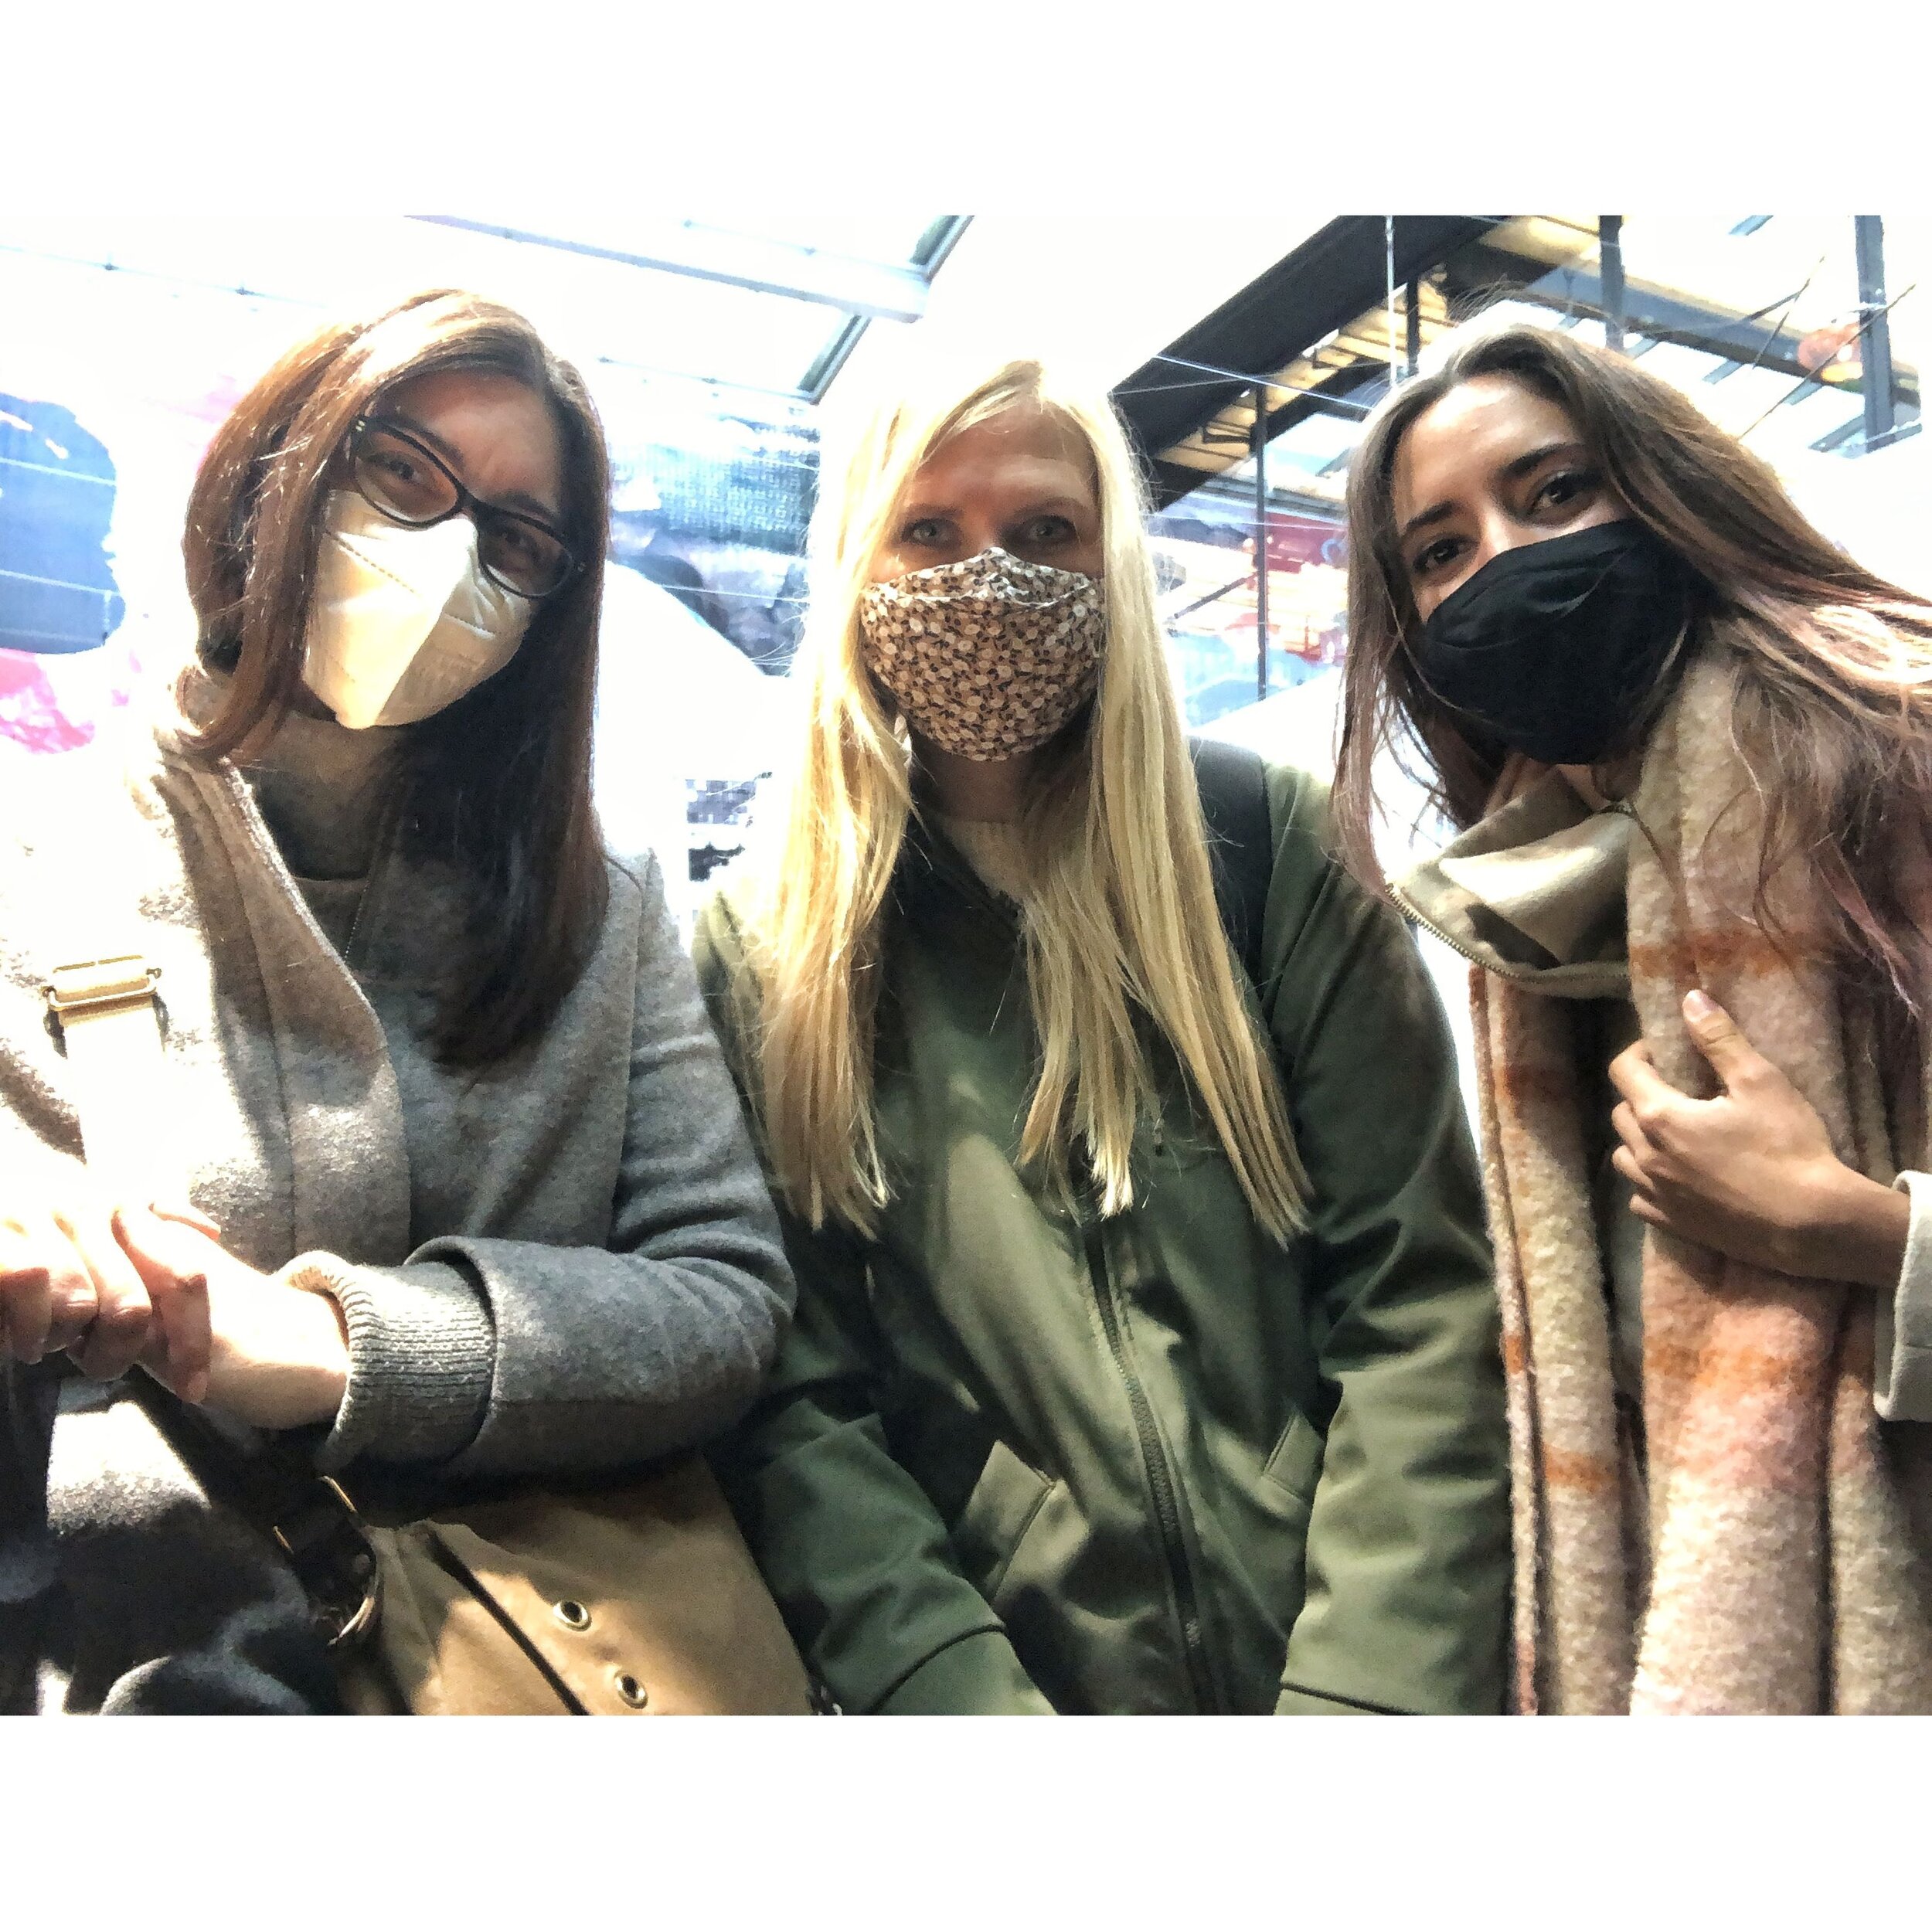
I also wanted to add this photo of Alex, Laura and me from this Friday! We went to an exhibition at the San Antón market in Madrid organized by Instituto Iberoamericano de Finlandia. The exposition was about Finnish textile design and it’s open until 15th of December if you’re in Madrid :)

Sewing Gift Guide
Anyone thinking about the holidays already? I’m sure that all of us are wondering about how they will turn out this year, for sure it will be different...but let’s try to find ways to stay positive, it will get better! The season of giving gifts is around the corner and I’m sure there are many handmade gifts you’re going to make for others. But what about your own wish list? Many times your friends and family want to give you a gift related to sewing but it’s really complicated for them to know what you’d like to get. And that’s exactly why I’ve made a little gift guide including my favorite ideas! You could just pass on this post to the people who might need it ;).
As I know that there are people from all over the world who are reading this blog I’m not adding specific shop links (unless the product is available directly from a shop/brand!). You can just look up the product on Google and find a local/online store that fits your location. If possible, always try to spend your money in small businesses, they are the ones that need your support the most right now! As a small business owner myself I’m forever thankful for every customer who decides to shop my products :).
I actually have two other posts about gifts in the blog archives too, so you can see more ideas in this first post and this second post!
sewing tools for every maker
First up, some of the essentials I truly love! All of these ideas work well for any person who loves sewing regardless of their experience.
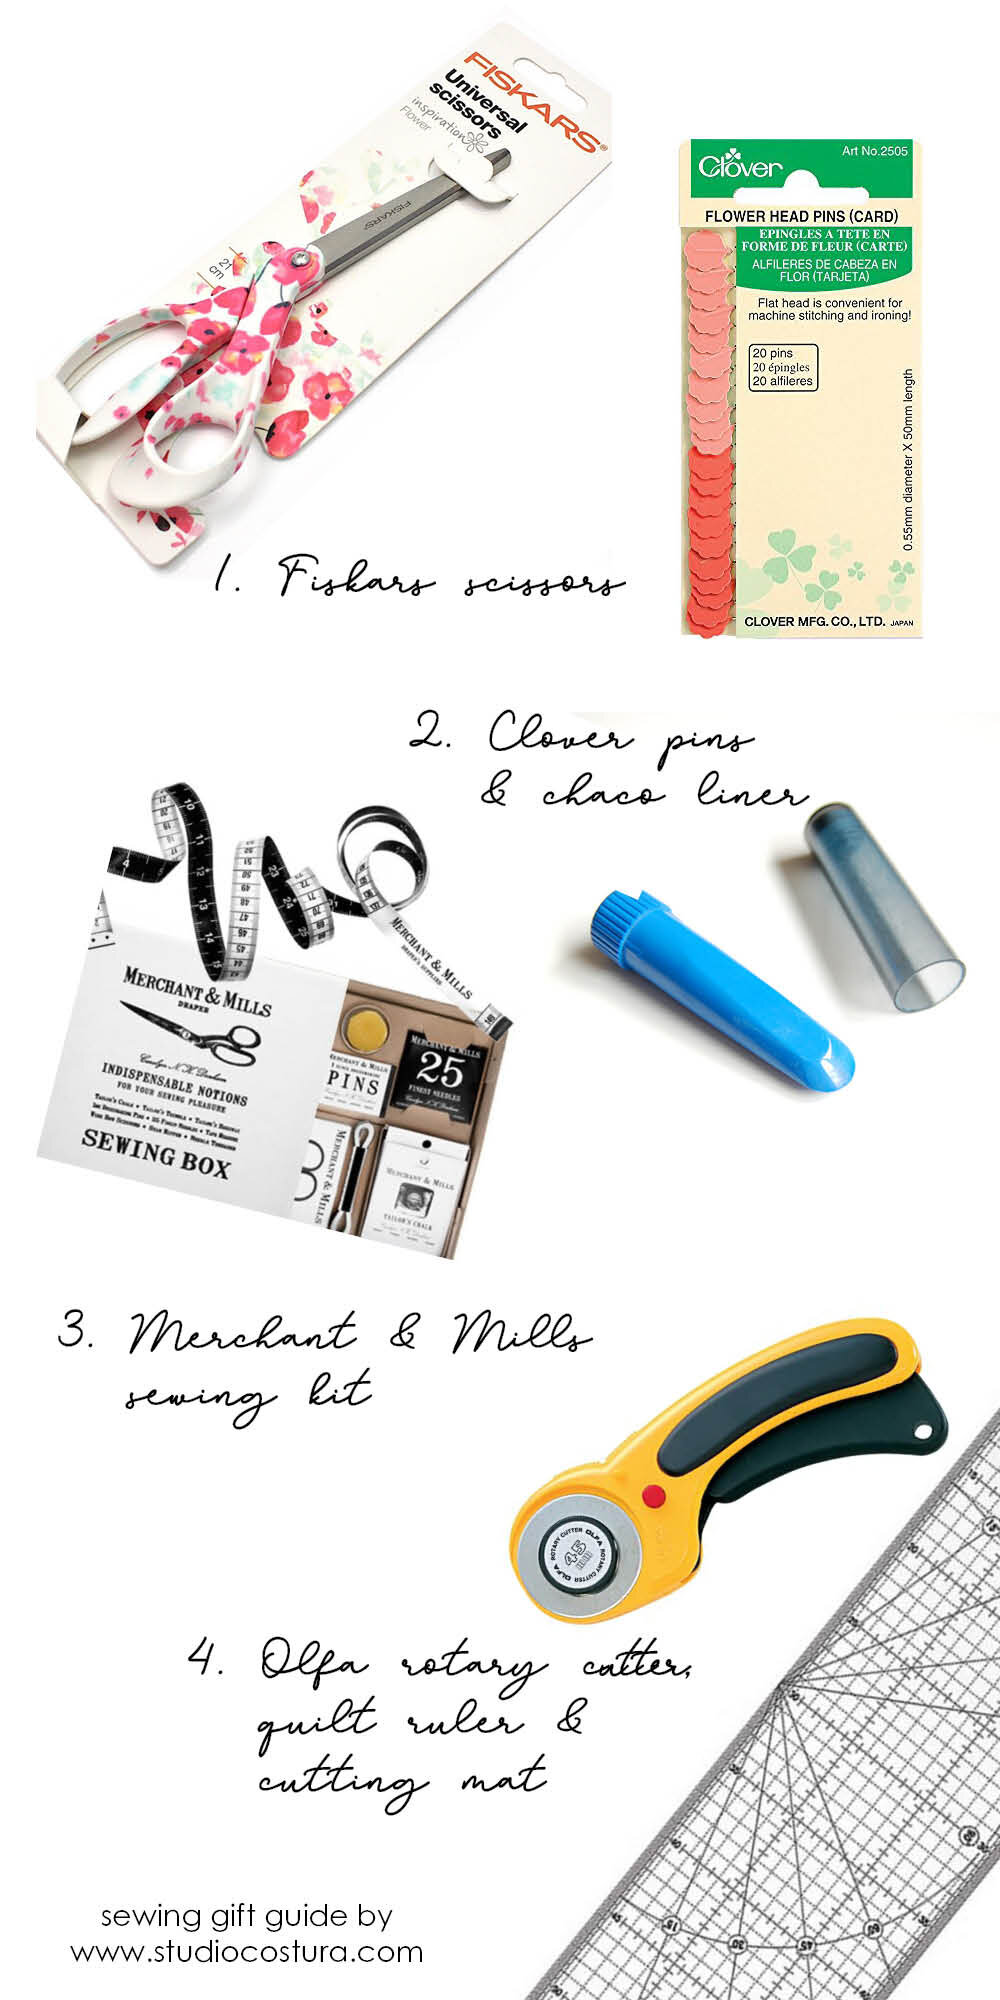
Fiskars scissors. This Finnish brand makes really nice quality scissors that you should definitely have in your sewing kit, they are so good! The universal size works for everything and there are many options design wise (I just saw these Moomin designs, and they are the cutest!). Scissor sharpener by Fiskars is a really cool tool too, I use it a lot!
Clover pins and chaco liner. The flower head pins by Clover are made for patchwork but you can of course use them for any sewing project. They are super sharp and look cute too! The chalk roller is my personal favorite marking tool. This fabric marker is refillable and works super well both on woven and knit fabrics.
Merchant & Mills notions. This brand has the prettiest sewing notions and a large variety you can choose from. The packaging is very nice too and they make a really pretty present
Olfa rotary cutters, quilt rulers and cutting mats. Olfa is my go to brand for all things related to rotary cutting. I love my ergonomic 45 mm blade rotary cutter and I use it for everything. The 15x60 cm quilting ruler is super useful not just for quilting but for measuring anything. I’ve used many different rulers but this one is by far the best one yet! And to cut with a rotary cutter you also need a cutting mat. Olfa mats are strong but they are not too thick and they heal super well so they will look new even after a lot of use. I use the one that measures 90x60 cm, this size works just fine but if you have more space you can of course get a bigger one!
Sewing lingerie
For lingerie lovers there’s this little list of things to give as a gift. Either you’ve never tried out sewing your own lingerie or if you’re already in the handmade lingerie making game, these ideas work really well!
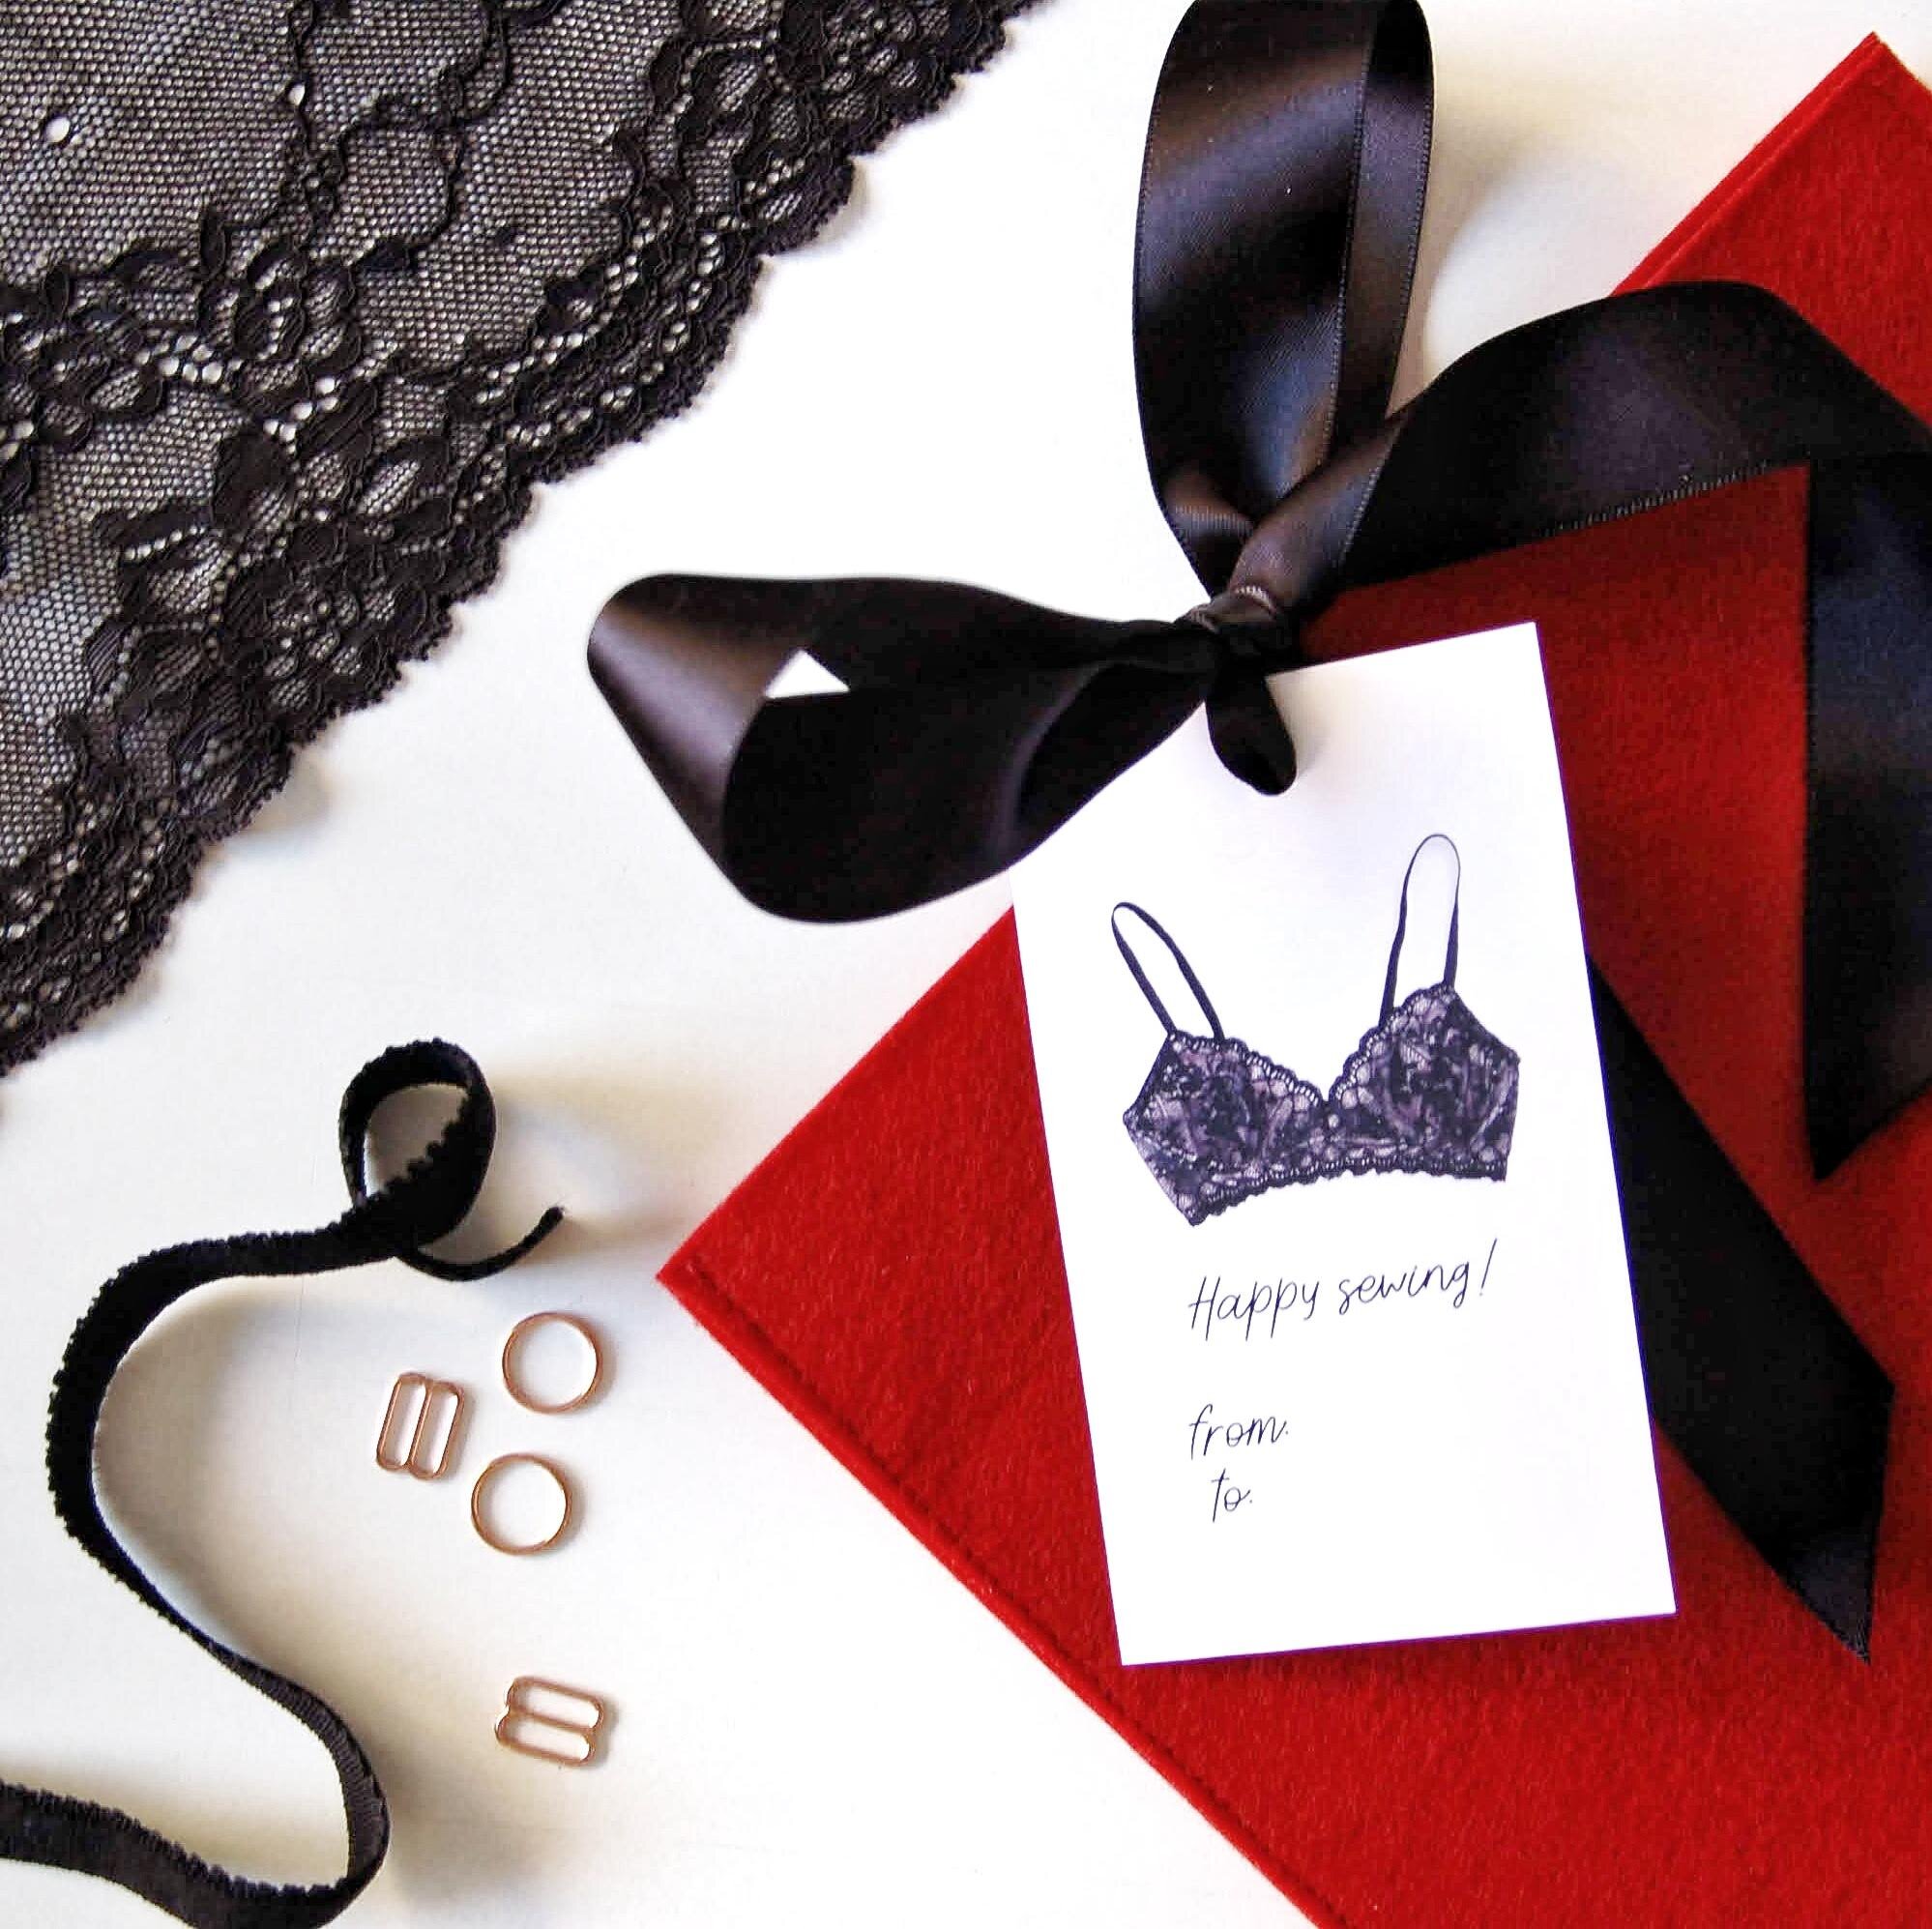
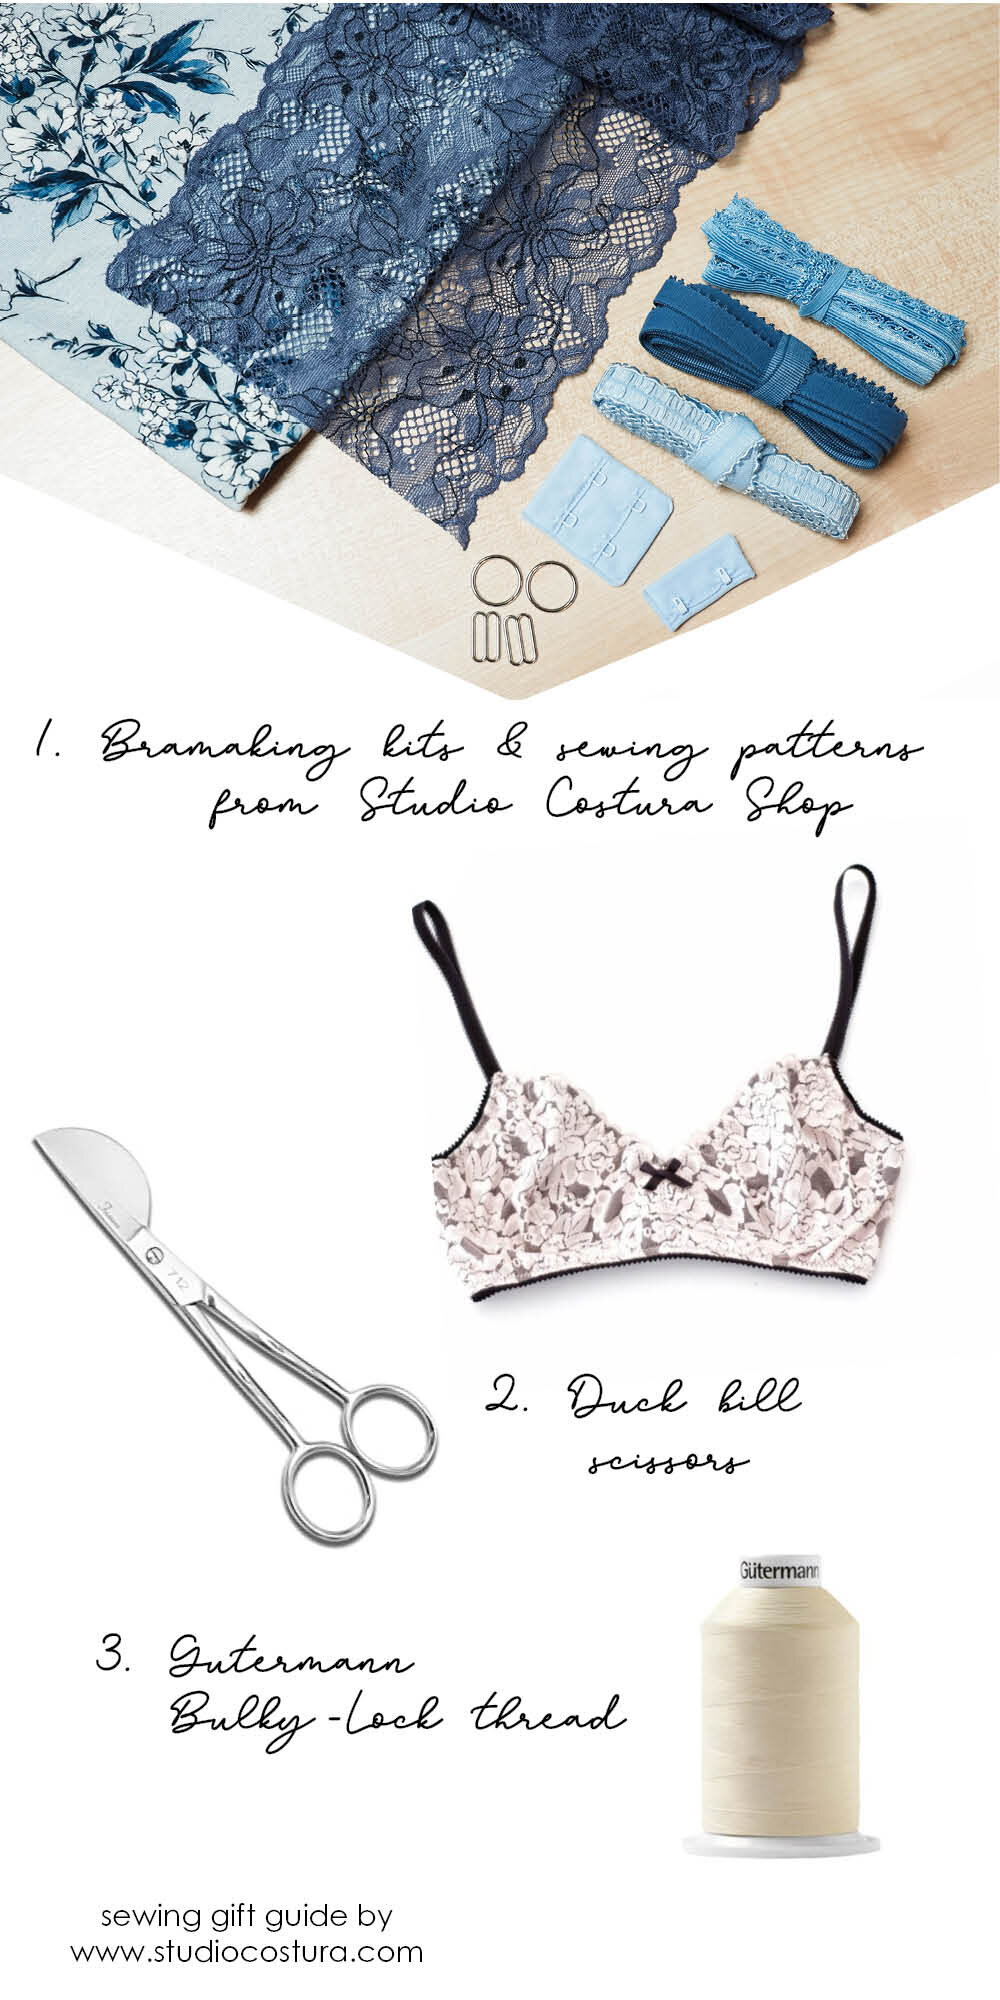
Bramaking kits and patterns from Studio Costura Shop. I’m going to be a bit selfish now and list my shop first, haha, but I really think that a kit would be such a nice present. I’ve actually just made specific gift cards that you can get which means that the person who receives the gift card can choose their favorite kit from the shop and it will be shipped directly to their home. Choose between kits to make bras, bralettes and panties! Giving a sewing pattern as a gift is also a great idea and again you have an option to buy a gift card as a present.
Duck bill scissors are a nice tool for lingerie makers to have in their sewing kit. They work really well for trimming fabric underneath the elastic and they look super cute!
Gutermann Bulky Lock thread for the serger. This fluffy thread makes your serger seams really soft and you can use it for all of your projects and especially for lingerie. You need two cones for the anchors of the serger.
Some other nice things to have…

Labels by Kylie and the Machine have the coolest designs and the quality is really good, they are super soft! It’s the perfect detail for your handmade projects! See the list of shops that sell the labels here (we also have them in the academy if you’re in Madrid!).
Sewing pins by Crafty Pinup are so cute, let everyone know that you’re a proud maker :)
Wool batting is definitely something luxurious for people who like warmth! It can be used both for quilts and for jackets. (You can get it in Seoane Textil if you’re in Spain).
Prym snap fasteners give a cool touch to your handmade projects. You can get these in many different styles for a variety of projects.
Books
Books are always a good idea! Here are some of my favorites:
Vogue Sewing: a very detailed sewing reference book that suits well into any sewing library.
Patternmaking for Fashion Design: an in-depth reference book about drafting patterns, perfect for someone who wants to take a step forward (you can read my review of this book in this post).
Simple Geometric Quilting: a beautiful modern quilting book that is full of beautiful projects, perfect for someone who wants to learn the basics of quilting.
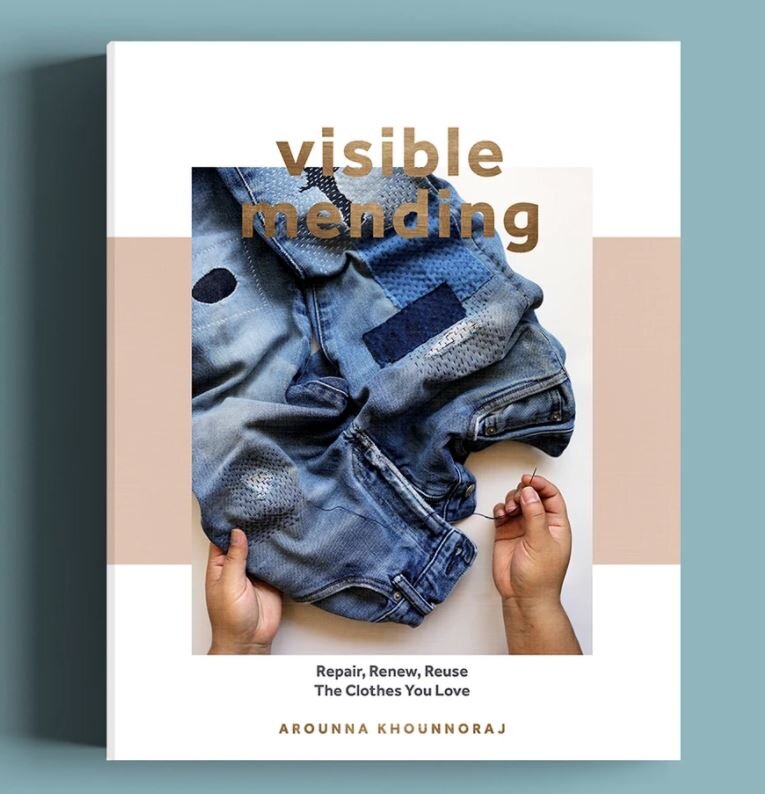
Punch Needle and Visible Mending: both of these books by talented Bookhou look really nice and her designs as always are super beautiful!
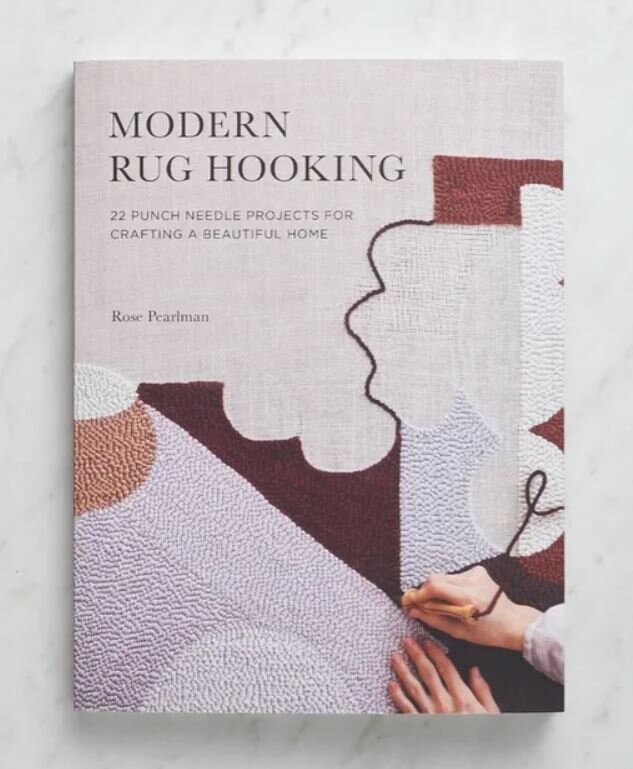
Modern Rug Hooking: Rose Pearlman is another artist whose designs are very beautiful and this book looks just amazing.
Classes
An opportunity to learn new skills is probably the best gift possible and there are many options to choose from. If you have a local sewing shop close by you could buy a course as a gift (if you’re here in Madrid we have gift cards available at the academy for all the sewing classes and lingerie courses). And even if you don’t have a local place to go to classes you can always choose an online class and learn wherever and whenever you want. Skillshare for example has a variety of courses in a large variety of topics.
I hope you’ve found this list inspiring...not only for these holidays but also for any occasion when you need a gift for someone who sews or for yourself :)