*Este post ha sido actualizado el día 2 de noviembre, 2020.
Hola, este es el segundo post en la guía de confección de lencería. En el primer post te conté sobre cómo coser braguitas, el primer paso para familiarizarte con el mundo de lencería. Hoy seguimos con los bralettes.
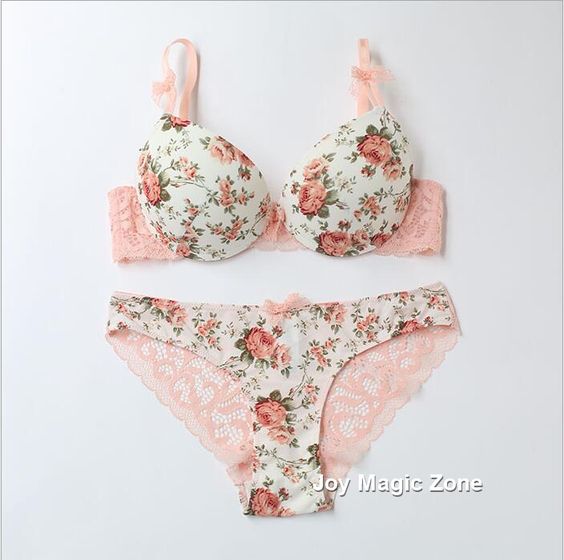
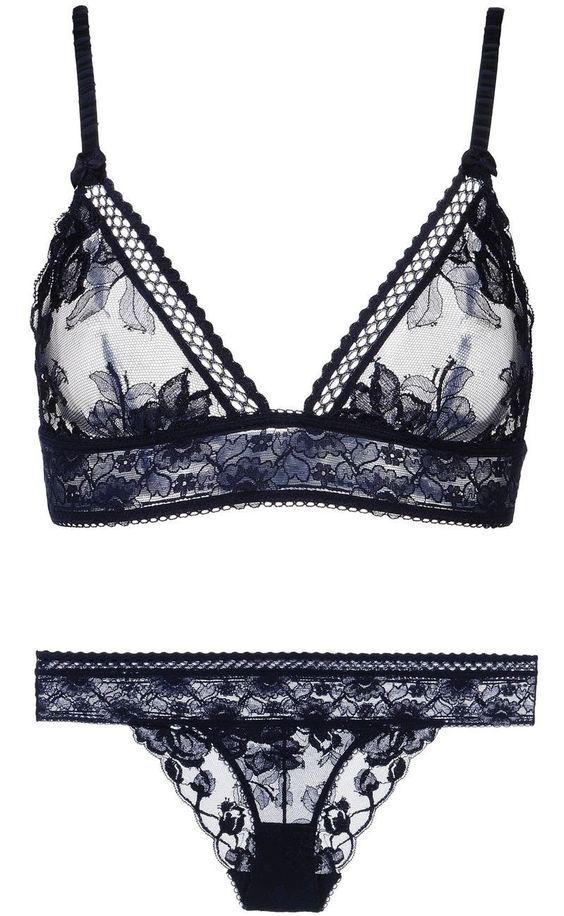
Un bralette es básicamente como un sujetador pero a diferencia de sujetadores “normales” no lleva aros (en inglés también lo llaman soft bra). Existen muchos patrones y estilos diferentes en esa clase de modelos pero básicamente son prendas de ropa interior que son muy similares a sujetadores pero “sujetan menos”. Las piezas de patrón suelen ser dos piezas que forman la copa y una pieza de la banda. En este momento los bralettes están muy de moda, será por sus posibilidades de estilos y también porque muchas mujeres prefieren no llevar aros. Te hablaré sobre las características básicas y te pondré una lista de patrones para que puedas elegir el estilo que más te guste y que se ajuste más a tus necesidades. Hablando de confección, los bralettes son como una forma más fácil de un sujetador, según el patrón que elijas usarás técnicas distintas, muchas de ellas te prepararán para más adelante coser sujetadores con aros.
*This post has been updated on 2nd of November, 2020
Hey, this is the second post of the series about sewing lingerie. In the first post I wrote about sewing panties which is the perfect introduction to dip your toes into lingerie sewing world. Today I’m talking about bralettes.
A bralette is basically like a bra but without underwires like the “normal” bras, they are also called soft bras. There are many patterns and styles out there but mostly it’s an undergarment that is very similar to a regular bra but with less support. They mostly come with two cup pieces and one band piece. At the moment bralettes seem to be in fashion, I guess it’s because there are so many different style options and also because there are many women who prefer wearing wireless bras. I’ll tell you about the main characteristics and I’ll share a list of patterns so you can choose a style you like and that you’ll find comfortable. When talking about sewing process, bralettes are usually easier to sew than underwired bras but they have many similar things which will prepare you to sew an underwired bra later on.

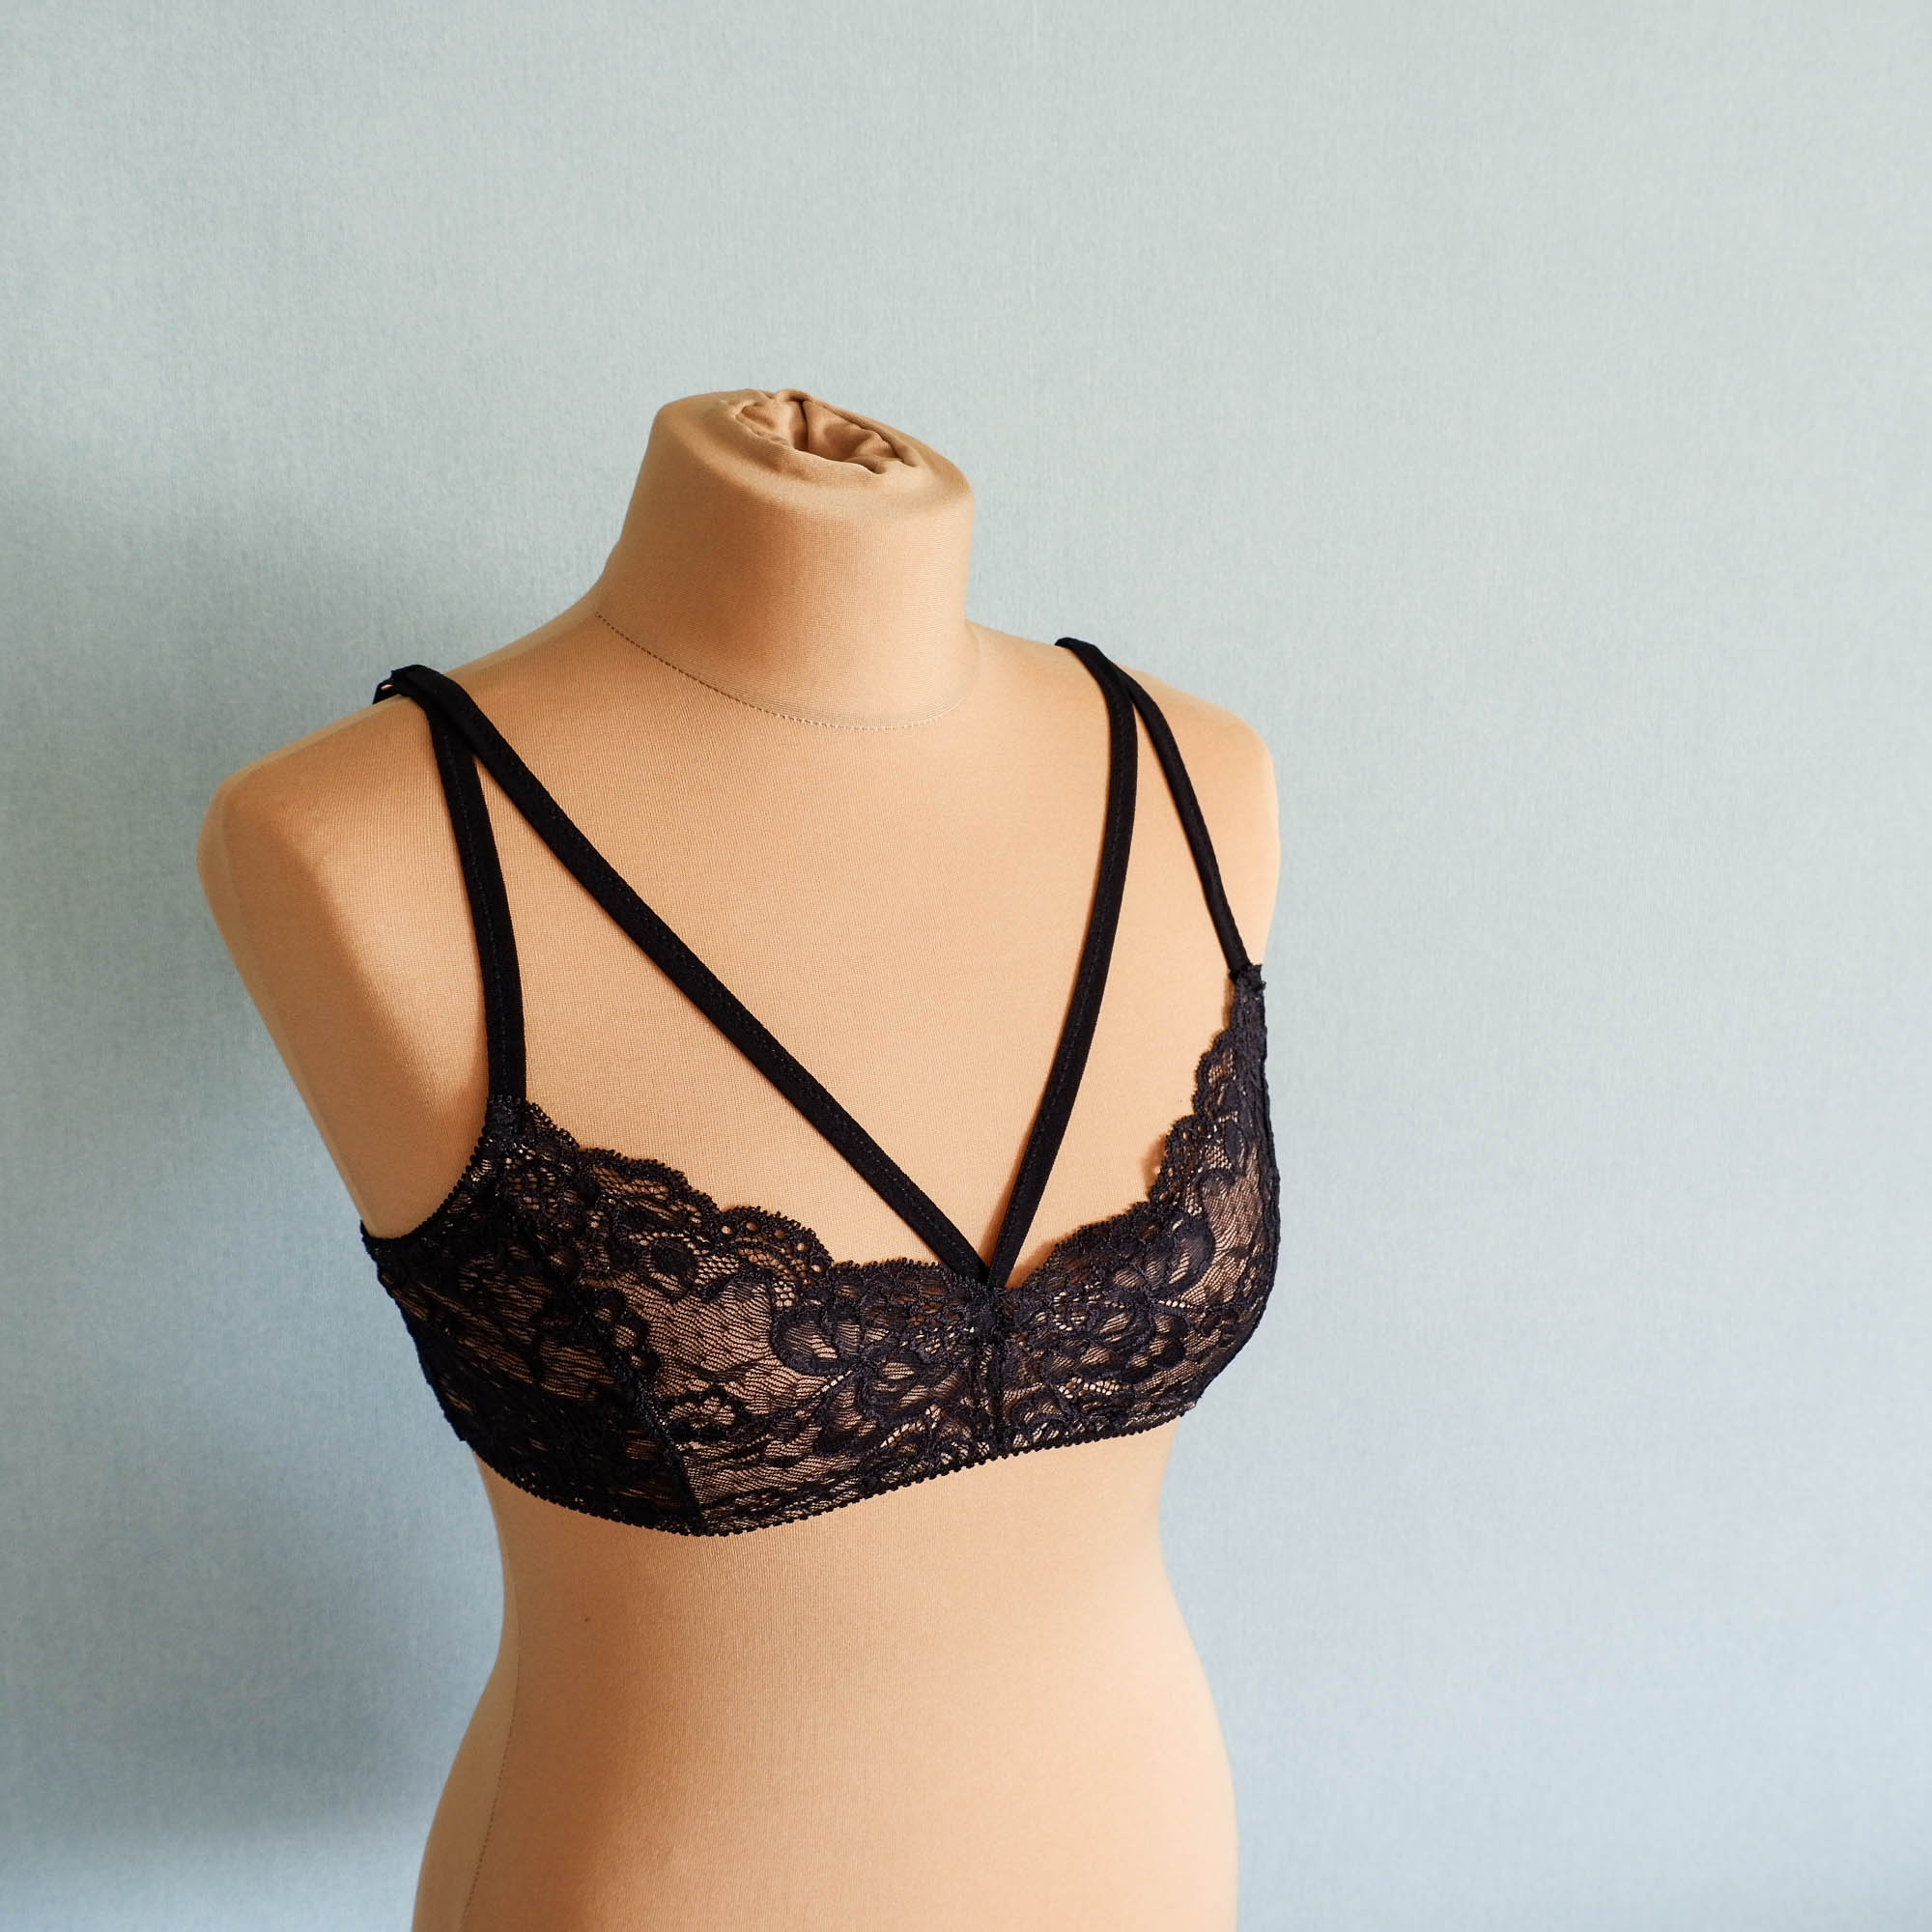
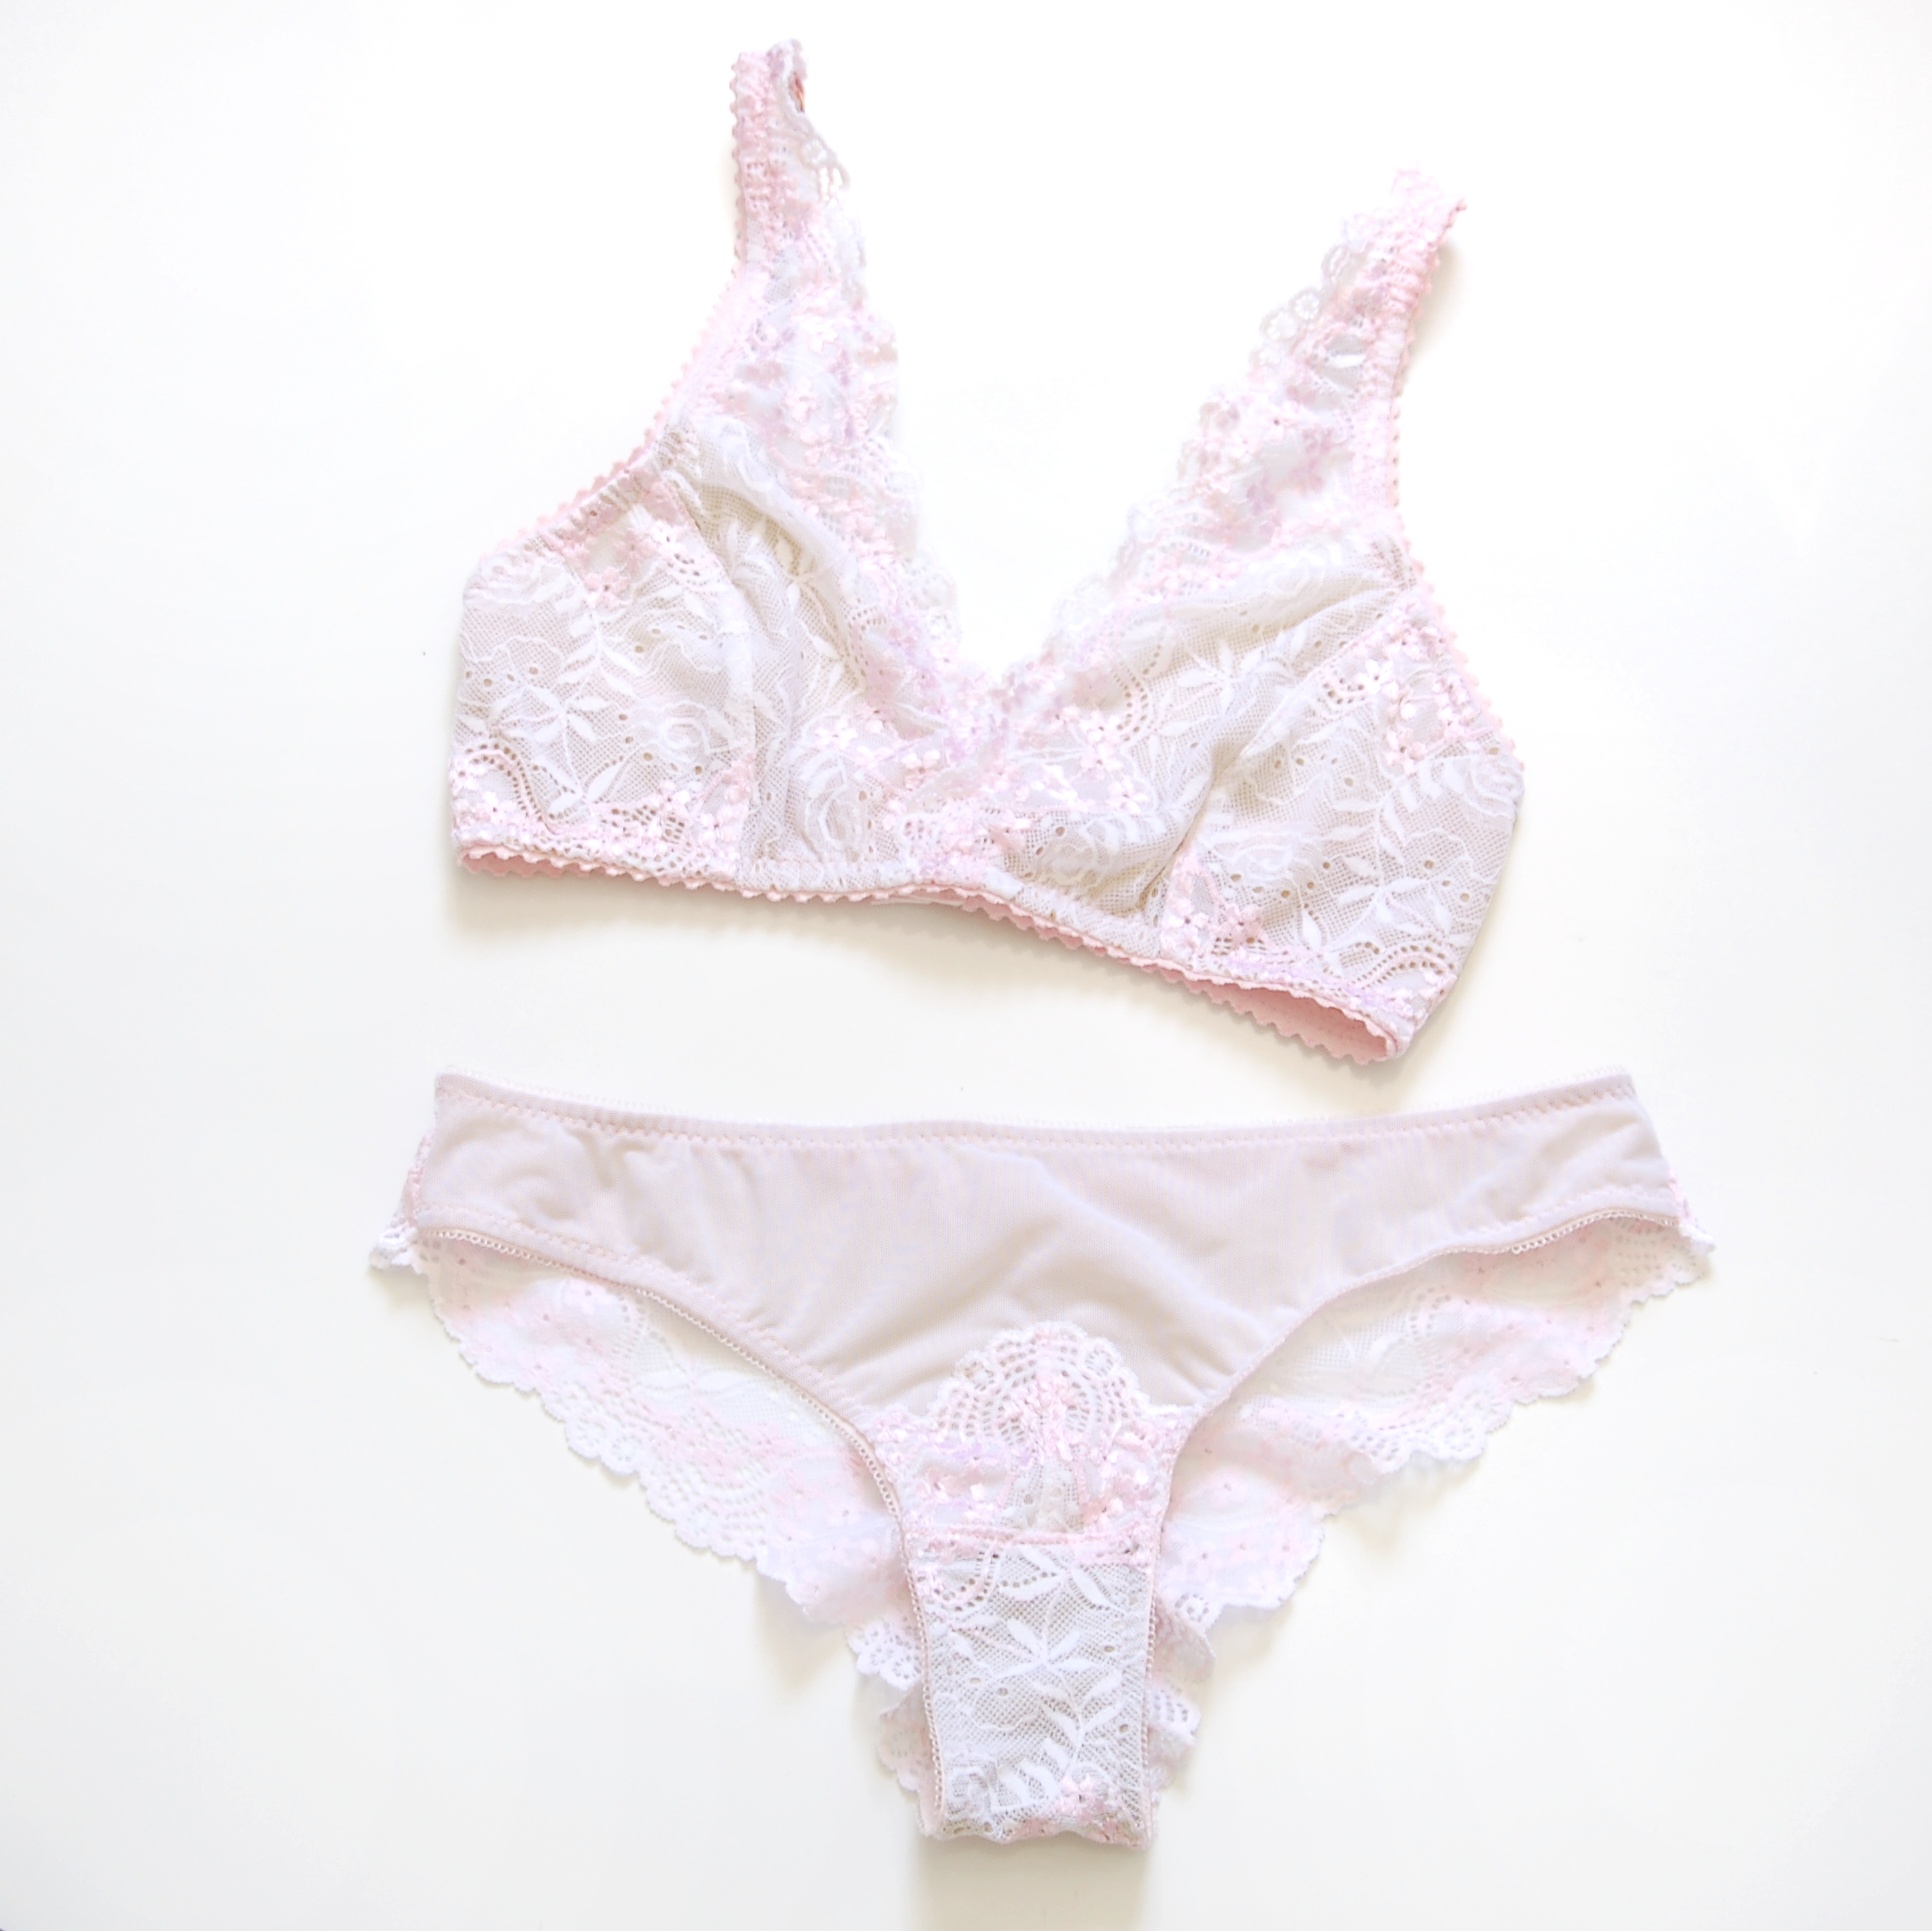
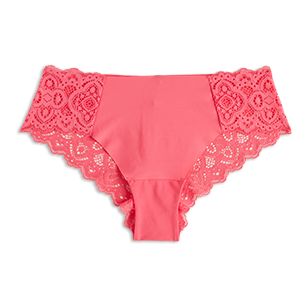
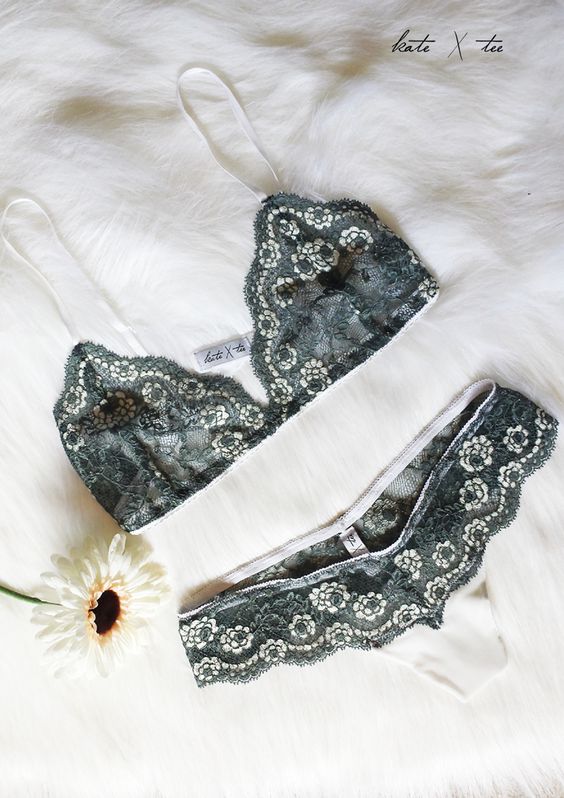
Hanna bralette from Studio Costura Patterns
En el post de braguitas empecé directamente con materiales ya que las braguitas, independientemente del patrón suelen usar más o menos los mismos materiales. A la hora de coser bralettes tienes que elegir primero el patrón para saber qué materiales necesitas porque hay muchos modelos distintos, algunos con menos y otros con más partes/componentes/materiales.
In the pantie post I started off directly with the material list as all the pantie patterns usually use similar supplies. When sewing a bralette you first need to choose the pattern to know which supplies you need because the styles can be very different and every pattern has it’s own list of needed supplies.
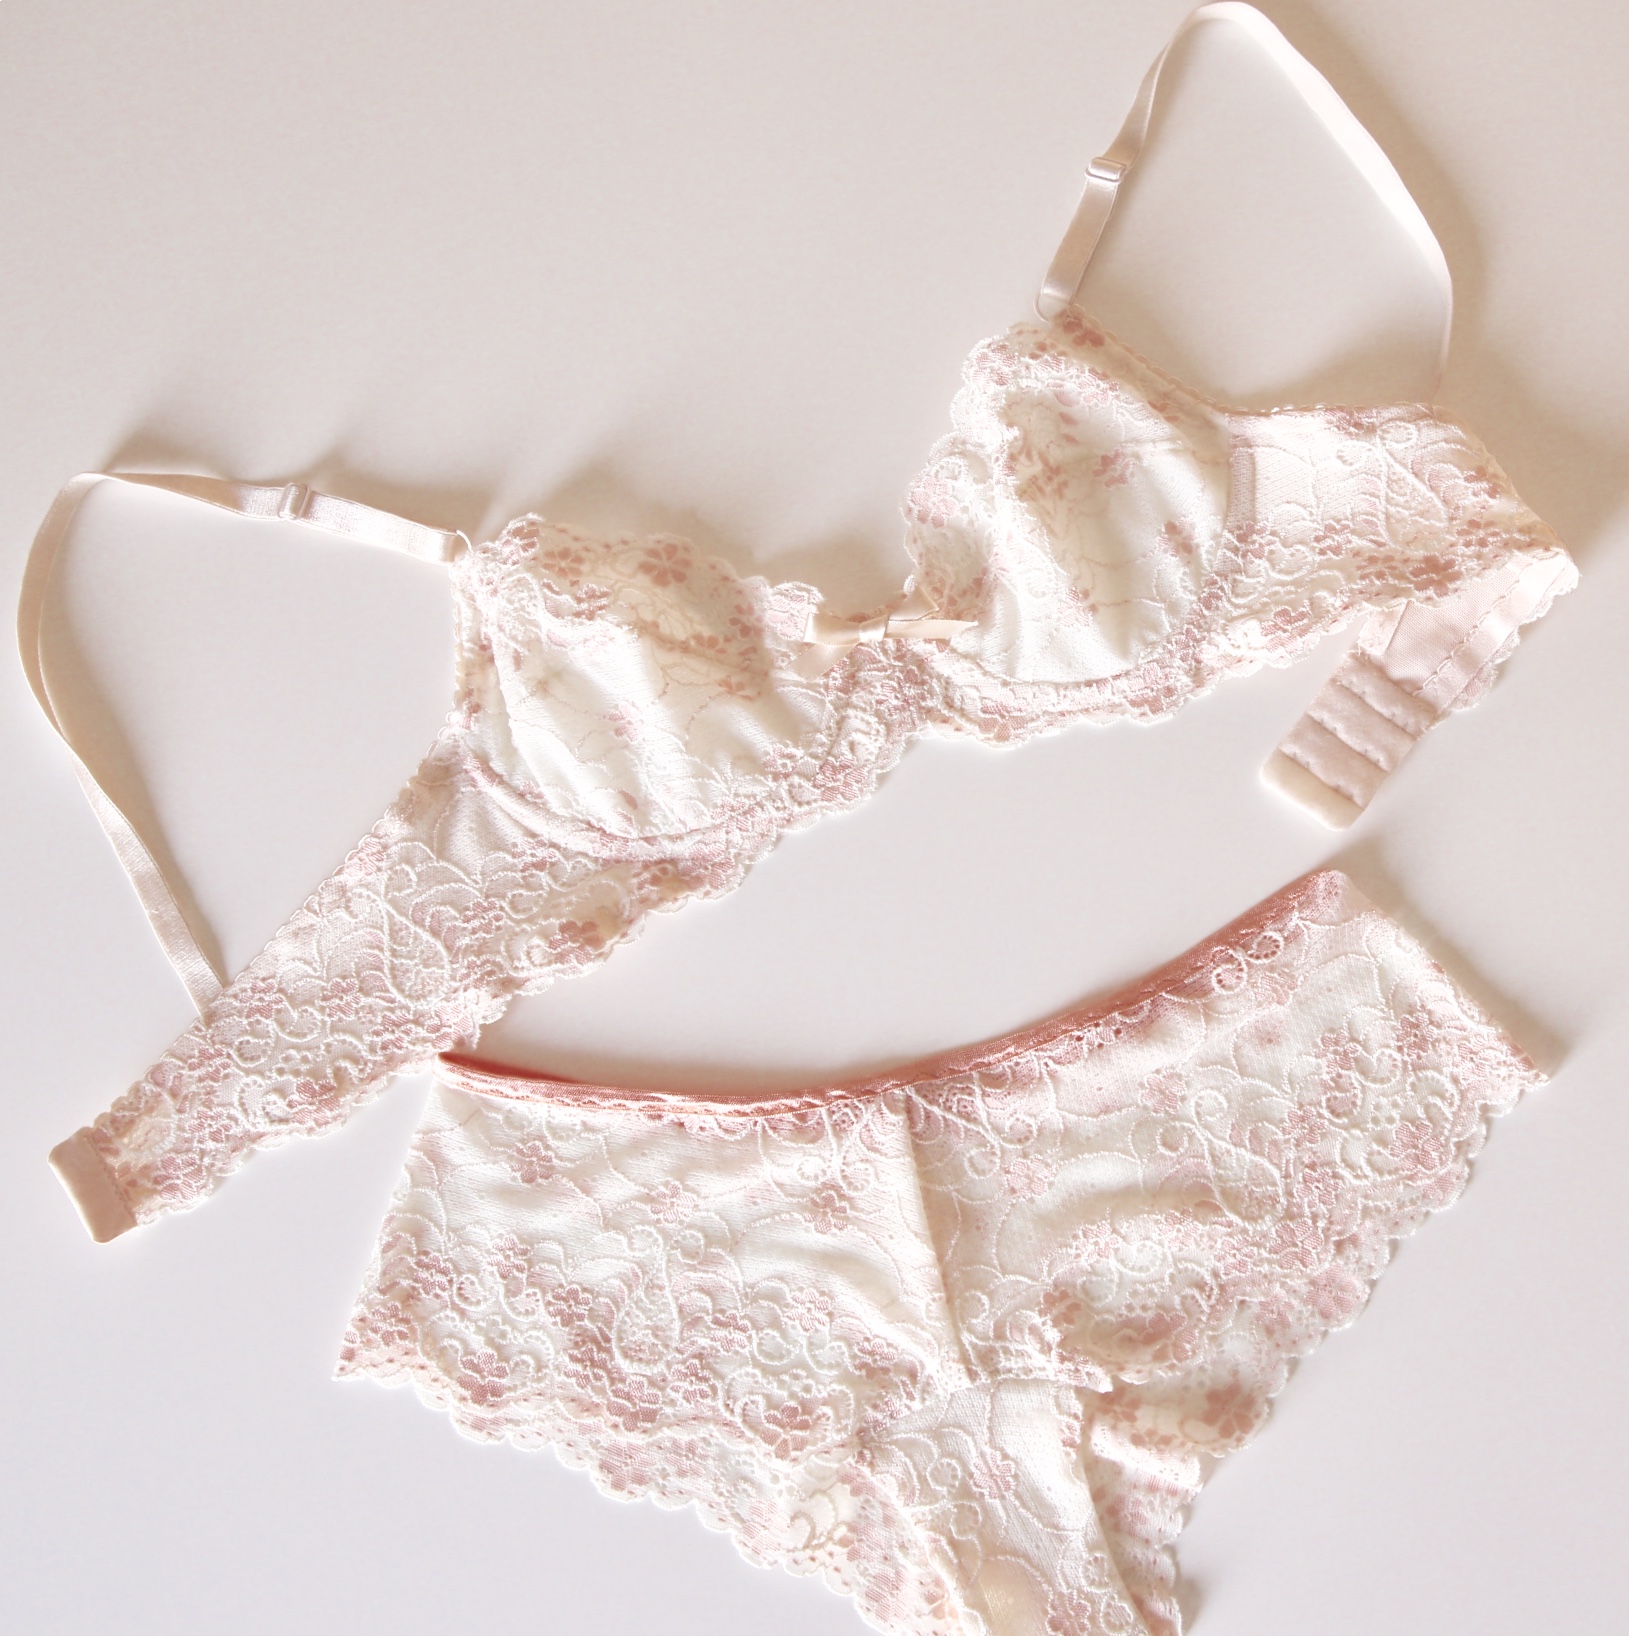
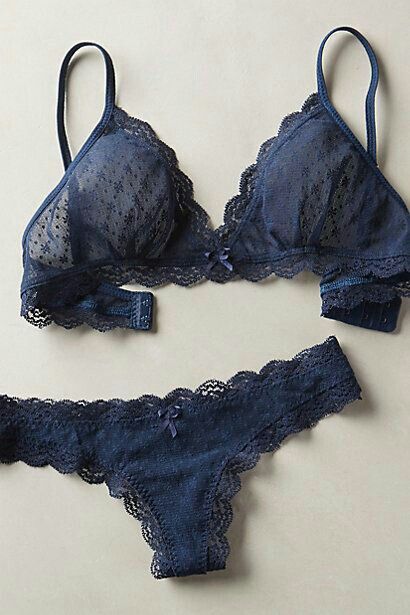
A copy of a ready to wear bralette, made for my sister
Creo que lo más importante a la hora de elegir el patrón es pensar qué tipo de sujeción necesitas. Respecto a este tema, como puedes imaginar los bralettes nunca dan el mismo nivel de sujeción que los sujetadores con aros. Cuando tienes copa pequeña ese tema no es muy importante. Yo misma tengo poco contorno de pecho y no necesito mucha sujeción...me valen tanto los bralettes de encaje muy ligeros que otros bralettes con más partes para dar más soporte. Eso sí, la forma de pecho que quiero que me haga el bralette va variando según el patrón que uso (y más adelante cuando escribiré sobre los sujetadores con aros también te contaré qué diferencia le da el aro a un sujetador).
Para mujeres con más contorno de copa hay ciertas limitaciones a la hora de elegir el patrón. No digo que no puedes usar cualquier patrón, eso no. Pero los hay que obviamente te dan más soporte dentro de lo que cabe, aún sin tener aros. Como puedes imaginar, un patrón de copas triangulares de encaje con banda de solo elástico no da tanto soporte como un patrón con una copa que “cubre” más. Luego depende de cada persona y sus gustos, así que deberías experimentar y ver qué es lo que más te gusta. Un bralette también puede cumplir la función de ser un sujetador de “andar por casa” o de ocasión especial, muchas veces no se elige para ser una prenda íntima que llevarás todo el día y que necesitas que sea con mucha sujeción.
I think that when you are choosing a pattern the most important thing you need to think about is the support you need. About that topic: as you can guess, bralettes will never give the same amount of support as underwired bras do. When you have a small cup size this subject is not very important. I myself have a small bust and I don’t need much support…I do well with light lace bralettes and also with bralettes that give more support. It’s more about the shape that different styles of bralettes offer that concerns me when I choose a pattern (in the next post I’ll be talking about how wires also affect the shape).
There are certain limitations for women with larger cup size when choosing a pattern. I’m not saying that you can’t use some patterns, that would not be correct. But there are styles that obviously give more support even without wires. As you can imagine a small triangular lace only cup with a narrow elastic band won’t be as supportive as a pattern with more coverage. It all depends on the person of course and your preferences, you need to experiment to see what works for you. A bralette can also be a bra you use for “lounging around the house” or for special occasions, lots of times it doesn’t have to be an undergarment you need to use daily and you won’t need all that support actually.

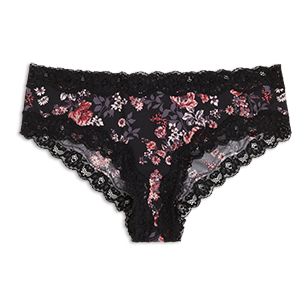
Mara bralette from Studio Costura
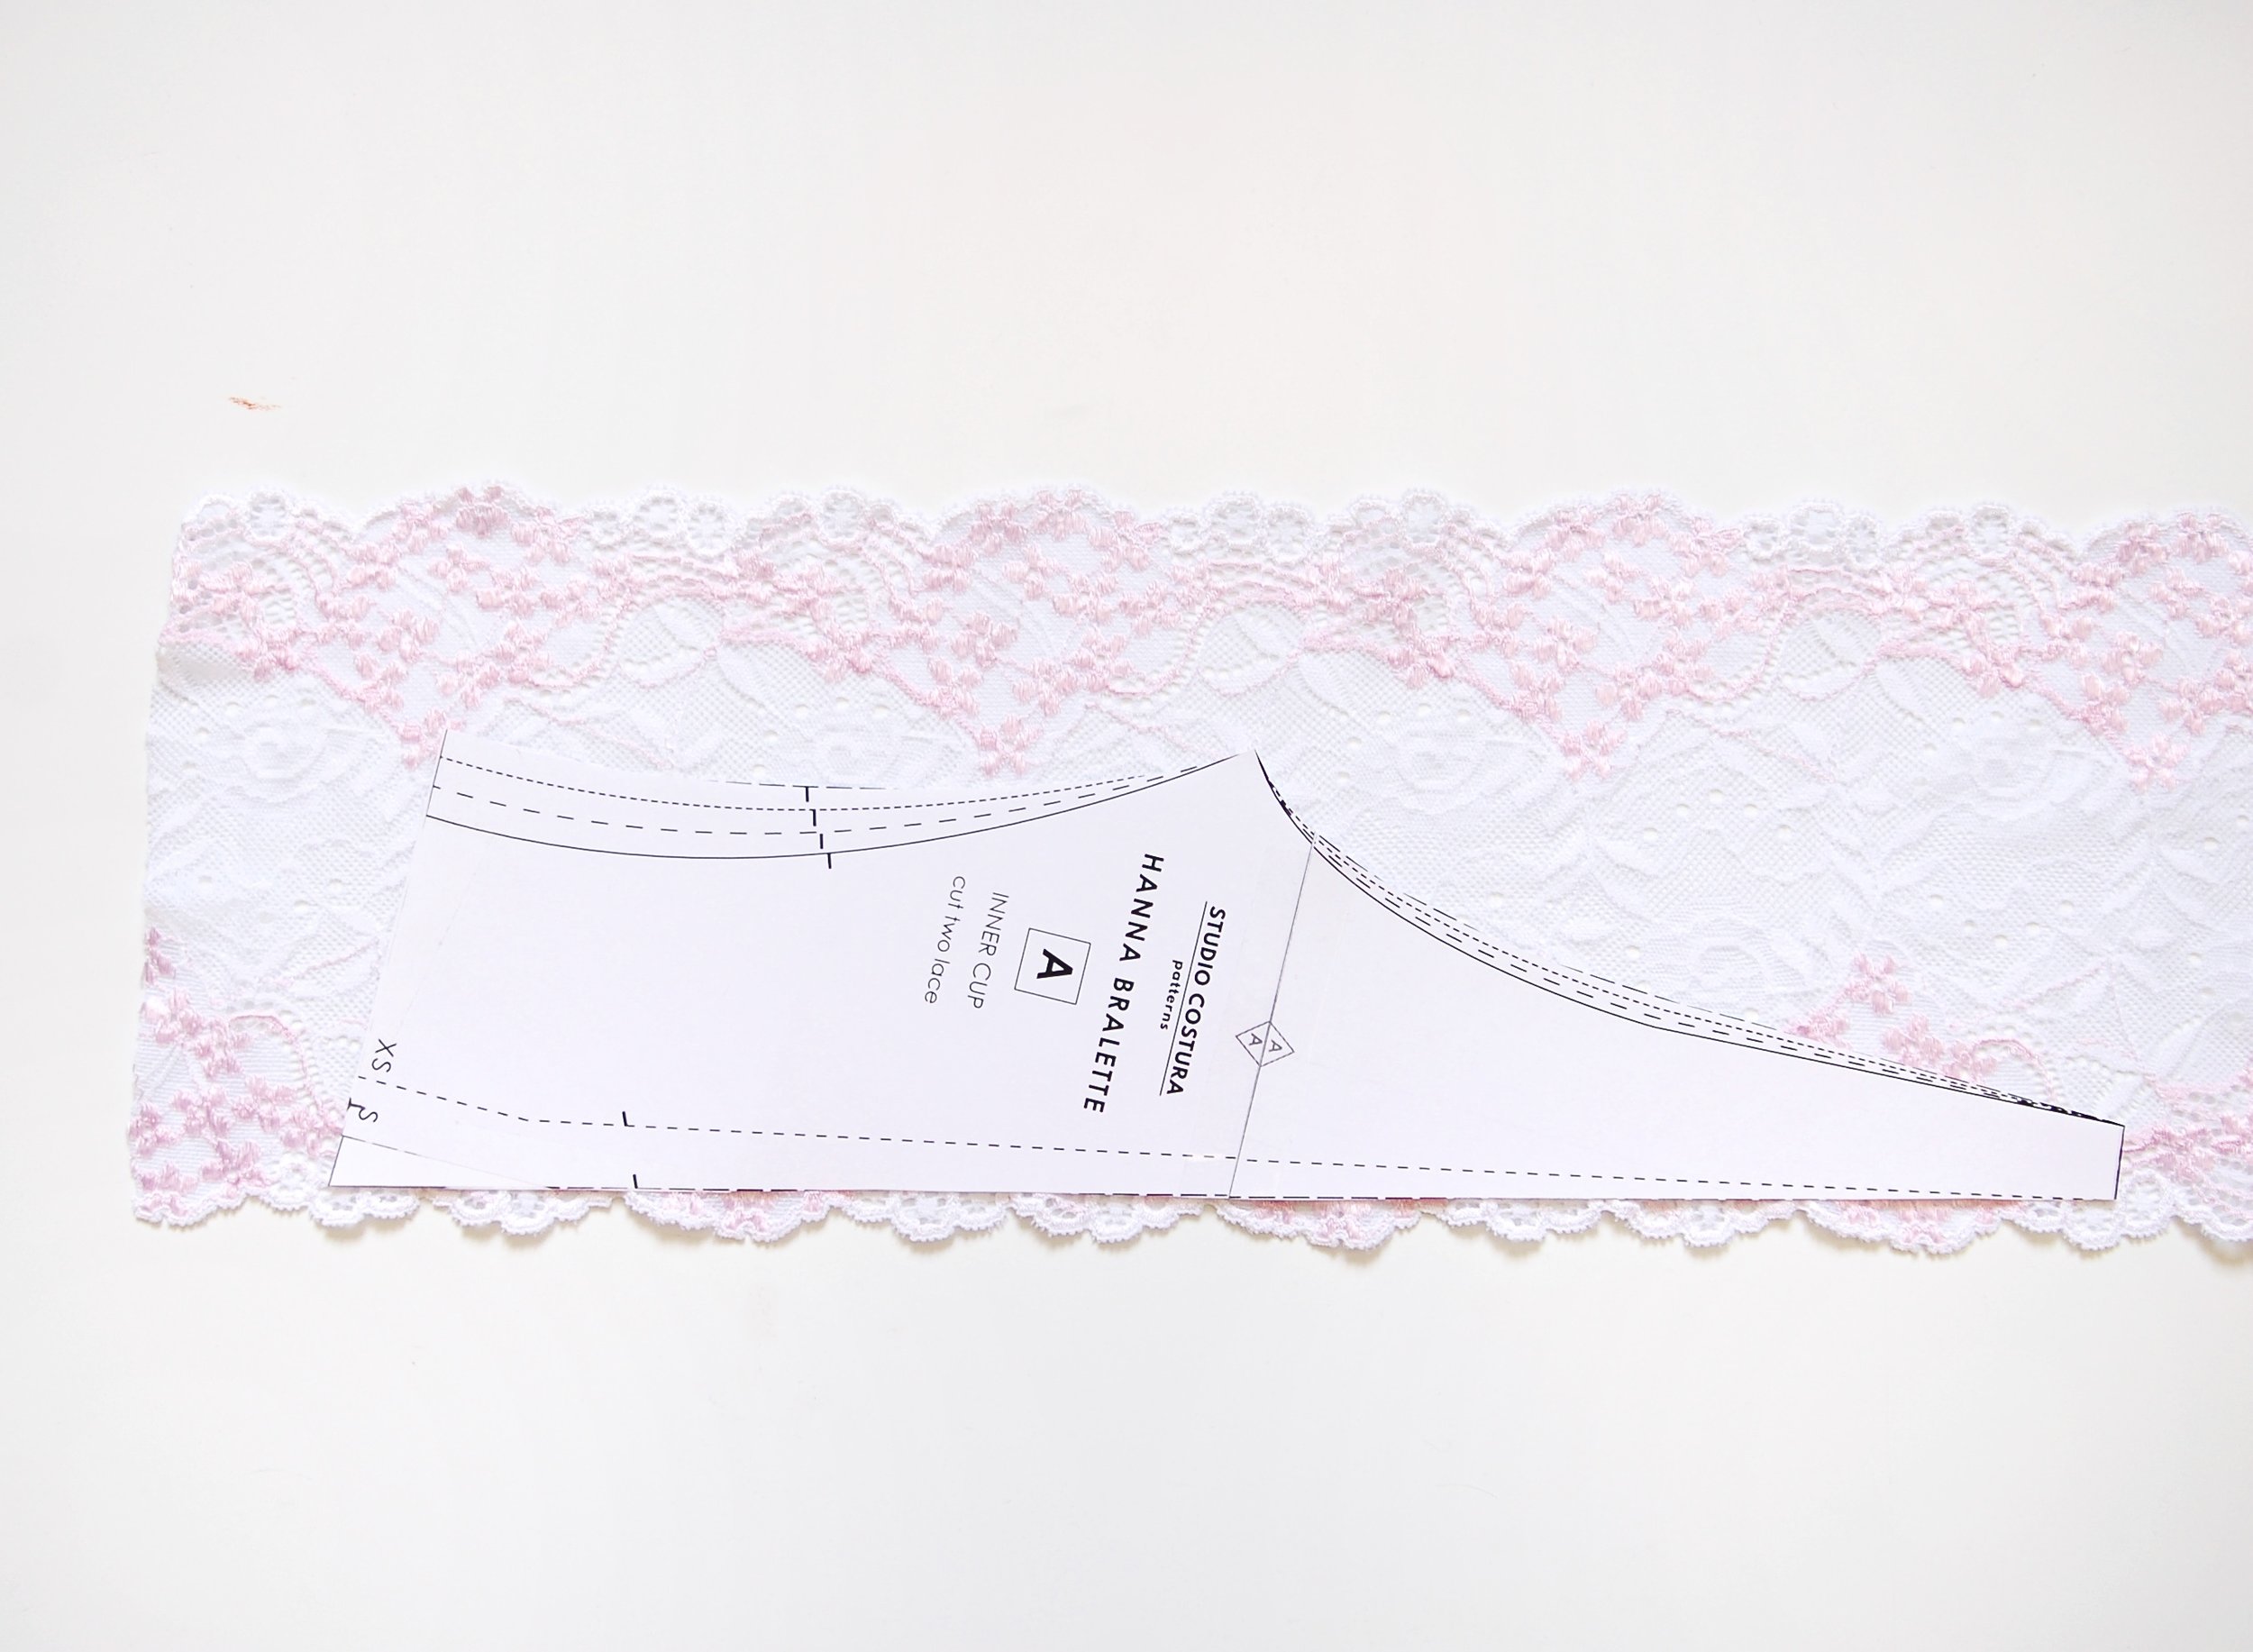
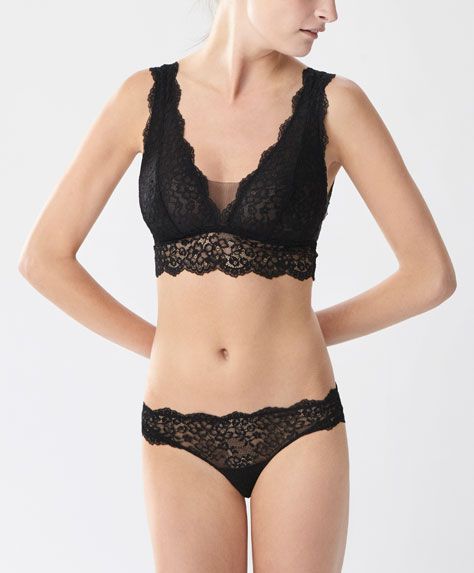
Así que como dije, hay un montón de patrones disponibles en el mercado y tendrás que mirar cual te gusta más. Yo misma tengo en mi tienda el patrón de bralette Hanna. Es un bralette con el bonito corte de encaje que también se puede hacer con punto. Este patrón viene en tallas XS-XL e incluso muchas mujeres con copa más grande me han dicho que les ha gustado el resultado. Escribí las instrucciones de este patrón especialmente pensando en personas que nunca han cosido lencería así que si es tu primera vez cosiendo un bralette te lo puedo recomendar (también tienes el CoseConmigo entero aquí en el blog).
Mi segundo patrón en esta categoría es el bralette Mara que hice ya en muchas más tallas y lo diseñé para que de más soporte aúnque no tiene aros. Es un bralette que tiene la parte delantera de la banda estable y también lleva la cinta de recubrearos. El resultado es un bralette que da un soporte y es al mismo tiempo cómodo. Aquí en el blog tienes el CoseConmigo y varios tutoriales para que hagas la versión de Mara que más te guste.
Puedes mirar las siguientes marcas para patrones de bralettes:
So as I said before, there are many different patterns available on the market and you can choose a style you like. In my shop you can buy the Hanna bralette pattern. It’s a lovely style with a lace edge on the cups but you can also sew it with knit fabrics. This pattern comes in sizes XS-XL and even many women with bigger cup sizes have told me that they found this style comfortable. I wrote the instructions on this pattern in a way that even complete beginners in lingerie sewing can understand them so if it’s your first bralette project you should’t be afraid of sewing, you’ve got all the details in the instructions (and there’s also a full sewalong over here at the blog).
My second pattern in this category is the Mara bralette. I designed this pattern with more support in mind and also extended the size range, bra sizing is used for more accurate measurements! This pattern is sewn with a stable front band and underwire channeling is used to reinforce the seams under the cups which means that it’s a lot more supportive than many other bralette patterns. There’s a full Sewalong and many hacks for the Mara bralette here at the blog too.
You can check out these pattern companies for bralette patterns:

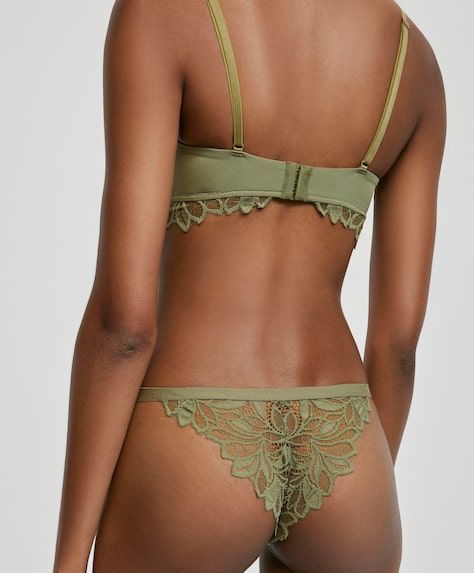
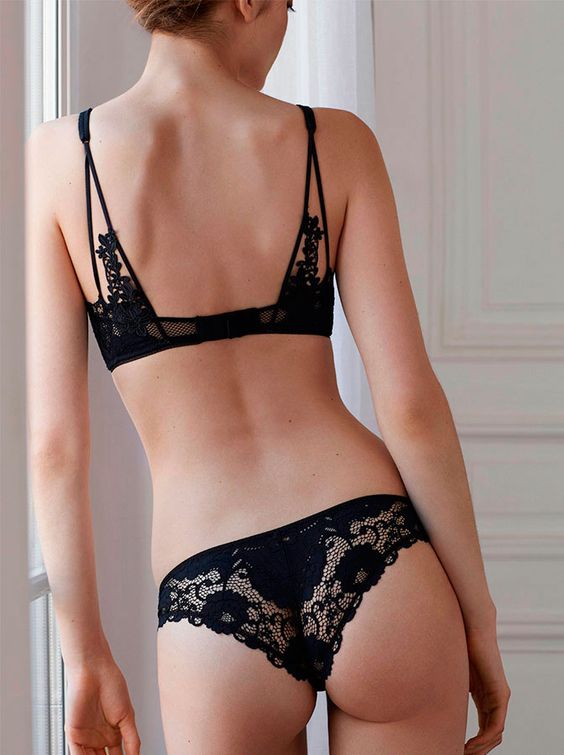
Watson from Cloth Habit
Al mirar los patrones verás que los estilos pueden variar un montón así que piensa cuál va mejor con tus gustos. Un punto importante aquí es ver las tallas y las medidas. Escribí un post sobre este tema en el CoseConmigo de bralette Hanna donde expliqué un poco cómo va el tallaje de este patrón y cómo está relacionado con el tallaje tradicional de sujetadores con aros (te recomiendo leer el post para entender la diferencia, no sólo para este patrón pero en general!). La mayoría de los patrones de bralettes van por tallas XS, S, M etc y la talla se lo eliges según tu contorno de pecho (en la parte más ancha). Ya que se hacen con telas de punto/encajes elásticos y que son mucho más fáciles de construcción que los sujetadores con aros, eso te deja un margen de juego allí. Igual que he escrito en el mismo post del CoseConmigo de Hanna, puedes después de hacer la prueba ajustar el patrón, por ejemplo las piezas de copa hacerlos de talla más grande y la banda más pequeña etc. Otro post para entender bien cómo tomar las medidas viene en el CoseConmigo de bralette Mara, allí ves el proceso en fotos!
Luego hay patrones que por ejemplo usan el mismo tallaje que los sujetadores con aros. Tanto mi patrón el bralette Mara, Watson de Cloth Habit como Jordy de Emerald Erin tienen más tallas y más posibilidades de combinar tanto el ancho de la banda (la medida bajo el pecho) como la copa (el ancho de pecho). Estos tres patrones me parecen muy buenos para tallas más grandes para los bralettes. El tema de tallas es uno que voy a tratar más cuando escribiré sobre los sujetadores con aros así que ahora mismo no te contaré más sobre eso para no complicar más este post ya que la mayoría de bralettes tienen el tallaje con sólo una medida. Básicamente tienes que medir la parte más ancha del pecho y según eso eliges la talla que vas a usar.
When choosing the pattern you can see that the styles can vary quite a bit and you’ll need to think about your preferences when you buy a pattern. One important thing to consider is the sizing. I wrote a post about this subject in the Hanna bralette sewalong where I explained how the sizing works with this pattern and how is it related to the regular bra sizing (I recommend you to read this post to understand the differences not only for this pattern but in bramaking in general!). Most of the bralette patterns have the S, M, L etc sizing and the size is chosen by the full bust measurement (measure the fullest part of your bust). You’ll have some wiggle room there as bralettes are made from stretchy knit fabrics and they are usually easier to fit than bras. As I already wrote in the same post of the Hanna sewalong you can make a muslin first and then you can modify the pattern as you wish, for example you can choose to use a bigger size in the cups and a smaller size in the band. Another post where I’ve explained bra sizing is filed under the Mara bralette Sewalong, there you can see step by step photos about how you can take your measuremnts.
There are also bralette patterns that use the sizing of bras. Both my Mara bralette pattern, Watson from Cloth Habit and Jordy from Emerald Erin come in a variety of sizes where you can combine the full bust measurements with underbust measurements. These three patterns are very good for larger bust sizes too in my opinion. I’ll talk about the bra sizing in more detail once I’ll write the next post about underwired bras so I won’t be extending this topic here because most of the bralettes have the sizing based on the full bust measurement. Basically you need to measure your bust in the largest part and choose a size based on that measurement.

Simplicity 8228 from Madalynne
Materiales // supplies
Telas
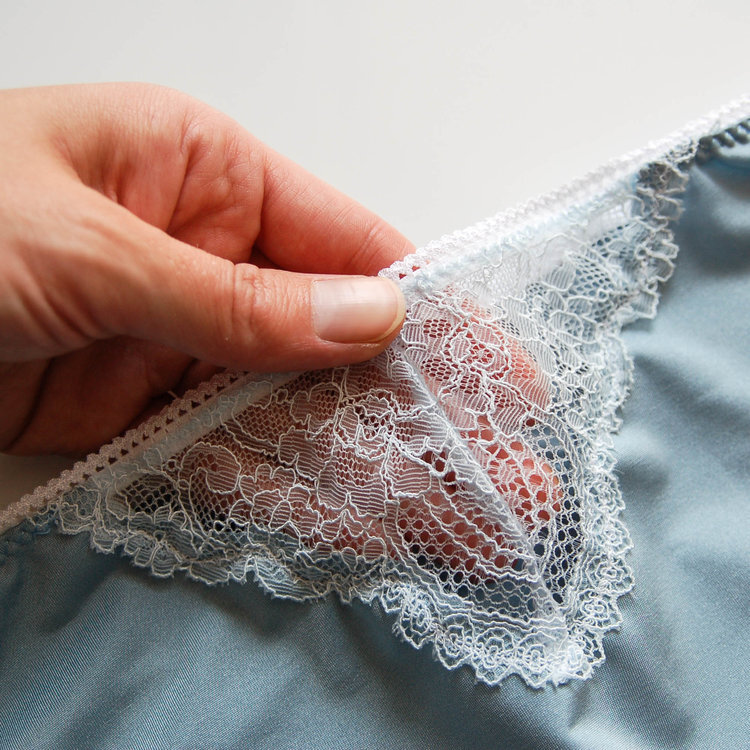
Como dije, los materiales que necesitas dependen mucho del patrón y tienes que seguir la lista de materiales que te indican. Como la mayoría de los bralettes están hechos con tejidos elásticos, lo más importante que necesita es la tela de punto. Igual que con las braguitas, necesitas una tela de punto que tenga elastano. Cuando en el post de las braguitas dije que es preferible usar puntos finos para que no abulten, aquí puedes experimentar con más grosores. Puntos de algodón, viscosa, poliester o incluso neopreno son buenas elecciones. Tul y encaje elástico dan un resultado más delicado. El tipo de soporte que obtendrás depende directamente del tejido que uses así que puedes jugar allí bastante con tejidos. Como la mayoría de patrones van forrados, tienes las opción de usar por fuera una tela más fina o encaje y forrar con algo más fuerte como por ejemplo punto de algodón, power mesh o neopreno si quieres más soporte. En los kits que tengo en mi tienda te viene el encaje y luego la tela de punto de viscosa para forrar, esto da un resultado cómodo que a mí personalmente me gusta mucho para los bralettes. Ahora, si cambias el punto por un tul fino el resultado será más delicado. Como siempre, todo es cuestión de experimentar.
Elásticos
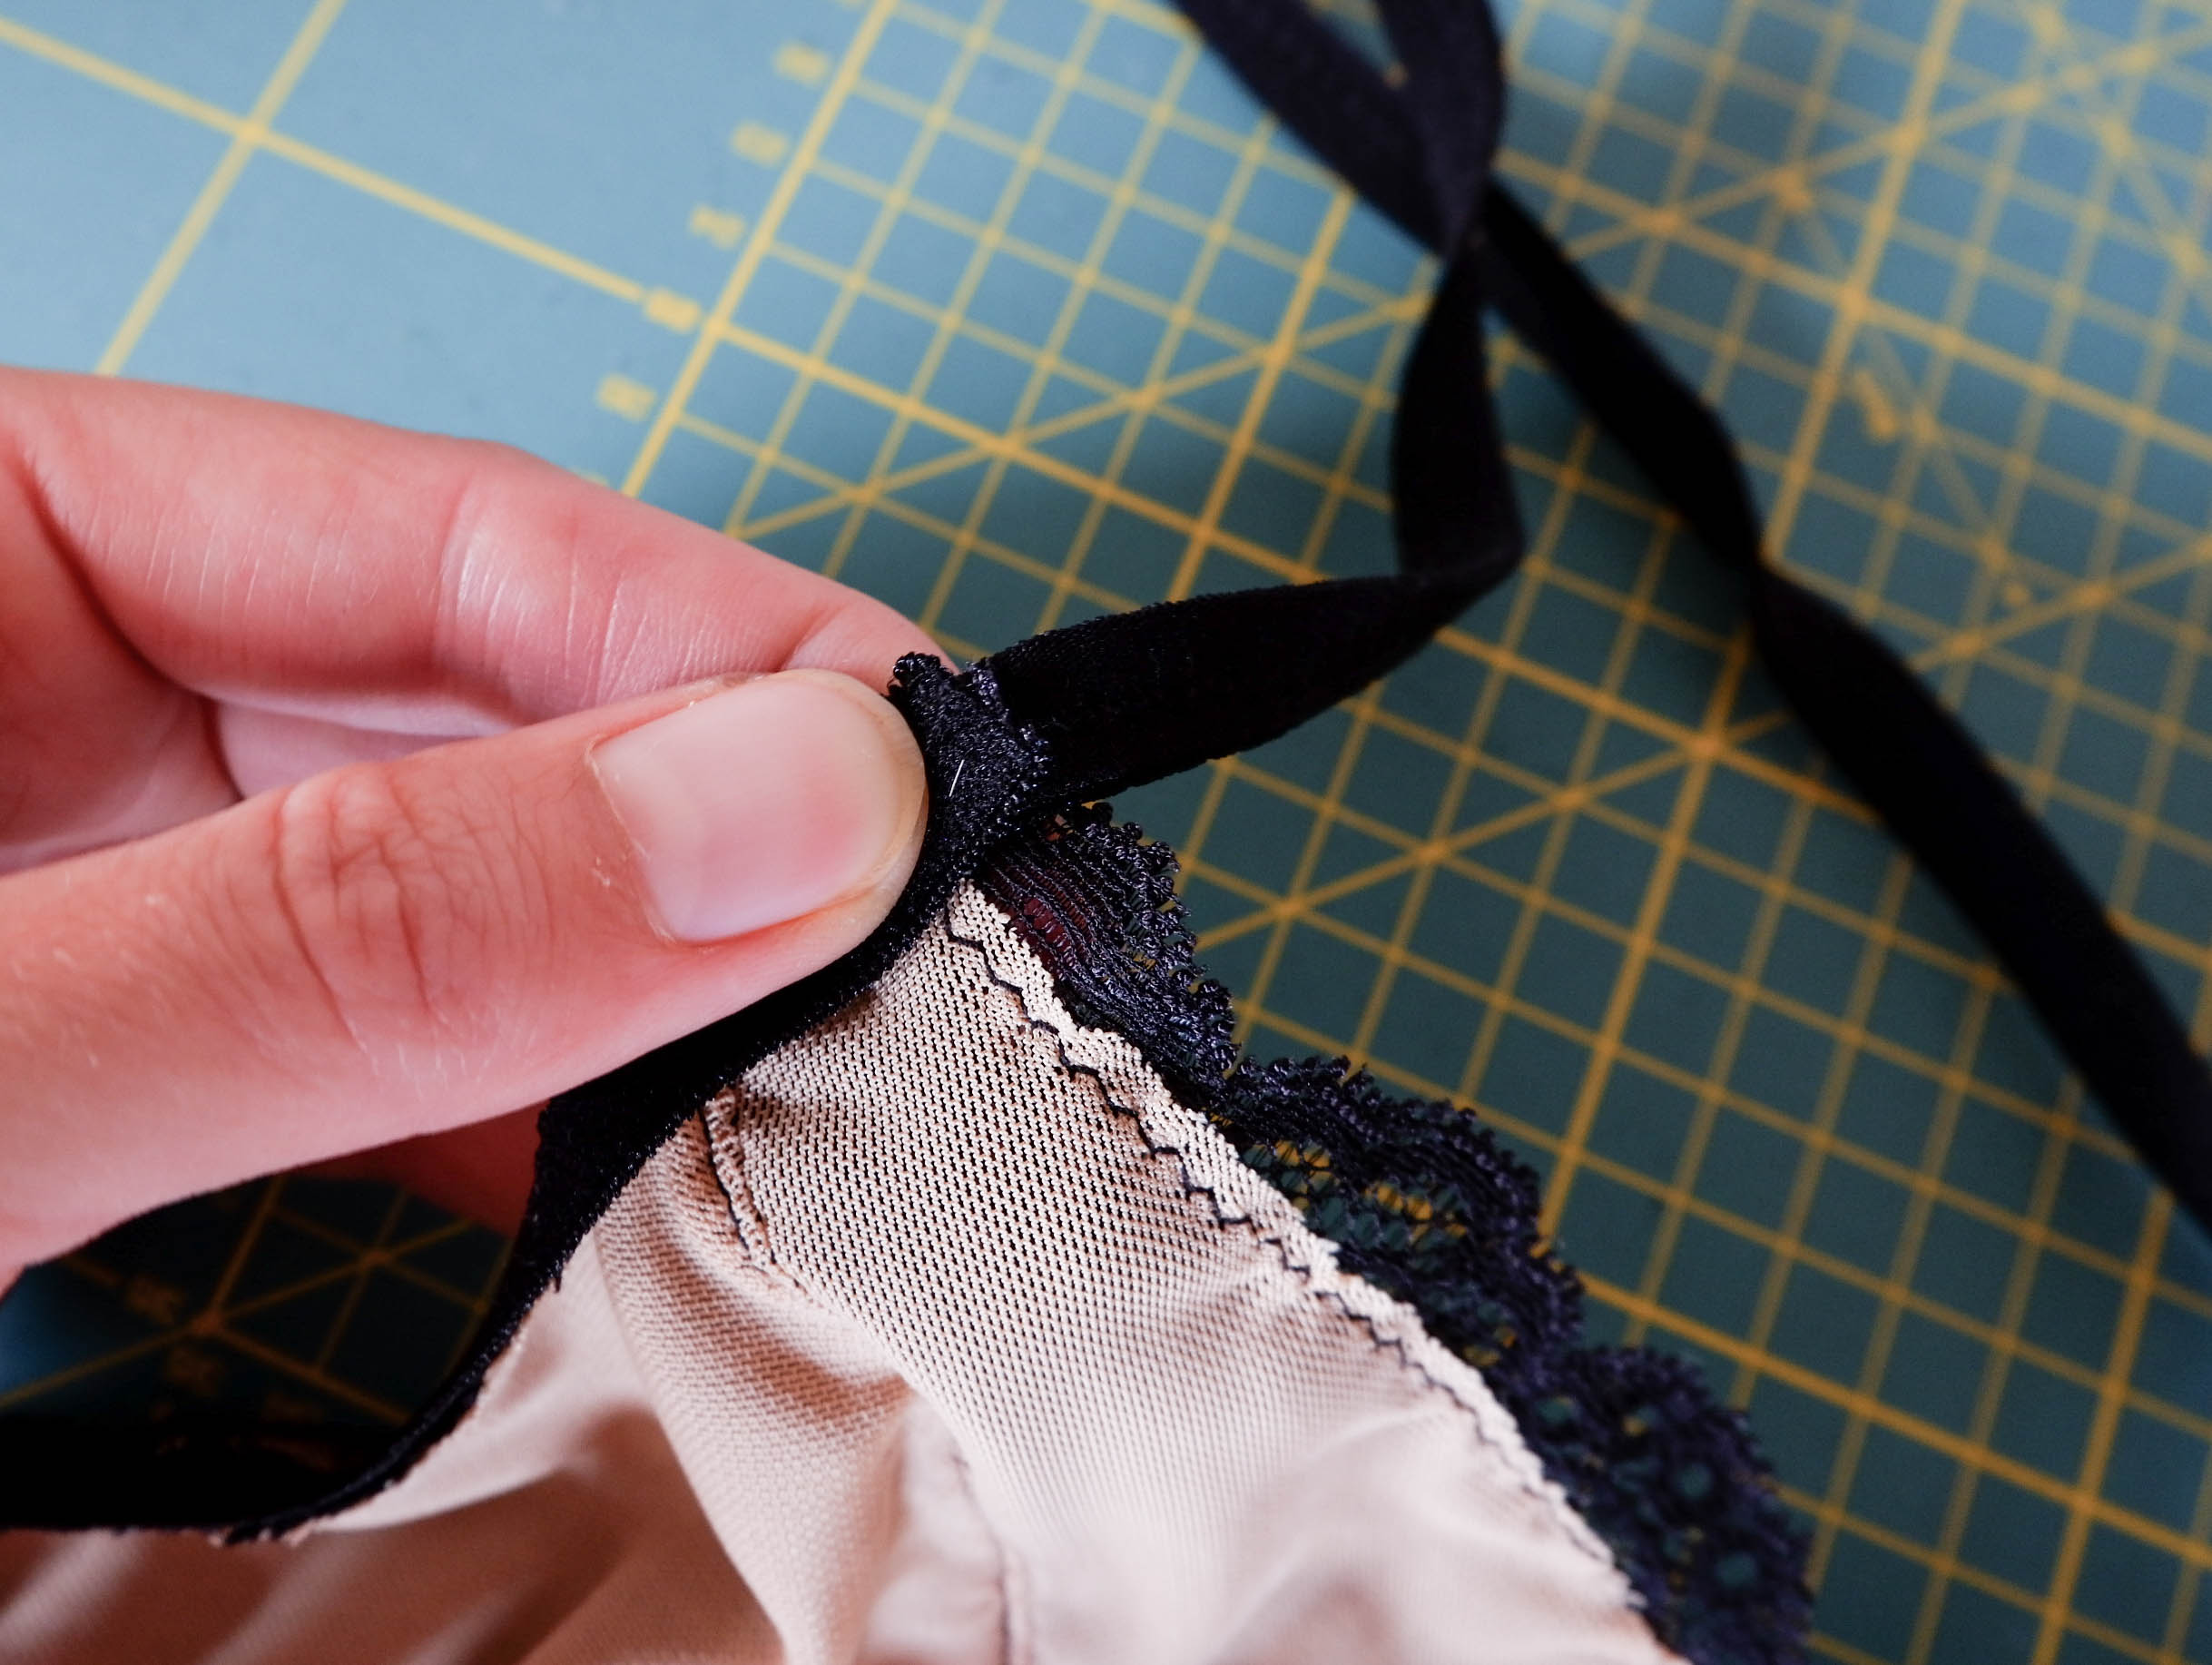
El ancho y la cantidad de elásticos lo verás en tu patrón, para saber más sobre elásticos, lee este post. Normalmente se usan elásticos de lencería y por algunas partes FOE. En el Hanna he usado elásticos de 10 mm de ancho en todo el bralette, ese ancho está bien para dar soporte. Piensa que donde más se necesita el soporte es en la parte baja de la banda así que si tienes copa más grande, puedes allí por ejemplo usar un elástico de 15 mm ancho (recuerda que tienes que modificar el ancho de patrón en este caso!). Recomiendo siempre usar en la banda elásticos de lencería de 8-15mm en el caso de los bralettes, luego en las sisas y en el escote puedes usar tanto los elásticos de lencería como FOE, allí el soporte no es tan importante.
Otro elástico que necesitas es el elástico de tirante. Es un poco más firme que el resto de los elásticos. Para los tirantes también necesitas reguladores y arandelas.
Otro elástico opcional que suelo usar es el de silicona que es transparente. Este viene bien para estabilizar encaje, no se ve por fuera pero mantiene el encaje en su forma.
Cierres
Aunque algunos patrones vienen sin cierres te recomiendo que o cambies el patrón para usar un cierre o uses otro patrón. Sí, depende de la persona, pero yo pienso que sin cierre el bralette es muy incómodo de poner y quitar y es una pena si al final no lo usas por eso.
Los cierres vienen en diferentes anchos y puedes elegir el que más te guste. Ajustar la pieza de la banda para diferentes anchos de cierres es sencillo, puedes verlo en este tutorial.
Fabrics
As I mentioned before the supplies vary a lot depending on the exact pattern you choose to use, you need to follow the list indicated in your pattern instructions. As most of the bralette patterns require stretch fabrics, the most important thing you need is a knit fabric. Like when sewing panties, you need a knit fabric with some spandex in it for the best recovery. In the pantie sewing post I told you that you need finer knit fabrics in order to not create a lot of bulk but with bralettes you can experiment with more fabric weights. Cotton, viscose and polyester knits are good options and you can even use scuba fabrics for bralettes. Stretch lace and stretch mesh give a delicate look. The support your bralette will give you depends directly on the fabrics you use so you can experiment with different options there. As most bralette patterns are lined you can mix and match there, for example you could use a finer fabric or stretch lace on the outer layer and line the bralette with a cotton knit , power mesh or scuba to give it more shape. In the kits I have in my shop you’ll have the stretch lace paired with a viscose knit for a comfortable result that I personally like on bralettes. When you choose to line the bralette with a light weight mesh fabric instead of a knit you’ll have a more “delicate” result. As always you can experiment to see what you like the most.
Elastics
The width and the length of the elastics you need will be determined by your pattern, you can read more about different elastic types in this post. Usually you need lingerie elastics and you can use FOE for some parts of the bralette. In Hanna bralette I’ve used 10 mm wide elastics in all the bralette to give support. Most of the support will come from the band of the bralette so if you are making a bigger size you can use for example a 15 mm wide elastic for the band part (just remember to modify the seam allowances where you choose to alter the elastic width!). I recommend always using lingerie elastics with 8-15 mm width in the band of a bralette for support, in the underarm and neckline area you can also use FOE as there the support factor is not so important.
The other elastic you need is the strap elastic. These elastics are a bit stiffer than normal lingerie elastics. You’ll also need rings and sliders to complete the straps.
Another optional elastic you can use is the clear elastic or silicone elastic. It won’t be seen on the outside and it’s great for stabilizing the lace edge.
Closures
The pattern you will be using might not have a closure, I really recommend you to either modify the pattern to add a closure or choose another pattern. Yes, it depends on the person, but I really think that bralettes without closures are very uncomfortable to put on and take off so it would be such a pity when you will not use your handmade bralette because it’s not comfortable.
The closures come in a variety of sizes and you can choose the one you like the most. You can easily adjust the band pattern piece to fit any width of closure by following this tutorial.

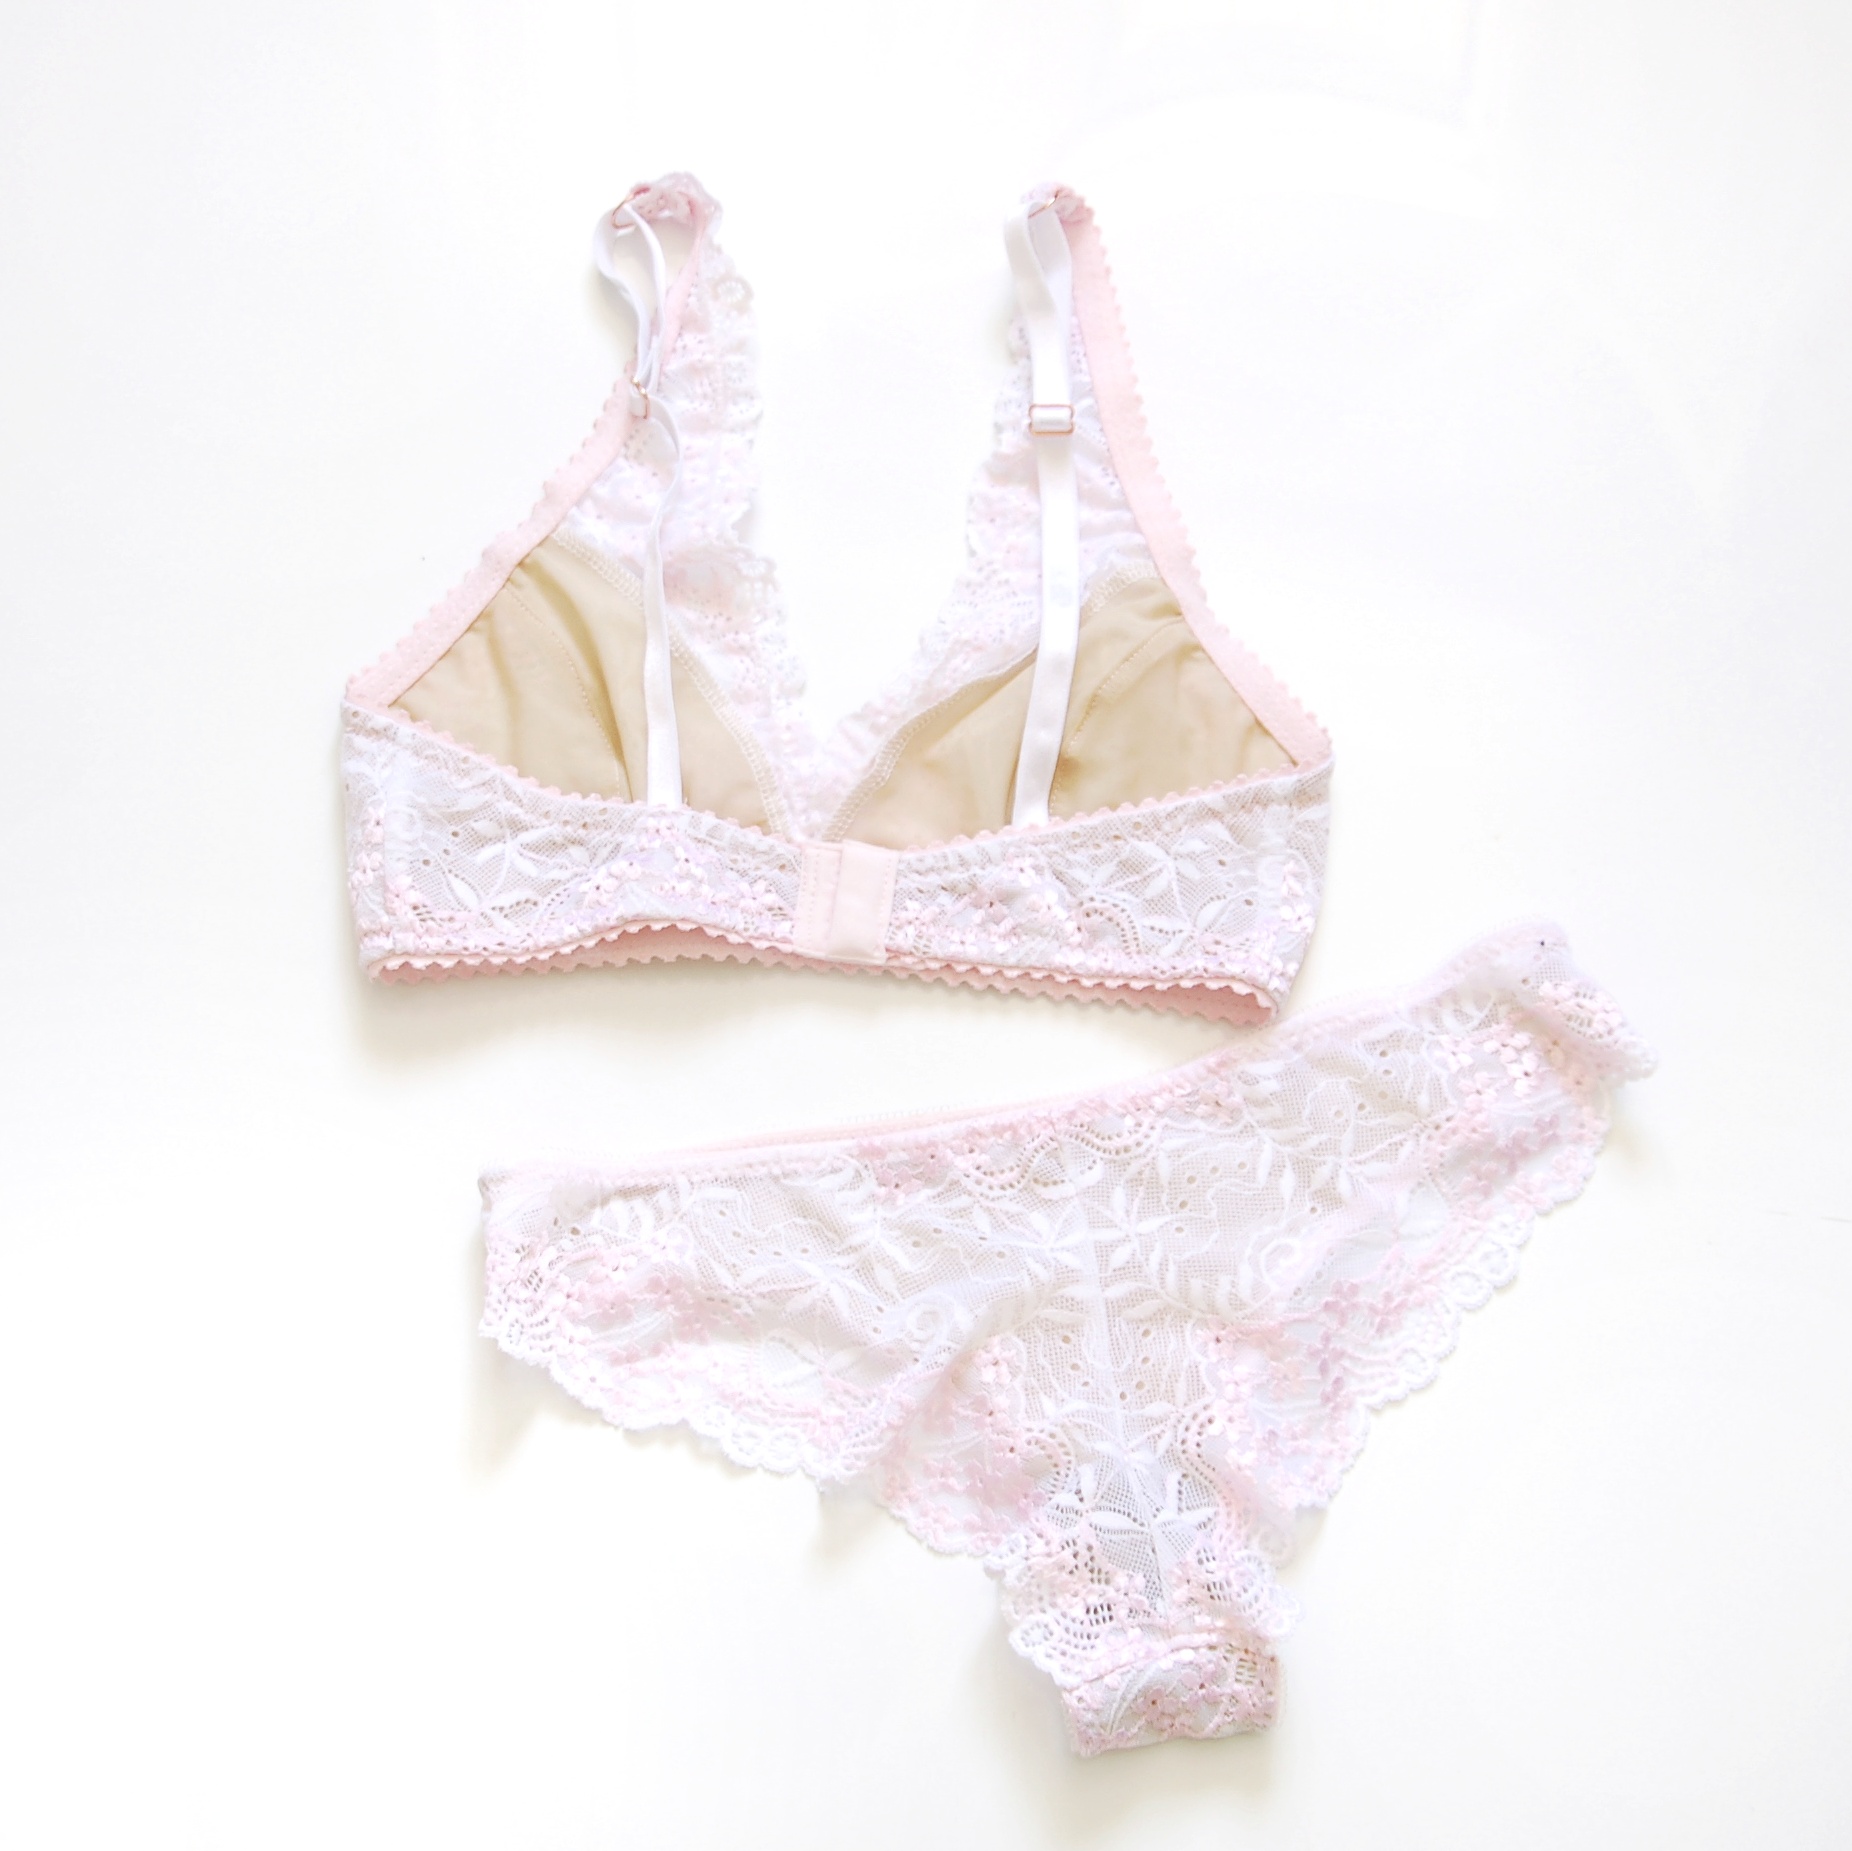
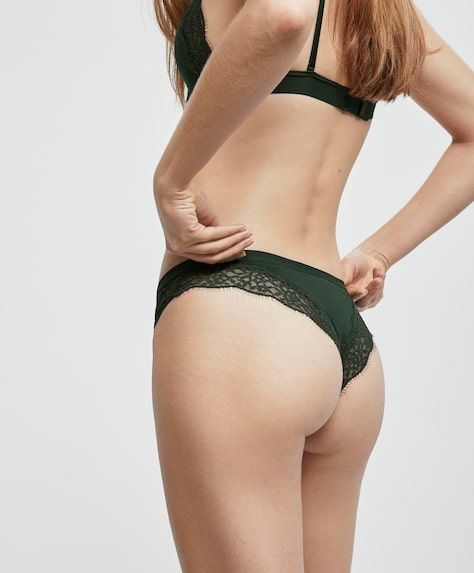
Hanna bralette from Studio Costura Patterns
Compruba el listado de los materiales que requiere tu patrón y así estarás lista para coserlo. Como al principio es más complicado saber qué es exactamente lo que necesitas, cómo son los elásticos etc, existe la buena opción de comprar un kit con todo lo necesario. En mi tienda tienes kits para hacer bralettes (que puedes comprar directamente con el patrón de bralette Hanna si quieres) que valen para más o menos todos los patrones.
Para hacer el bralette Mara ya que requiere más materiales tienes que usar un kit que lleva los mismos materiales que necesitas para sujetadores con aros (de nuevo puedes comprar el kit junto con el patrón de bralette Mara). El kit de sujetador con aros vale para cualquier patrón de sujetador y también te vale para cualquier bralette.
Para otros sitios donde comprar materiales para bralettes y kits puedes mirar esta página de Orange Lingerie y esta de Cloth Habit con un buen listado de tiendas online.
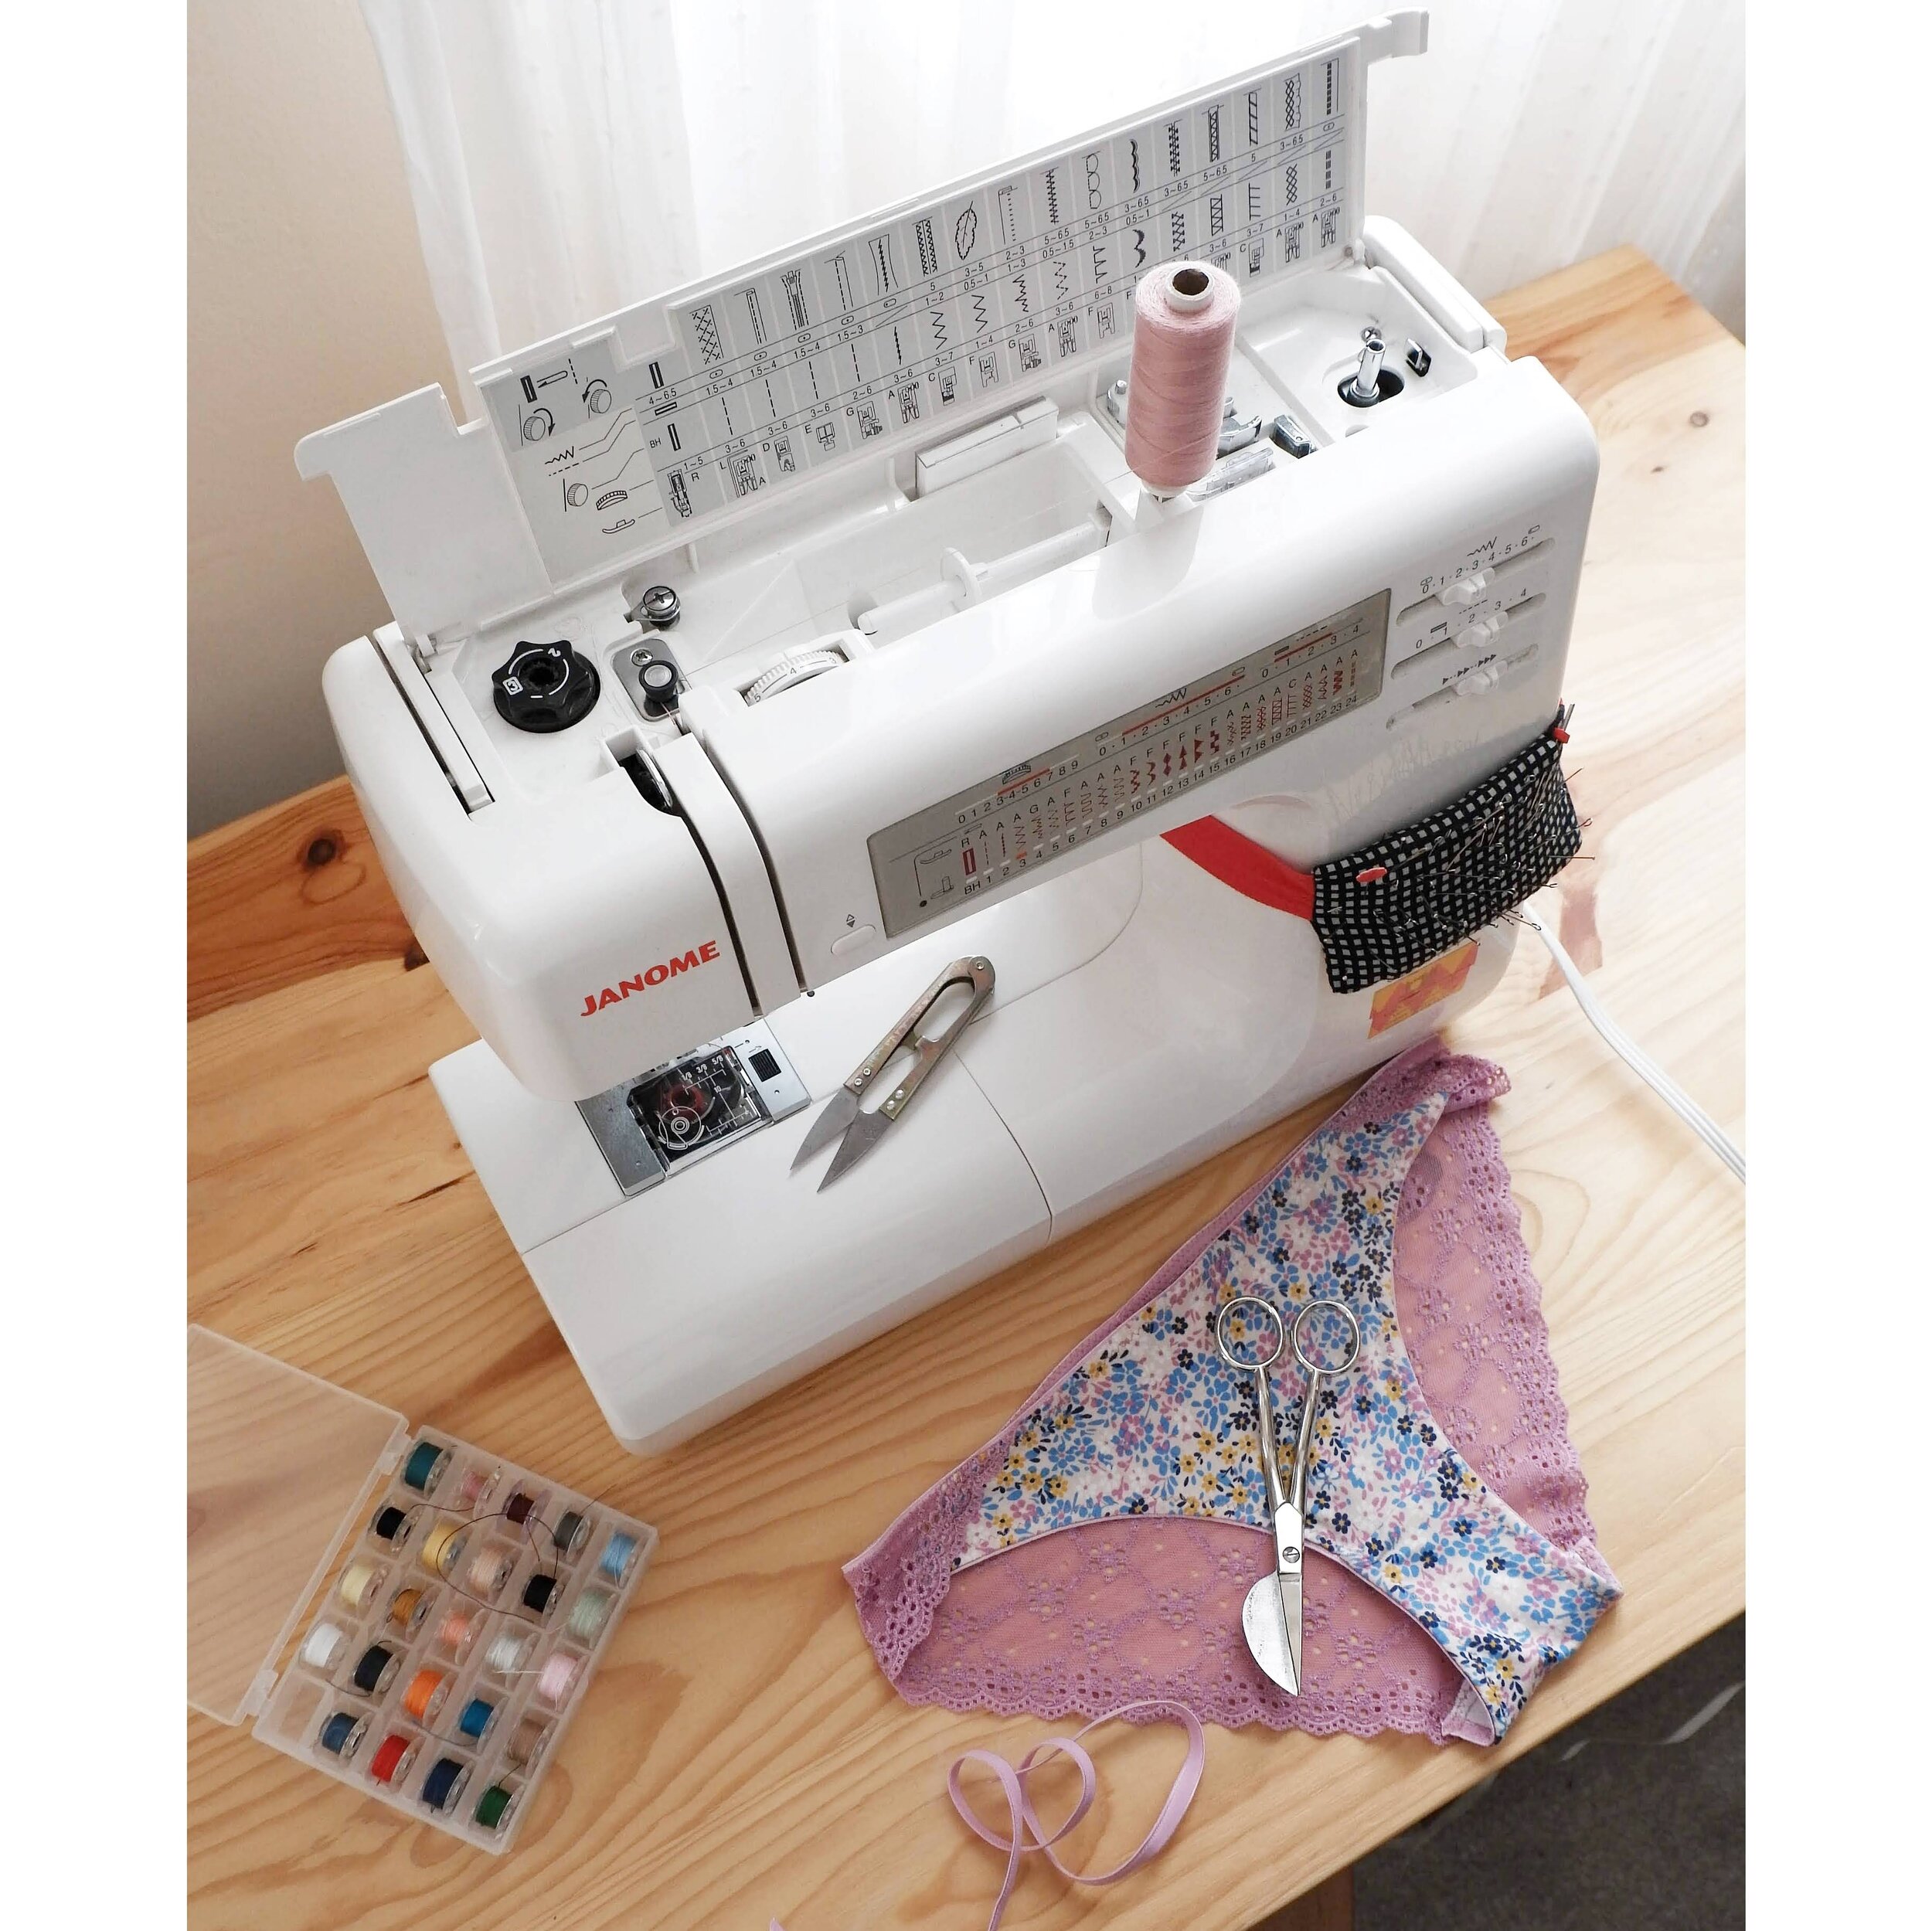
Antes de hacer tu bralette definitivo y cortar encaje te recomiendo hacer una prueba, es fácil y te sirve para ver si la talla es correcta. Este paso te puede ahorrar muchos dolores de cabeza y materiales! Usando tela de punto (incluso puedes reciclar algúna camiseta vieja) corta las piezas y unelos (puedes usar la puntada larga en la máquina para “hilvanar”). Prepara los tirantes, sujetalos temporalmente en su sitio y usando la puntada larga cose el cierre en su sitio. No hace falta coser los elásticos de la banda y sisa. Prueba el bralette y observa si te va bien o necesitas hacer cambios. Puedes ver este post para ver la prueba que hice y trucos para saber qué modificar en tu patrón.
Para tallas más grandes puedes aumentar el soporte con un par de cambios de materiales. Puedes usar, tul fuerte (powermesh), neopreno o doble capa de tela de punto para que el tejido sea más firme. En la banda puedes usar elástico más ancho, por ejemplo de 15 mm, solo tienes que modificar el patrón para dar más margen de costura. También puedes usar tirantes más anchos para más comodidad.
Otro material que se puede usar en los bralettes es foam. En principio el foam no está indicado para bralettes de tejidos elásticos ya que el foam no tiene elasticidad pero en ciertos casos sí que puedes usarlo. Hice el post especial de foam para el bralelette Hanna donde también escribí sobre cuándo y cómo usarlo, puedes leerlo para tener ideas también para otros patrones. Para añadir copas de foam al bralette Mara puedes ver este tutorial. También está el tutorial para usar foam con el patrón Watson.
Check the supplies list on your pattern and this way you’ll be ready for sewing your bralette. As when starting off with bramaking you’ll be a bit confused about all those different supplies you need, there’s a good option to buy a kit. At my shop you can buy bralette kits (with the Hanna pattern if you wish) which are suitable for more or less any bralette pattern. You can also get bra kits that have more supplies needed to sew underwired bras and work for the majority of bra patterns. The Mara bralette pattern uses the same supplies as underwired bras so if you want to try it out you should also get a bra kit (which can be chosen with the Mara pattern option too).
To know about other online shops to look for bramaking supplies you can visit the shop lists made by Orange Lingeire and Cloth Habit.
Before making a bralette and using up your pretty supplies I recommend you to make a muslin, it’s easy and you’ll see if the sizing is correct. This step can save you from lots of headaches! Cut the pieces from knit fabric (you can even use an old t-shirt for that) and join them together (you can “baste” on your machine with a longest length straight stitch). Prepare the straps and sew them temporarily in their place, using a long stitch length sew the closures in their place. You won’t need to sew the elastics in the band and udnerarm area. Try the bralette on and observe if it fits well or if you need to change something. You can read this post to see the muslin I made and there are also some tricks that can be helpful when trying to fix the problems you see in your muslin.
For bigger sizes you can add support by changing up some things. You can use powermesh, scuba or double layer knits to make the bralette firmer. You can use a wider elastic on the band, for example 15 mm width (you’ll need to modify the seam allowance to sew the larger elastic). You can also use wider strap elastics for more comfort).
Another material you can use in your bralettes is foam. To begin with, foam is not indicated for bralettes with stretchy fabrics as foam is not stretchy, but in certain cases you can use it. I’ve written a full tutorial about using foam for Hanna bralette where you can read about how and when to do it, this can give you ideas for other patterns too. To add foam cups for the Mara bralette check out this tutorial! There’s also this tutorial about making foam cups for Watson.

Watson bra from Cloth Habit
En esta sección del blog puedes ver todos los tutoriales sobre lencería y hay un montón de tutoriales para que pruebes diferentes técnicas.
Otros patrones de bralette que he cosido:
Watson de Cloth Habit: uno, dos, tres
In this section of the blog you can find many different posts about sewing lingerie, there are a variety of tutorials with tips and tricks you can try out.
Other bralette patterns I’ve sewn:

Josephine from Ohhh Lulu
De nuevo, hay mucha inspiración para coser bralettes en mi carpeta de Pinterest y en la cuenta de Instagram de Studio Costura Shop. También tengo este post de inspiración de bralettes, este post de inspiración para el bralette Hanna y este post de inspiración para el bralette Mara.
Hay un curso en Craftsy sobre bralettes y el libro The Secrets of Sewing Lingerie: Make Your Own Divine Knickers, Bras & Camisoles tiene muchos ejemplos bonitos (con telas planas). Surge Fabric Shop tiene un post muy bueno sobre comparación de diferentes patrones de bralettes donde puedes ver muchos ejemplos puestos.
Again, there’s a lot of inspiration for sewing bralettes on my Pineterst board and on Studio Costura Shops IG account. I’ve also written this post about inspiration for bralettes, this one for Hanna bralette inspiration has very pretty things too and you can check out this Mara bralette inspiration post.
In Craftsy there’s a course about bralettes and the book The Secrets of Sewing Lingerie: Make Your Own Divine Knickers, Bras & Camisoles has very pretty pattern too (for wovern fabrics). Surge Fabric Shop has a great post about bralettes comparing different patterns and you can see modeled photos.

Watson from Cloth Habit
Espero que te ha sido útil esta entrada. El siguiente va a ser sobre sujetadores con aros donde vamos a ver al detalle lo que necesitas para este tipo de costuras. Si tienes preguntas o sugerencias no dudes en dejarlos en los comentarios!
I hope you found this post helpful. The next one will be about underwired bras where we’ll look at all the stuff you need to sew them. If you have questions or recommendations feel free to post a comment!